 I love English Paper Piecing so much, but I love tiny EPP the most! I'm currently working on a half inch hexagon project which will become a wall hanging. I love half inch hexagons and I think they might be my favourite size. I absolutely love combining embroidery and EPP and as I often use hexiform shapes rather than paper (which I buy from Ashmead Designs) embroidering into them is even easier! I'm really passionate about sewing being an accessible craft/hobby to all people, which is something I will talk about more in depth in another post. But for now I will say that EPP is a great hobby and anyone can do it. It's inexpensive, only requires a few tools (needle, thread, paper, fabric, scissors and maybe a glue pen if you don't want to thread baste) and is so portable. 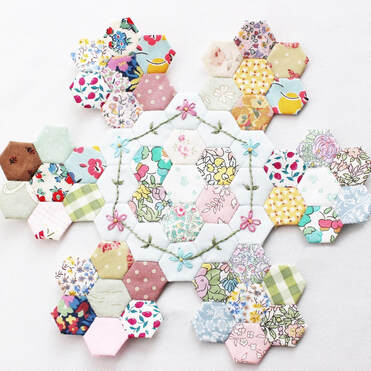 Recently I started a quarter inch hexagon project and I got lots of questions about it on Instagram. There was a lot of interest surrounding how I make the hexagons and sew them together. So I've made a little video tutorial that shows all of the steps and also how I made them into a little pincushion. I wanted a small pincushion to take around with me as when I'm stitching on the go I always need somewhere to park my needle in between stitches. I admit I was very tempted to make this little pincushion into a bracelet to wear whilst stitching, but maybe I will make another one for that. 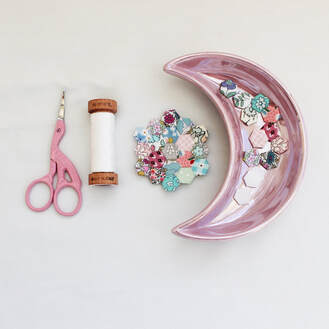 The beauty of half inch and quarter inch projects is that they use up the teeny tiniest of scraps which I think is brilliant. I don't have a lot of money to buy fabric so I like to use up what I have and also, this is better for our environment. 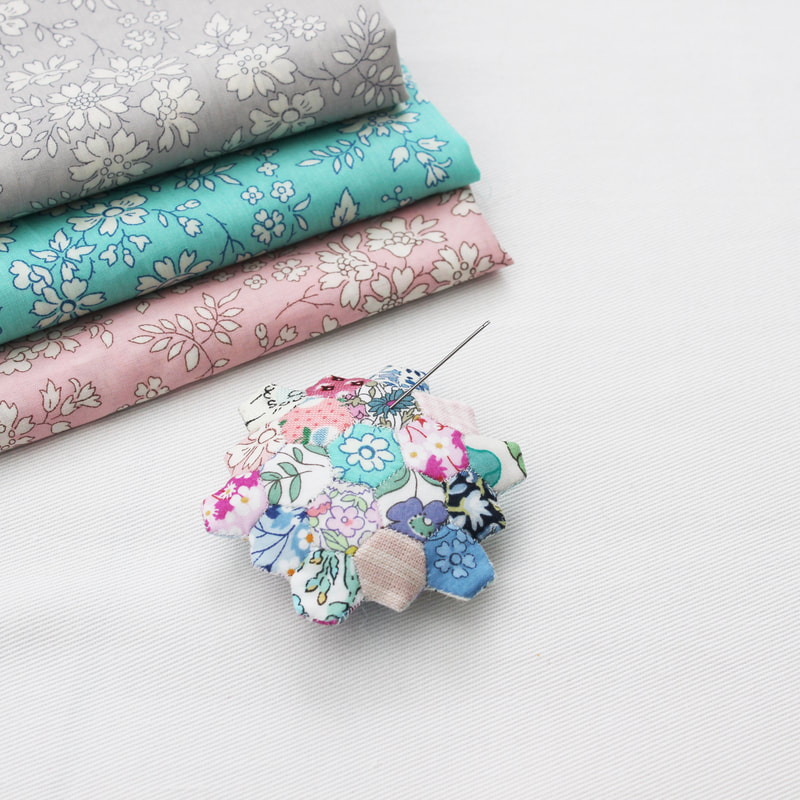 I hope you like my video tutorial and that you find it useful, especially if you are a beginner. You can find it on the video tutorials tab under quilting tutorials or click on one of the links in this post. There are, of course, many ways to make things, I am just showing you my way. The two halves of the pincushion could be stitched with a ladder stitch whereas I have used a whip stitch. Please feel free to use my video as inspiration and to make the project your own in any way you like by changing stitches or adding your own twist. If you have any comments or questions, please leave them below. Happy sewing!
6 Comments
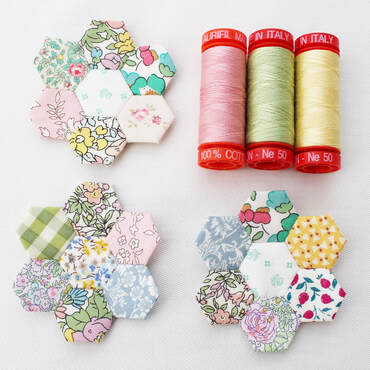
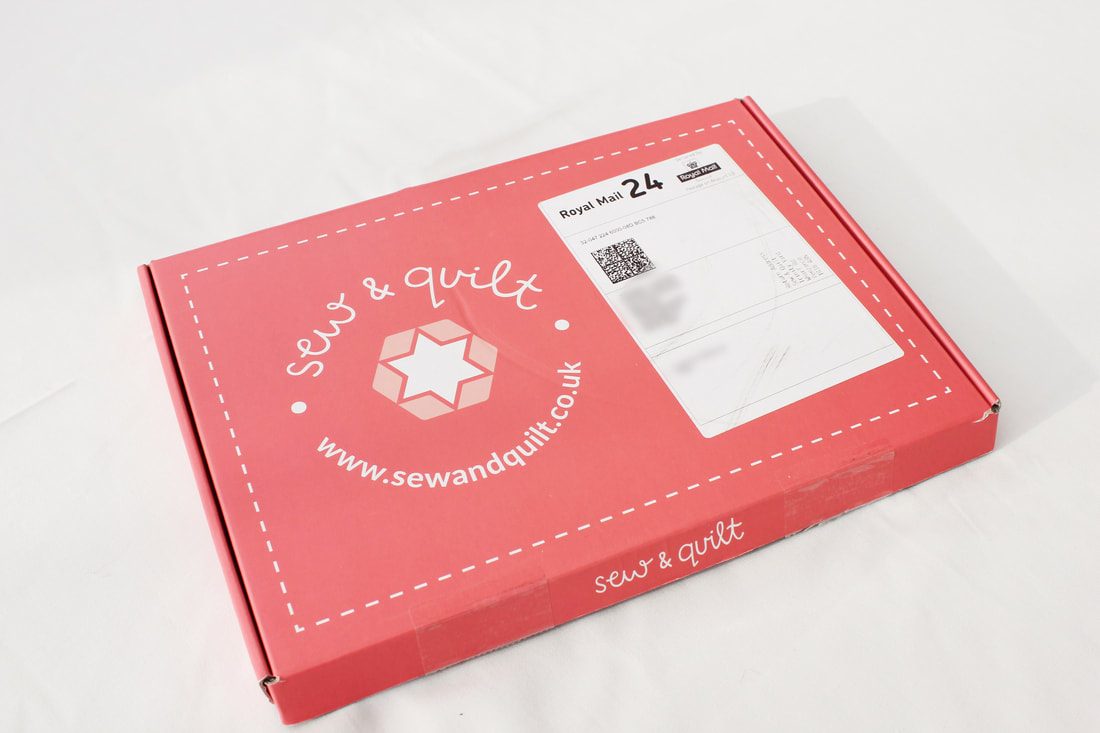 I'm lucky enough to have been able to sign up to the Sew and Quilt Block of the month subscription box so I thought I would tell you all about it. Sew and Quilt is a lovely online quilting shop based in Cornwall. For the past few years, they have been running a monthly subscription box where you receive all of the materials and paper pieces needed to make part of a quilt (English Paper Piecing) and at the end of the year, you will have a completed quilt! I've wanted to join up for a long time but I've been unsure if I could keep up with it each month as it involves a lot of sewing and I have lots of other projects on the go. This year they released an additional quilt to their subscription boxes called the Row by Row quilt and when I saw it, I knew it was the one for me! Each month you get everything to make a horizontal row of the quilt. The beauty of this quilt design is that every month is different (except the first and last months are the same to make the design symmetrical.) This appealed to me greatly as it wasn't going to get too repetitive and each month would be really exciting as it would be something new each time. 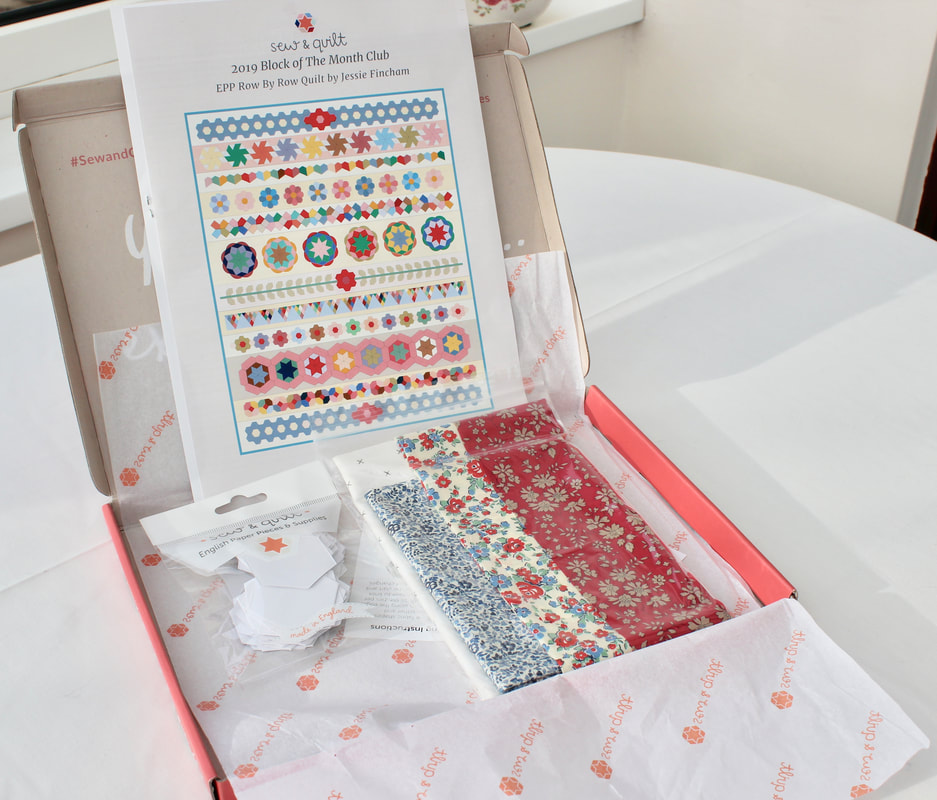 The materials arrive each month in a lovely pink box and you get detailed instructions so you can't go wrong. Each month always includes some Liberty Tana lawn fabric too. 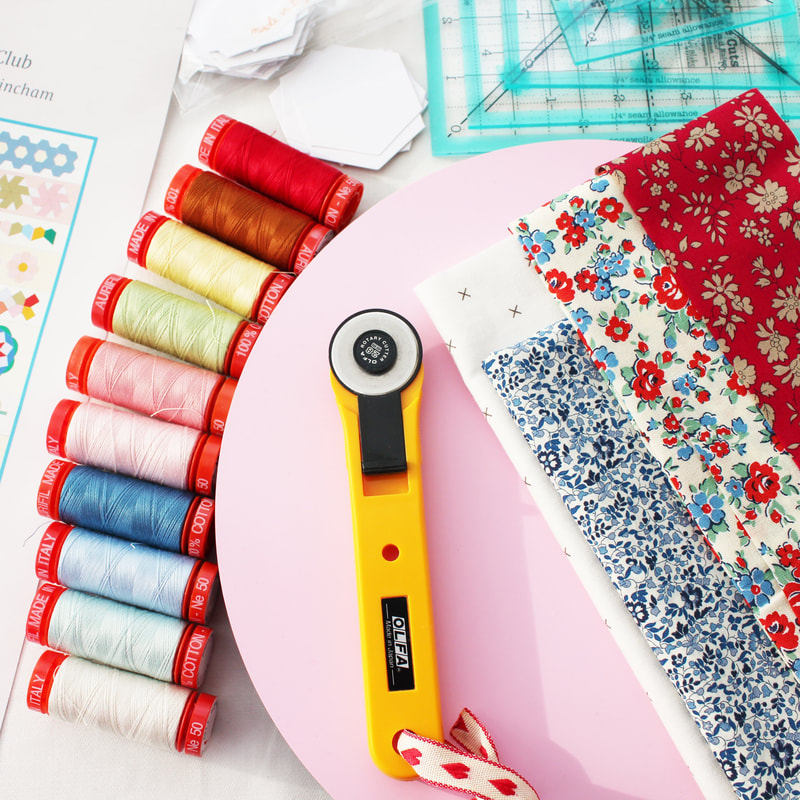 As soon as mine arrived I set myself up to cut the fabrics into the required shapes and I used glue to baste my hexagon shapes. That took me two days to complete. I then did a little each day to stay on track and so far I've managed to keep up with each month's box. 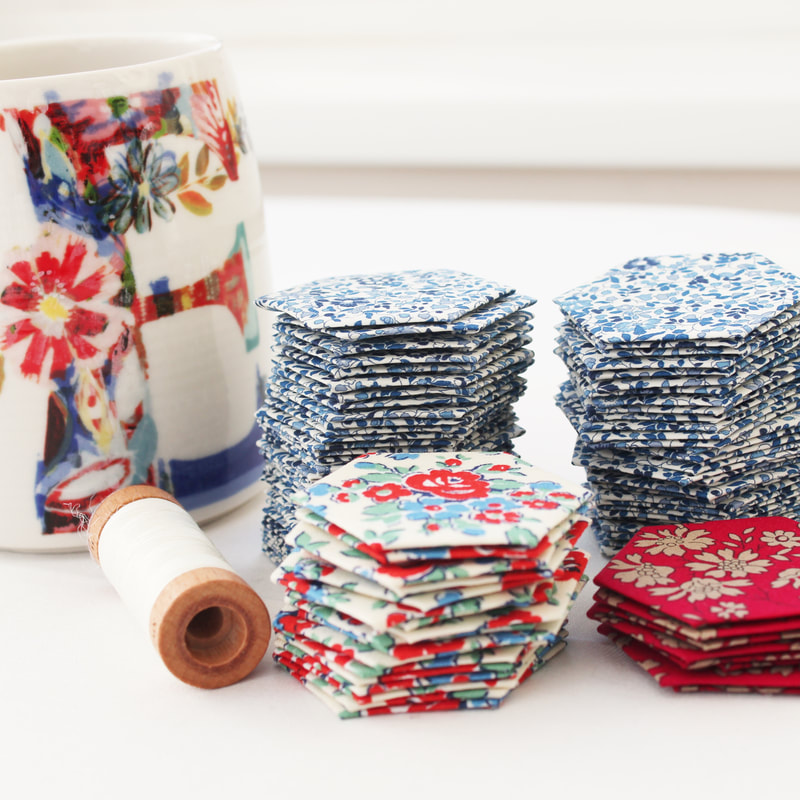 Once all of the shapes have been sewn together, the papers need to be removed and it then needs to be sewn to the backing fabric. Each strip of backing fabric is then sewn together to form the quilt. Here is mine so far. 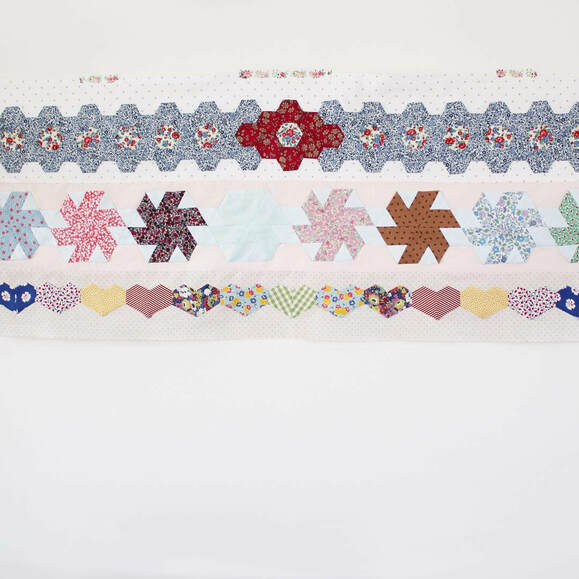 I love making this quilt so much and I really look forward to receiving the special box each month. It's really fun to sew along with other people and I love the community aspect to this project. 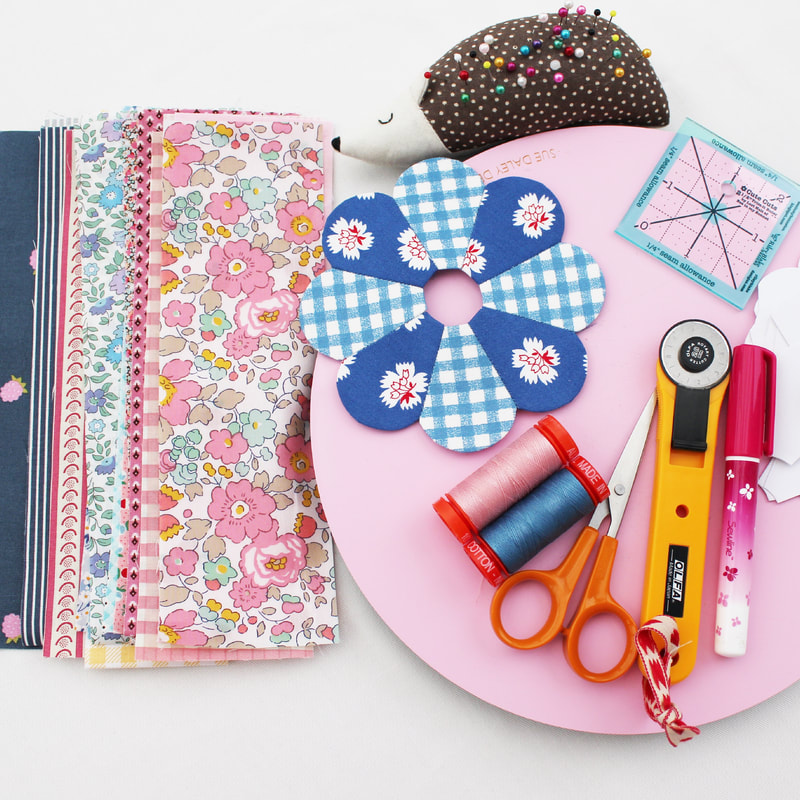 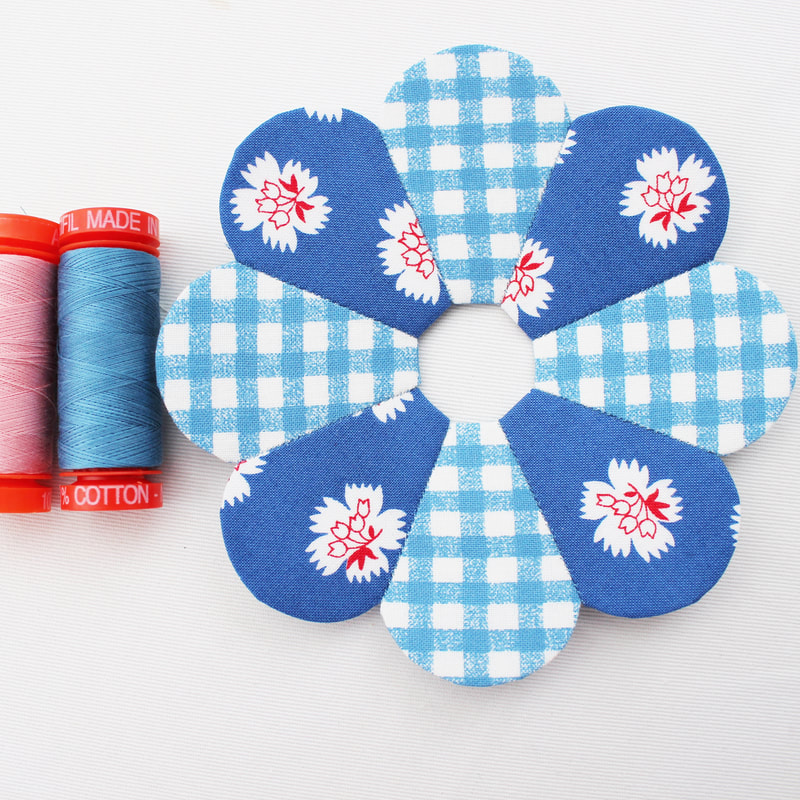 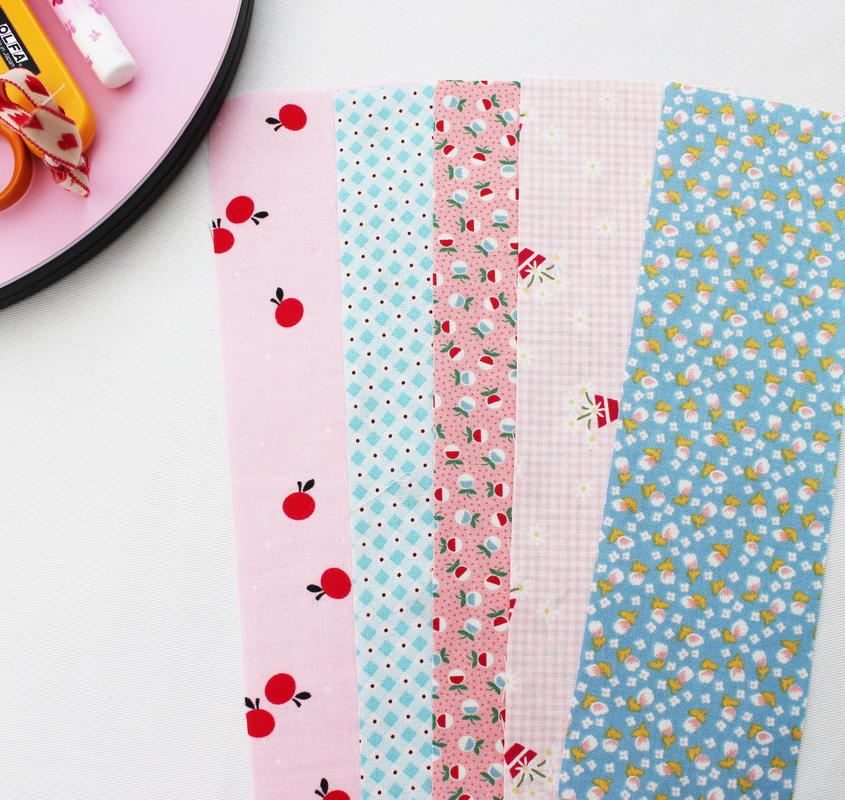 Jessie, who owns Sew and Quilt, designs the block of the month quilts and she always picks the most beautiful fabrics. I love her style which is why I knew I would love this subscription. 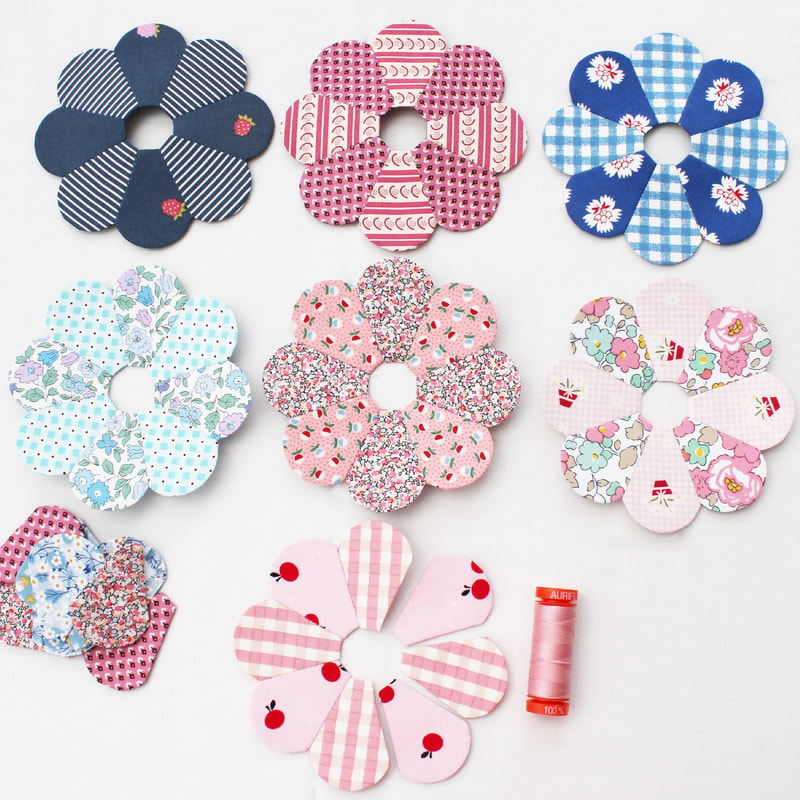 This month's box is my favourite so far. The design is Dresden flowers and they are so pretty! I love the fabrics that have been included too.
Have you ever signed up to a block of the month subscription? If so, which one? I think they are so much fun, I'm already thinking about which one I might do next year! Happy sewing! 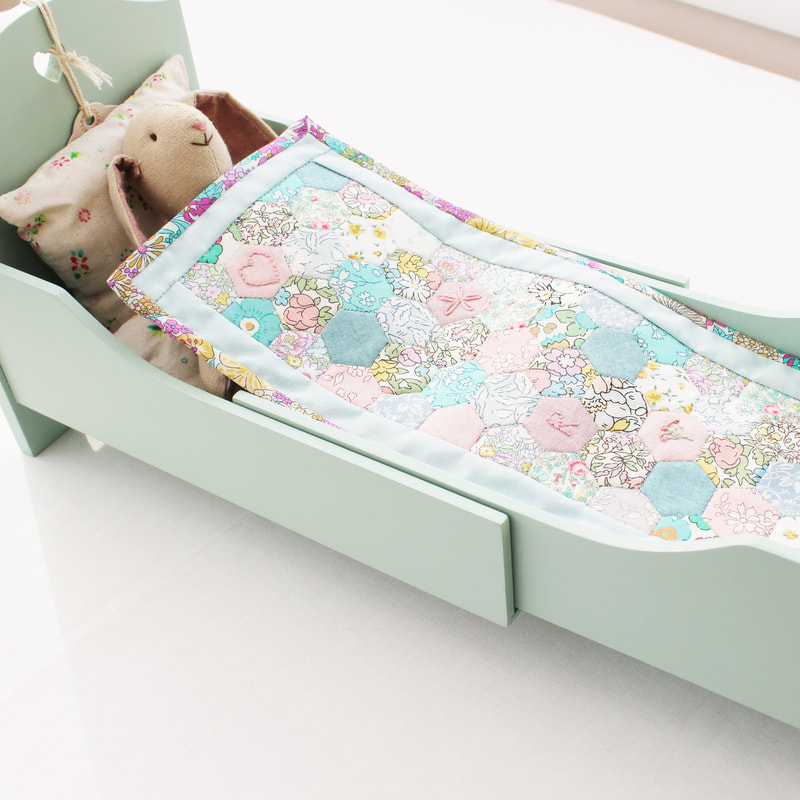 When I bought this cute bunny in a little bed, I knew she needed a sweet little quilt to keep her warm. This is going to be a gift for my little niece, so I set to work creating this EPP quilt. I used pretty scraps left over from other projects and instead of paper hexagon templates, I used hexiform ones from a company called Ashmead Designs. The great thing about their hexiform shapes is that for small projects like this, you don't need any wadding/batting. 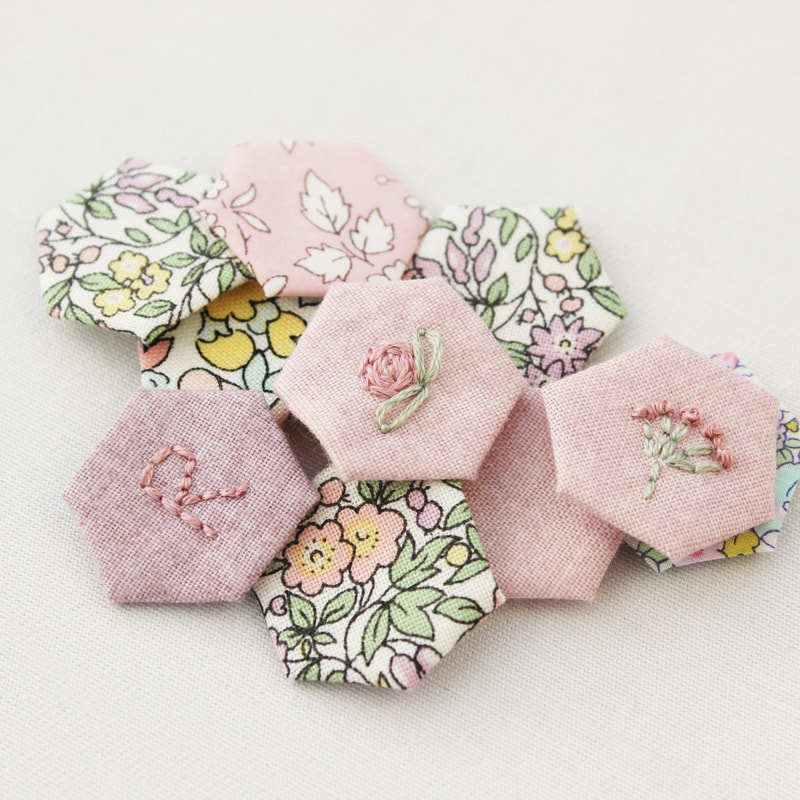 I used 1/2 inch hexagons which is the smallest shape I've ever worked with. I absolutely loved making something so miniature and I'm sure there will be more in my future! Something I love to do is combine different types of sewing, and with the hexagons being made of hexiform, it was easy to embroider tiny details on some of the hexagons. 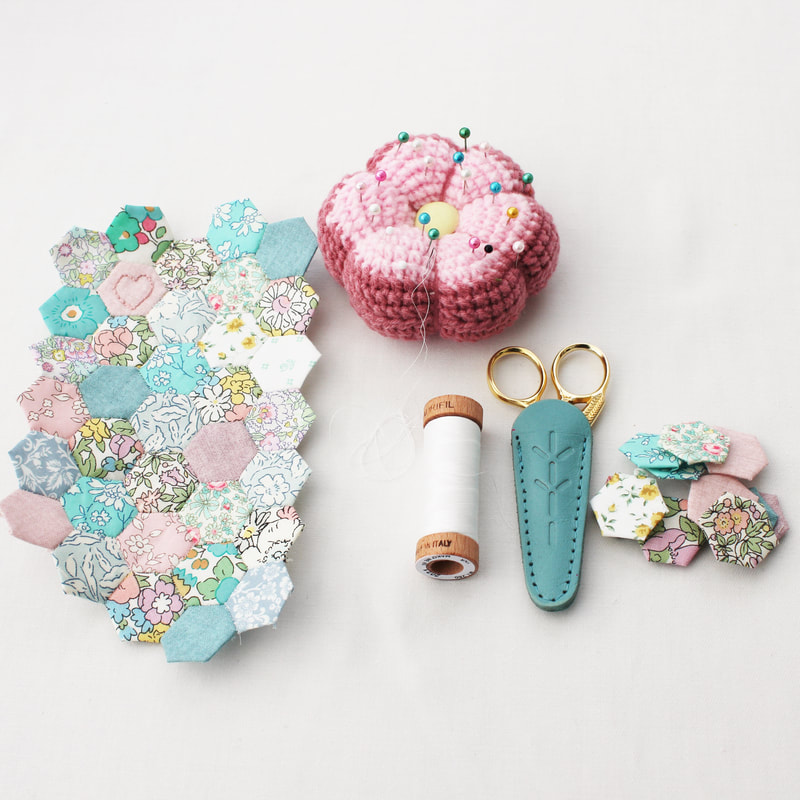 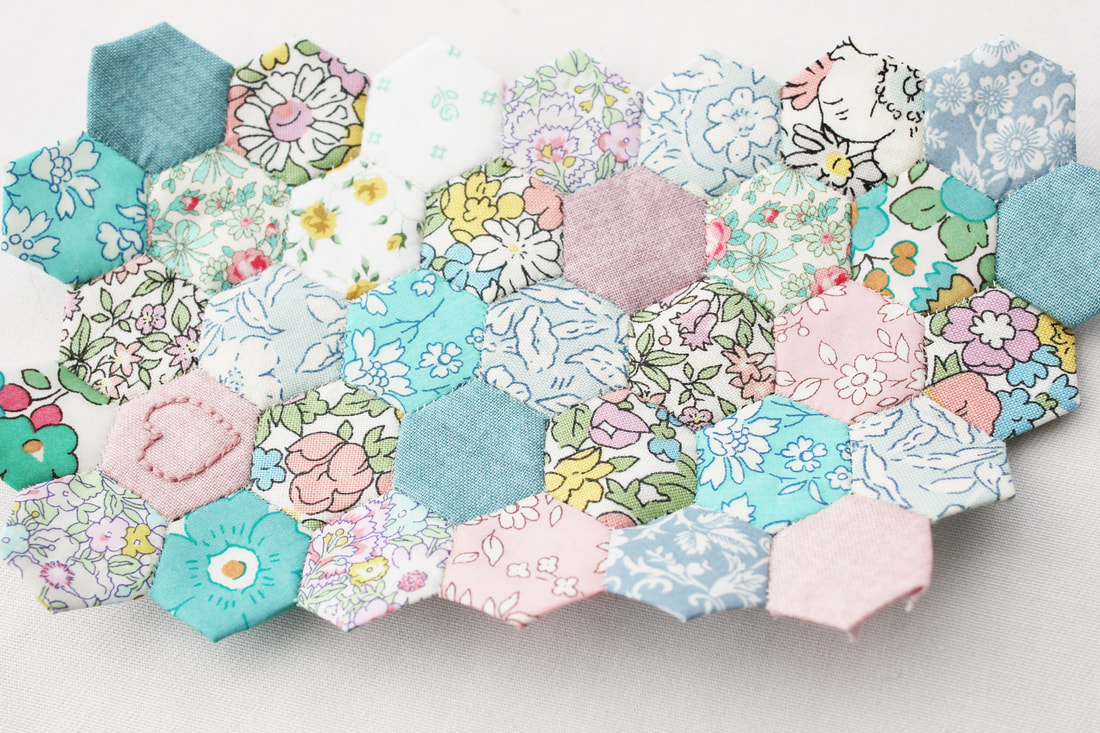 I kept adding hexagons here and there, without worrying too much about where to put them. Once it was the size I needed, I attached a border in coordinating blue fabric and bound it with liberty bias binding. 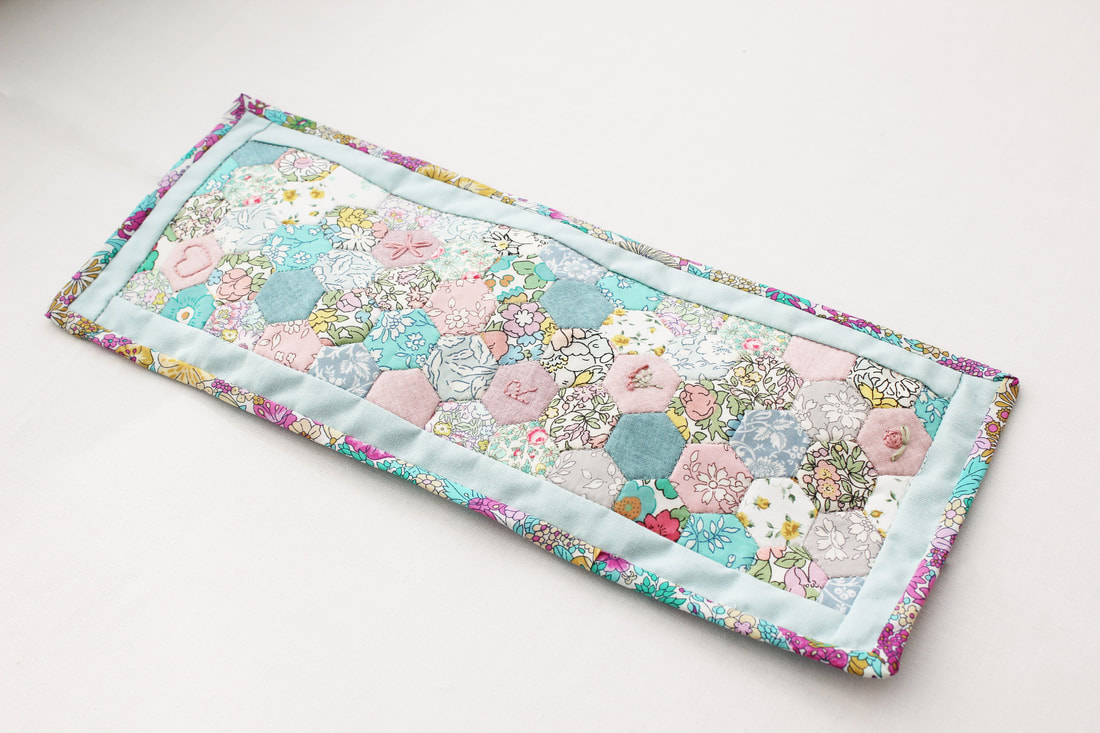 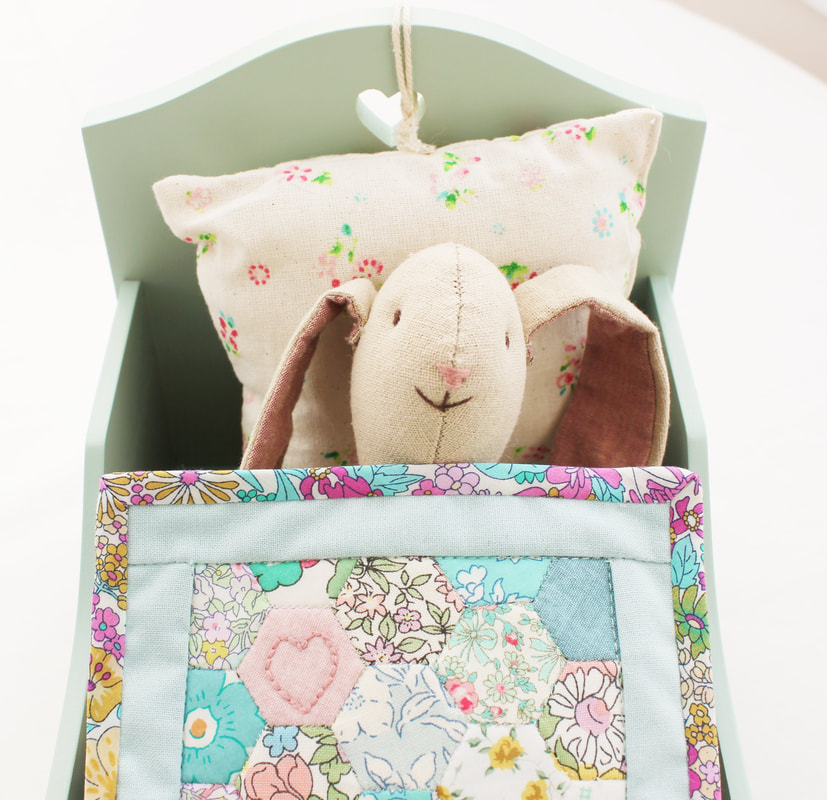 I hope this will be a treasured gift for many years to come!
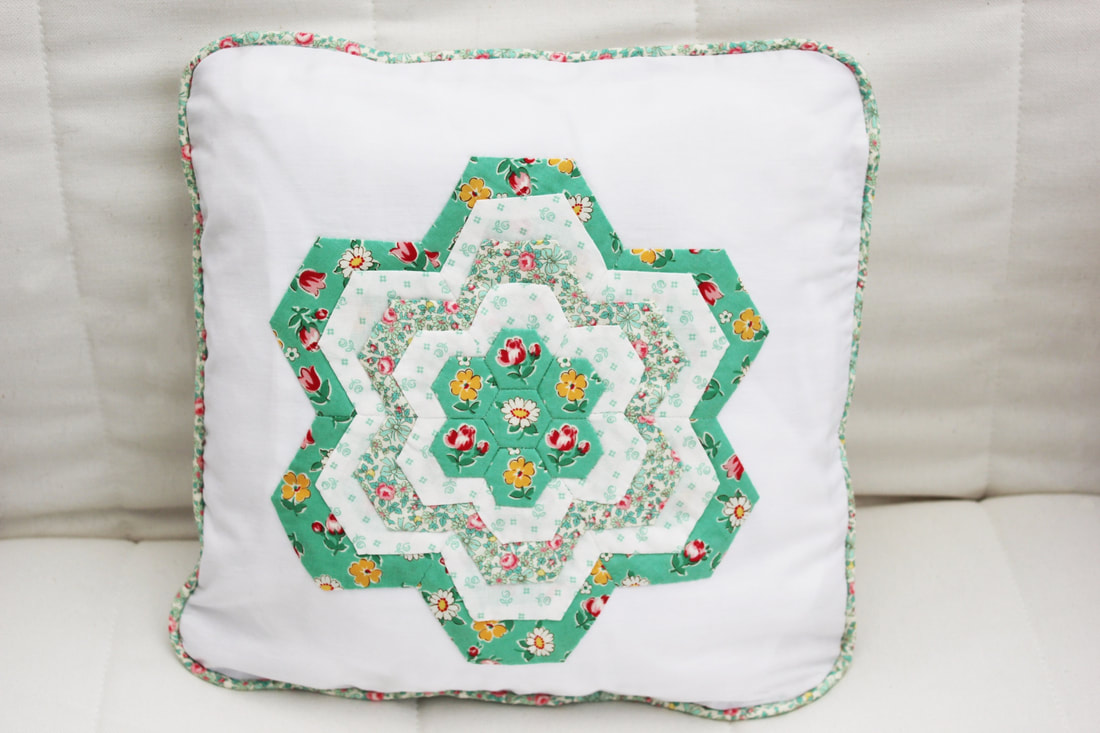 If you have got the English Paper Piecing bug but would like a quick project rather than a quilt then this is the project for you. The layered hexagon flower cushion is fun and quick to make. Here's how... You will need: *Seven hexagon paper templates in each of the following sizes; half inch, three quarter inch, one inch, one and a quarter inch and one and a half inch. *Scraps of fabric. *Two 28cm squared pieces of background fabric. I repurposed an old pillowcase for this, which makes this project more sustainable. *A needle and thread. Note- I didn't include any fastenings in my cushion. If you want to be able to remove the cushion cover then you'll need to include a zip or buttons and you'll need to add some length to the back piece of fabric to allow for this. You'll need about an extra inch to add a zip. 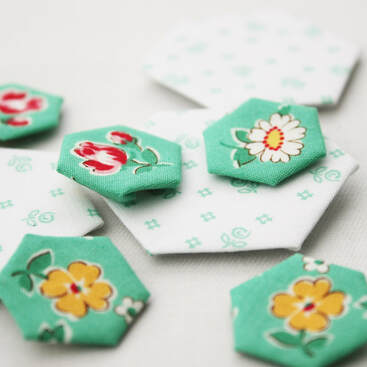 Begin by wrapping your hexagons in fabric and joining the hexagons to make five separate flowers. For an in depth tutorial on how to do this, check out my English paper piecing video. Once you have sewn the hexagons together to make flowers, you need to remove the paper templates. Usually, in English Paper Piecing, we do not remove templates until all sides of the shape are joined to another shape and this is because you can distort the shape. For this project, the templates need to be removed even though some edges of the shapes are not joined to any others. To minimise the chances of distorting the edges of the hexagons, I made sure I ironed all of the flowers first to ensure nice, crisps folds along the edges. Next, I removed the papers carefully, pulling from the centre of the hexagon out towards the edge (see photo below). I then used the iron to quickly press any edges under that had become unfolded and this technique worked well. 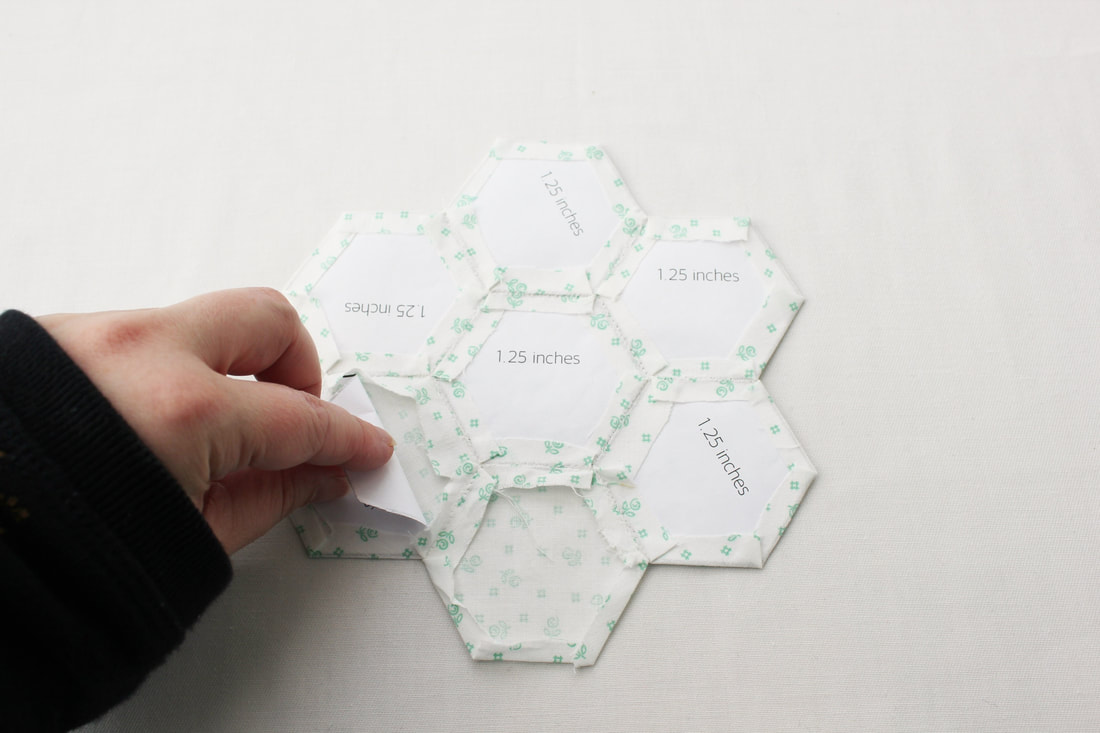 Once all papers are removed and you have pressed your flowers with the iron, place the half inch hexagon flower on top of the three quarter inch hexagon flower. Centralise the smaller flower within the larger one, making sure there is an even border all the way round. Line up the seam lines of both flowers so they match and when you are happy with the position, pin in place. 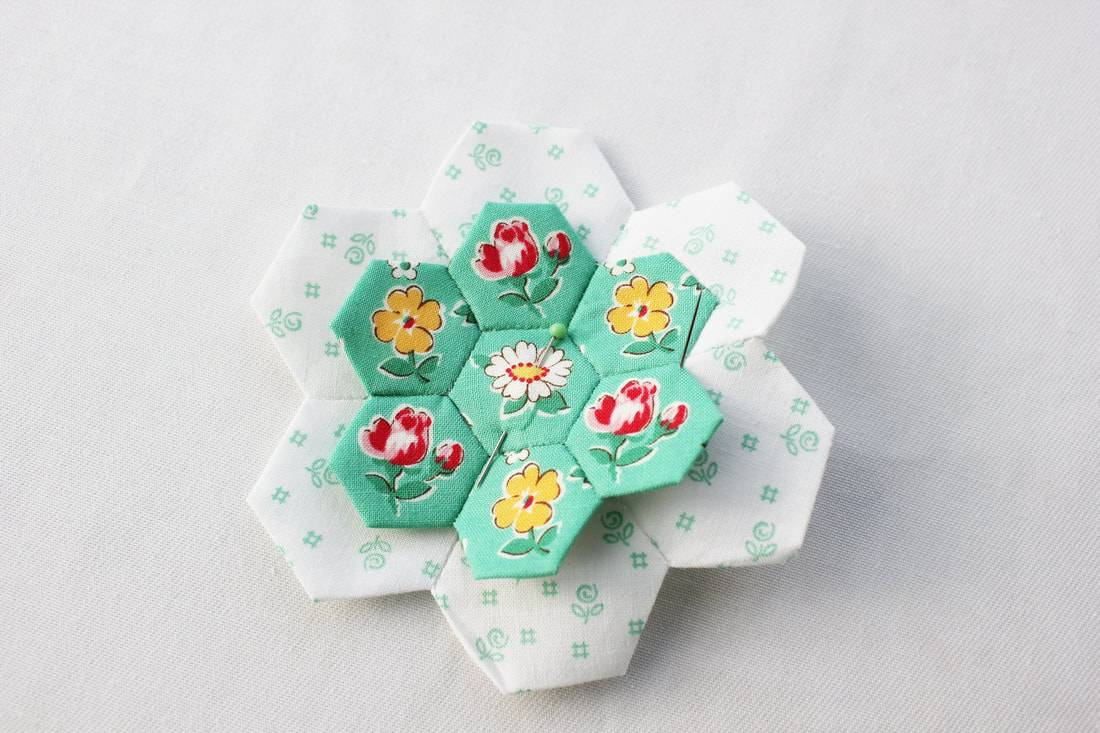 Use a blind applique stitch to attach the small flower to the larger one, sewing all the way round the edge. When you have finished, repeat the process by placing this flower on top of the next flower up in size. Line up the seams and stitch in place. To speed this up, you could easily use a sewing machine and either a zigzag stitch or other decorative stitch to applique them in place. When you have layered all of the flowers, position the motif in the middle of your backing fabric, pin in place and stitch it all the way round the edge as you did before. 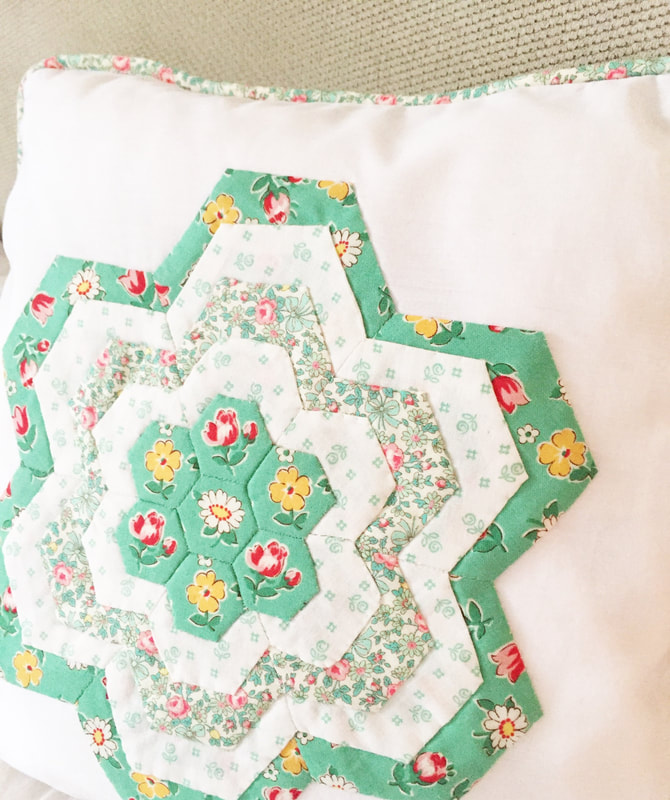 You can now choose to finish your cushion however you'd like. I chose to make a piped edging and I really like the way this looks.
I hope you have fun making this cushion. If you would like detailed instructions for making piping or for finishing the cushion then leave a comment below and I will make a tutorial for that. Of course you don't have to applique this flower onto a cushion at all! You could put it onto a bag or you could make it into a wall hanging, or if you did want a larger project, you could use it in a quilt design. It's up to you! Whatever you make, I'd love to see it so if you post it on Instagram, remember to use the #rosepetalpatterns. Happy Sewing! 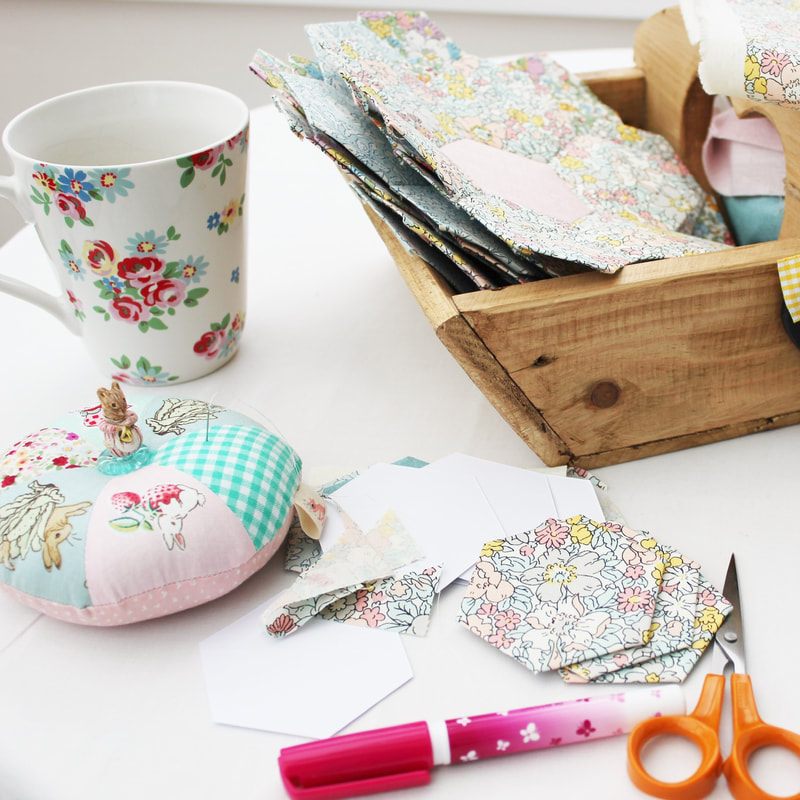 I've created a video tutorial showing you the basics of EPP, you can view it here. The video shows you what you need to get started and demonstrates the basics of using hexagons to create flower shapes. I'm currently making as many of these as I can as my aim is to join them together to make a large quilt, hopefully kingsize! If you don't want to make a large quilt, you could make a cushion cover or you could applique each flower to a fabric square, then join the squares together to make a quilt as this would be much quicker. I'm planning on making lots of hexagons in an off white fabric and I will use them between the flowers I've made to make them pop. Of course, I will share pics when I get to that stage, but that's a while off yet! Remember, the paper pieces need to be removed before you quilt your layers together or turn the flowers into a cushion cover or whatever you choose. Anyway, I hope my little video is useful and helps you to get started with this very addictive craft!
Happy Sewing! 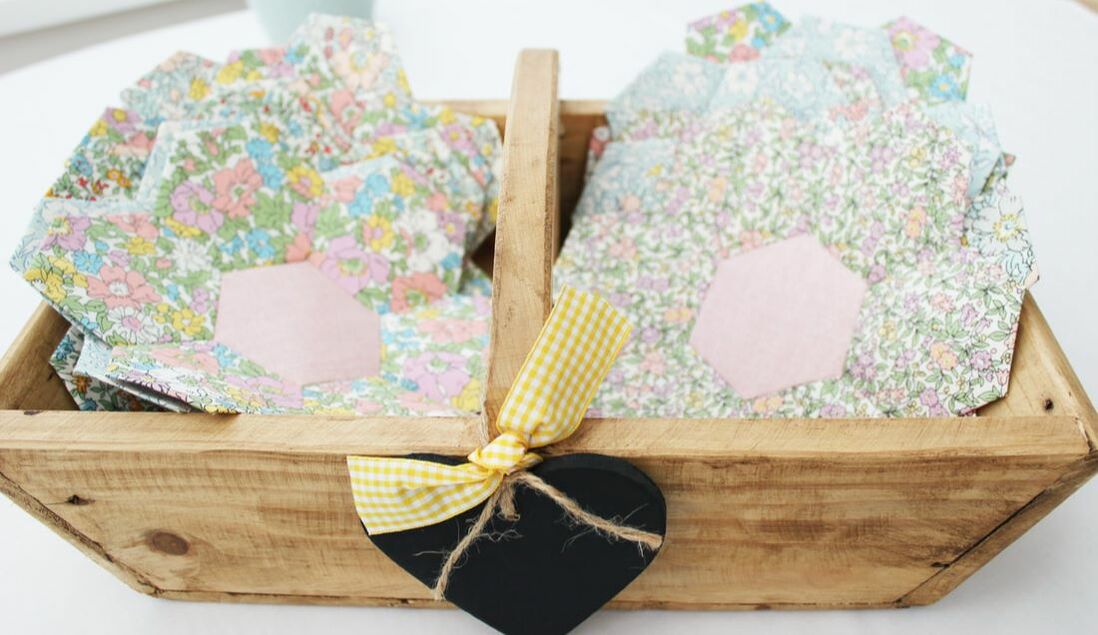 I've been sewing in one way or another for nearly my whole life but I only discovered quilting as an adult as this wasn't something that my Mum or Gran did. The internet opened up the world of quilting to me and I taught myself by following Craftsy classes and also by learning from books. When I discovered English paper piecing, I loved the intricate designs and the variety of shapes that are used. I also loved the hand stitched look and feel of English paper pieced quilts but I was convinced this wasn't going to be the craft for me. It seemed fiddly and time consuming. I kept away from it as long as I could but when I eventually gave in and gave it a try, I was immediately hooked and now I can't put it down! 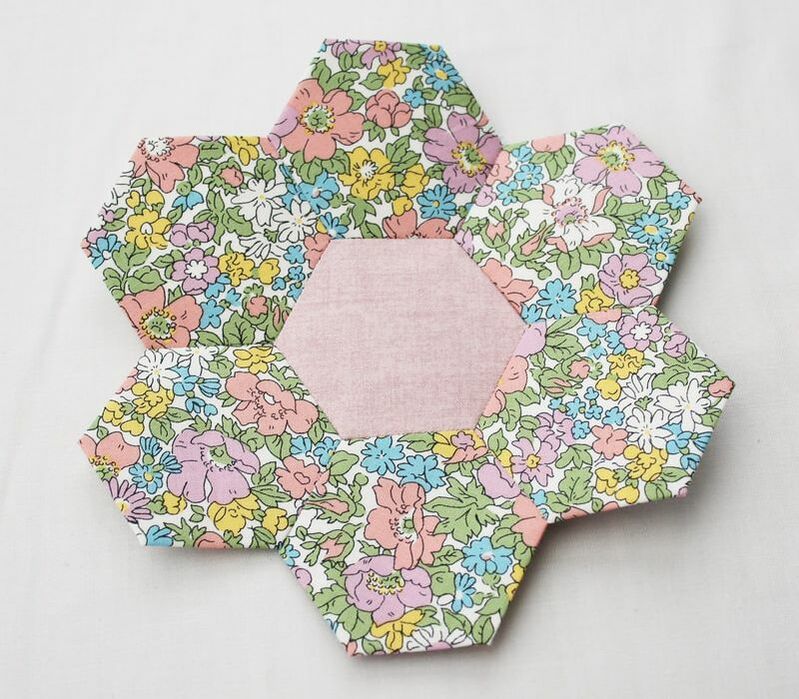 So what exactly is English paper piecing and how is it different from ordinary quilting? Well, a standard quilt is made from three layers, like a sandwich! A quilt top, which is usually some form of patchwork, wadding or batting in the middle which makes your quilt soft and warm, and a backing fabric. You sew through all three layers to attach them to each other and this is called quilting. In a standard quilt, you typically create your patchwork quilt top by joining shapes together using a sewing machine and you use shapes that join easily such as triangles, squares and rectangles. For English paper piecing, you use still use shapes that tessellate but they are more complex and have numerous sides or curved edges. This means you would struggle to use a sewing machine to create the seams as the corners and angles can be tight and if your seams are inaccurate your results will be disappointing. 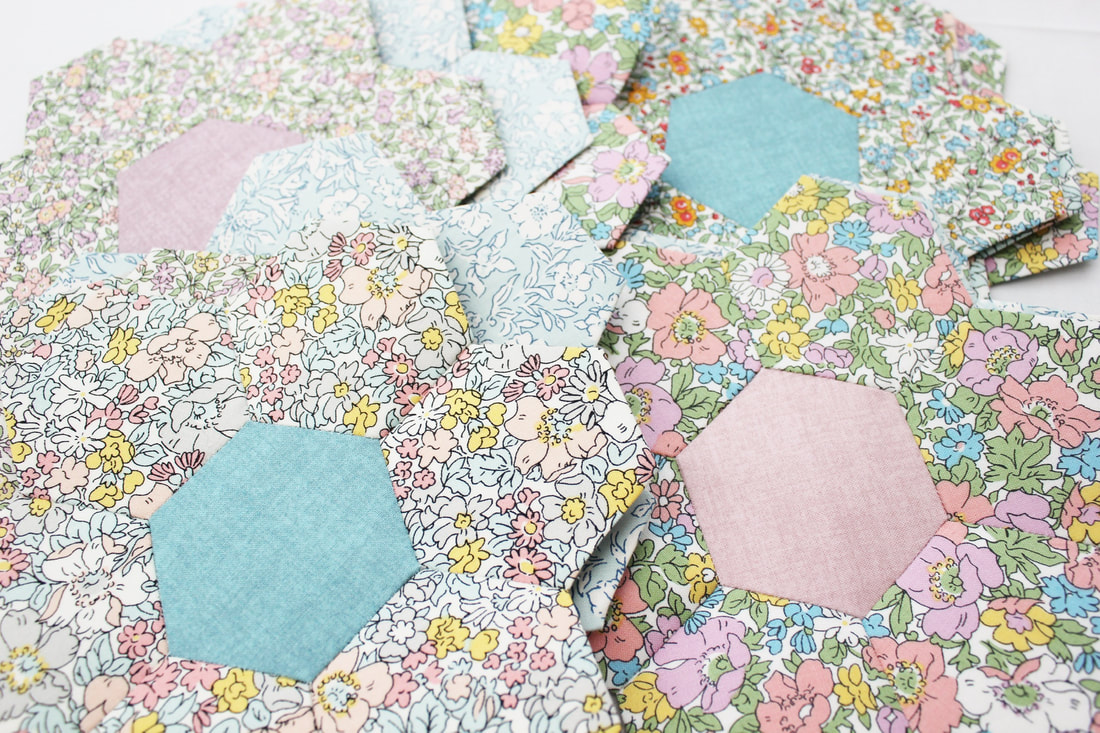 The English paper piecing technique uses shapes made from paper or thin card. You wrap your fabric around the paper shape and hand tack/baste it in place. Then you sew multiple shapes together. Once your quilt top is complete, the paper shapes and tacking stitches are removed and you can create your quilt sandwich with wadding and backing fabric and then choose to either hand or machine quilt your layers. 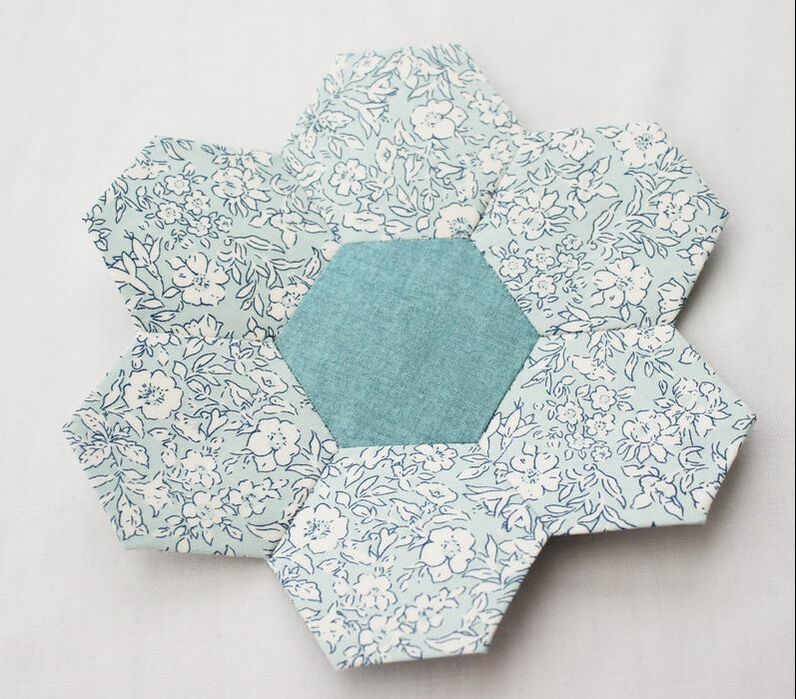 There's no escaping the fact that English paper pieced quilts are a lot of work. However, once I discovered a few shortcuts, I felt like I could tackle EPP projects so here are my top tips for anybody who is new to EPP.
1. Use hexagons. Hexagons are my favourite shape for EPP at the moment. They look like flowers when joined together and are simple to create. I think they are the perfect EPP shape for beginners. 2. Don't use tiny shapes. The smaller the shape, the longer your project will take and if you are new, you might feel like you want a completed project that doesn't take years to do. The quilt I am currently working on uses one and a half inch hexagons and this feels like a manageable size. 3. Try making a cushion cover before attempting an entire quilt. You could even use your shapes to create just the front of the cushion and back it with coordinating fabric. 4. Buy pre-cut paper shapes rather than cutting them out yourself. This is a more expensive option but will save you lots of time which means more time for sewing! I love the paper shapes you can buy from Sew and Quilt. They are affordable, good quality and come in many shapes and sizes. Sew and Quilt is also a fantastic quilting shop so make sure you check it out! 5. Skip the hand basting/tacking stage and use fabric glue instead. This was a game changer for me. This cuts down so much time meaning your quilt will grow faster. The absolute best glue for this is the sewline glue pen. 6. Last but not least is mentality. When you embark on an EPP project, it helps to have the mindset that this will be a lengthy journey, so enjoy it! We spend so much of our lives rushing about that it's nice to relax and spend time doing something that will evolve slowly. Once you get into the rhythm of a slow project like this, you will enjoy it for what it is and when it finally is completed, you will feel a huge sense of satisfaction. I hope this has inspired you to give EPP a try. If you aren't sure where to begin, keep a look out on the website this week as I will be posting a video tutorial to help you get started. Happy Sewing! |
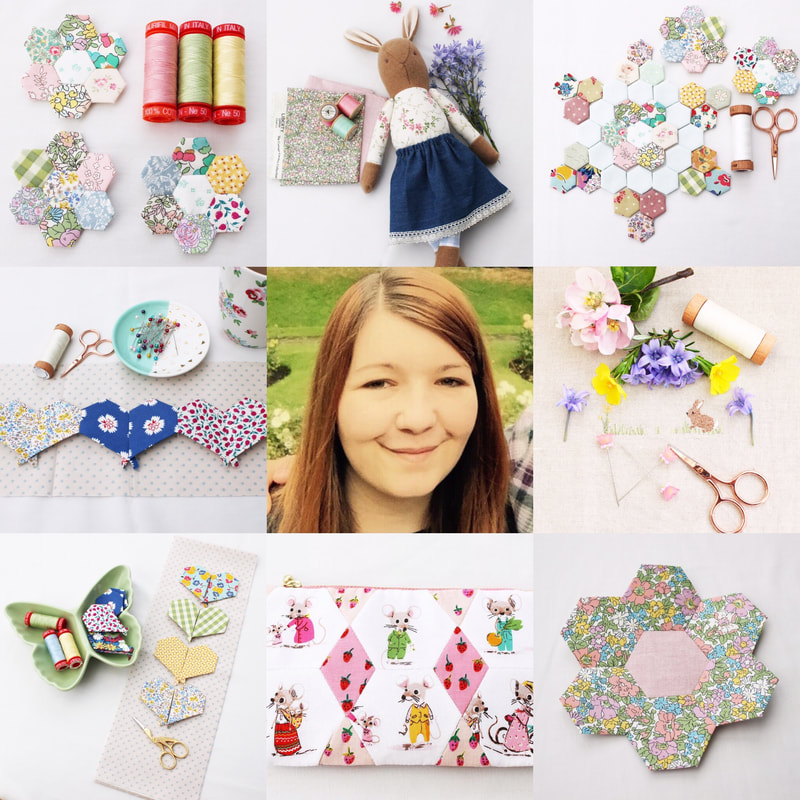
Follow me on InstagramAbout the Author
My name is Emma and I love all things sewing, especially EPP. My little blog is the place where I document what I'm making. I hope you enjoy reading what I'm up to! All opinions are my own and I only share things that I think you will love. Thank you for taking the time to stop by. Archives
September 2023
Categories
All
|
 RSS Feed
|
Copyright Vintage Sewing Box 2024
|
| ||||||