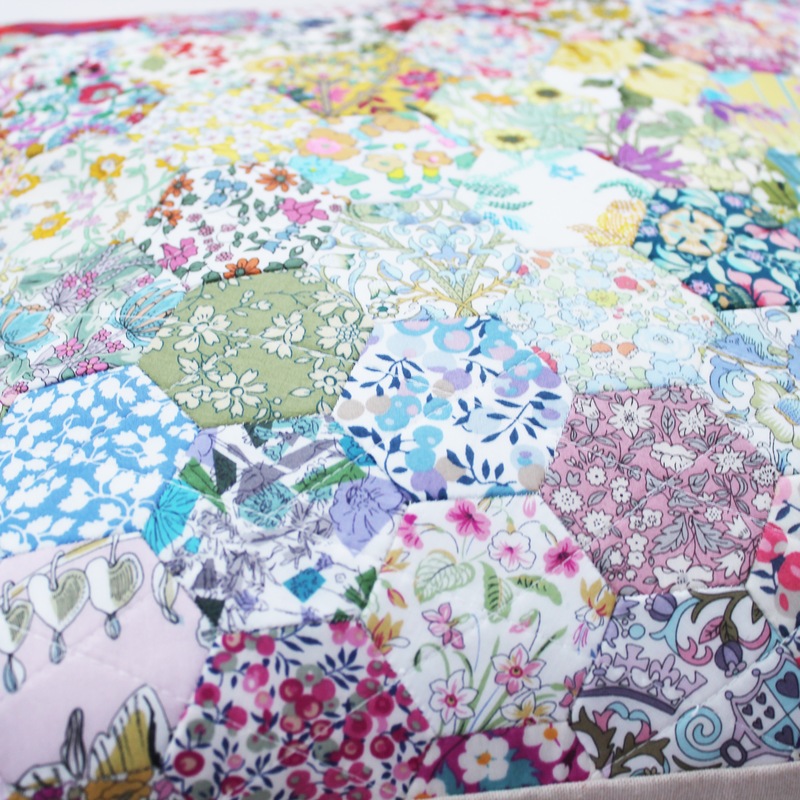
 This week's Youtube video (well it should have been last week's but I am behind on all of my plans already!) is a little tutorial for how to make a hexagon cushion. This cushion is really easy to make for the following reasons: 1. I used pre-cut 1 1/4" hexagons from Ava and Neve for most of the hexagons, I only cut a few out myself. This really speeds up the process. The Liberty fabrics are so pretty and I love the overall "busy look" they created. I usually use solids to break up prints in what I make but I wanted to create a different look here. I also tried to create a bit of a rainbow gradient but not too obvious. 2. I used 1 inch Hexiform hexagons which were pre-cut too. Using pre-cut shapes and fabrics made it really quick to baste the shapes to get to the sewing part faster. 3. I glue based the shapes which is another really quick and easy method. 4. You can make the cushion any size you want, just lay out your hexagons to the desired size, remembering you will lose 1/4" in your seam allowance at the end. As a guide, my finished cushion is 14 1/2" x 12 1/2" and I made it from 7 rows of full 1 inch hexagons, 10 hexagons in each row. I also added 5 half hexagons to the top and 5 to the bottom. So that's a total of 70 x 1" hexagons and 10 x 1" half hexagons. 5. Hexiform is designed to be left in so this speeds the process up further as removing papers can take time. 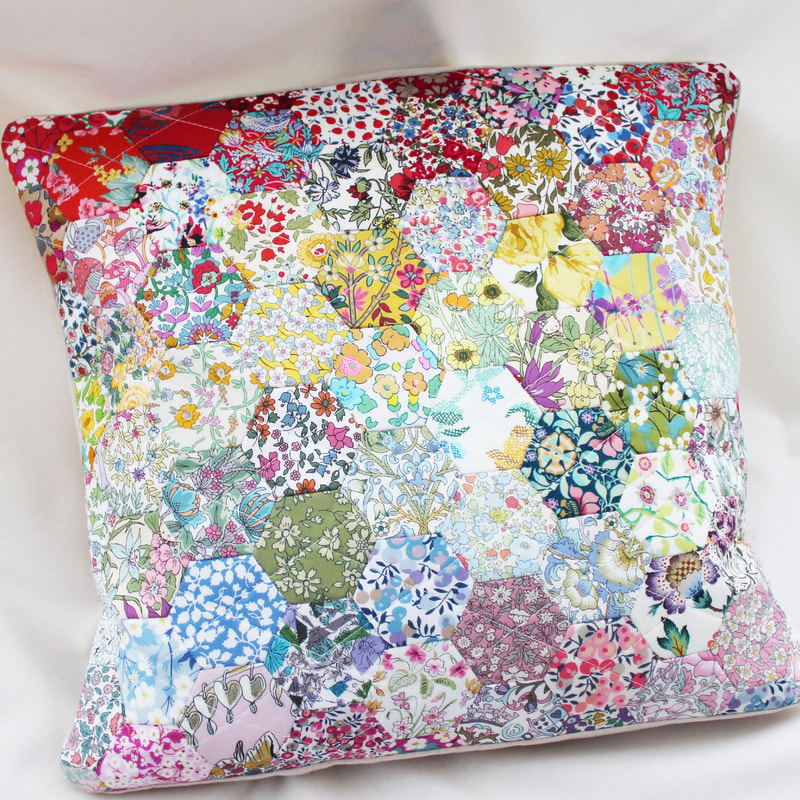 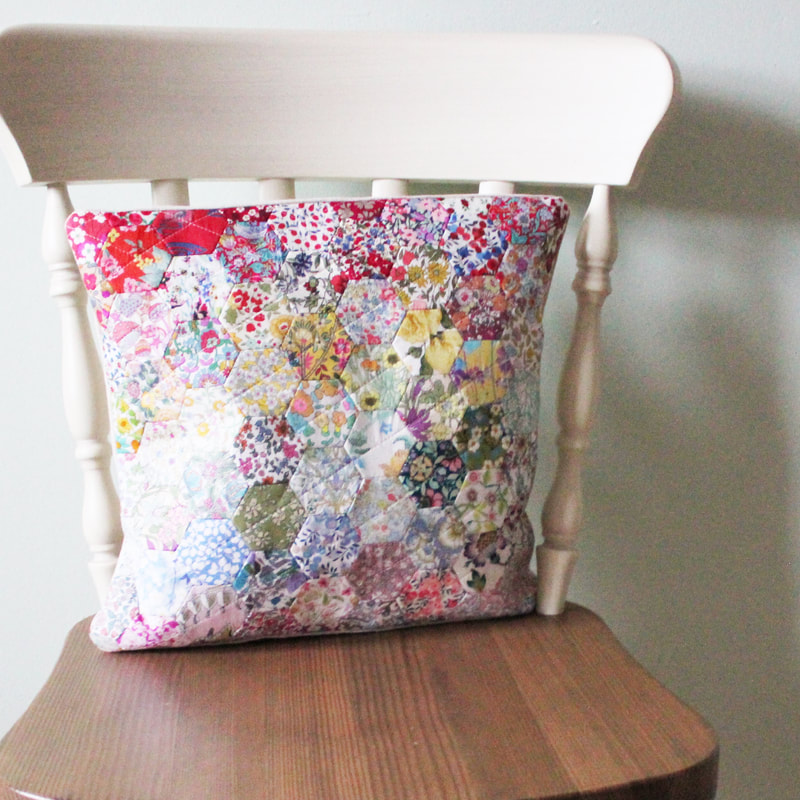 Having said all of that, it still took hours to sew it all together by hand so it was not a quick project for me. It was extremely enjoyable and relaxing to make and I am really happy with my finished cushion. I have lots of plans for more EPP cushions and I might have started two more already!
Thanks for checking out my video, have a lovely day.
2 Comments
Wishing you all a happy and healthy year ahead. Thank you so much for the support you have all shown me over the past year. It's been a difficult one but your support has kept me going. I hope you enjoy the little video of my favourite tiny stitches of the year. Take care x
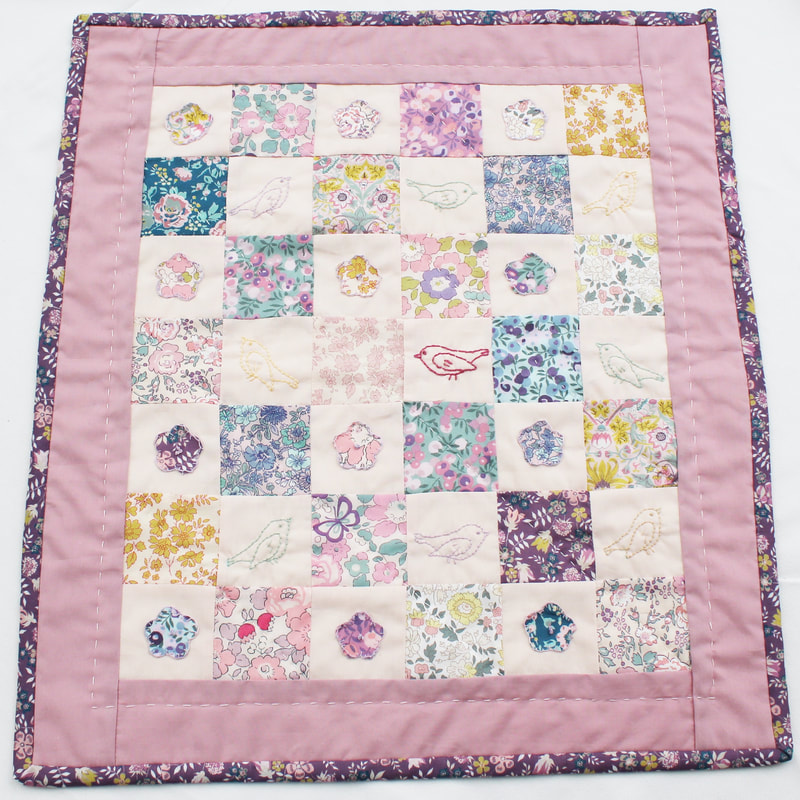 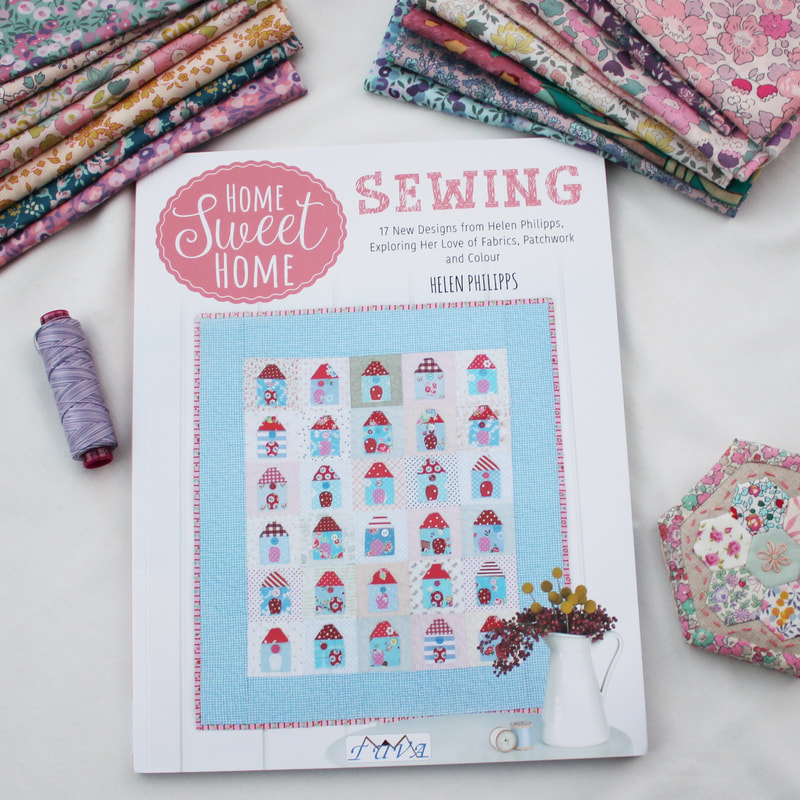 When Helen Philipps invited me to be part of the book tour for her gorgeous new release Home Sweet Home Sewing, I was so super excited! I've followed Helen for quite a while now and have some of her other books. She is an incredible designer, her projects are so inspiring and her style and photography is beautiful. When the book arrived I had a hard time choosing a project. There is a lovely mix of projects that are quite quick to make, and projects that take a bit longer and have lots of hand stitched details. The book has projects in that use a range of techniques too from machine piecing, to embroidery to English paper piecing. I chose the Little Birds Doll Quilt because it uses a lovely combination of machine piecing, embroidery and appliqué. 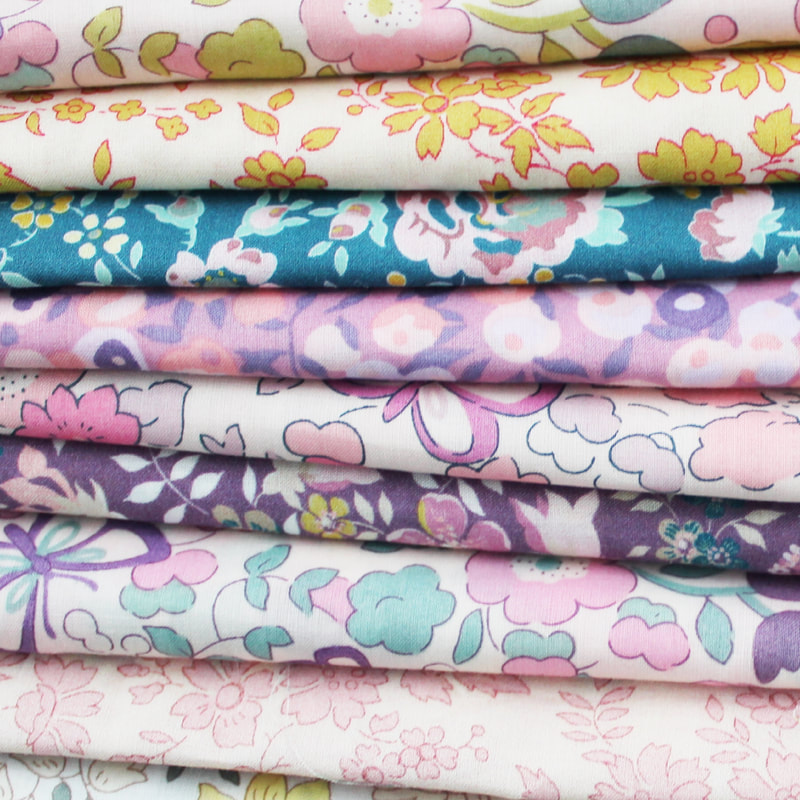 I'd recently received a beautiful bundle of Liberty exclusive fabrics for my birthday and I new they had to feature in this little quilt. I'd also received a new mini iron as a birthday gift and it is literally the best mini iron ever! I wanted to improve my machine piecing skills and I spent a couple of lovely afternoons cutting the little squares and sewing them up. I found that just taking my time, pinning the seams carefully and pressing with my new mini iron really helped me to get the seams to line up well. 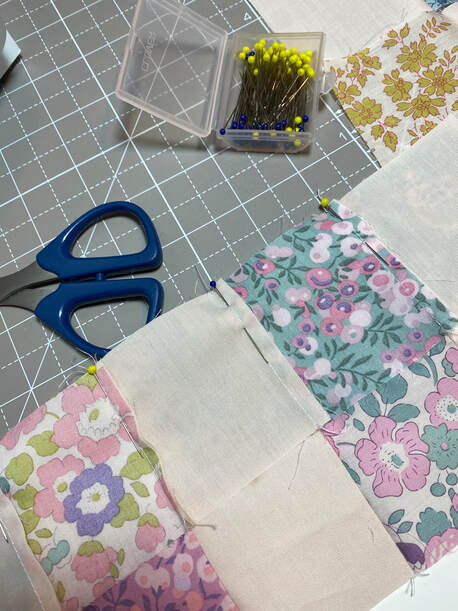 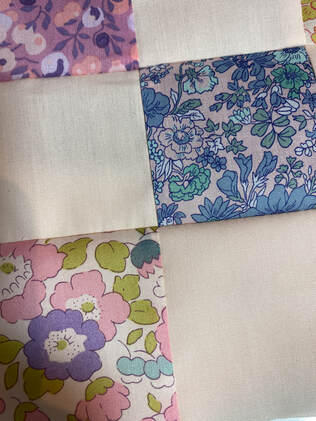 Once the quilt top was done, I took my time over the subsequent weeks, embroidering the little birds and stitching the flowers on. The pattern uses buttons in the centre of the flowers but the buttons I had didn't look right so I just added some French knots instead. 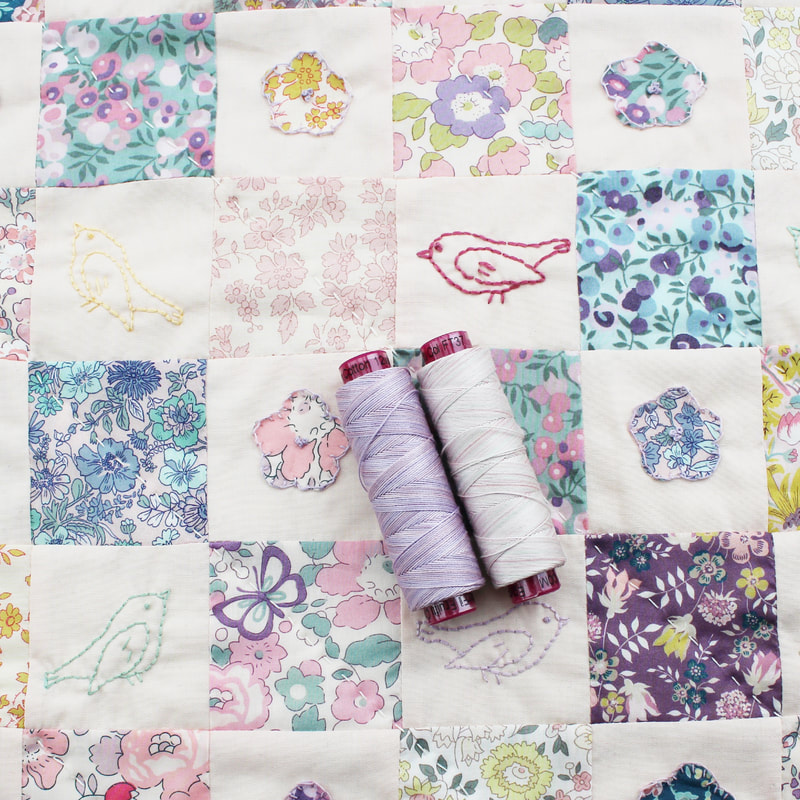 This is a doll quilt but I am going to use it as a wall hanging in my sewing room. Therefore I just quilted it simply by hand with a diagonal running stitch. 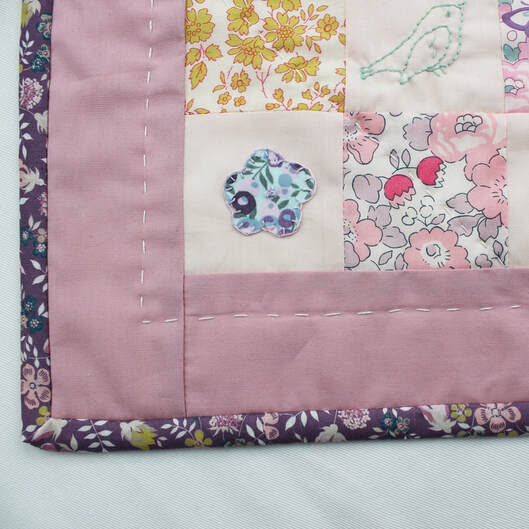 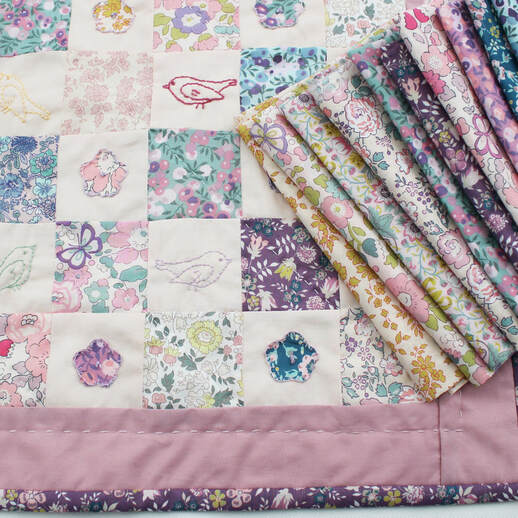 This was one of those projects that I didn't want to end (even though I am thrilled to have a new mini quilt in my sewing room) because I loved every stitch. Thank you so much Helen for inviting me to be part of this lovely tour. Make sure you check out the rest of the tour, there are so many wonderful makers taking part. The hashtag is homesweethomesewing. The book is available at local bookshops as well as Amazon. Thank you so much to Helen and Tuva Publishing for my copy of the book and for having me on the tour.
Giveaway now closed. Thank you to everyone who entered, I enjoyed reading about your favourite flowers. Random number generator picked number 25 and that was Janet Lockland. Congratulations! I've sent you an email Janet. 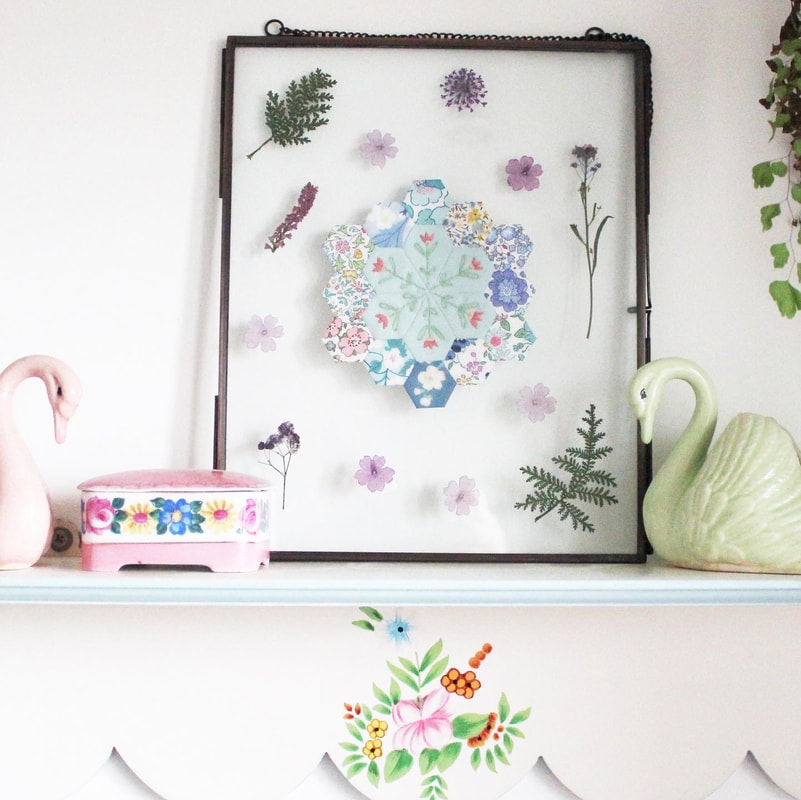 Every day I am blown away by the incredible support I am shown by all of you. I am truly thankful and I wish I could find a way to give back to each and every one of you. As a small gesture, and to say thank you also for the 20 thousand followers I now have on Instagram, I thought I would do a little giveaway. I tried to host it on Instagram but for some reason Instagram seemed to think my post was branded content (which I have never done) and they seemed to think I was breaking their rules if I didn't tag a brand. I think it's just a case of their computer algorithm getting it wrong. But just in case my account would be compromised, I thought I would have it here instead. 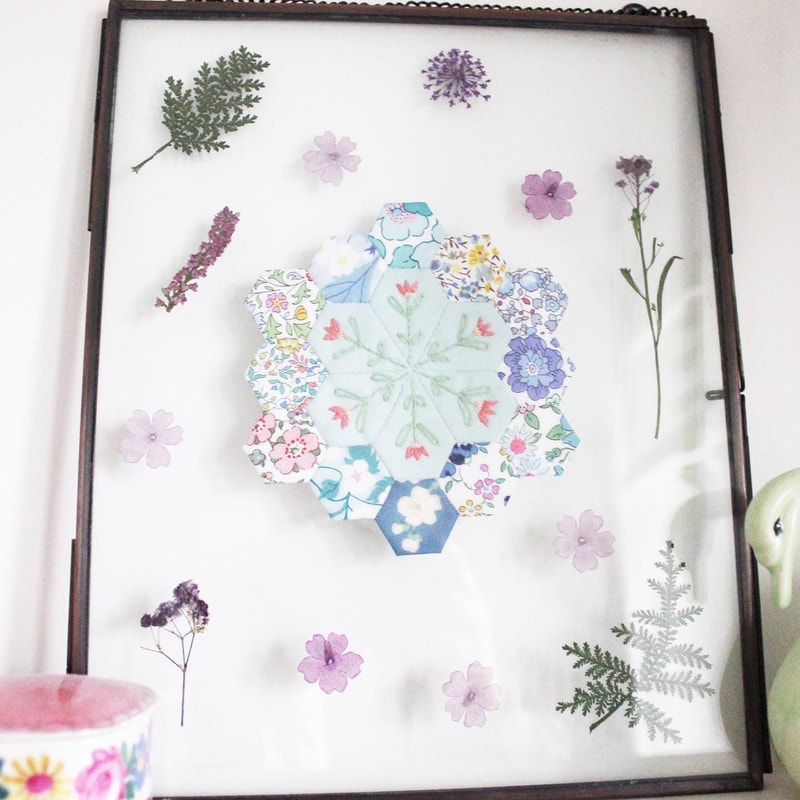 Over on Youtube this week I showed a little video where I made some floral art work. For the giveaway prize, I will make something similar for the winner. To enter, leave a comment on this blog post letting me know what your favourite flower is! I will leave the giveaway open until October 20th 8pm UK time and then I will randomly pick a winner and announce it on Instagram. You will have to leave your name on your comment so I can get in touch with you.
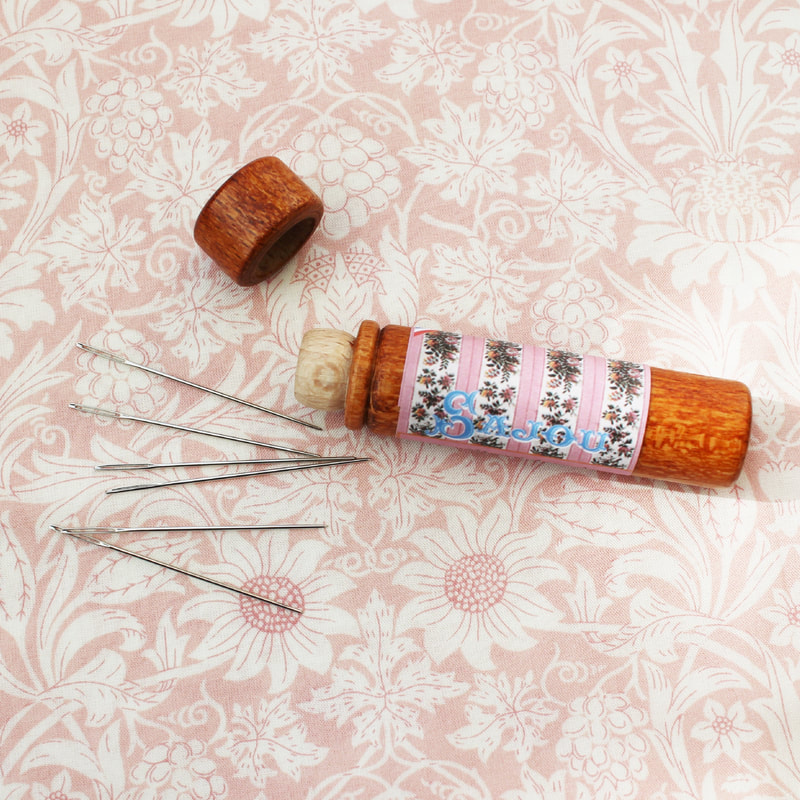
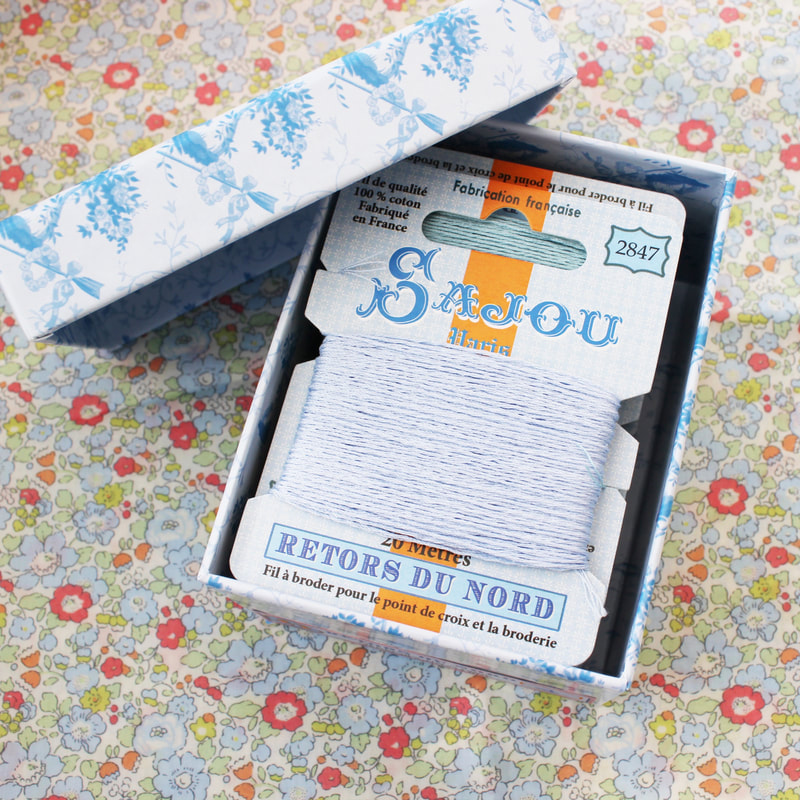
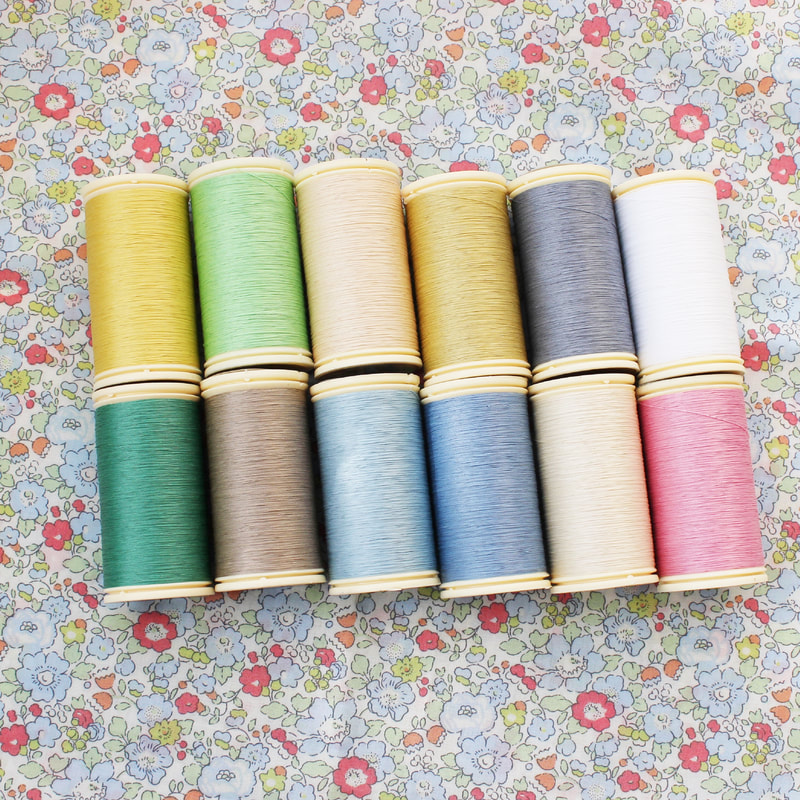
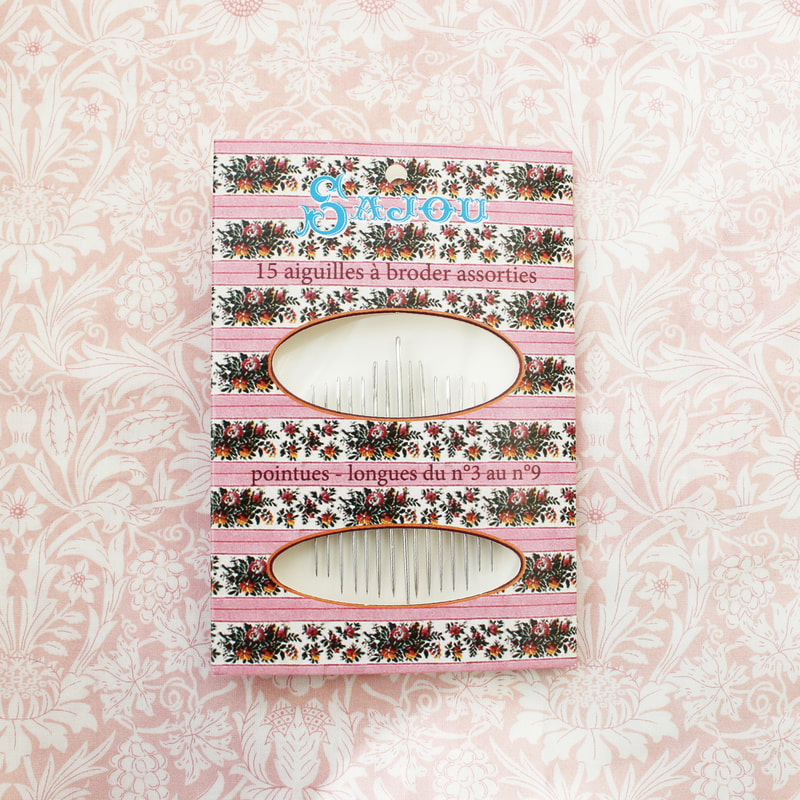
Thanks so much, for your incredible support. 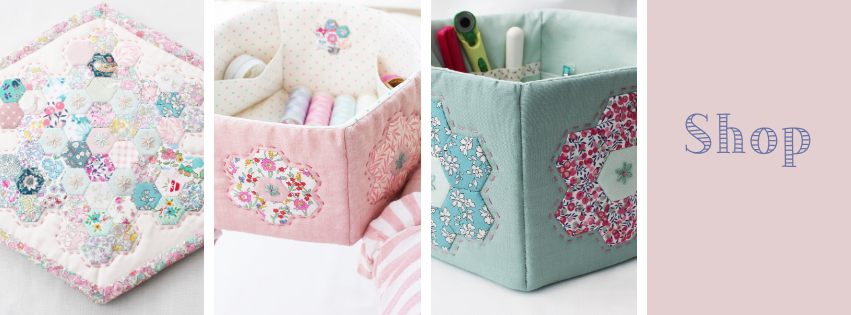 I'm really excited, and equally nervous to share that I am going to be adding more things to my shop on a regular basis! If you've read my newsletter or seen my latest Youtube video, you will have heard that as a family we have decided that it might be a good idea for me to try to sell a few extra things along side my patterns, rather than go back to my teaching job. So I have been working hard to find lovely, high quality items for my shop. 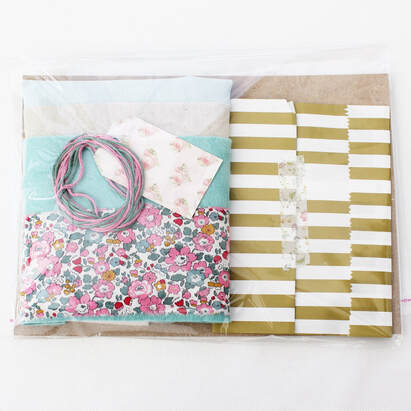 Needle Book Kit First up, I am going to offer kits for all of my patterns. So far, I just have hexagon needle book kits available. I'm hoping that next month I will have the hexagon storage basket kits available and that it will continue to grow from there. The kits contain everything you need to make the item and are really good quality materials. Of course there is some Liberty Tana Lawn in there too! 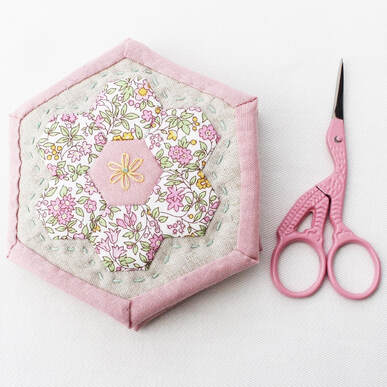 I absolutely love the French brand Sajou. Their products are beautifully made in France and have a vintage style to them. So I was delighted to become a stockist. Currently I have some of their needles and also their embroidery and gloving threads available. The gloving thread is a fine but stiff waxed thread that is strong and excellent for English paper piecing. I love the Sajou Retors du Nord embroidery thread so much! The colours are so pretty and the thread has a gorgeous lustre to it. It glides through the fabric and is just perfect for all hand embroidery. It is colourfast only up to 40c so shouldn't be used on any items that need regular hot washes.
I also have some of the beautiful Sajou sewing boxes and I have filled them with Liberty charm squares, needles, threads, bobbins and some pretty scissors. These boxes are such a treat for anyone who loves tiny patchwork! 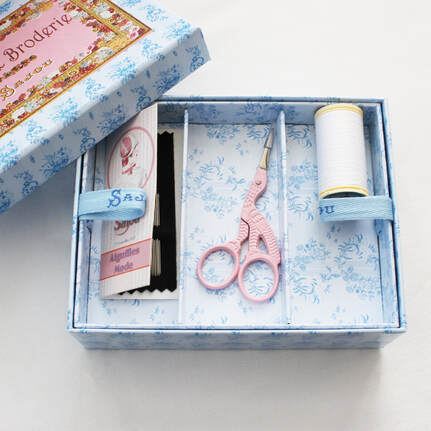 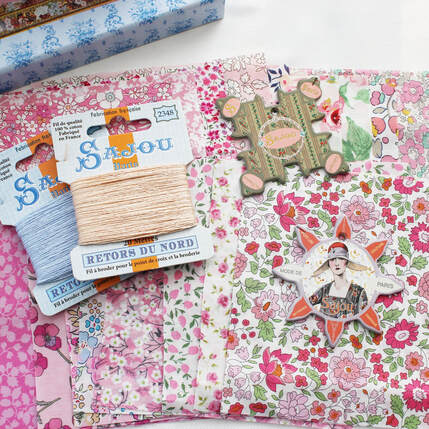 I have lots of plans for more things that will be coming to the shop, so I really hope that you like what I have. Thank you to everyone who has made a purchase already, the response has been amazing.
Take care, until next time, happy sewing  I've always loved vintage sewing items, from fabric to patterns to books and magazines, they've always fascinated me. It's the reason I got interested in sewing, it's the reason I named myself Vintage Sewing Box on social media many, years ago! A few weeks before Covid changed our world, I visited the Bronte Museum in Haworth and I was in awe of all of the wonderful vintage sewing and patchwork items that were there. 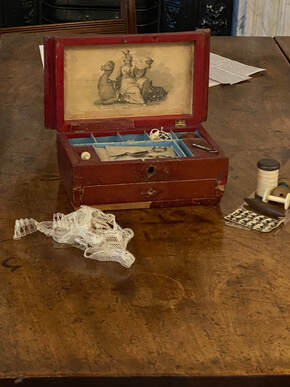 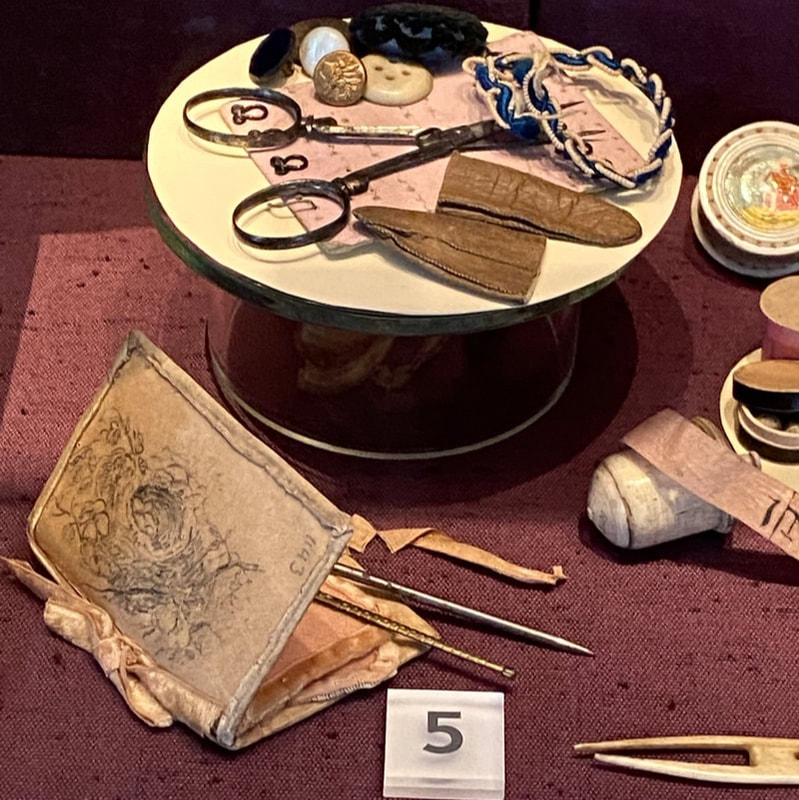 Charlotte Bronte's Sewing things, she made the needle case herself 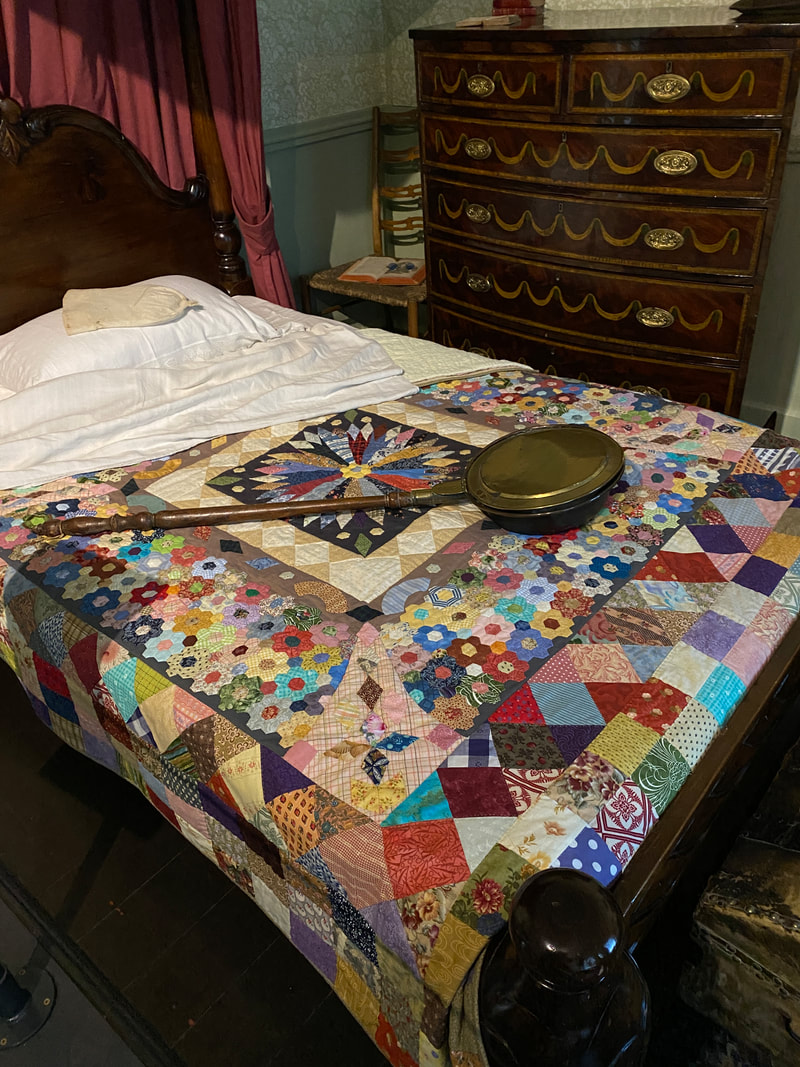 The Bronte sisters were avid sewers and painters as well as readers and writers. They were such a creative family. I love the quilt on this bed and I want to recreate it someday, in my own colour palette. 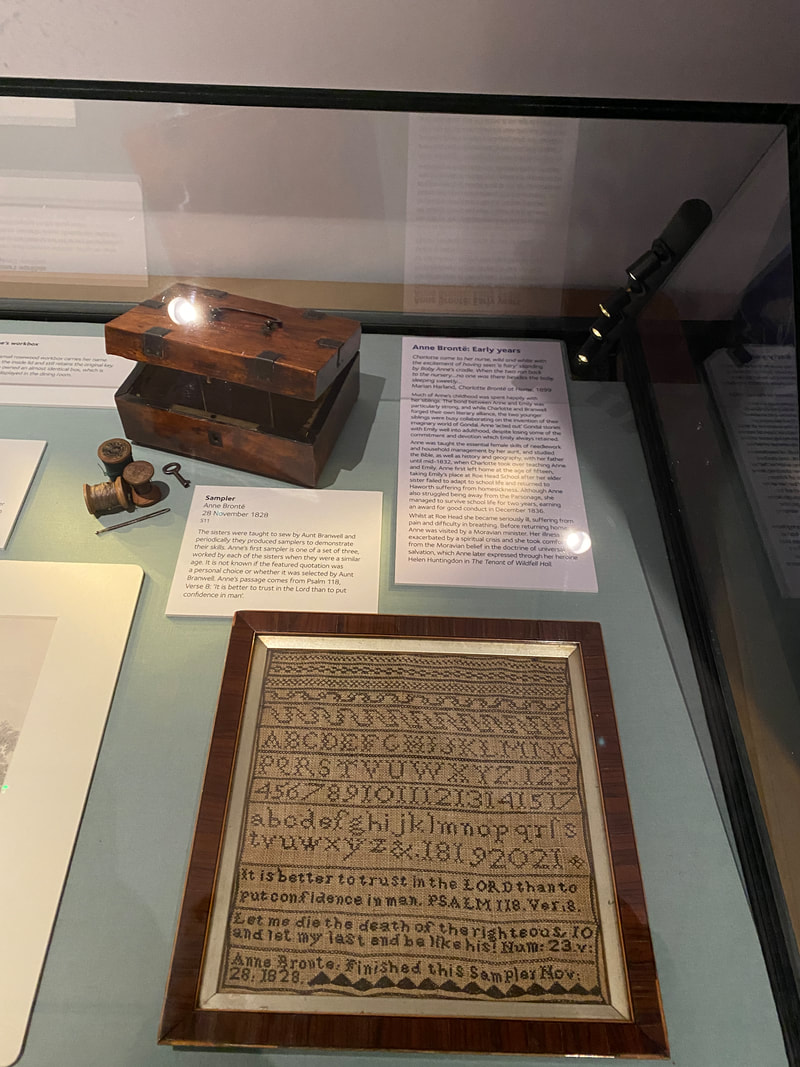 A Sampler by Anne Bronte 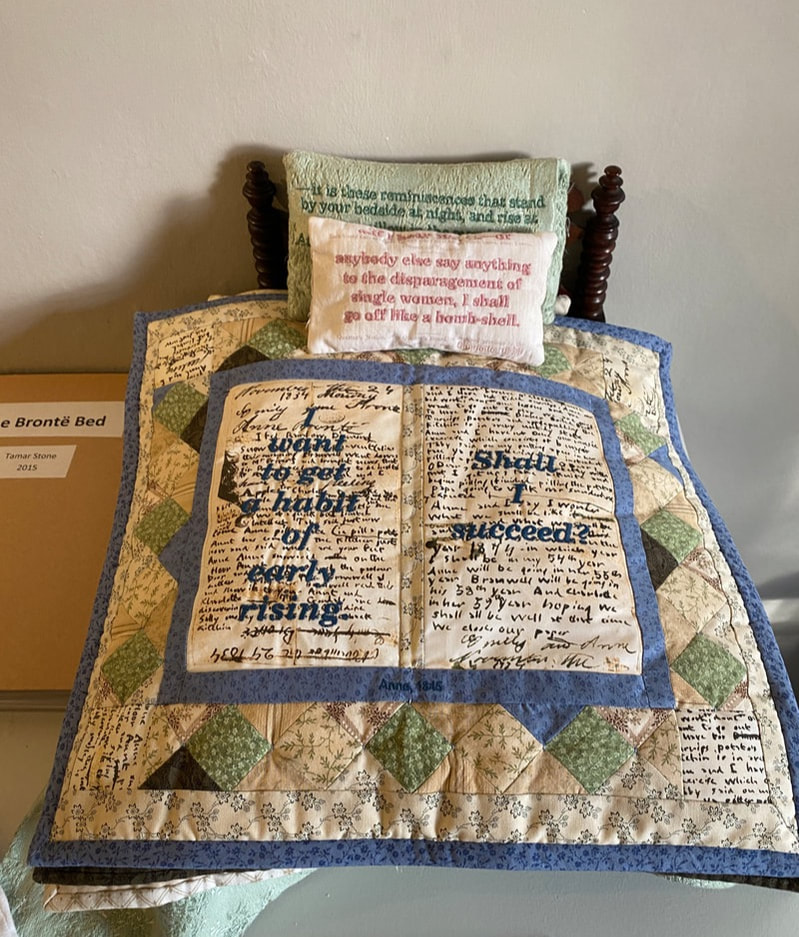 There was even an exhibition by an artist called Tamar Stone, of tiny patchwork quilts. This was displayed in the Bronte house and it was lovely to see. If you can visit one day, I highly recommend it. The Brontes are an important part of British literary history and it is so interesting to learn about their lives.
I've been looking through the vintage sewing things my Gran left to me. It's really inspiring to see them, but also very emotional as they bring back memories. Unfortunately she did not finish much of what she had, and many of her kits are untouched. It makes me determined to use and enjoy what I have. If you'd like to see more in detail, I have a video showing everything on my YouTube channel and there's an unexpected twist in the middle as I decide to start working on one of her table cloths. I hope I can do it justice. Have you collected any vintage or antique sewing things? What do you treasure? I'd love to know. Happy sewing!  Hello! Today I am here with a little tutorial for how to make this tiny sewing case which is perfect for carrying around tiny stitching projects. The case has the little house block appliquéd onto it. You will find the templates for the house and the video showing how to make it here. To make the tiny sewing case, you will need:
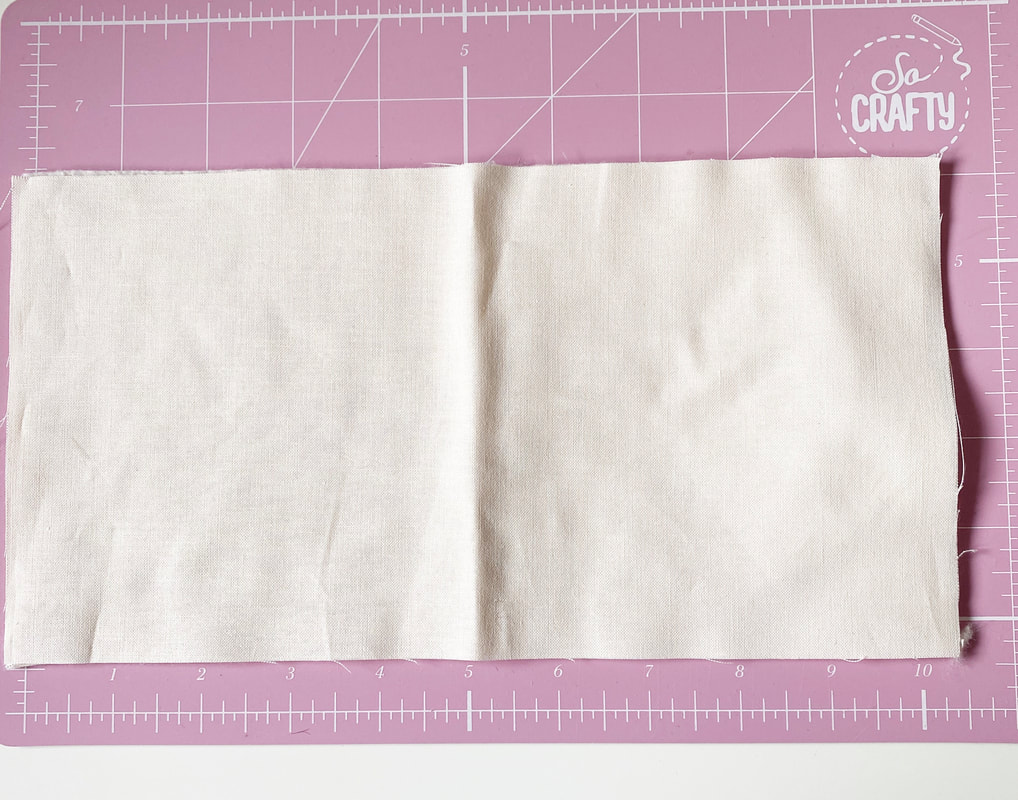 1. Take one of your pieces of cotton that measures 10 1/2" wide by 5 1/2" tall and find the centre by creasing it. 2. Applique your little house block to the right hand side. 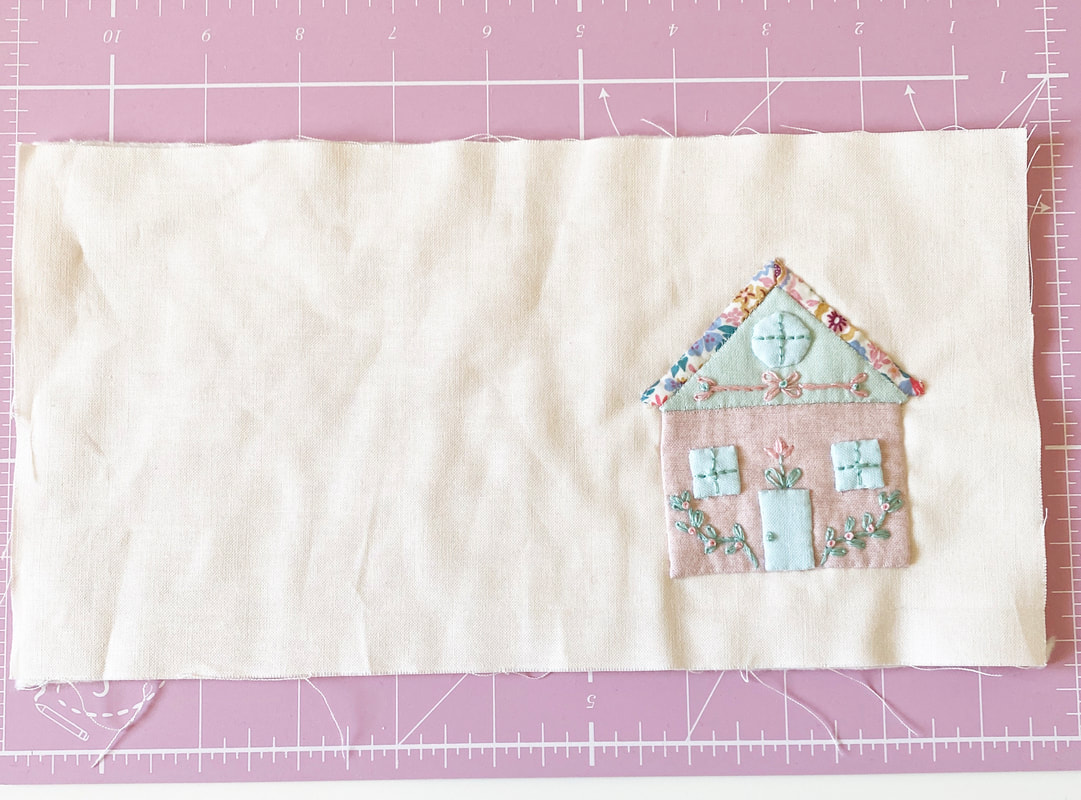 3. Create a quilt sandwich by placing your other piece of cotton measuring 10 1/2" wide by 5 1/2" tall right side down, place the foam on top and then your piece with the house on top of that. Pin in place and sew all the way around the edge using a 1/4" seam allowance to secure the layers. 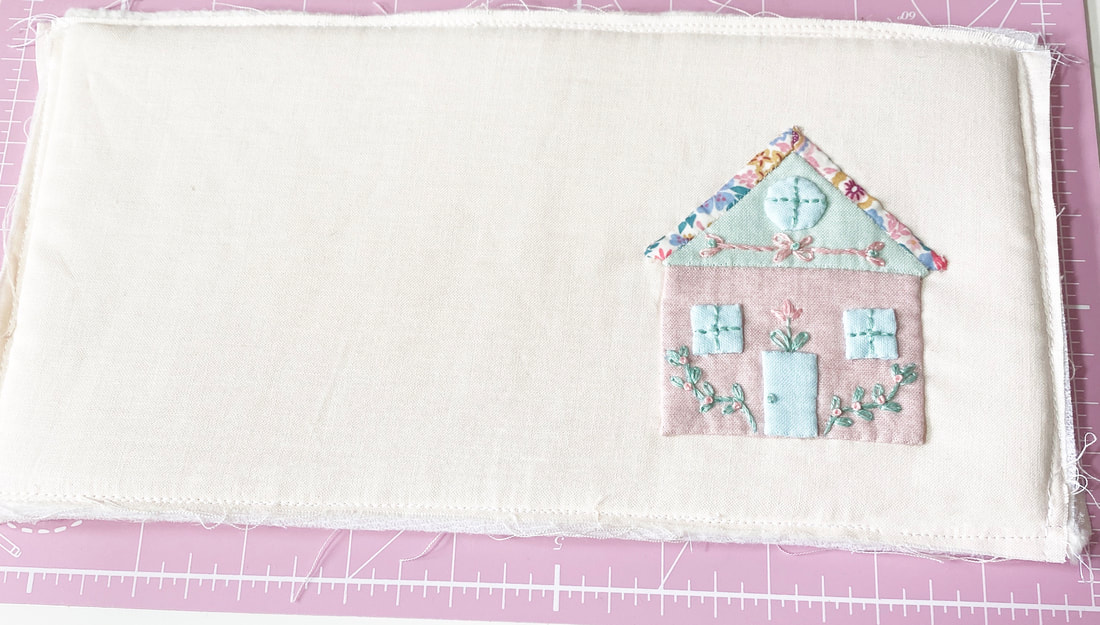 4. Next construct your pocket. Iron the interfacing to one of your pocket pieces. Place the two pieces of pocket fabric wrong sides together, pin and sew all of the way around the edge with 1/4" seam allowance. 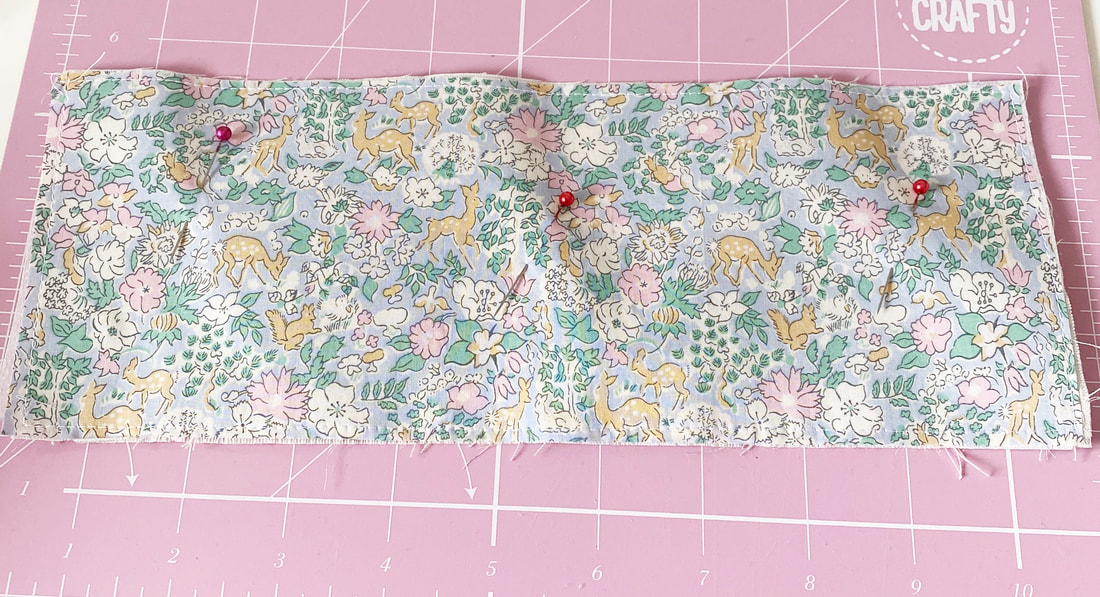 5. Press your pocket binding piece in half length ways with the wrong sides facing each other. Line up the raw edge with the raw edge of the top of your pocket piece. Pin in place and sew with 1/4" seam allowance. 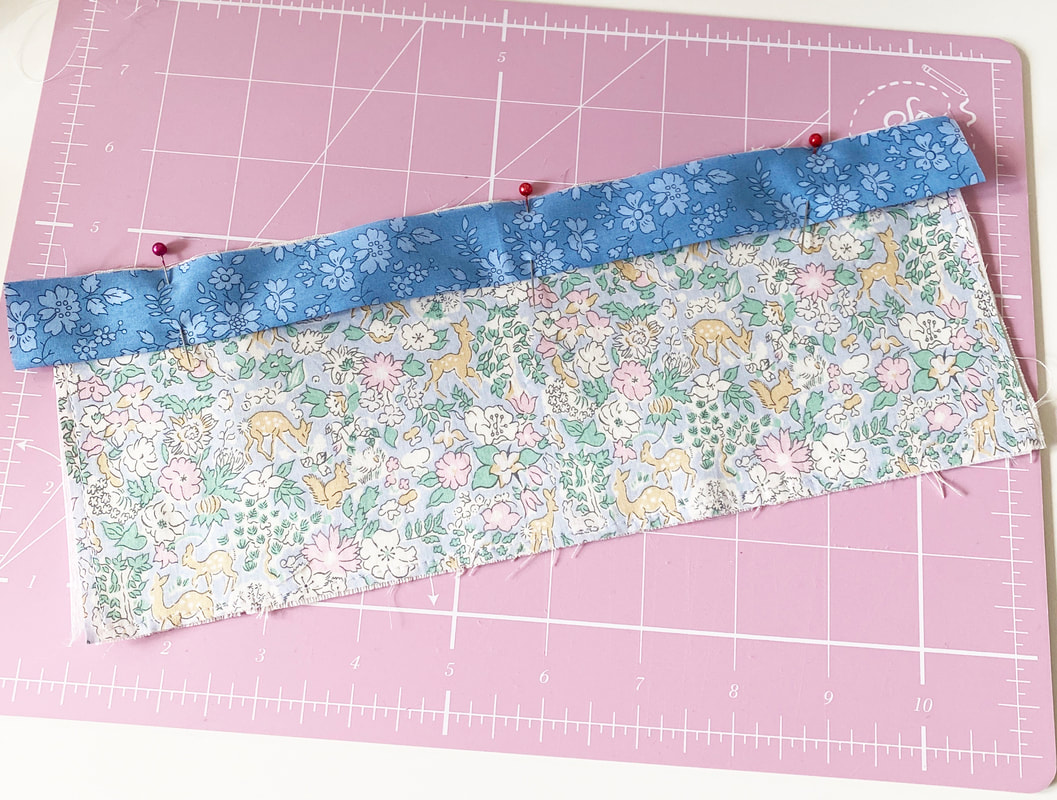 6. Fold the binding to the back and sew in place with 1/4" seam allowance or by hand if you prefer. 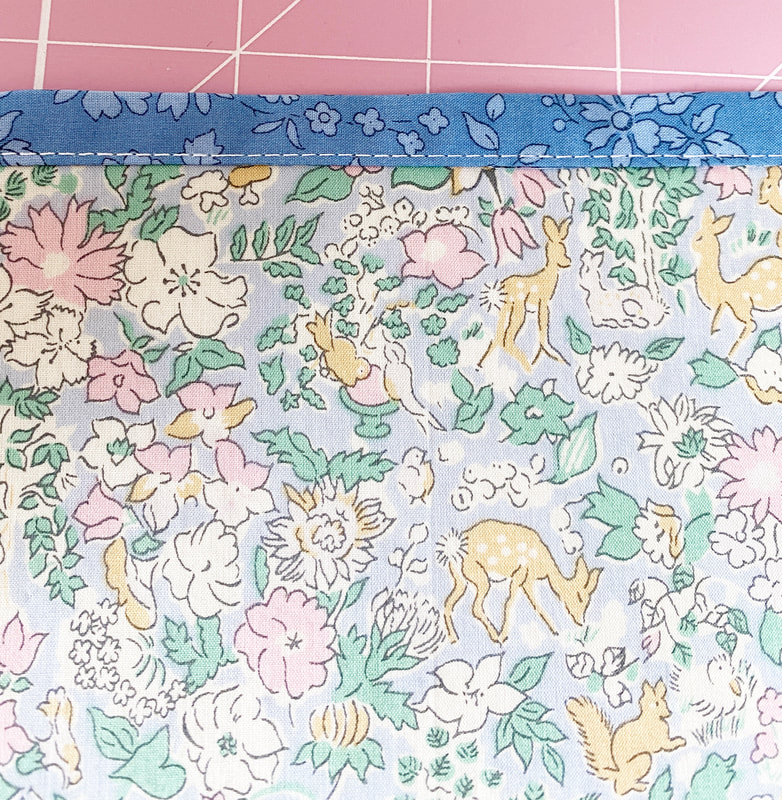 7. Place your exterior piece with the house on face down and put your pocket on top with the right side of the pocket facing up. Align the pocket with the bottom edge. Secure the pocket in place by sewing a 1/4" seam around three sides 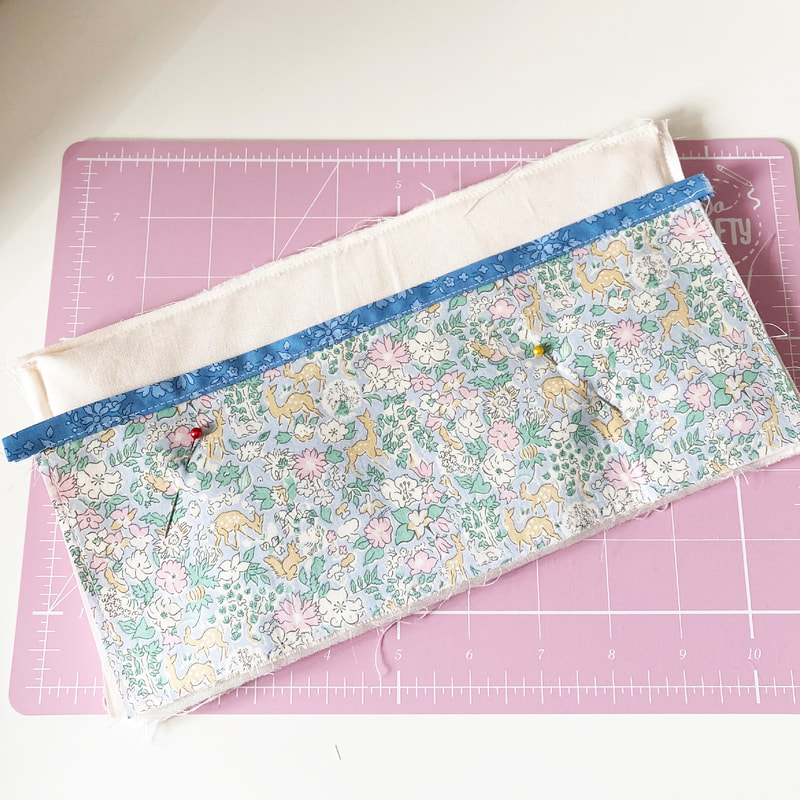 8. Measure 5 1/4" in from one side to find the middle and stitch down the middle of the pocket to split it into two pockets. Tip - I used a Hera marking tool made by Clover to mark the central line to give me an accurate sewing guide. This is a great tool because it makes a crease in the fabric which is not permanent so you don't risk ruining the fabric. 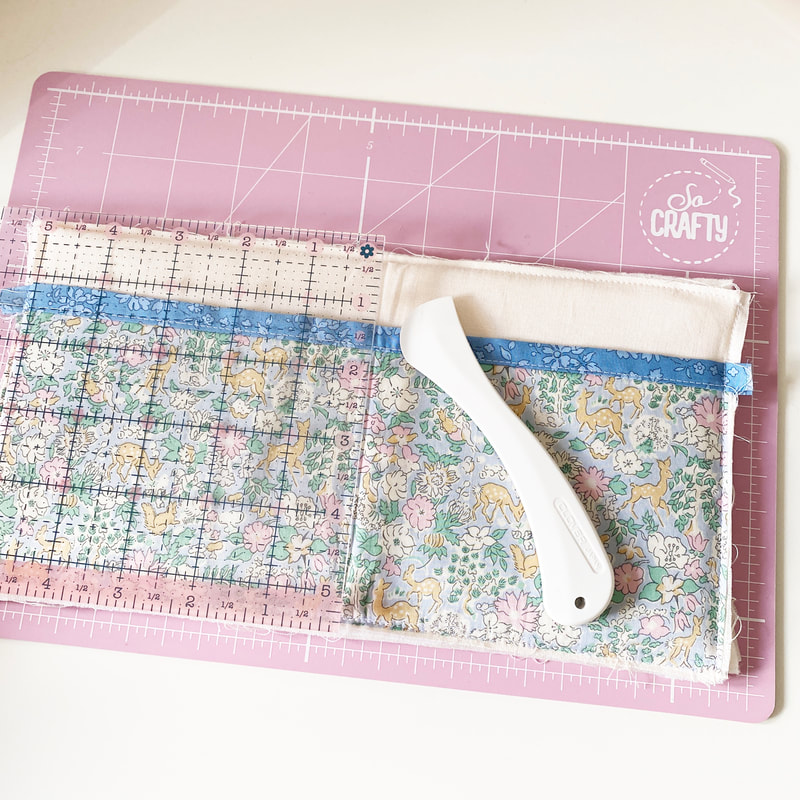 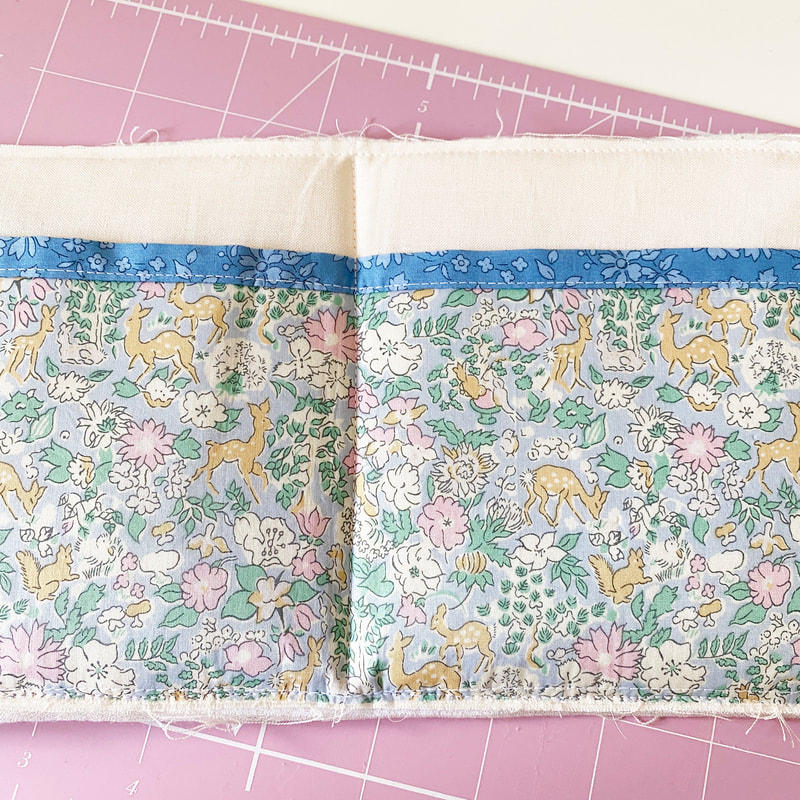 9. Next fold your felt in half width ways and open again to find the centre and place it on top of the centre line you just sewed down the middle of your case. Make sure the felt is equidistant from the top and the bottom. Sew down this line to secure it in place. 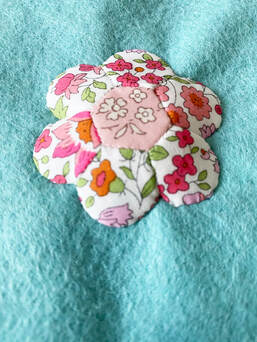 10. I appliqued an EPP flower to the front of my felt and stuffed it with toy filling before sewing all of the way round so that the flower can be used as a needle stop. You could do this with a hexagon flower if you prefer. 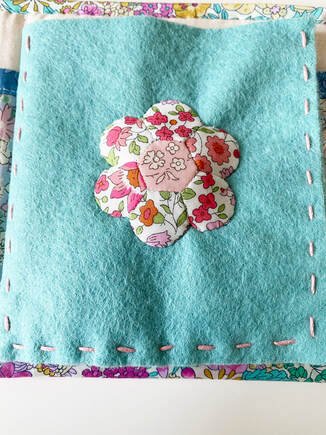 11. Line up both parts of your felt pocket and add a running stitch around three sides to keep the two pieces together and to form a pocket. 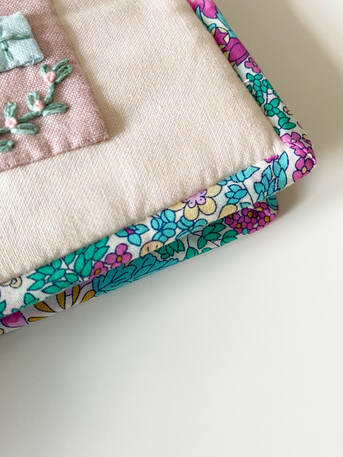 12. Apply bias binding around the entire edge of the case. Finally add a snap fastener of closure of your choice and the case is complete! 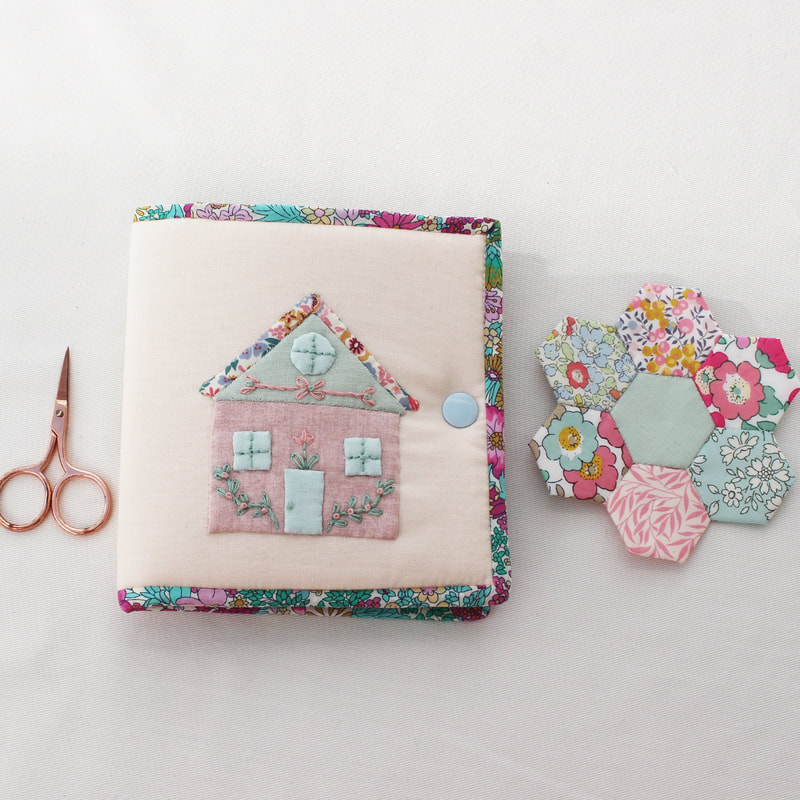 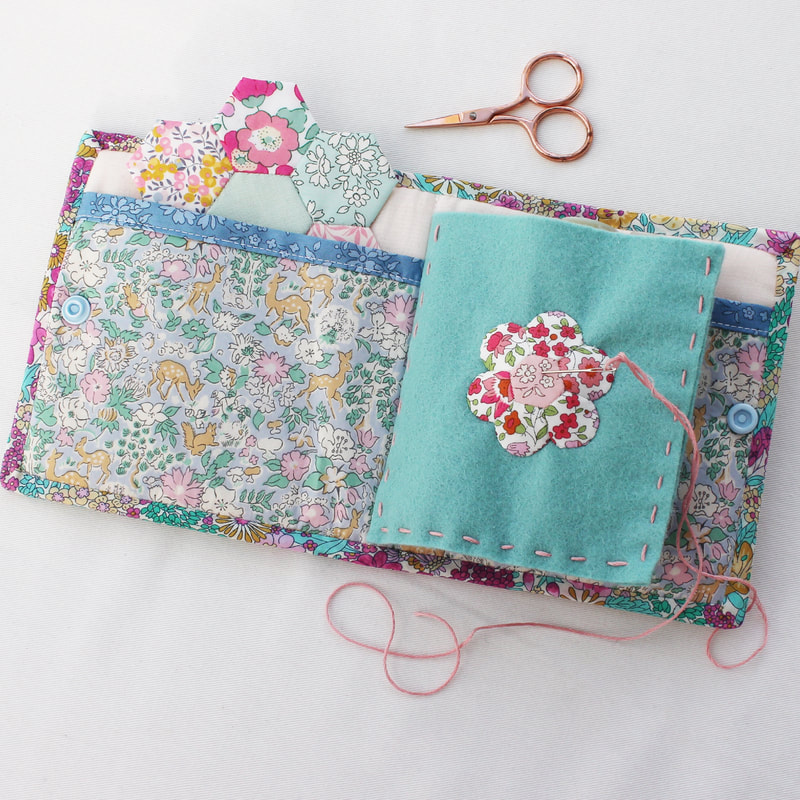 I hope you liked this little tutorial and I really hope you enjoy making the case if you do give it a go. I think I will definitely be making another one soon! They make lovely little gifts for sewing friends.
Take care, until next time, happy sewing! 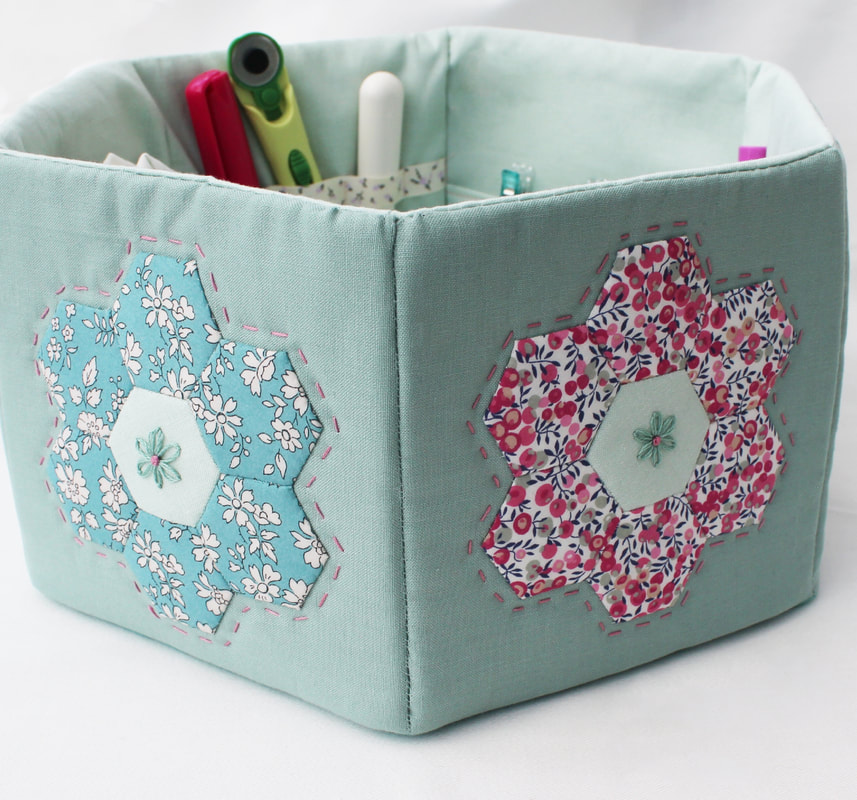 Large basket Hello Friends, I hope you are really well. Today I am excited to share my new pattern release for the Hexagon Storage Basket! I've been working on this pattern for months now as the pattern writing and testing process is a long one. Also, the pandemic happening has affected my creativity and drive and I know this has happened to many people. Couple this with changes at home and it has led to me taking a long time to get the pattern finished so thank you so much to everyone who has been so patiently waiting for it. 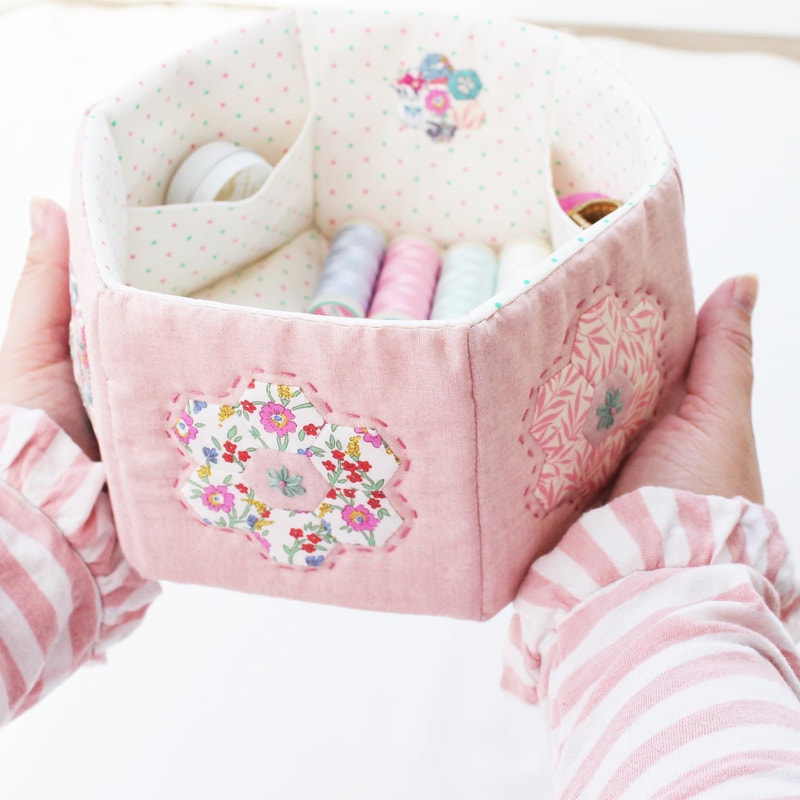 Small basket The pattern is a downloadable PDF file and it has a full instruction booklet with step by step photographs, along with templates. If you've bought my previous pattern, you'll know I like to make the instructions as detailed and clear as possible. The pattern has instructions to make two sizes of the basket, a small one which measures approximately 7 1/2" in diameter and has three internal pockets, and a large one which measures approximately 10" in diameter and in addition to three internal pockets, it also has special places to keep embroidery scissors and EPP glue pen refills! 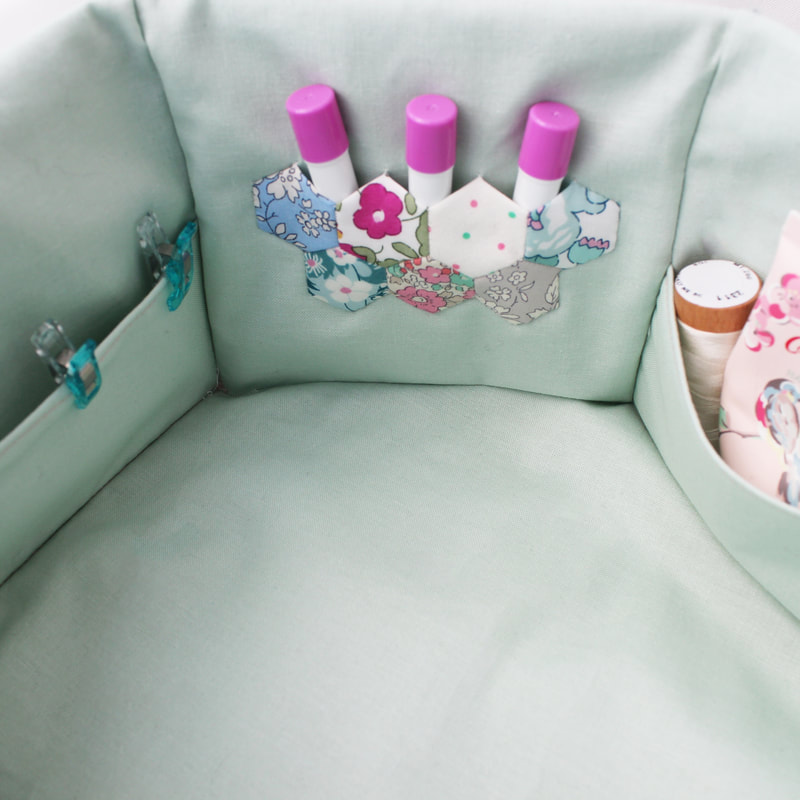 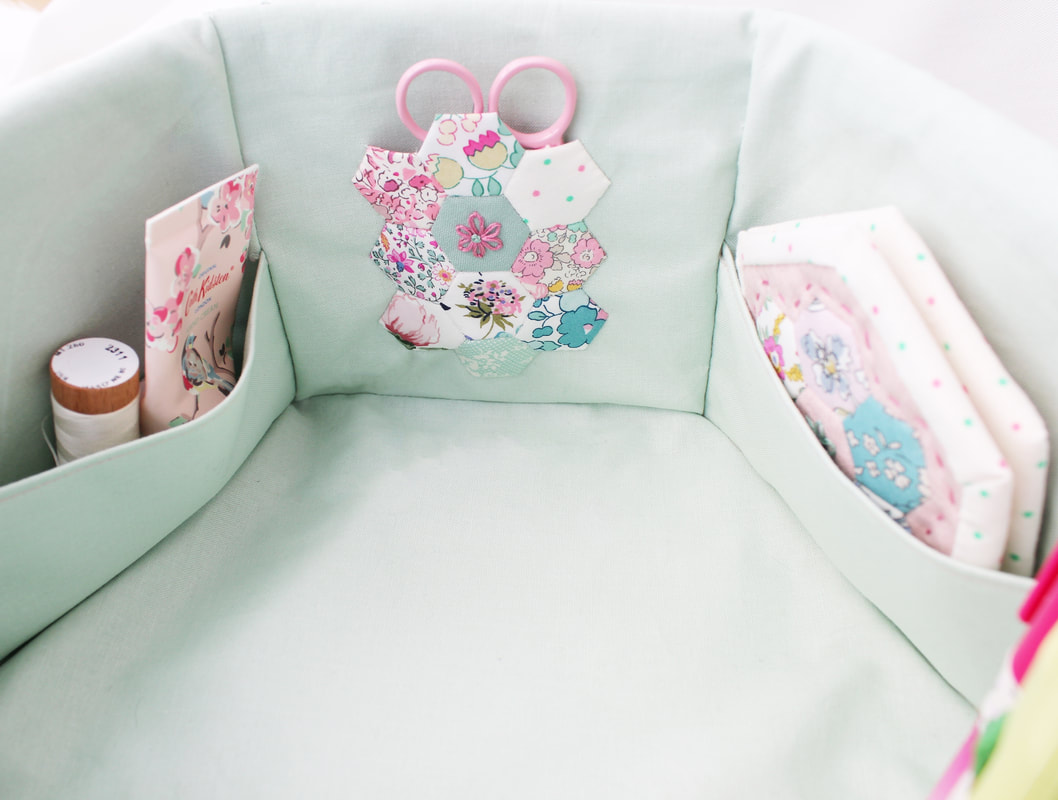 I have four finished baskets in my sewing room and I love them, they are so handy for keeping your current project in and I love that I can take everything I need in it from room to room. The hexagon needle book fits perfectly in the pockets of both sizes of basket and the hexagon sewing case fits into the large one by standing it upright or you can place it on top like a lid. 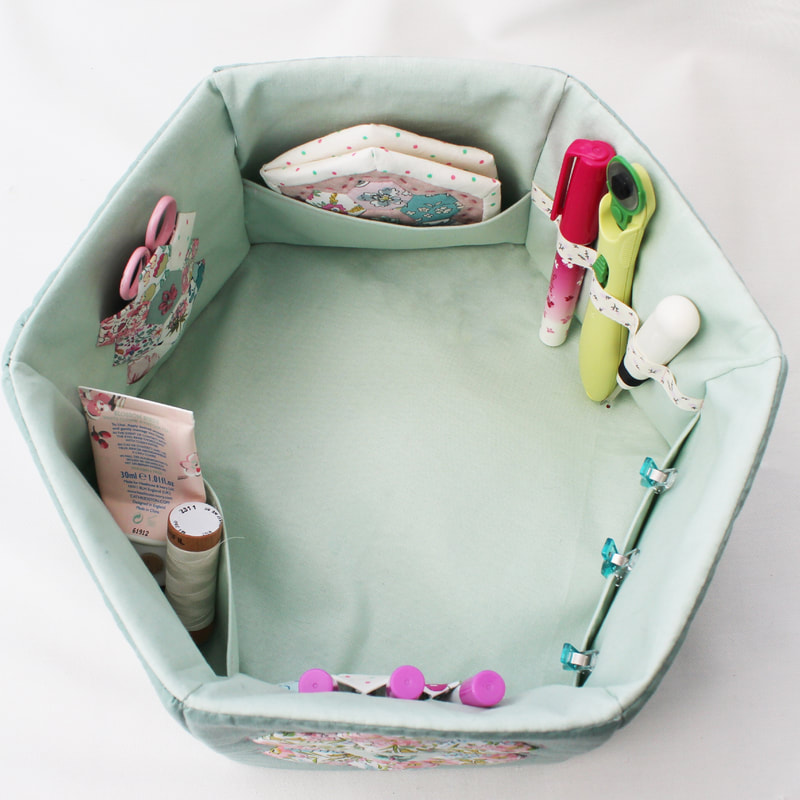 During lockdown in the UK, I was talking to my Dad over the phone and he told me that he was getting interested in sewing as he had been playing with an old sewing machine he had found. When I told him about my pattern, he offered to test it for me. This is the first time he has ever sewn anything and he did a brilliant job. I dropped the materials he needed at his back fence and then he completed the basket without any help from me at all. He has also been watching my Youtube videos and it has been so lovely to chat about sewing with him. 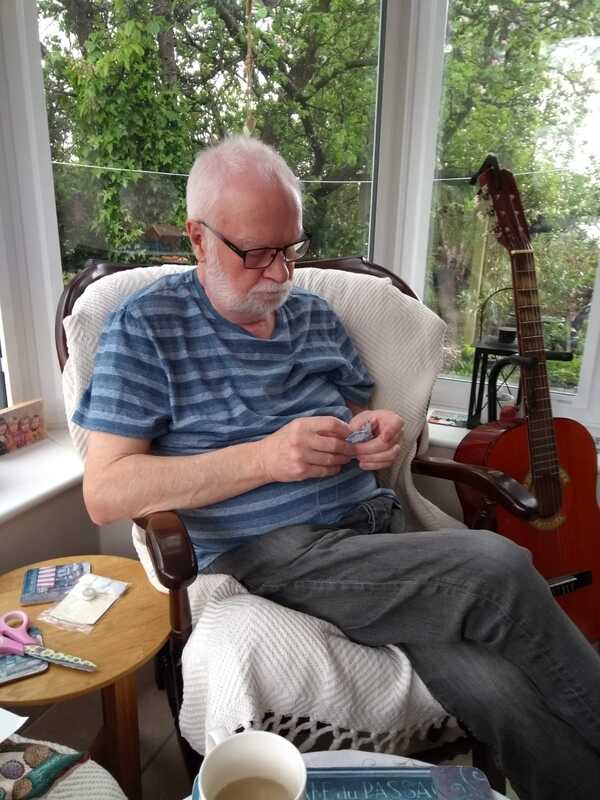 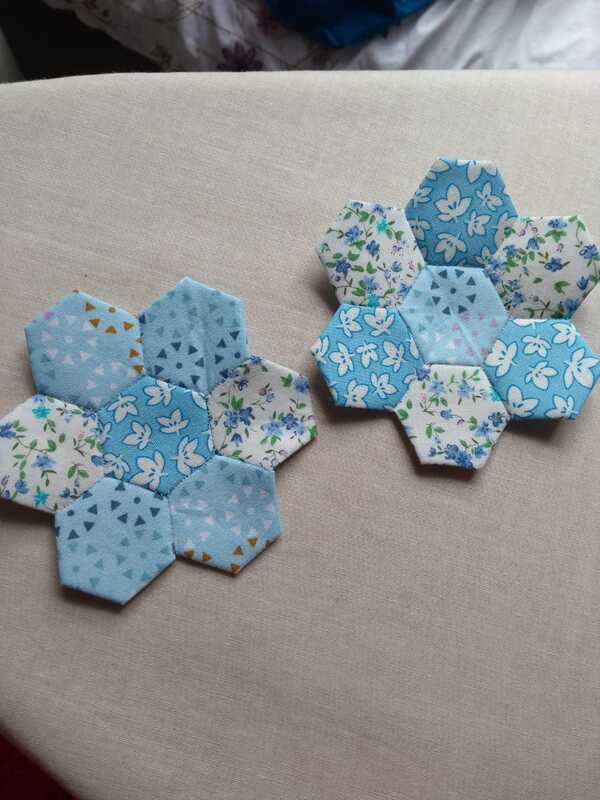 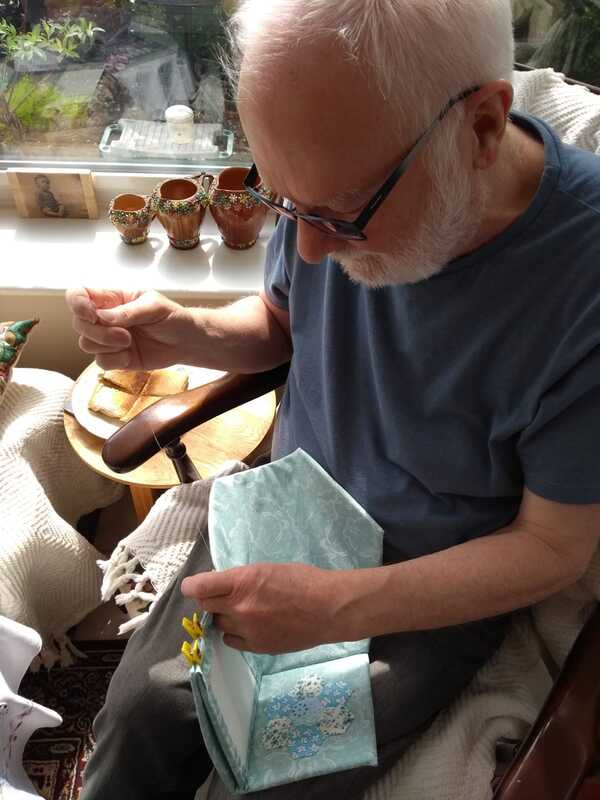 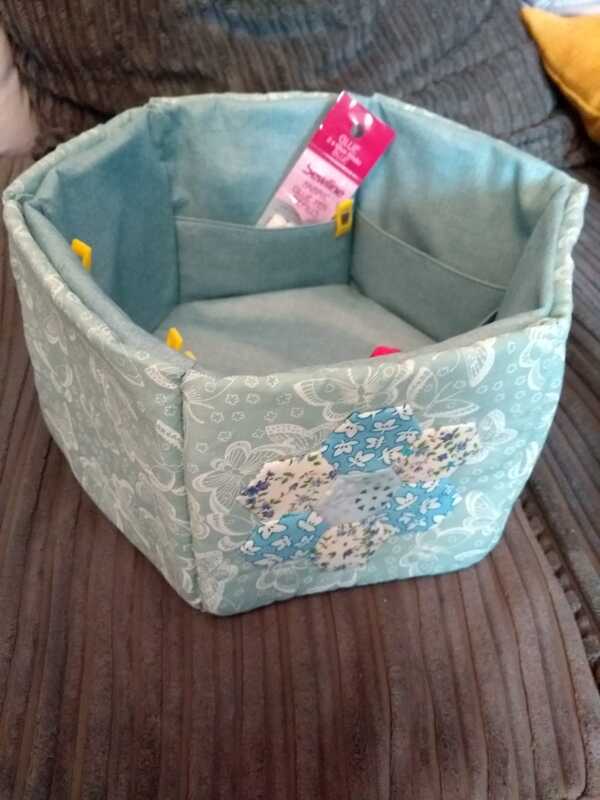 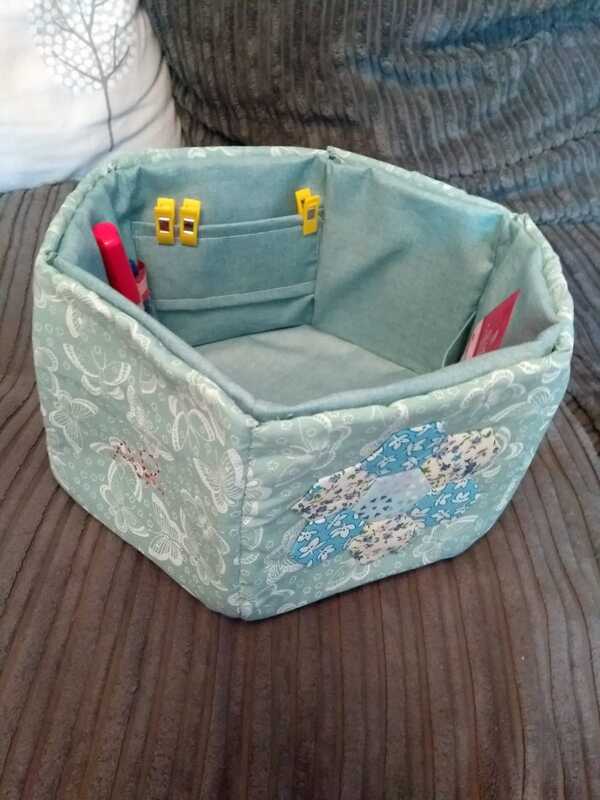 In addition to my Dad testing the pattern, I also had some help from some amazing Instagram friends. The super talented Zena @mycreativepottylife made such beautiful versions of the pattern using gorgeous Tilda fabrics and adding sweet details like she always does.  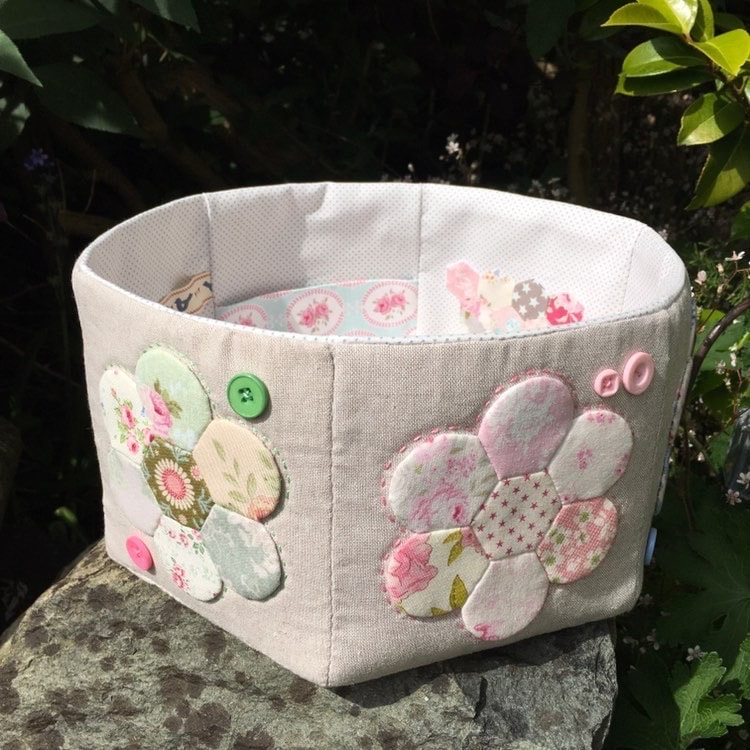  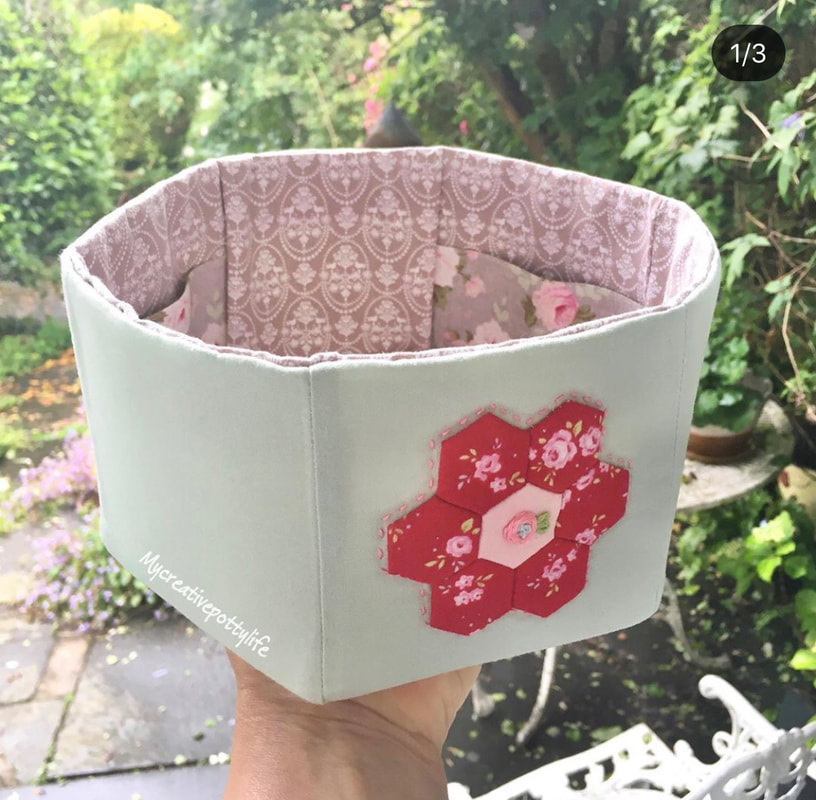 The lovely Sarah @Sarah.costello.10 made this really pretty version below and it matches the hexagon sewing case she made when she tested that pattern for me back in February. Sarah has fabulous sewing skills and I love the quilting details she added. 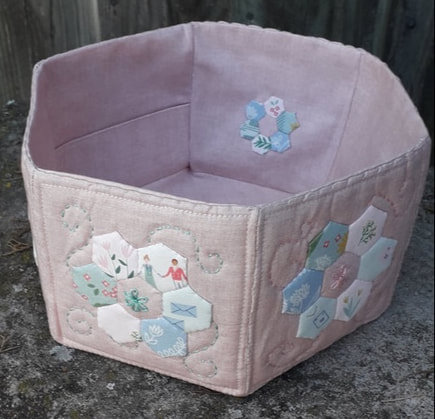 The very talented Brittany made a large and a small basket. Her skills are incredible and I love her fabric choices. Her stitching is perfection, she is such a wonderful maker and a brilliant pattern tester. 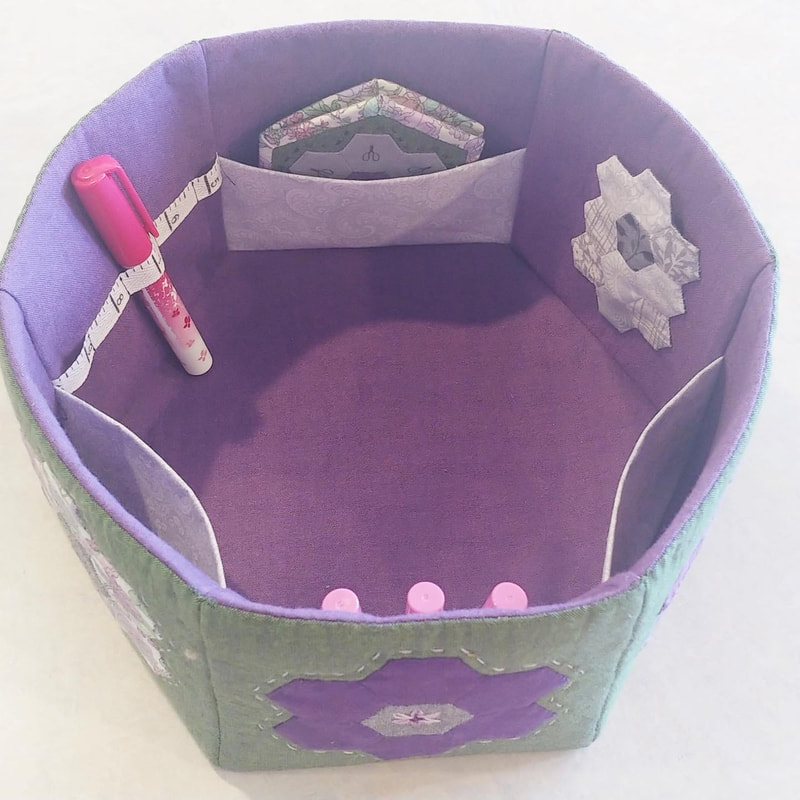 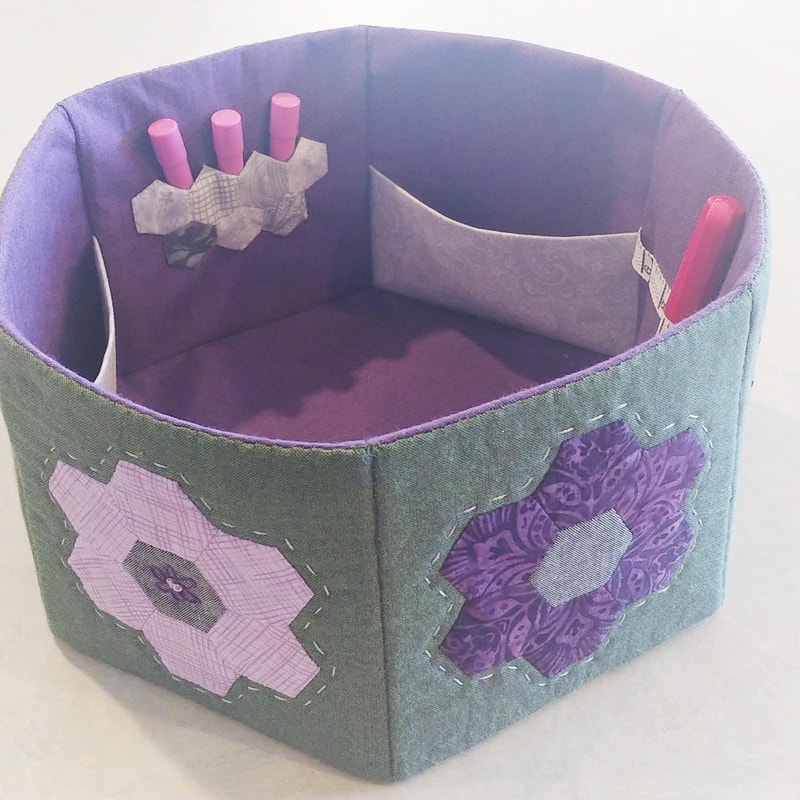 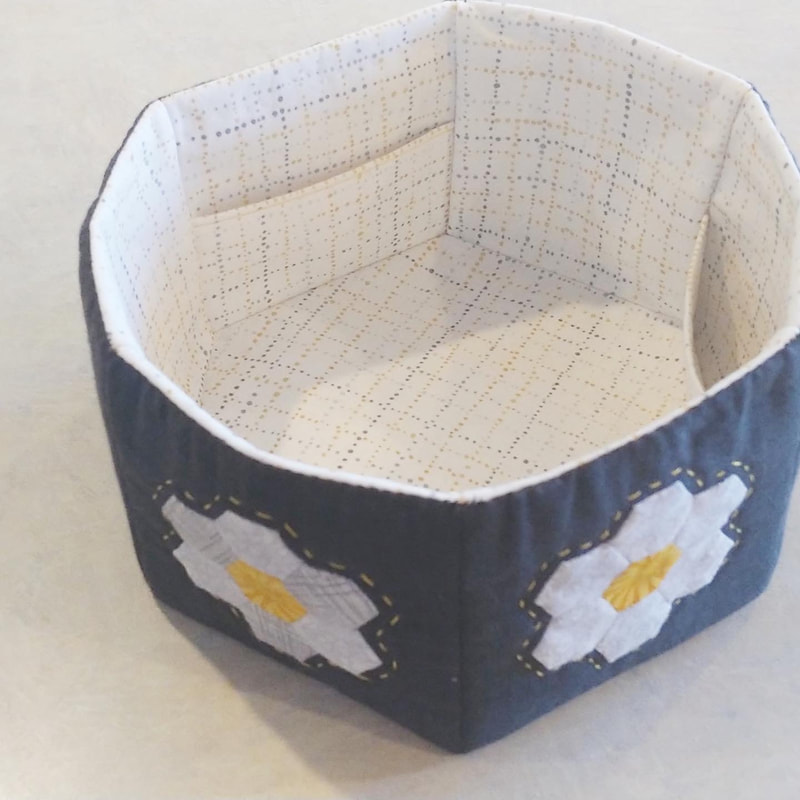 I feel so incredibly lucky to have had such fantastic support from such wonderful and talented makers. The pattern writing and developing process is a long one and I could not have got there without their help, so thank you so so much. If you would like to make a basket too, the pattern is now available in my shop. Thank you so so much, it really means a lot to me. I hope you love the pattern.
Take care, happy sewing! 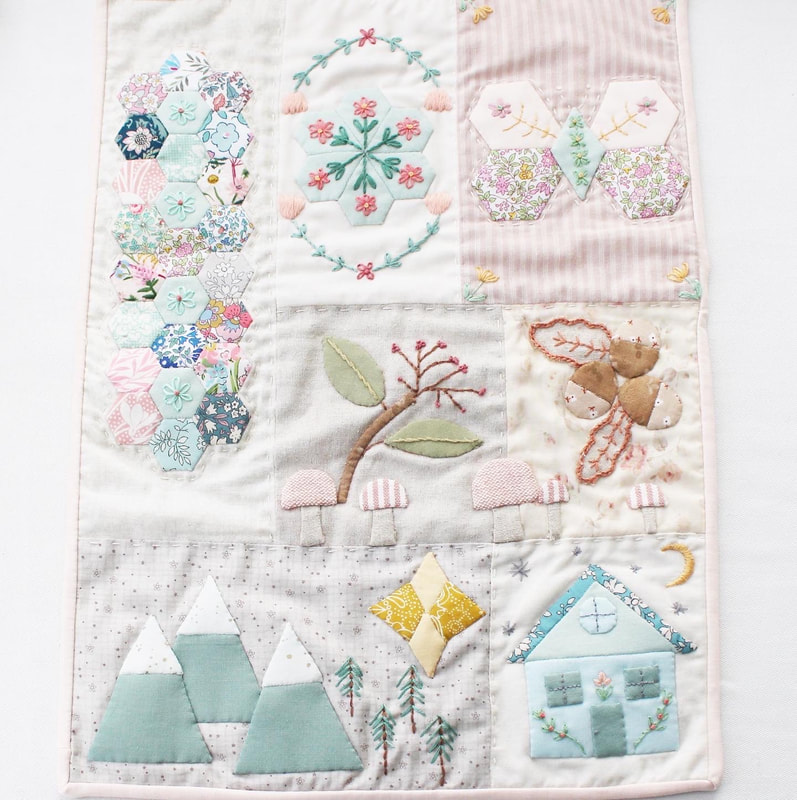 Hello friends, I hope you are all well. Today I am going to tell you about my seasonal sampler mini quilt. I've been making this lovely quilt for a few months and it's finally finished. I loved combining EPP, appliqué and embroidery, it was so fun and relaxing to make. Each of the blocks represents one of the seasons of the year and conjures up lots of lovely imagery of nature for me. I decided to make this a free pattern but I've decided to release it in parts over the next few weeks. Rather than written instructions, there will be video tutorials and guidance along with downloadable templates. You can find the videos on my Youtube channel and I will link to the playlist here. You can also find the downloadable templates and any brief written instructions here on my website, in the free patterns area. 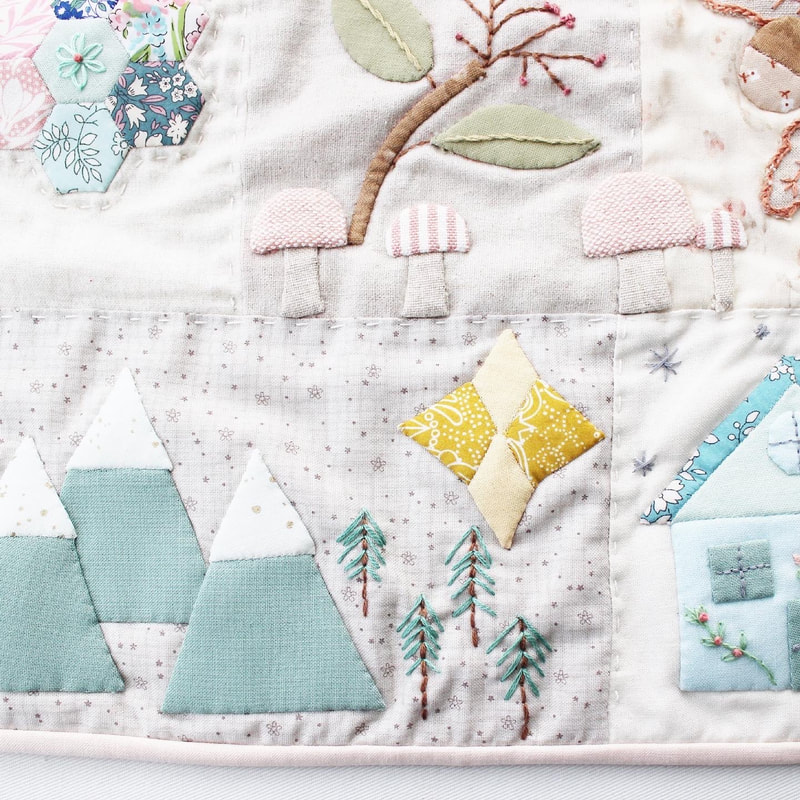 There's already a video showing how to do the butterfly block and the proper introduction video will go live on Youtube at 9pm on Monday 22nd June. I hope you will join me in making this lovely mini quilt, I'm so excited to be sharing this pattern with you all. Thank you to everyone who has left me lovely comments about my design, it really means a lot to me. 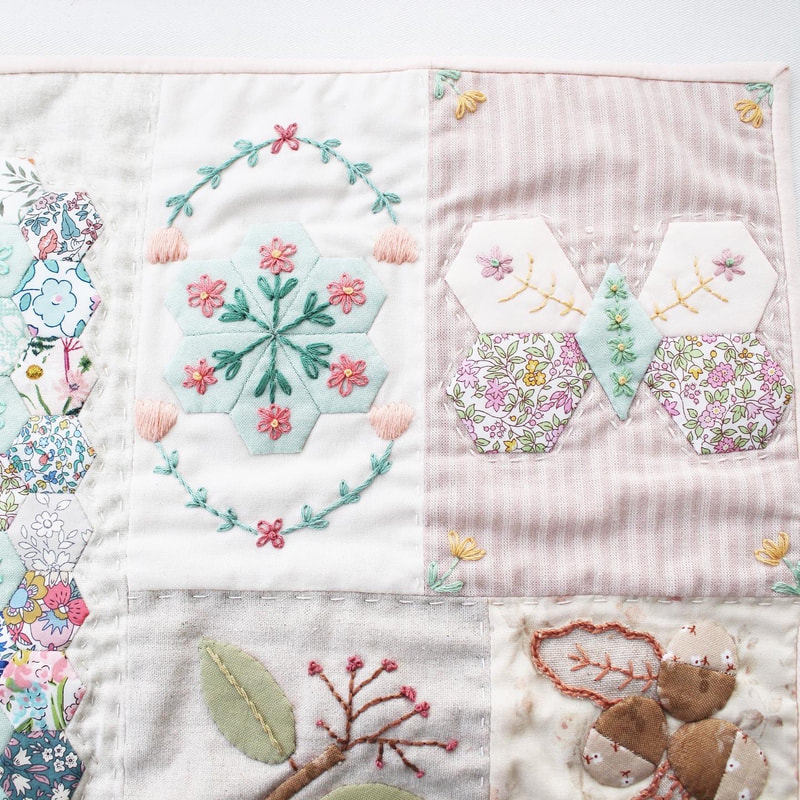
Hello Friends,
I hope you are all well and staying safe. This is just a very quick note to let you know that I will be removing my blog from Bloglovin and deleting my account from there in the next couple of days. Since I set up my Bloglovin account, I have been inundated with spam followers which has left me feeling uncomfortable. The spam followers promote things that have nothing to do with sewing and I do not wish to be associated with such things. There is no way to delete or block followers there so I sent numerous DMs and emails to Bloglovin about this issue, but I got no replies. I decided to just try to ignore the spam followers as I know I also have lovely real followers there too. But today was the last straw when I noticed my actual blog had been spammed with spam comments. Unfortunately my website provider isn't great at notifying me of comments, and because I hadn't checked in a while, I didn't know they'd been there for days. I feel embarrassed about this as I know I have had lots of lovely people come and read my blog and follow me recently. I haven't updated this little blog for a few weeks and I am really sorry about that. I will be back in a couple of days with an update about things and what you can expect from me over the coming weeks. But in the meantime, I'm so grateful to everyone who follows me on various platforms, reads my blog, subscribes to my newsletter and takes the time to engage with me, it really means a lot and I am sorry I have been absent lately. I'm sorry if you follow me through Bloglovin as I will delete my account very soon. If you'd like to continue following me, I will always announce my blog posts over on Instagram so that's a great place to follow me. Or I do have my email letter, which is only once a month but I will link to any blog posts there too. Many thanks for reading this, I hope you are all well Emma x |
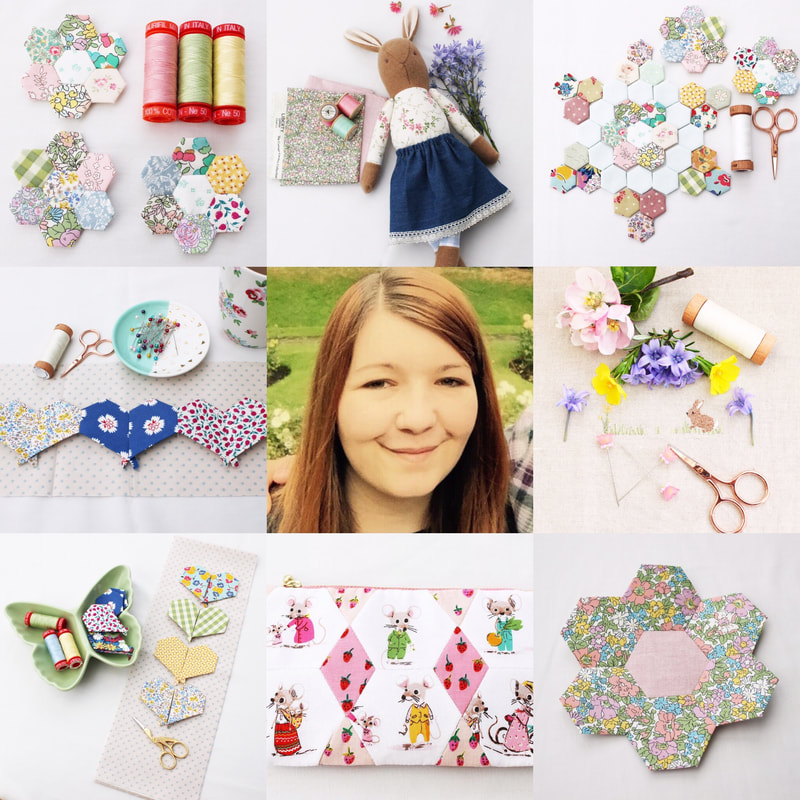
Follow me on InstagramAbout the Author
My name is Emma and I love all things sewing, especially EPP. My little blog is the place where I document what I'm making. I hope you enjoy reading what I'm up to! All opinions are my own and I only share things that I think you will love. Thank you for taking the time to stop by. Archives
September 2023
Categories
All
|
 RSS Feed
|
Copyright Vintage Sewing Box 2024
|
| ||||||