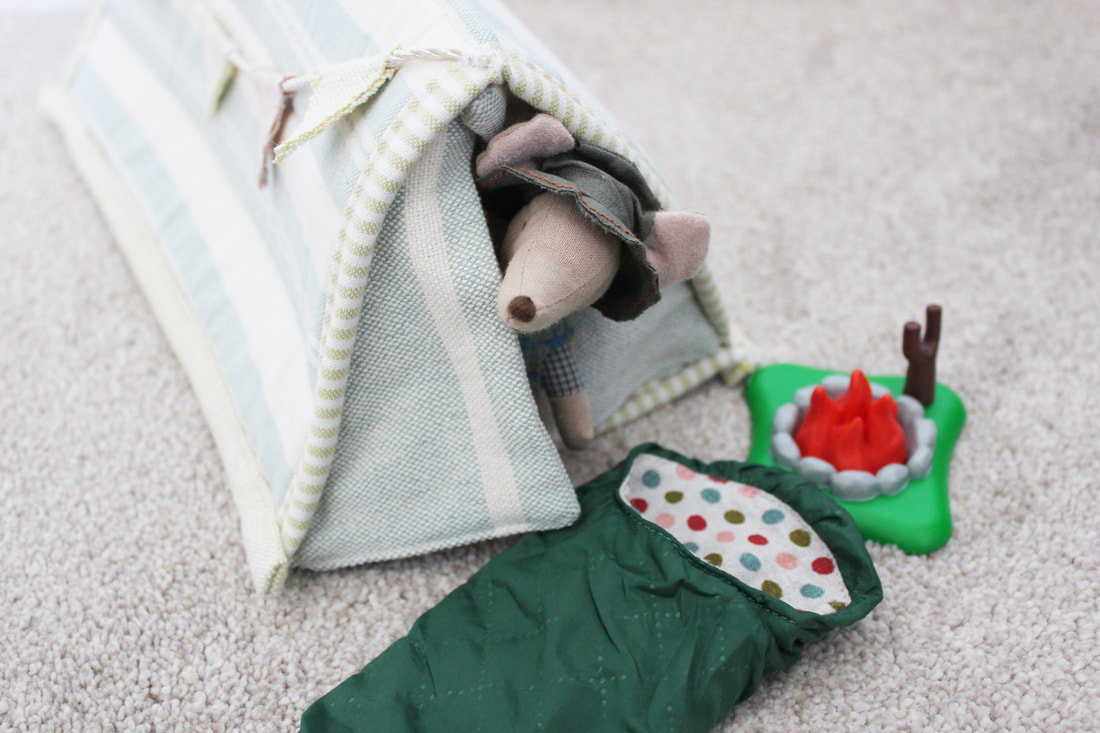
 After having fun making the mini quilt for the Maileg bunny and creating her a handmade outfit, I decided to make something for my little boy to play with. I'd ordered some flex foam to make a laptop case for myself, but whilst cutting it out (it still isn't sewn together!) I realised how versatile this foam is and it gave me lots of ideas for how to use it to make toys. My first idea was to make a little tent for a Maileg explorer mouse and it worked really well. So here is a little tutorial for how I made it. You can of course play around with the size of the tent and use any fabrics you like. This is a great project for using up leftover fabrics and scraps from other projects. 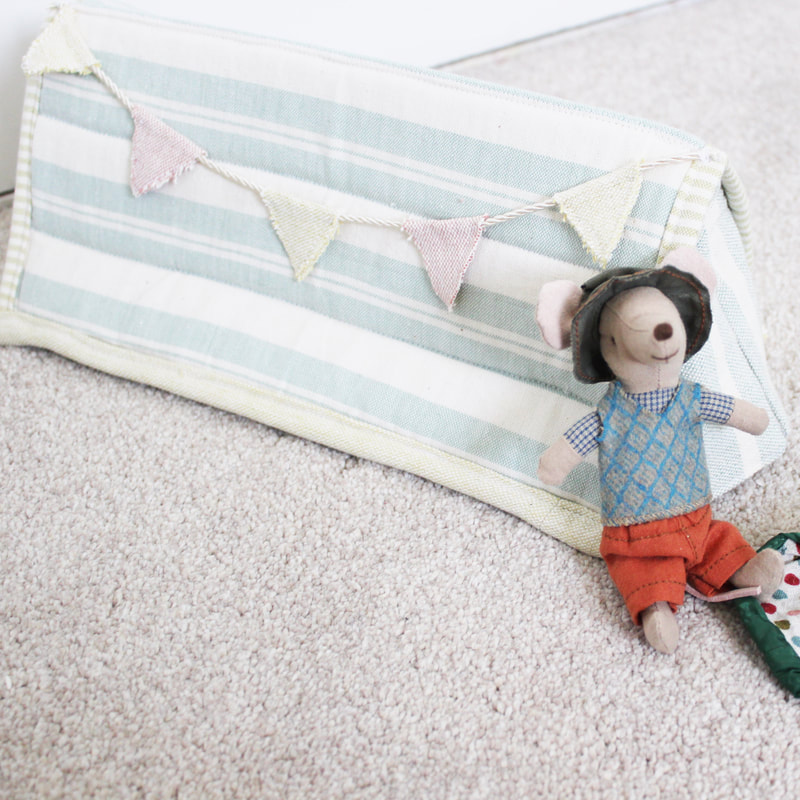 You will need:
The tent is constructed from two pieces, a rectangular base and a square 'roof' which is folded down the middle to create the tent shape.. 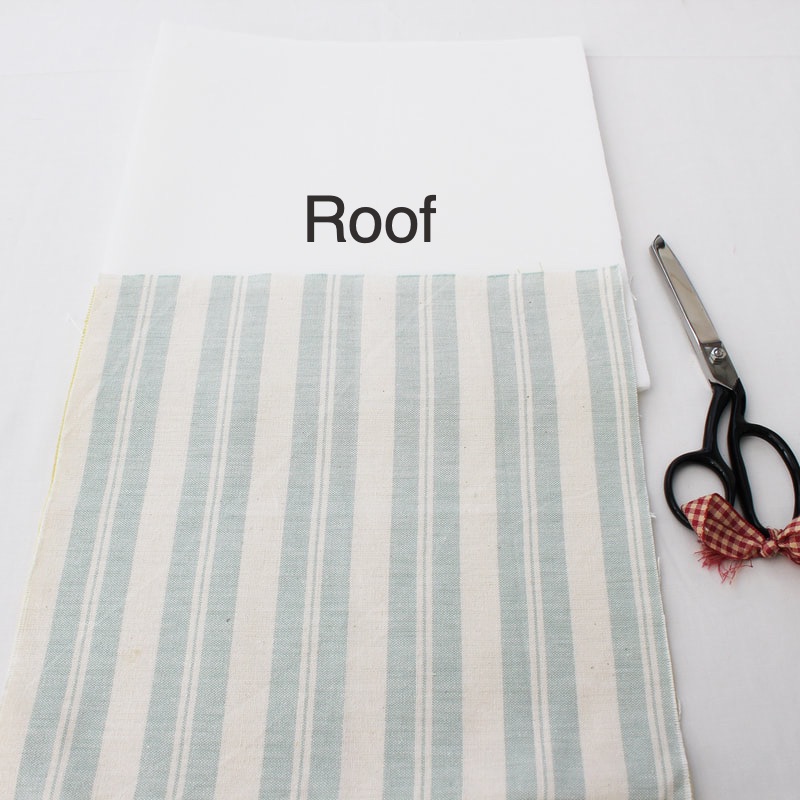 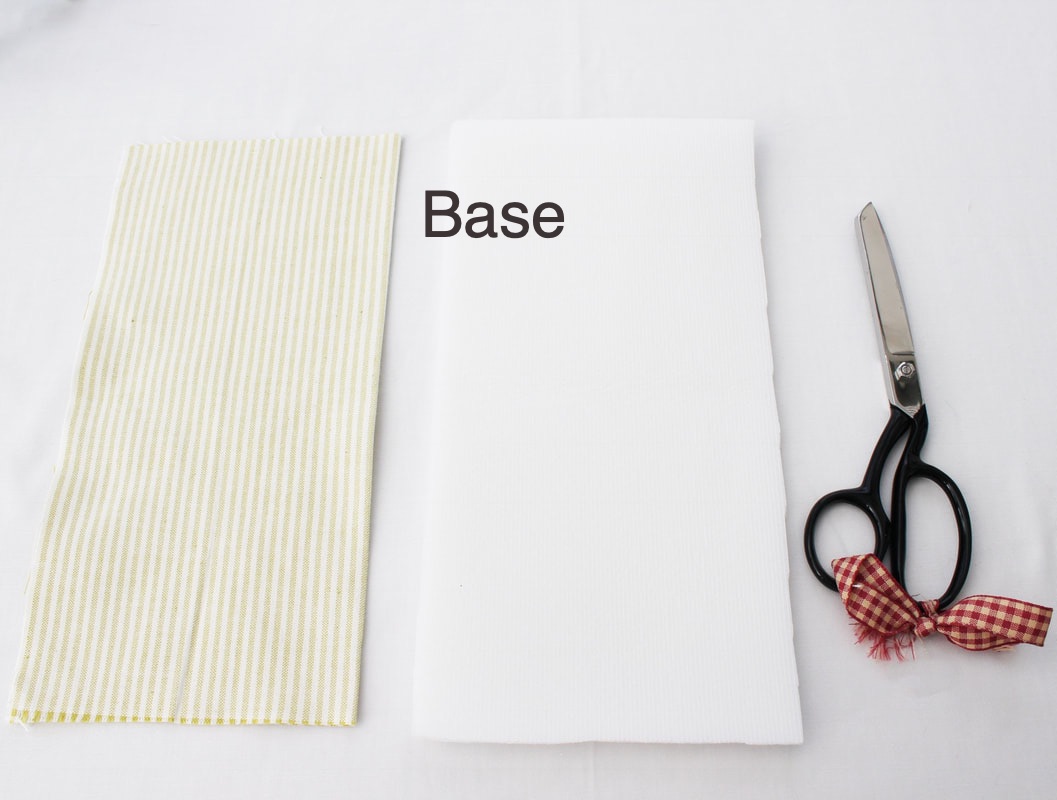 1. You need to create two quilt sandwiches, one for your roof and one for the base. To do this, lay one fabric right side down, spray with spray glue and place the flex foam on top. Spray the flex foam with glue and lay your other piece of fabric on top, right side up. If you aren't using spray glue you can use pins to hold the layers in place. 2. Now quilt the layers together. I quilted my base with straight lines about half an inch apart but you can choose how you would like to quilt it. 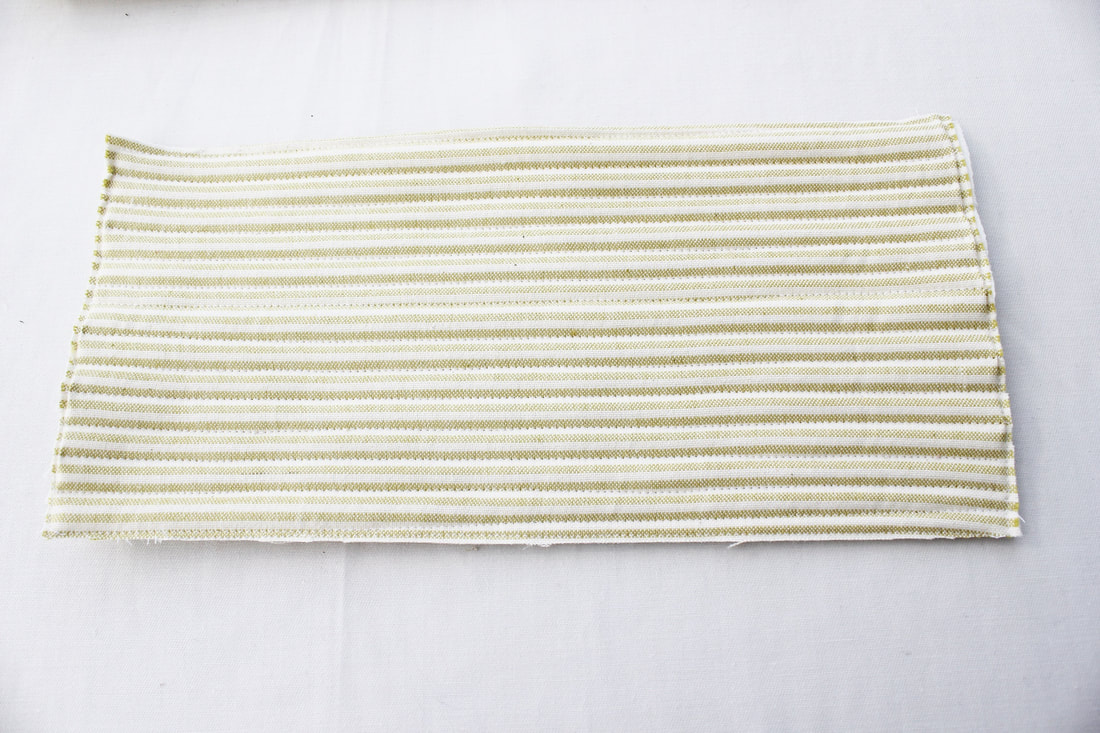 I quilted the roof every two inches to make it less rigid. 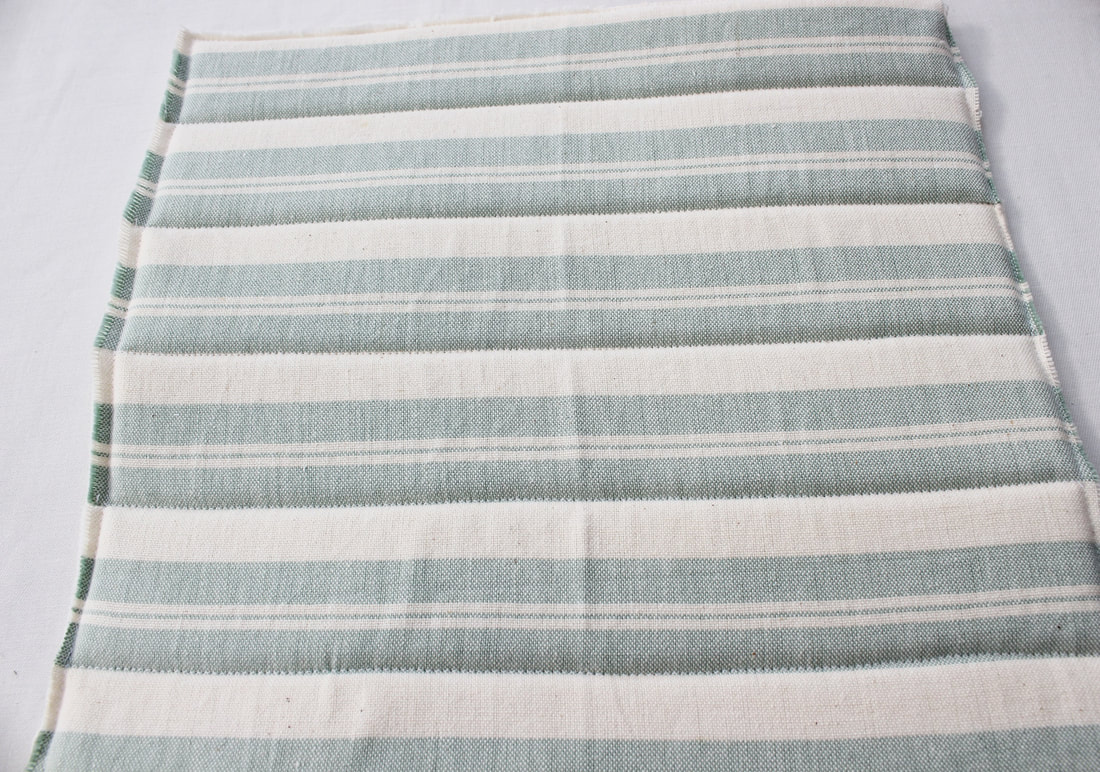 3. Now you need to attach the binding to the short ends of your base and the two opening ends of your roof. To do this, line the binding up with the raw edges of the quilt sandwich and pin in place. 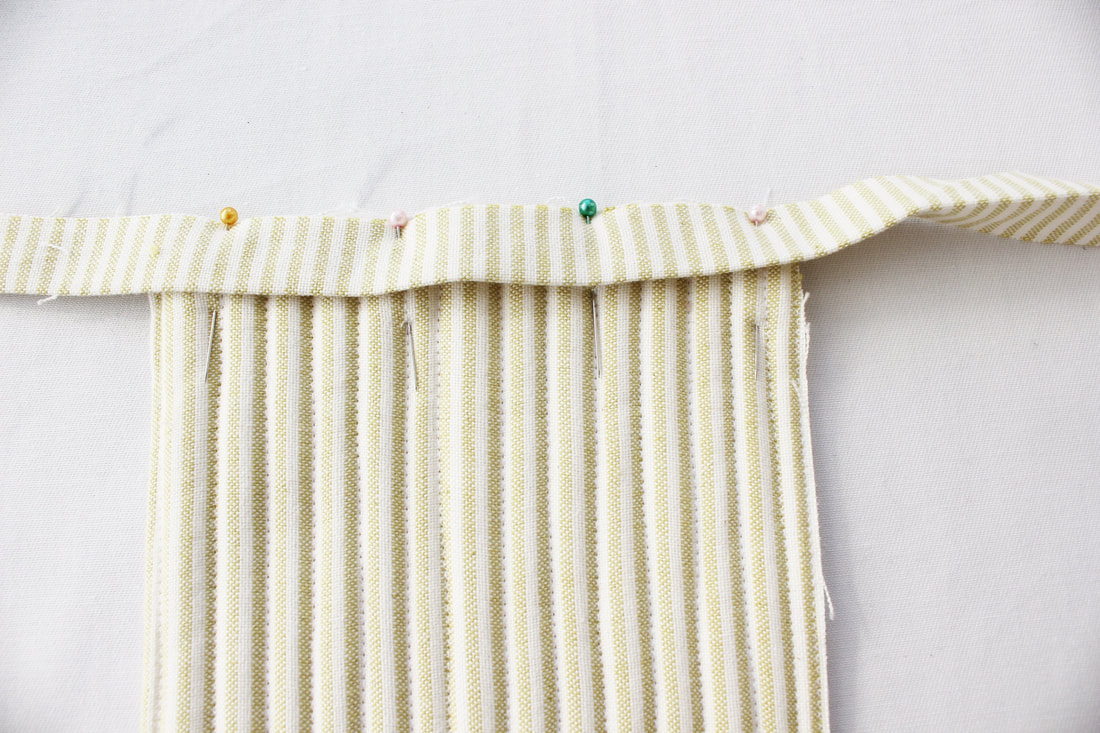 4. Trim your binding to make it level with the edge of your quilt sandwich. Fold it over and sew in place. 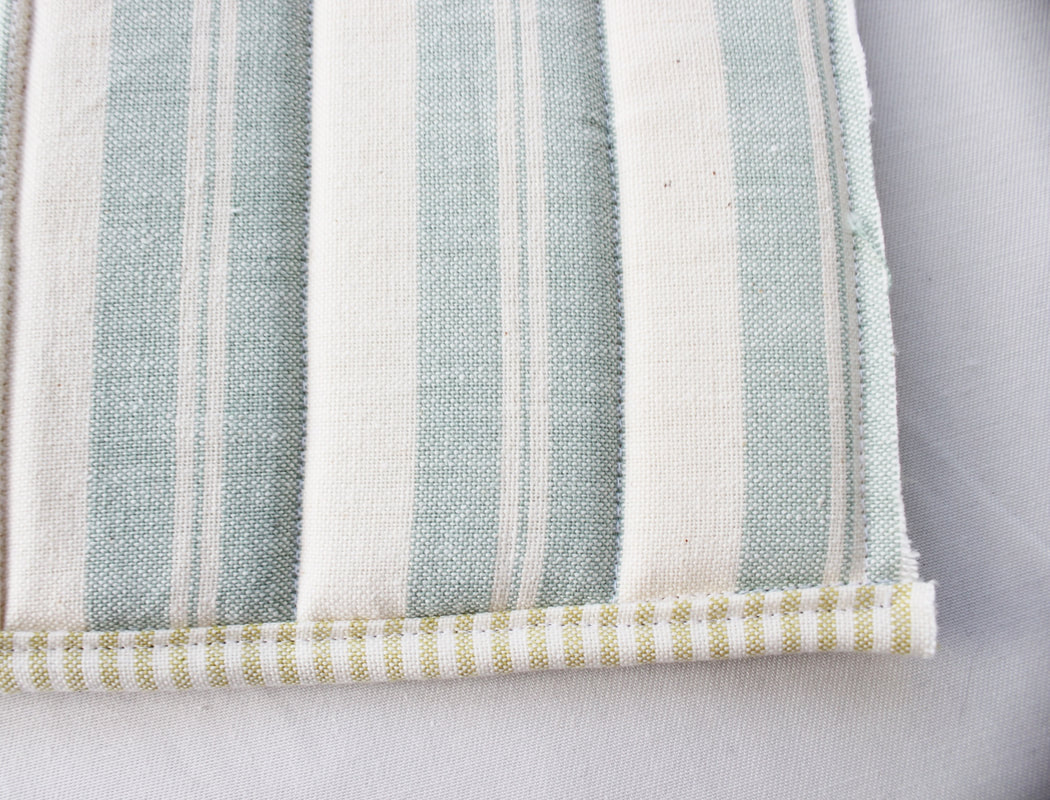 5. Fold the roof in half and sew along the top ridge as close to the edge as possible on the right side of the fabric. This will help to keep the tent's shape.  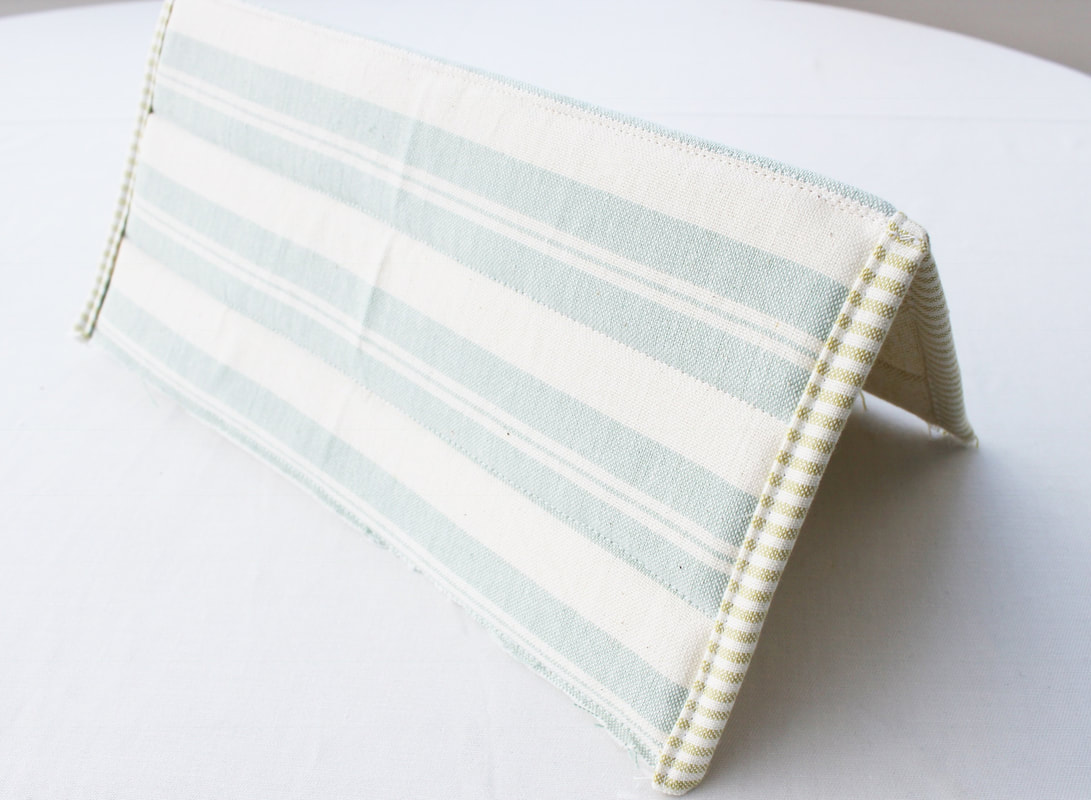 6. Now for the trickiest part, attaching the roof to the base. Line up the long edge of the roof with the long edge of the base, with the insides facing and place your binding on top with the raw edges together. Because there is a lot of bulk, I used quilting clips to keep the layers together. 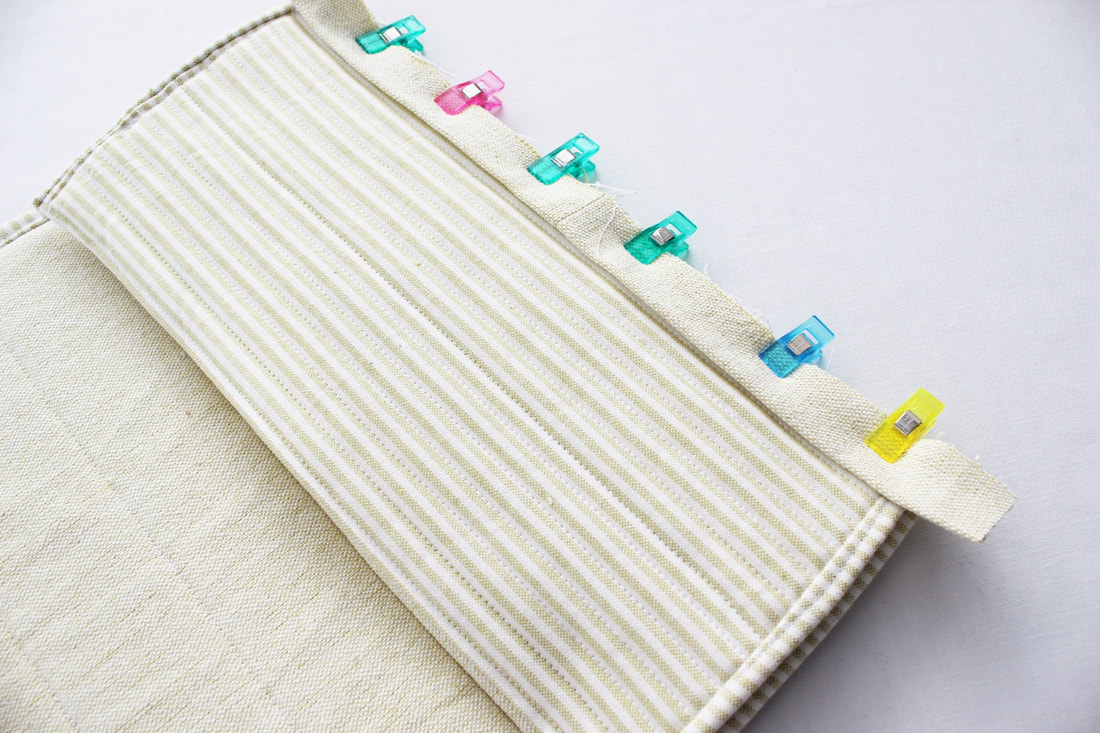 7. Trim your binding leaving just half an inch extra either end and turn this in on itself to conceal the raw edge. Sew along this edge using a quarter inch seam allowance. If your machine finds it difficult to sew through the layers, try starting in the middle of the edge, sewing along then turning around to sew back to the opposite edge. Sometimes sewing machines struggle to start sewing thick seams at the corners so this technique helps with that. Fold the binding over and sew in place with a half inch seam allowance. Repeat for the other edge of the tent. 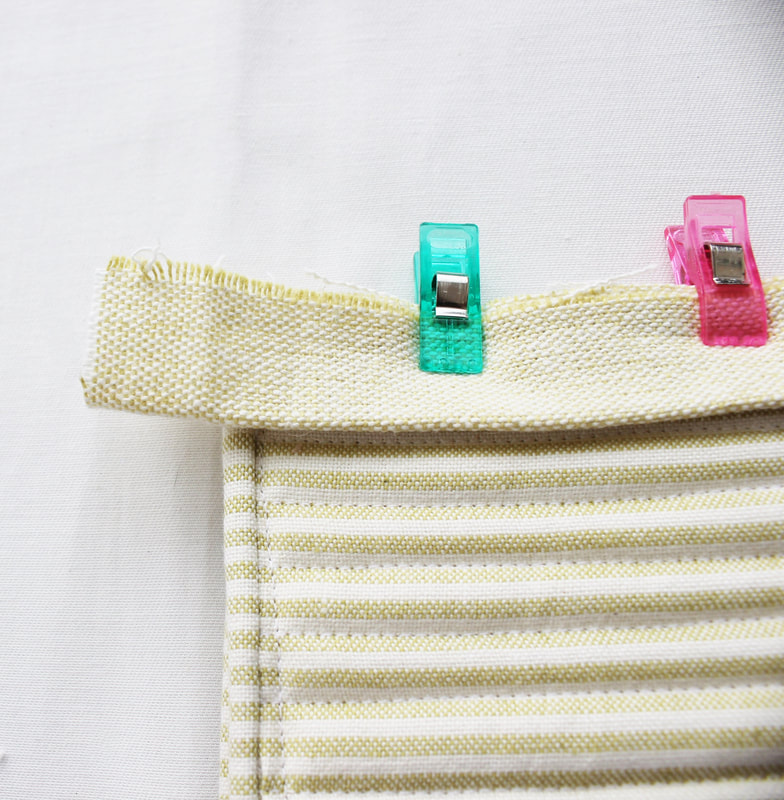 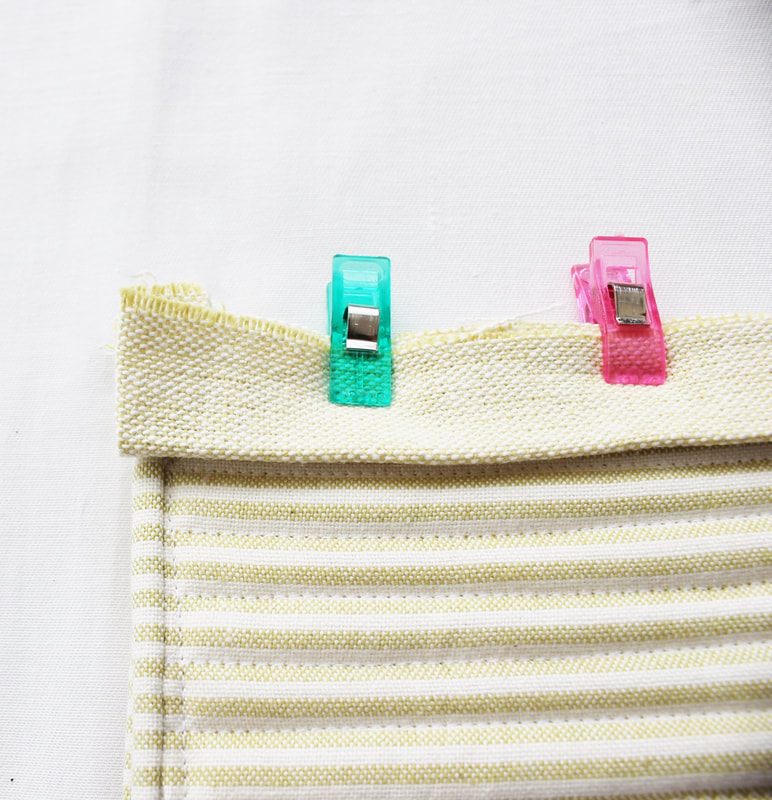 8. To make the doors, turn the tent on its end and draw around the triangular opening with a fabric pen onto your fabric. Use a ruler to straighten your lines and add half and inch seam allowance all the way around the triangle you have drawn. You need four of these. 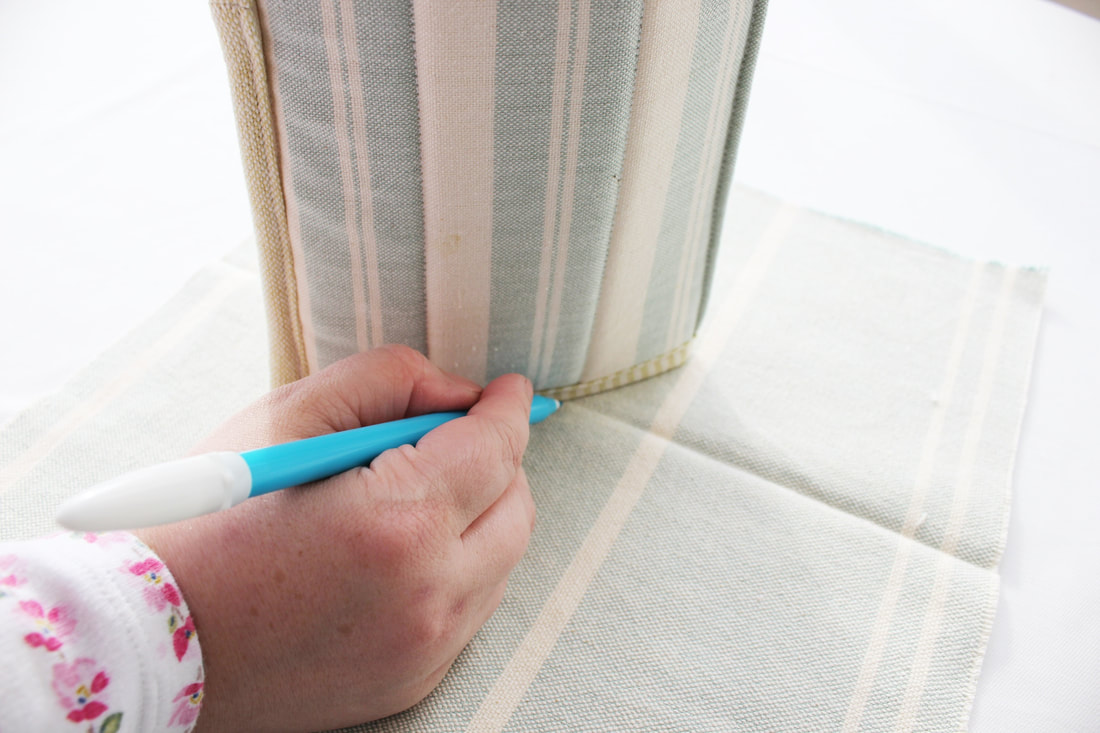 9. Cut the triangles you've just drawn out of the fabric and cut them in half down the middle. You will now have eight small triangles. Take two and place them right sides together. Sew along two of the edges using a quarter inch seam allowance. Turn the triangles right side out and fold the bottom edges in and sew them closed. Repeat for the other three. Sew them in place by hand on the inside edge of the opening to make the doors of the tent. 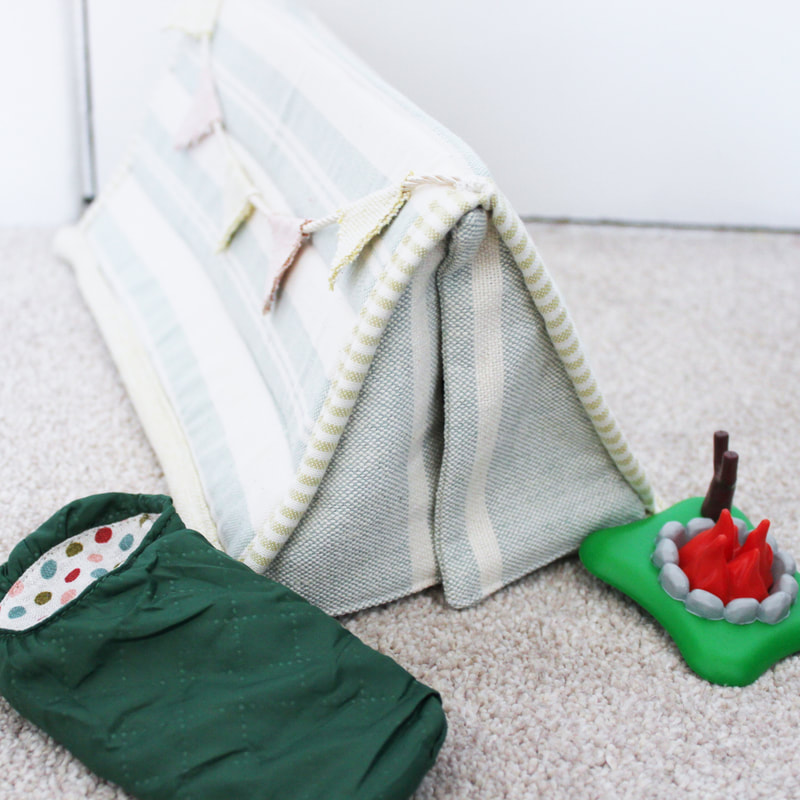 Your tent is complete! I made some bunting in coordinating fabric to give it an added touch but you could decorate it however you wish. Why not add ric rac or pom pom trim?  If you give this a go, I hope you enjoy making it and I hope the little person in your life loves playing with it too! Happy sewing.
1 Comment
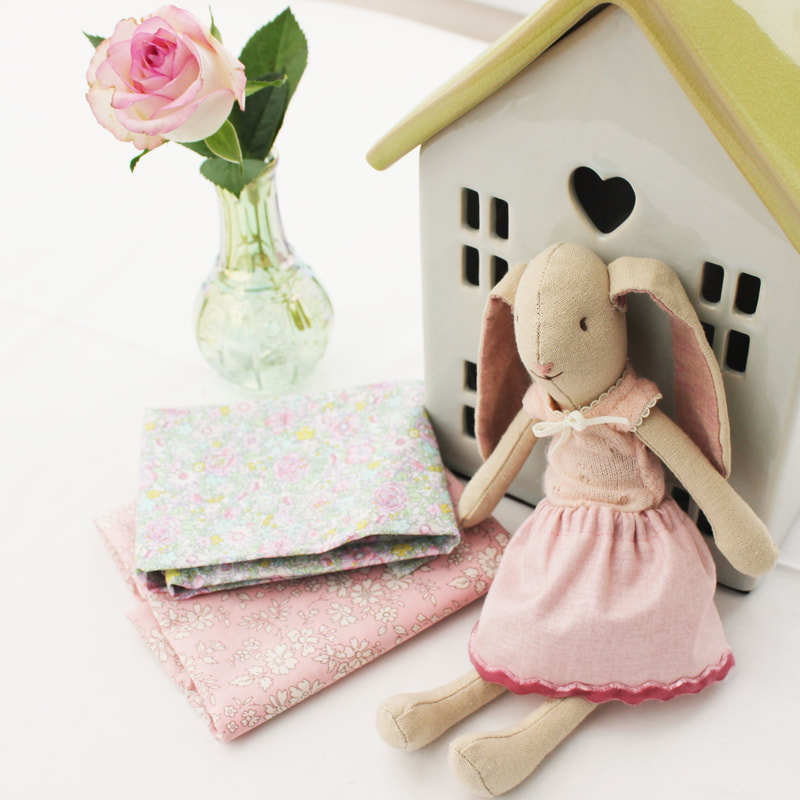 I enjoyed making the tiny hexagon quilt so much that today I decided to make the little bunny a skirt as she looked like she was in her underwear! I thought I'd share this as a little tutorial here as it was very quick and simple to make. It is also a great way to use up scraps of fabric and trims, so excellent for sustainable sewing. 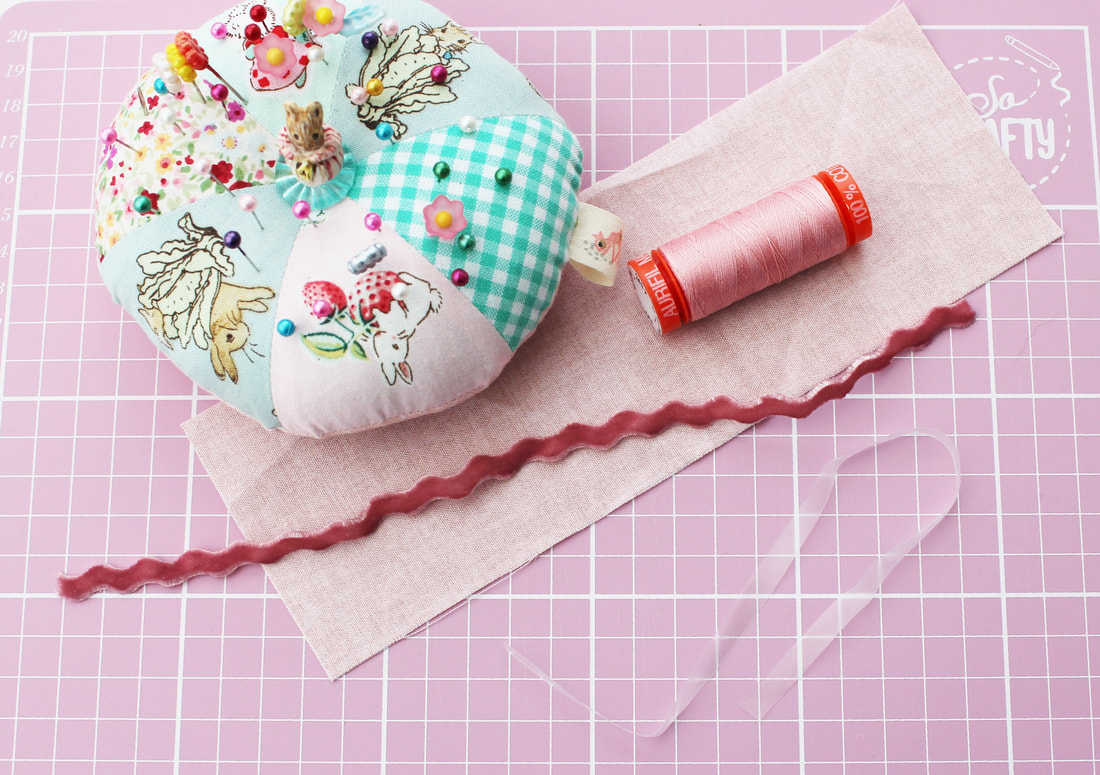 You will need:
1. Press your fabric. Fold over the bottom hem on the long (9 inch edge) a quarter of an inch towards the inside of the fabric and press in place. Fold it over another quarter inch to encase the raw edge and press and pin in place to hold. Machine stitch it in place. 2. Fold over the top of the fabric on the long (9 inch) edge by half an inch and press in place. Fold it over another half inch and press in place to again encase the raw edge. Stitch in place towards the bottom of this fold. This creates a channel for your elastic.  3. Place your ric rac trim on the right side of the skirt hem, covering the stitching and sew in place by hand, just catching each hill and valley with your stitch. 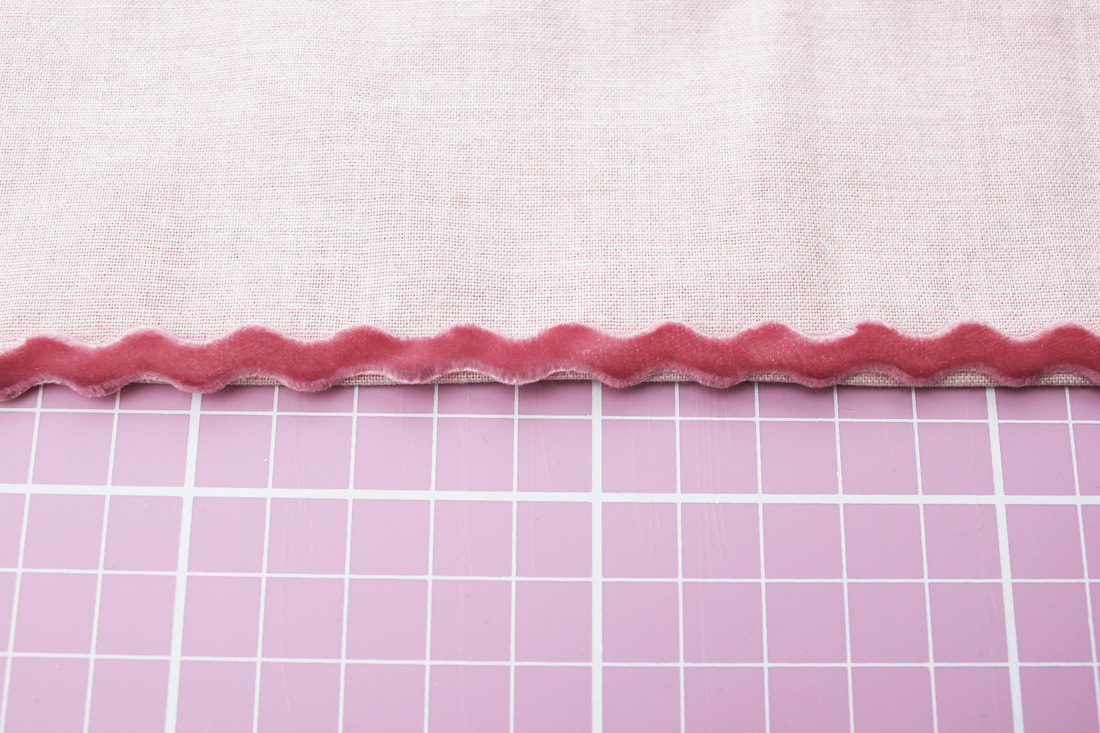 4. Place the two short ends of the fabric right sides together and sew them together with a quarter inch seam allowance to form the centre back seam. Make sure you sew from the bottom hem up to the bottom fold of the channel. Do not sew to the top edge because this will close your channel meaning you won't be able to thread the elastic through it. Turn the skirt right side out. 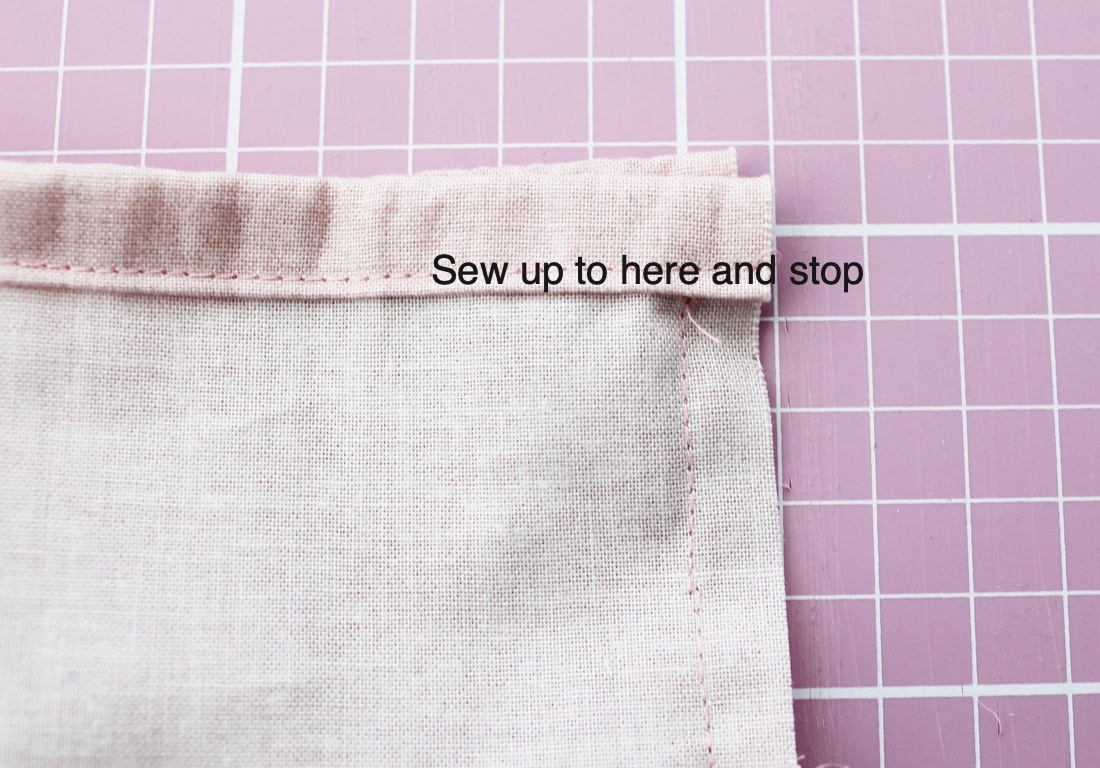 5. Thread your elastic through the tapestry needle and attach the safety pin to the other end. 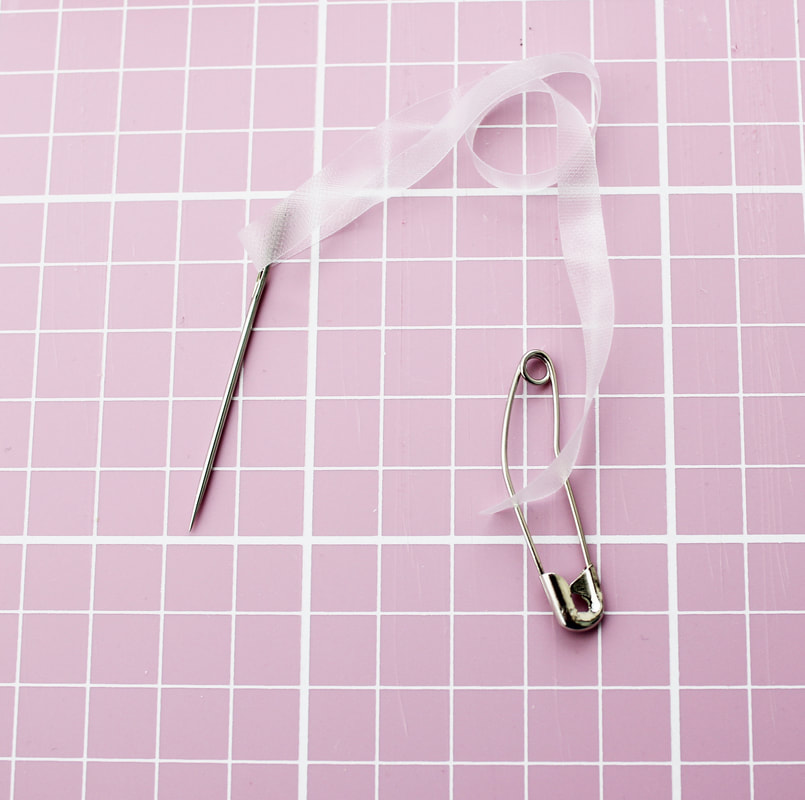 6. Push the needle through the channel and push the fabric along, taking care not to push the needle through the cotton. You are aiming to thread the elastic though the channel, not piercing the fabric at all. The safety pin will stop the other end of the elastic from going inside the channel. 7. Once the needle has passed through to the other end of the channel, arrange your gathers equally and pull both ends of the elastic to adjust the waist of the skirt to fit the bunny. Cut off the excess elastic and stitch the two ends in place securely by hand. Feed these ends into the channel So they are hidden. 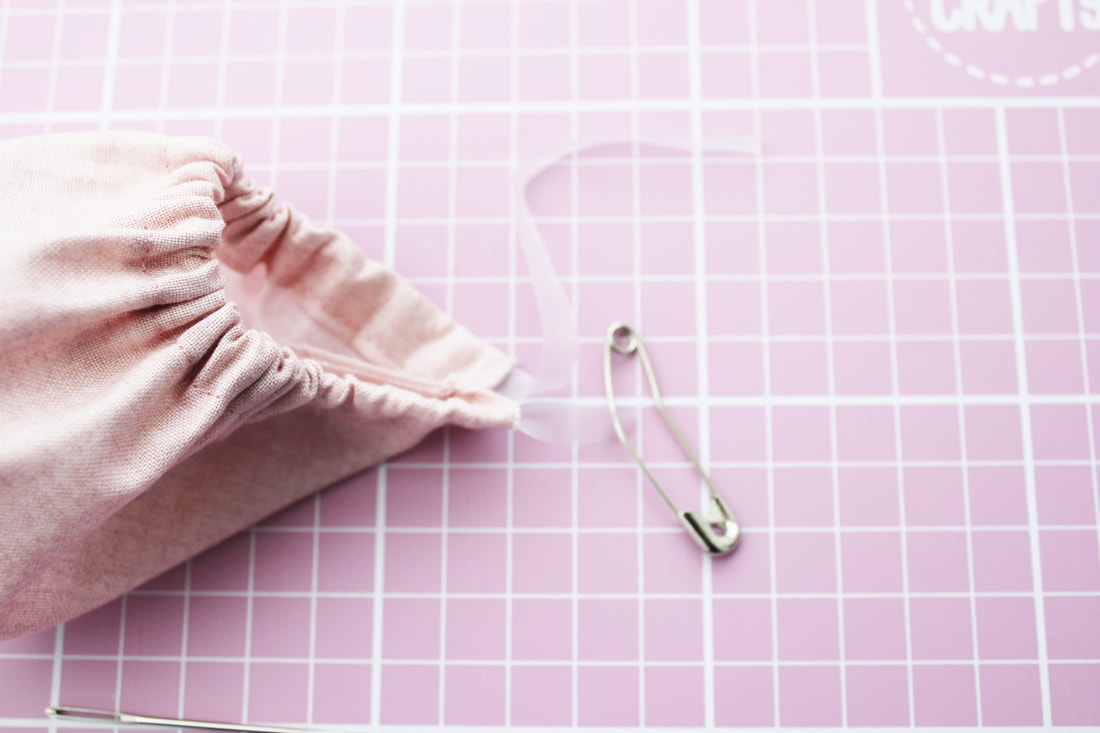 8. Now you can finish the centre back seam right to the top by sewing the remaining part to enclose the channel and secure your elastic. Your skirt is done! I hope this little tutorial is helpful if you are making simple clothes for toys for the first time. I'm now thinking that this little bunny needs a top...and maybe some embroidery on the skirt...the possibilities are endless! Happy sewing! 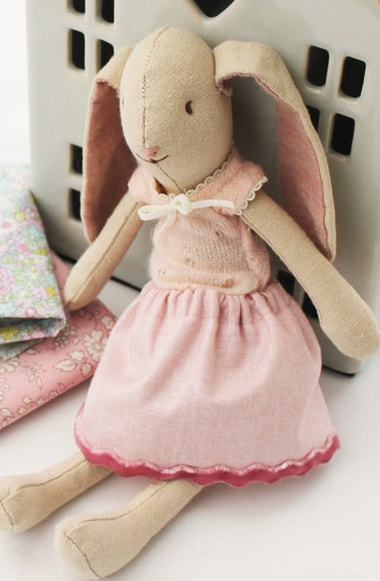 |
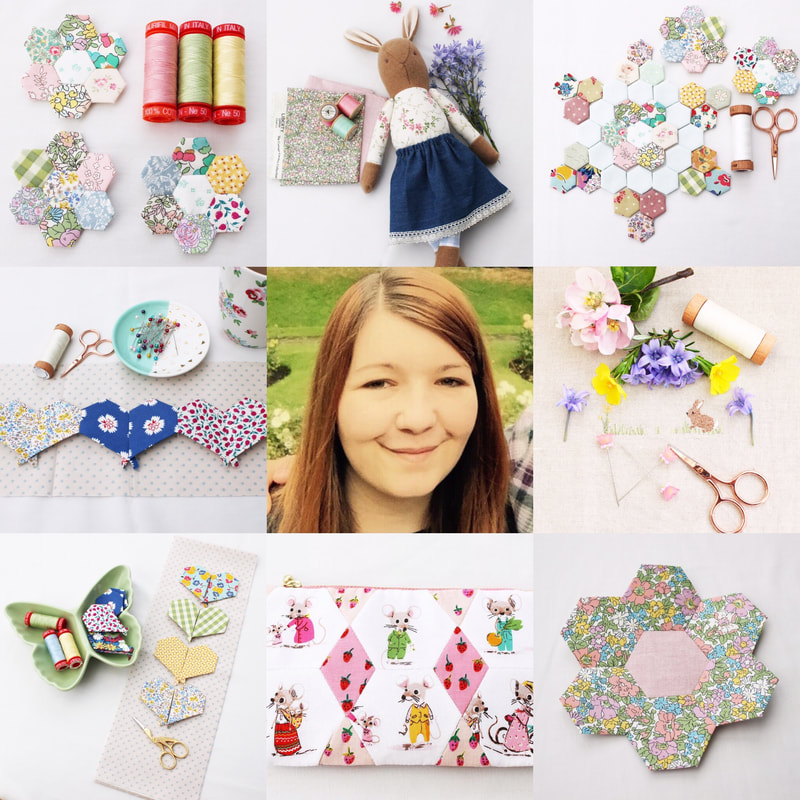
Follow me on InstagramAbout the Author
My name is Emma and I love all things sewing, especially EPP. My little blog is the place where I document what I'm making. I hope you enjoy reading what I'm up to! All opinions are my own and I only share things that I think you will love. Thank you for taking the time to stop by. Archives
September 2023
Categories
All
|
 RSS Feed
|
Copyright Vintage Sewing Box 2024
|
| ||||||