|
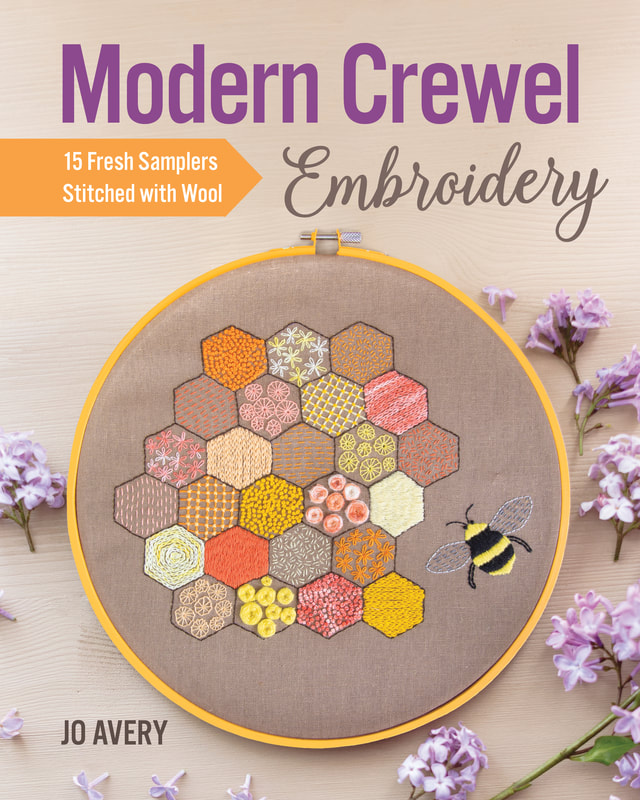
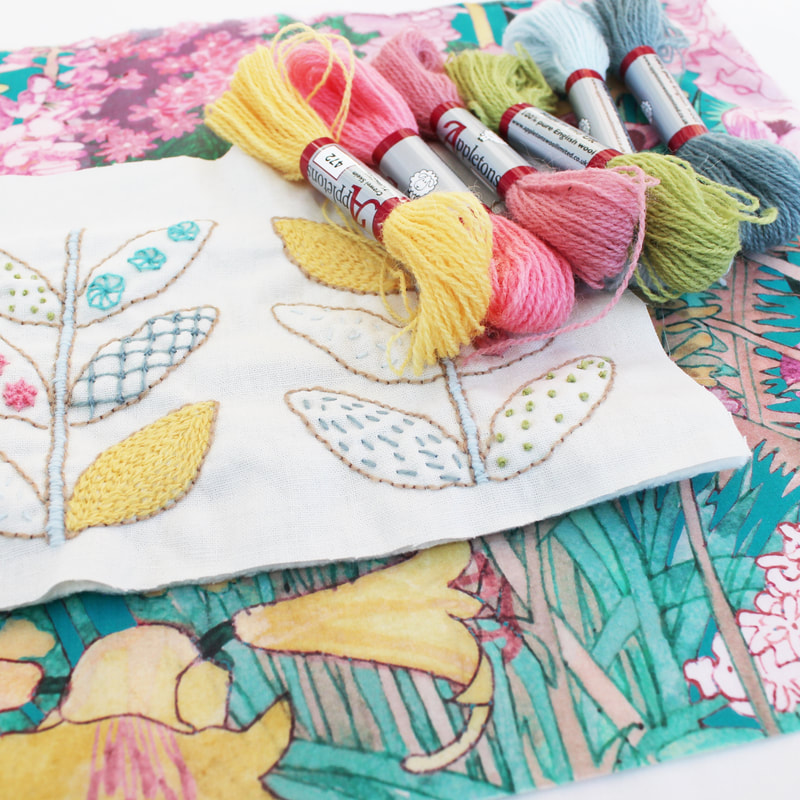
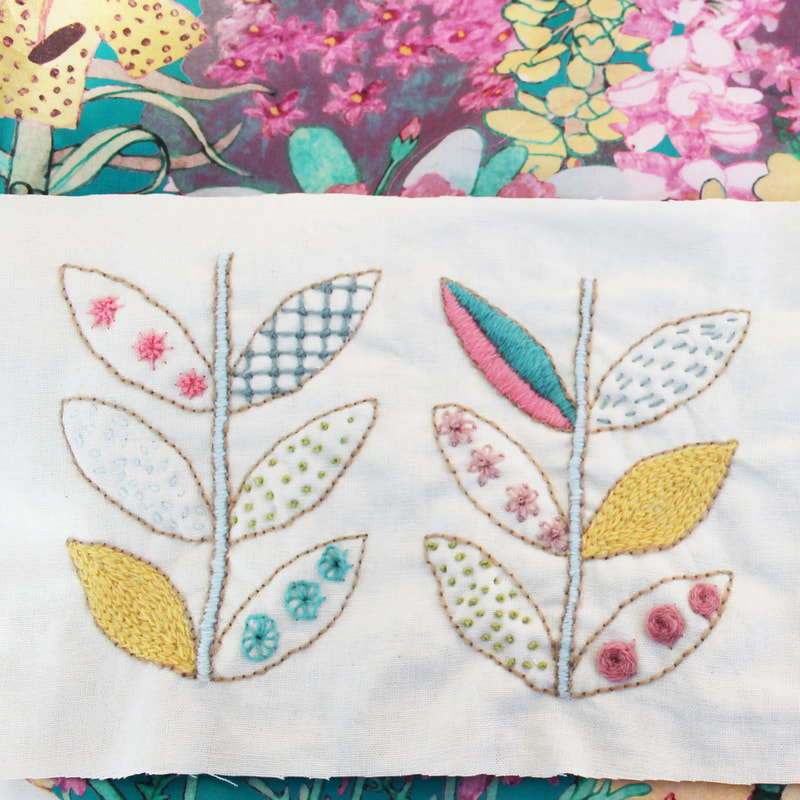
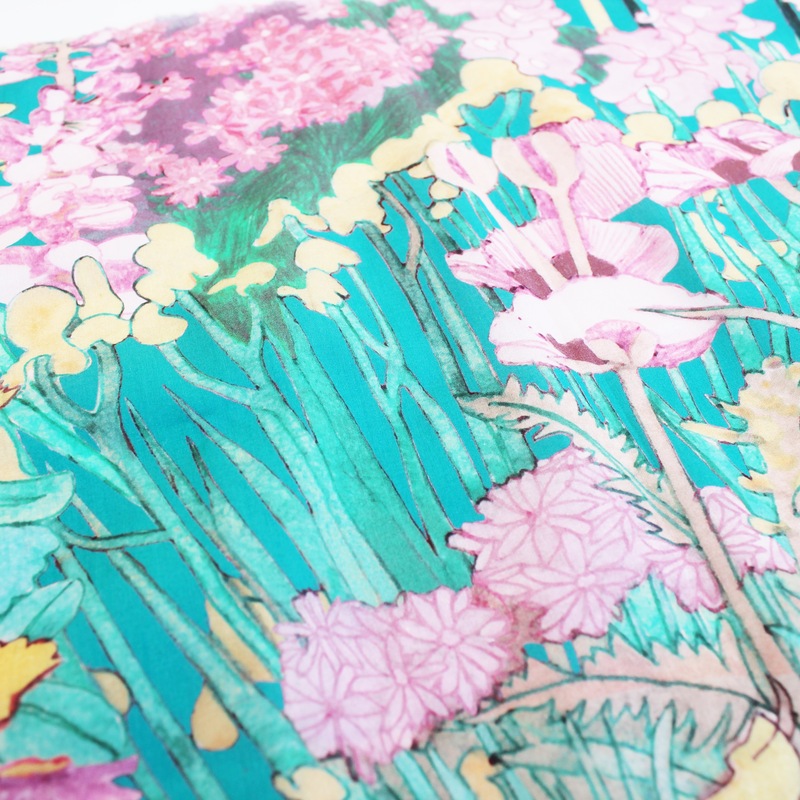
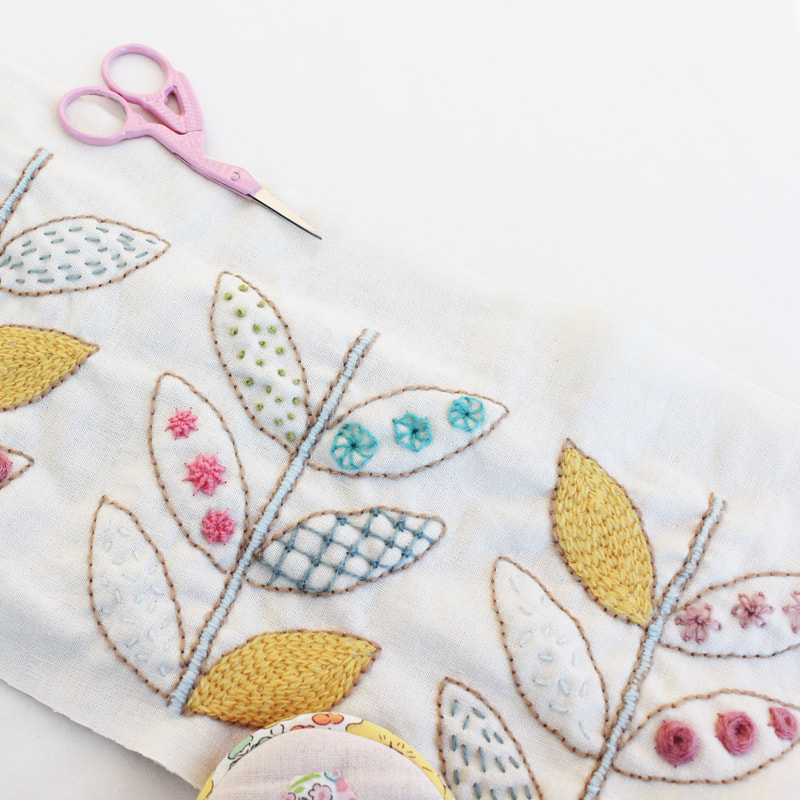
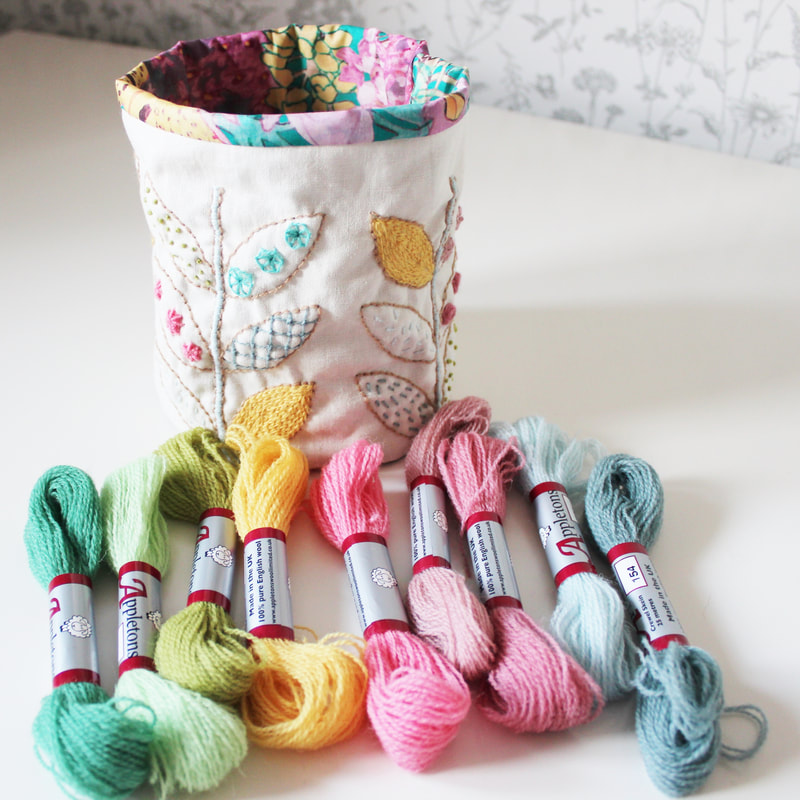
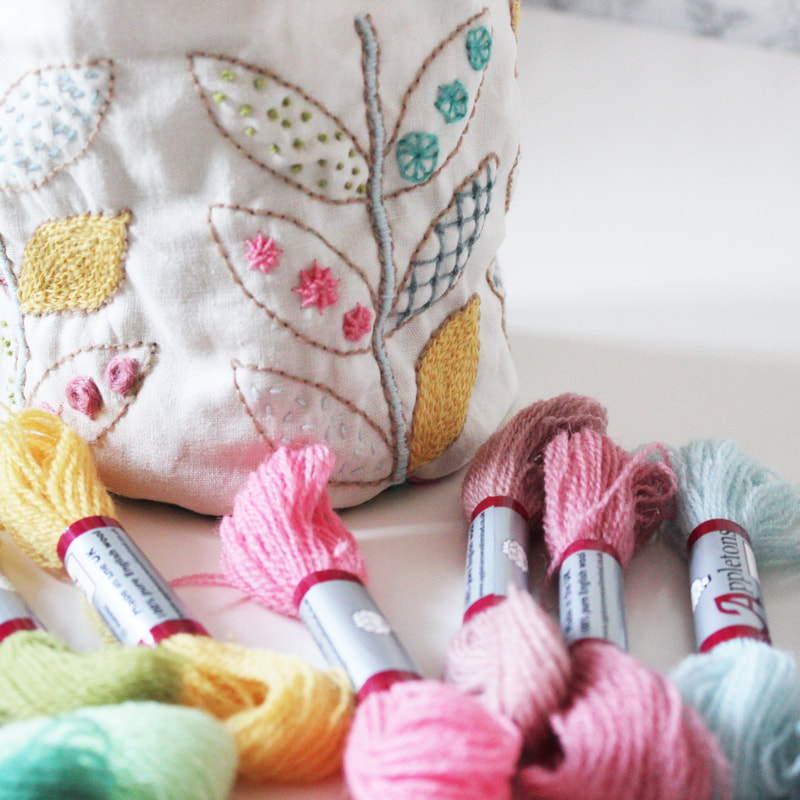
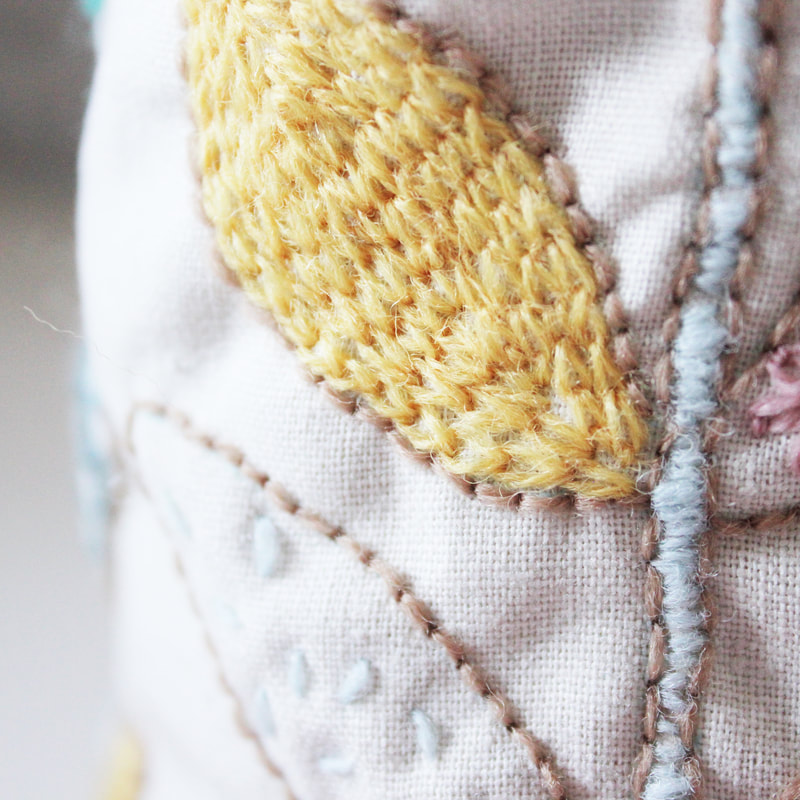
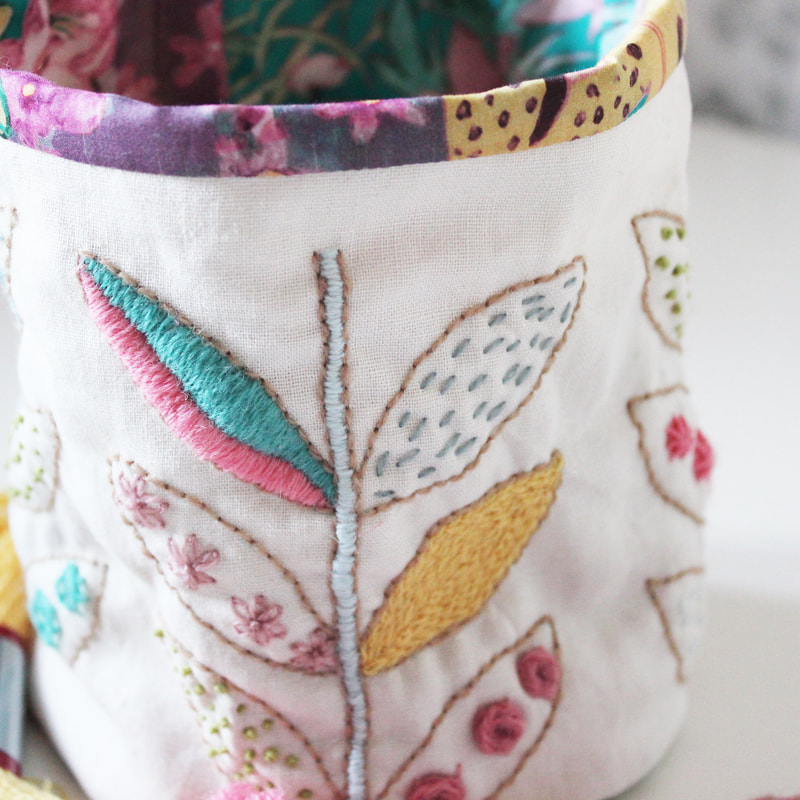
When the very lovely Jo Avery asked me to be part of the book tour for her wonderful new book, I was over the moon! I love Jo's work and I also love Crewel embroidery so I was excited to pick a project and get started. Her book is full of colourful, fun designs, it was hard to pick just one thing! I chose to make the Tendrils Pot because I love the variety of stitches involved and it will also be so pretty to have on display when finished. I love working with Appleton's Crewel Wool. They have a beautiful array of colours and it gives a lovely, fluffy, wooly texture when stitched up. If you've never used it before, it has some bounce to it whilst stitching, so the experience is very different to using embroidery stranded cottons. I chose to stitch it on Essex linen in the oyster colour. Combining the texture of linen and wool gave the piece a really unique feel. To line the pot and add a contrast, I paired the linen with some Liberty tana lawn in a beautiful turquoise colour with pops of pink. The only adjustments I made (apart from the colours) was to just make the pot a bit taller that the original. I'm so happy with how it turned out I might make another one! Modern Crewel Embroidery is an excellent book, great for anyone who enjoys crewel embroidery or is looking to try for the first time. Check out Jo Avery's website here to find out more about her and how to buy the book. I am also giving away a free E book on my Instagram page if you'd like to enter. Thank you so much Jo for inviting me to be part of this book tour and congratulations on another wonderful publication.
7 Comments
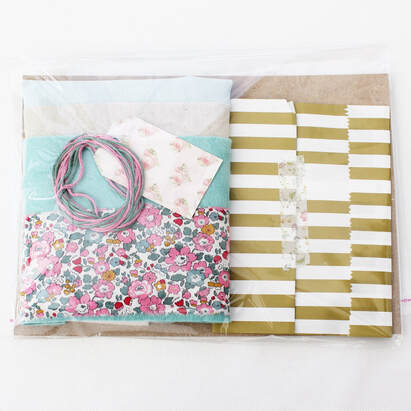
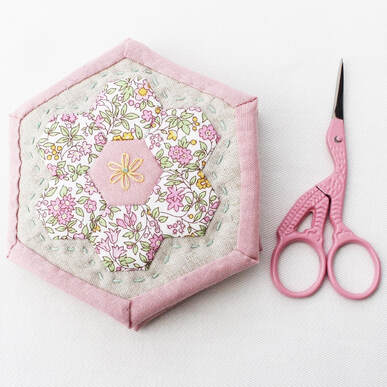
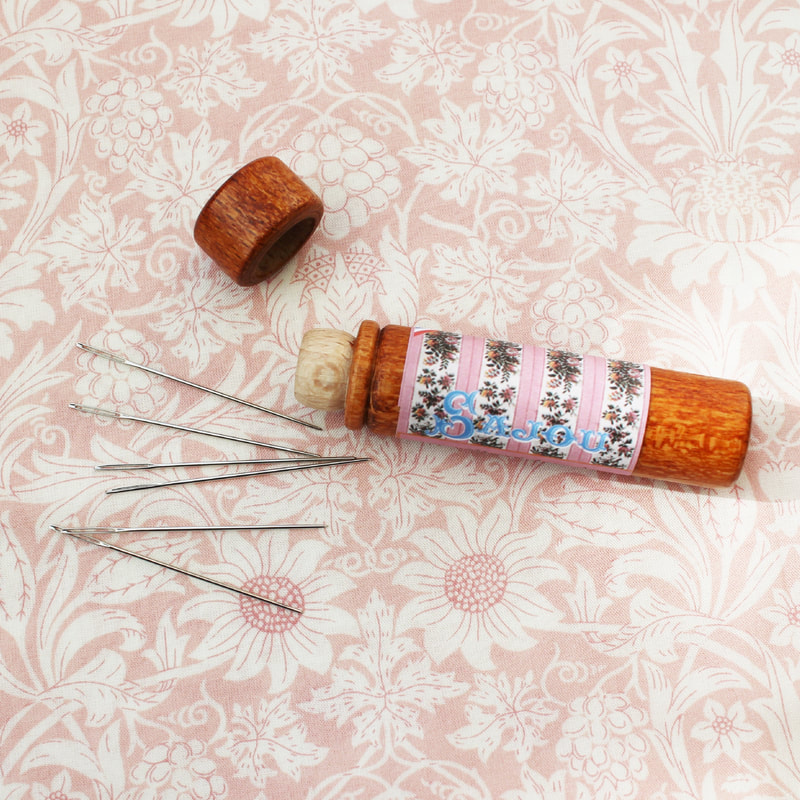
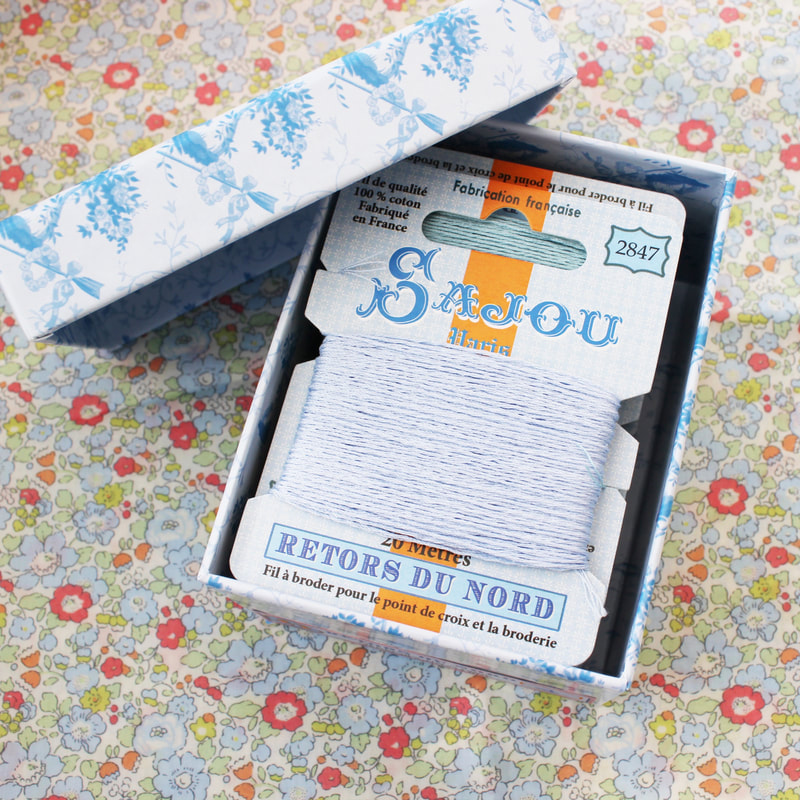
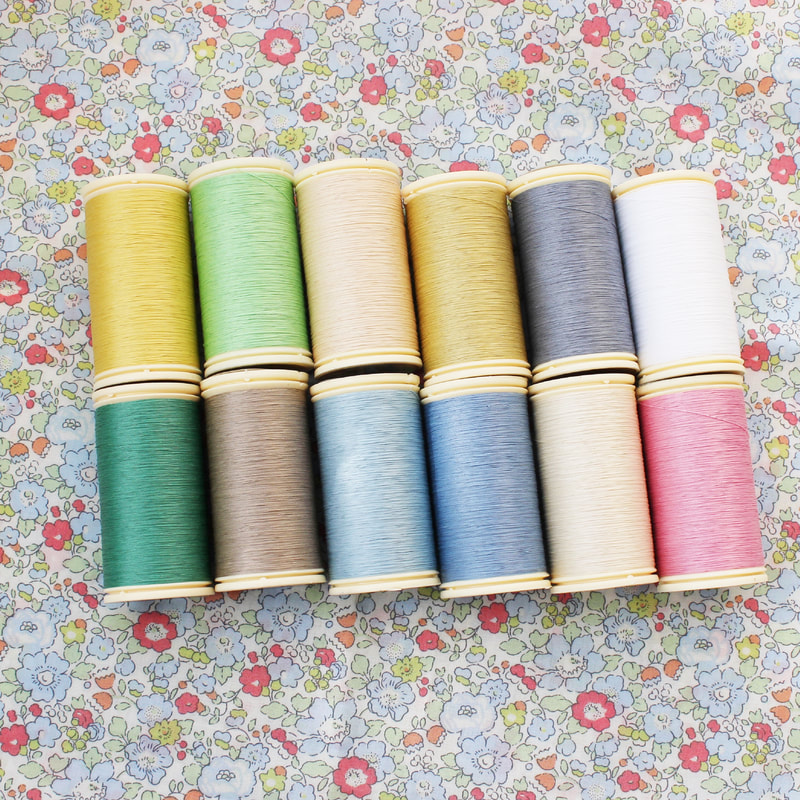
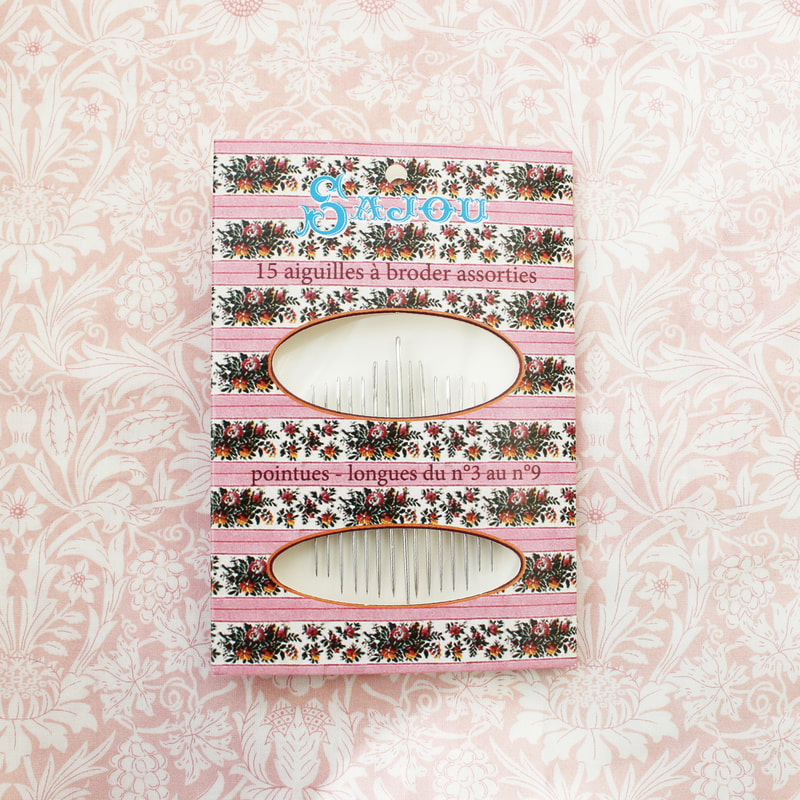
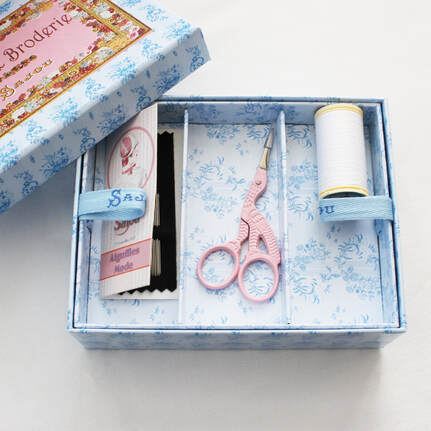
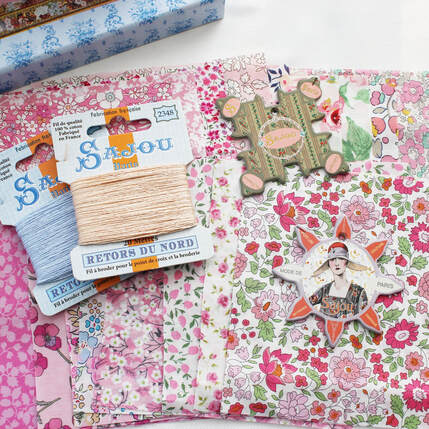
Hello Friends, how are you doing? I hope that wherever you are in the world that you are doing ok during the difficult times we have been facing. In the UK we are in our third lockdown and I have found this Winter lockdown to be difficult if I am honest. But I have tried to stay as positive as I can and sewing has really helped me to do that. I have just let myself make whatever I feel like and that has been really freeing and enjoyable. Over the last 12 months, I have really learnt how important sewing is to my mental health and well-being. If I haven't managed to fit a bit of stitching into my day, I don't feel as calm, relaxed and happy. Stitching allows me to forget about any worries and gives me something positive to focus on. This week on my Youtube channel, I shared a video about the projects I have been working on during this lockdown and what it is about these projects in particular, that is helping me to cope with lockdown. You can find the video below. I have also linked a video below that I made in September, which describes how slow stitching helps me deal with stress and anxiety. I hope you enjoy watching these videos, thank you so much and take good care of yourself. I'm really excited, and equally nervous to share that I am going to be adding more things to my shop on a regular basis! If you've read my newsletter or seen my latest Youtube video, you will have heard that as a family we have decided that it might be a good idea for me to try to sell a few extra things along side my patterns, rather than go back to my teaching job. So I have been working hard to find lovely, high quality items for my shop. First up, I am going to offer kits for all of my patterns. So far, I just have hexagon needle book kits available. I'm hoping that next month I will have the hexagon storage basket kits available and that it will continue to grow from there. The kits contain everything you need to make the item and are really good quality materials. Of course there is some Liberty Tana Lawn in there too! I absolutely love the French brand Sajou. Their products are beautifully made in France and have a vintage style to them. So I was delighted to become a stockist. Currently I have some of their needles and also their embroidery and gloving threads available. The gloving thread is a fine but stiff waxed thread that is strong and excellent for English paper piecing. I love the Sajou Retors du Nord embroidery thread so much! The colours are so pretty and the thread has a gorgeous lustre to it. It glides through the fabric and is just perfect for all hand embroidery. It is colourfast only up to 40c so shouldn't be used on any items that need regular hot washes. I also have some of the beautiful Sajou sewing boxes and I have filled them with Liberty charm squares, needles, threads, bobbins and some pretty scissors. These boxes are such a treat for anyone who loves tiny patchwork! I have lots of plans for more things that will be coming to the shop, so I really hope that you like what I have. Thank you to everyone who has made a purchase already, the response has been amazing.
Take care, until next time, happy sewing Hello everybody, I hope you are all well and staying safe at home. I feel like life is a battle at the moment, trying to deal with what is happening and the constant worries about so many things. Keeping busy is my strategy so I have two new things to share with you. First up, I've started a YouTube channel. I get asked frequently if I have a YouTube channel and also told I should have one! I didn't have much confidence in my video making skills so I didn't pursue it but after some thought I've decided to give it a go. The thumbs down feature on YouTube has always put me off. I know that when I get a thumbs down on a video, I will be a bit hurt. I don't have thick skin but I think I need to work on that, I know I will never please everyone! Currently there are only a few short videos on there as I work on uploading videos I have already shared on other platforms but I have big plans and ideas for what I'd like to share. First of all, I want to bring clear, concise 'how to' style videos to show people how to do English Paper Piecing and embroidery. These will be a combination of short videos teaching one or two techniques, and also longer, more in depth videos. As well as techniques, I have some ideas for project tutorials that I want to teach through video. My other idea is to do some lifestyle videos showing how slow stitching can be a beneficial part of every day life. What I show on YouTube will be different from Instagram. Instagram will be more of a daily snapshot at what I'm making and Youtube will be more tutorial led. What are your thoughts? Would you like to see videos like these from me? Do you have any other ideas for videos you think I should make? If you'd like to subscribe to my channel, I would be truly honoured. It's completely free and it means that you will see my new videos when I make them. You can find my channel here. The other thing I have been working on is updating my Hexagon Needle Book tutorial and putting it into PDF format. It's still available as a blog post but I thought it would be easier for people to download the PDF and save it to their computers rather than having to search for my tutorial. The PDF download is of course free and can be found here. Thank you to everyone who has made one so far, it's so exciting to see them popping up on Instagram. If you do make one and share it on Instagram, please tag me so I can see it.
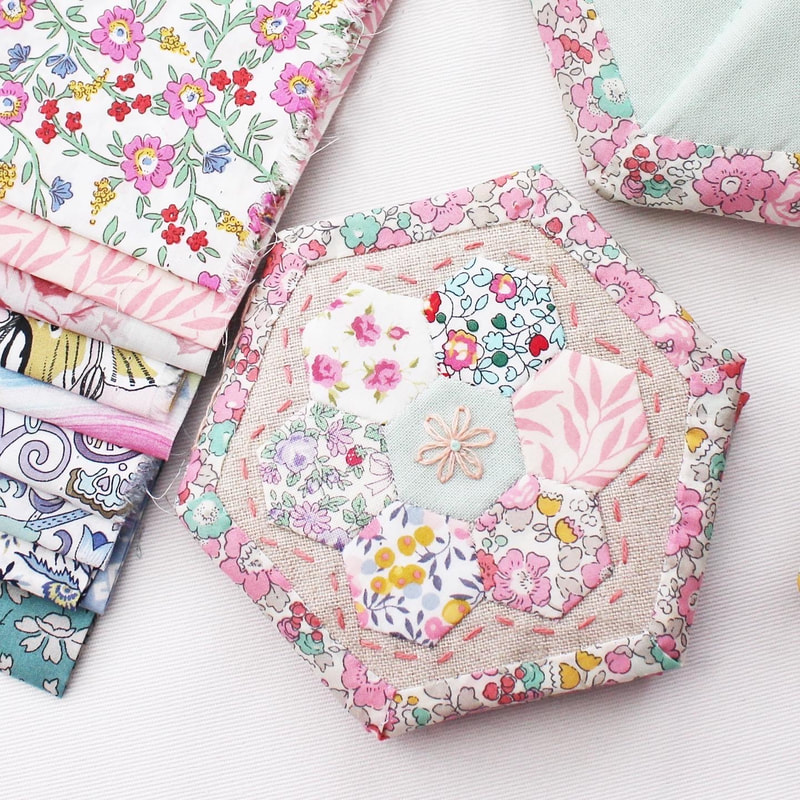
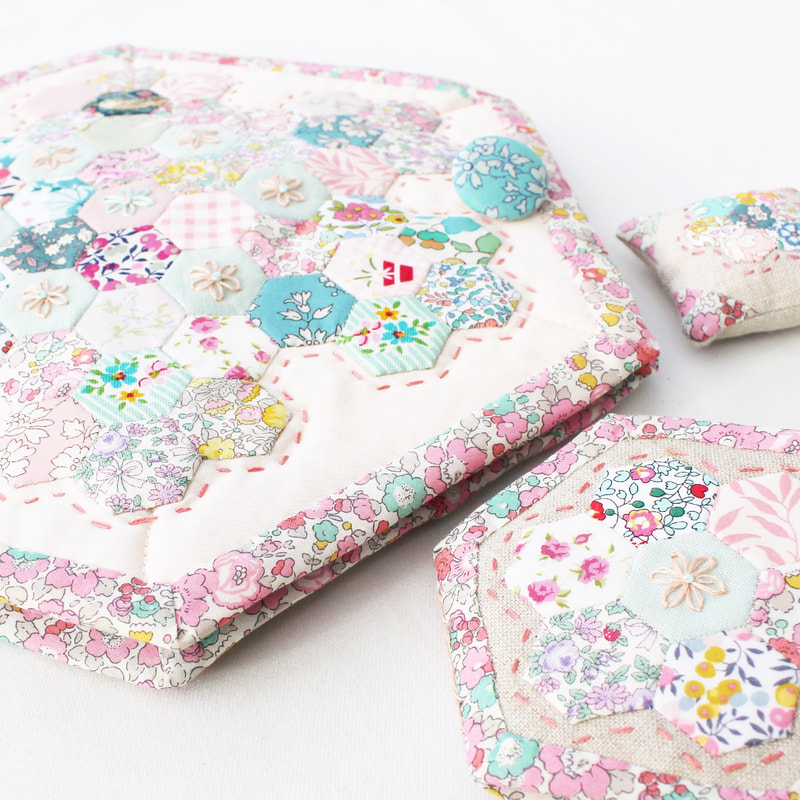
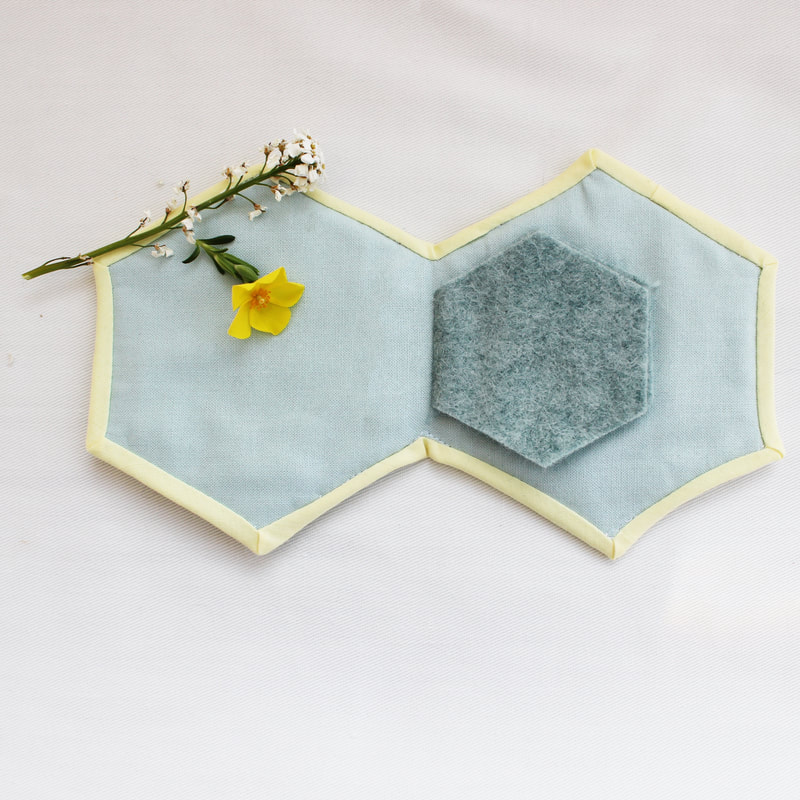
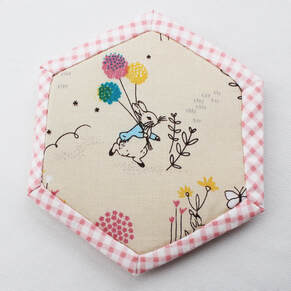
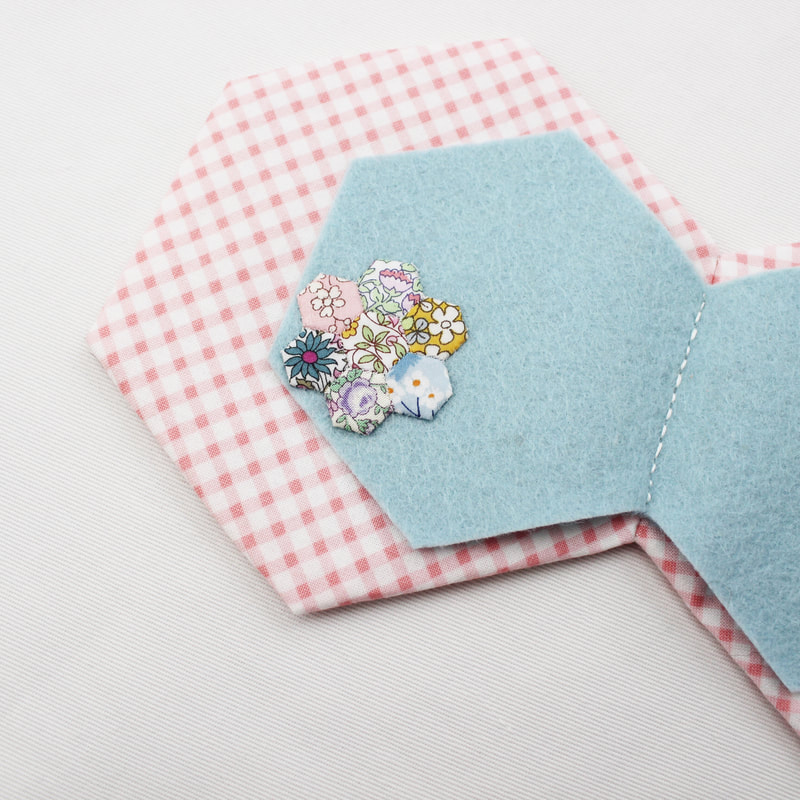
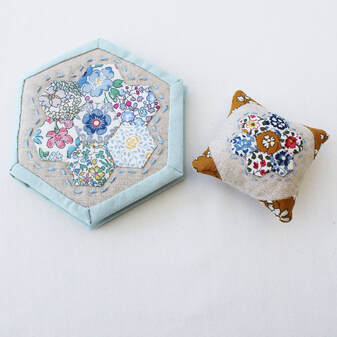
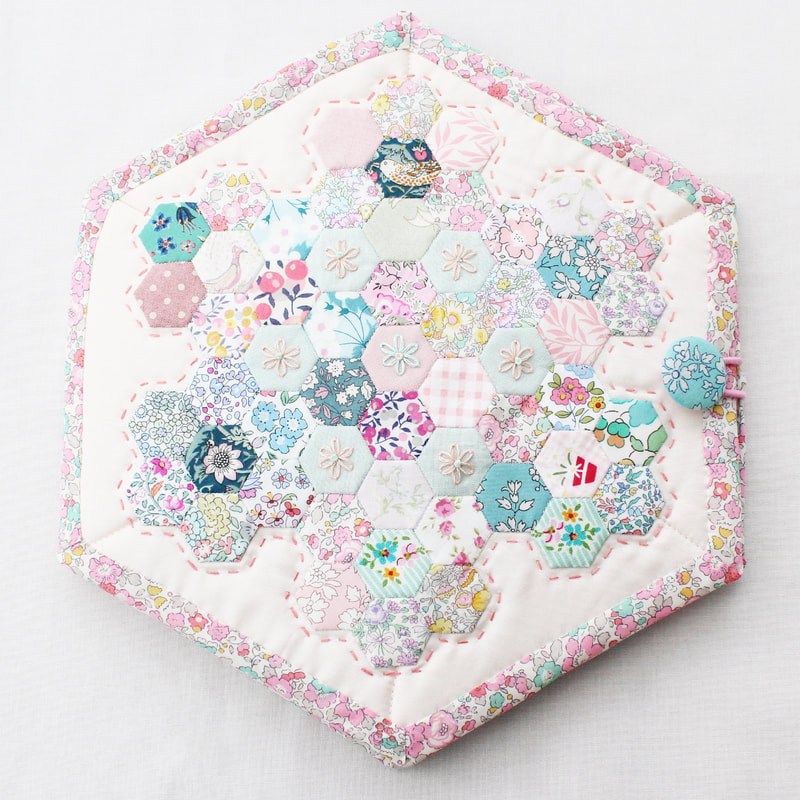
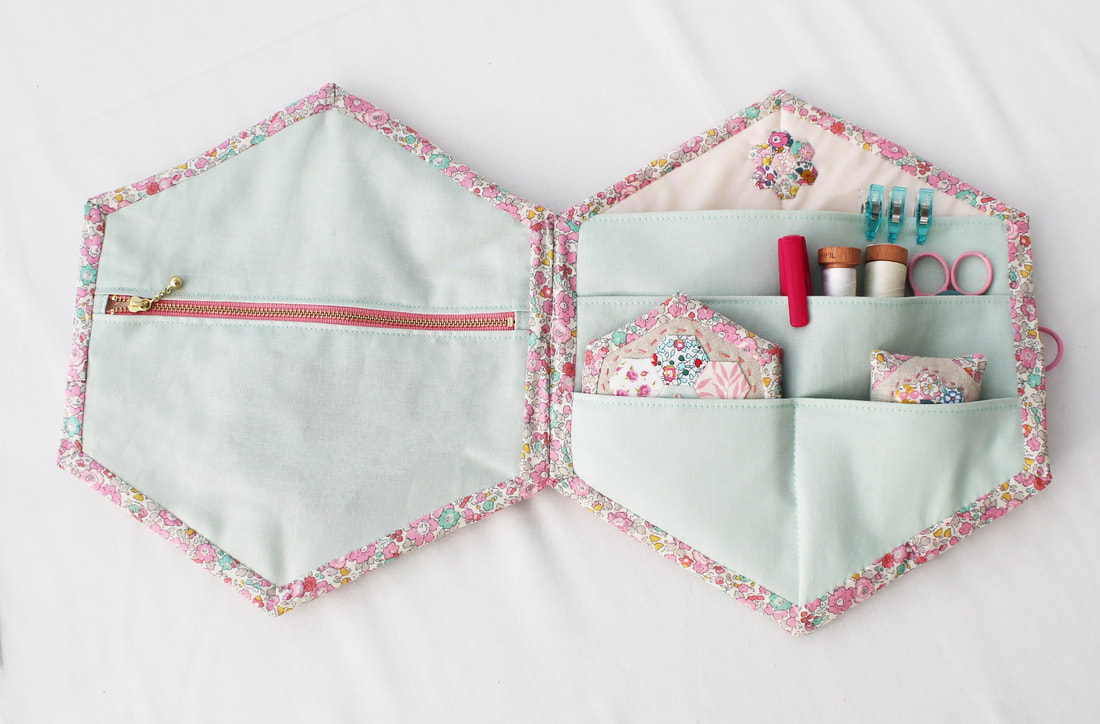
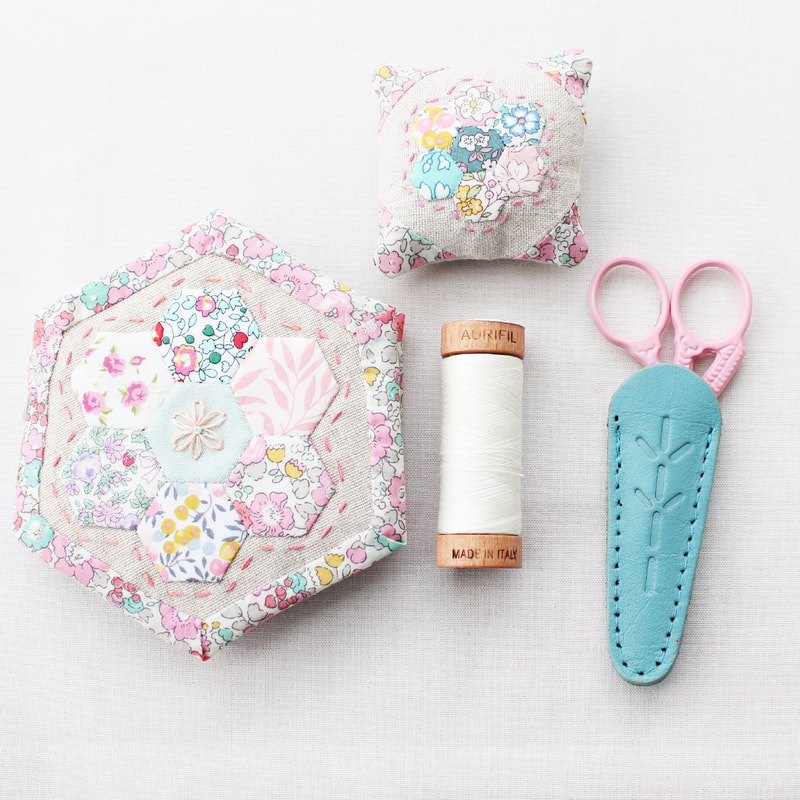
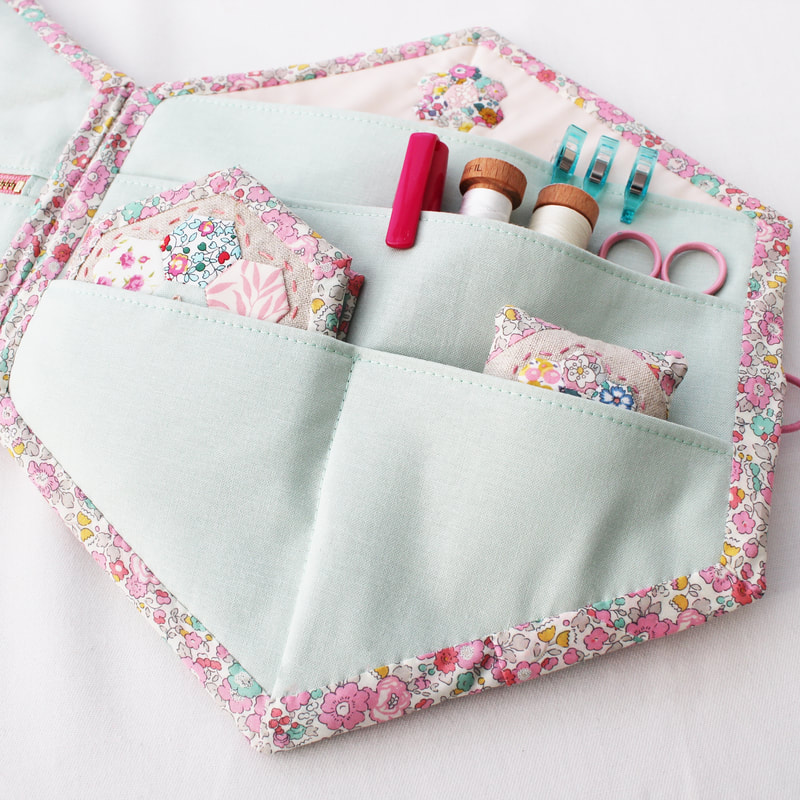
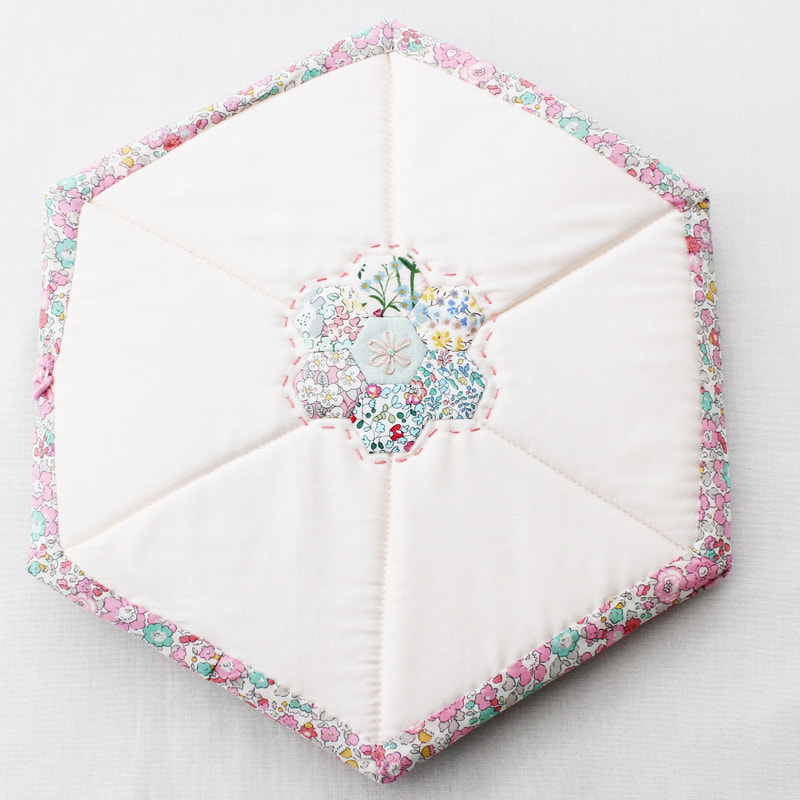
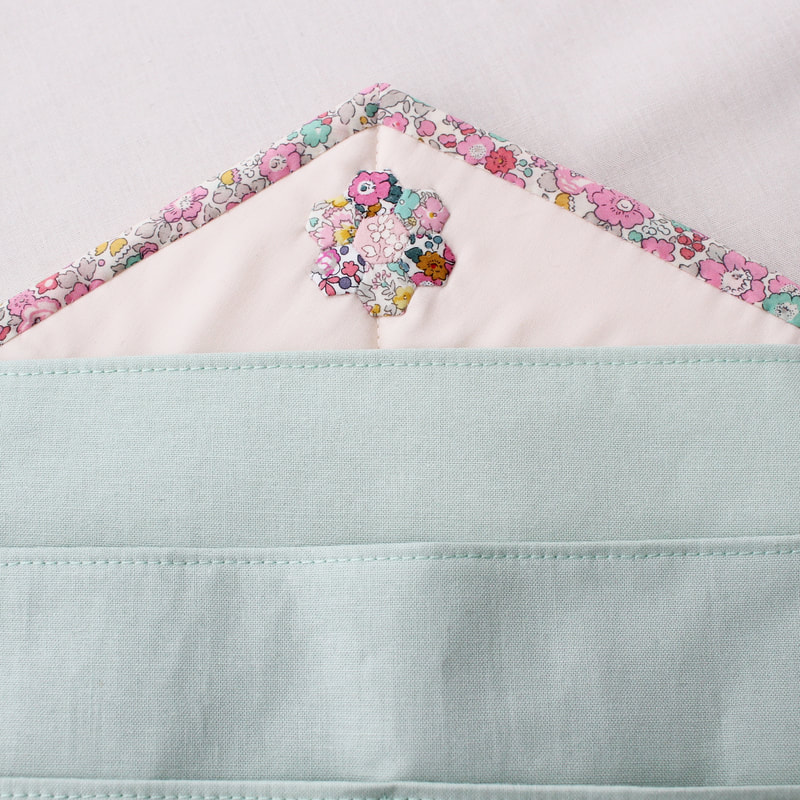
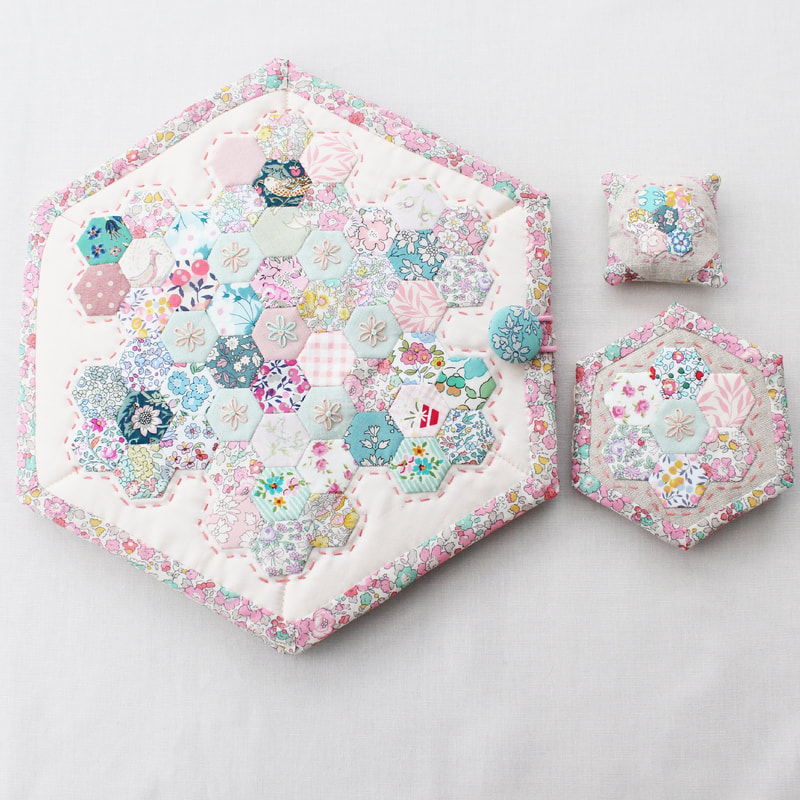
Take care, until next time, happy sewing! I'm going to tell you a little bit about my latest creation, a hexagon sewing set (for want of a better name!). Way back in April of this year, when I began to get really obsessed with hexagons and epp, I wanted to make a little hexagon needle book to keep my epp needles safe and seperate from other types of sewing needles. I couldn't find a pattern for a hexagon shaped case anywhere so I decided to make one up. I used my acrylic templates to cut two hexagons joined together to be the basic shape, but the finished result was disappointing. It didn't look accurate enough and the way I bound it with bias binding let it down. So I shelved the idea for a couple of months. Then I saw Naglaa's tutorial for quilt as you go hexagons on Instagram and a lightbulb went on, I could make a needle book using this technique! So I did and it worked. For the Beatrix Potter swap I made one for my partner and subsequently I made a few more. For those needle books I used interfacing and wadding inside and the result was really nice. The entire thing was stitched by hand and I really liked that, it felt like a nice little thing to make. But my mind had already starting wandering...could I make a sewing case too? A hexagonal one? So I gave it a go and I did it! I'm really pleased with how it turned out, even if it did take four attempts to sew the binding on! I ended up using a very unconventional method to attach it but it works and retains its shape which was very important. Instead of wadding, I used Pellon Flex-Foam inside and it is brilliant. It holds the hexagon shape perfectly and gives the case stability. I then went on the make a needle book to match and I used the foam here too and I'm really happy with the results. So this case is effectively a prototype. There are a few tiny tweaks to make but other than that I think I've cracked it. I love that the zipped pocket is big enough to store large hexie flowers and the other compartments fit the needle book, my matching pincushion and other tools and notions. I made pattern pieces for the sewing case as I went along just in case I wanted to make another one or maybe even turn it into a proper pattern one day. I think it is a customisable piece because instead of the half inch hexies I've put on the front, you could just put one larger hexie flower or even leave it plain to showcase your favourite fabric. Of course I had to add a little detail to the back too, and a really tiny hexie flower on the inside of course. So what do you think? Do you like my sewing case and the set of three pieces? I hope you do, please let me know in the comments.
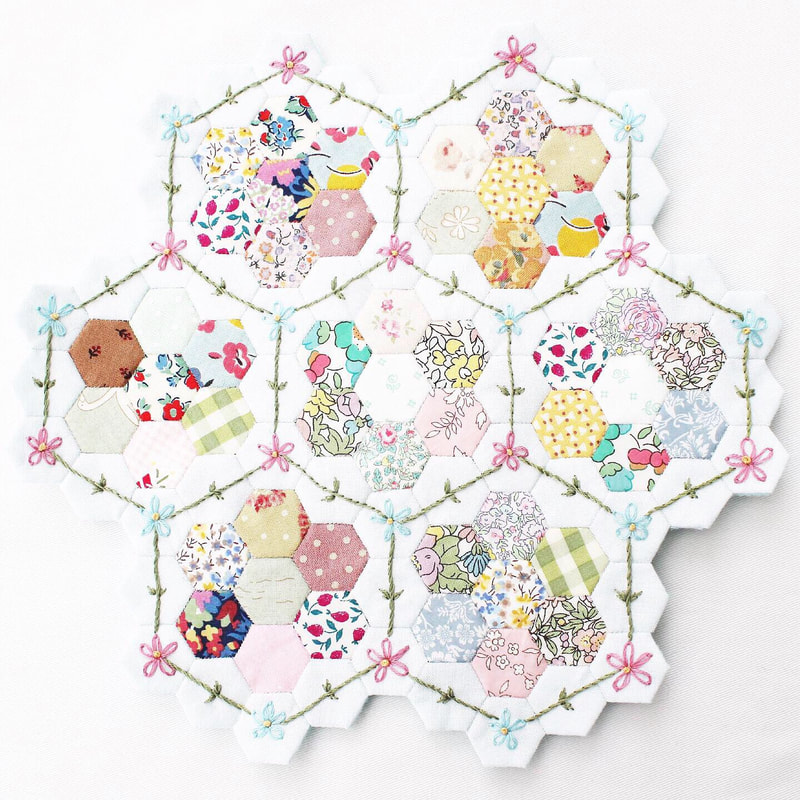
After numerous requests, I've finally managed to create a little pattern/step by step guide to creating your own version of my mini quilt pictured above. As I created this a long time after actually making the original, it isn't as detailed a tutorial as I would normally create. I didn't have as many step by step photos as I would have liked to have included, but I hope that if you would like to, it will help you make your own version.
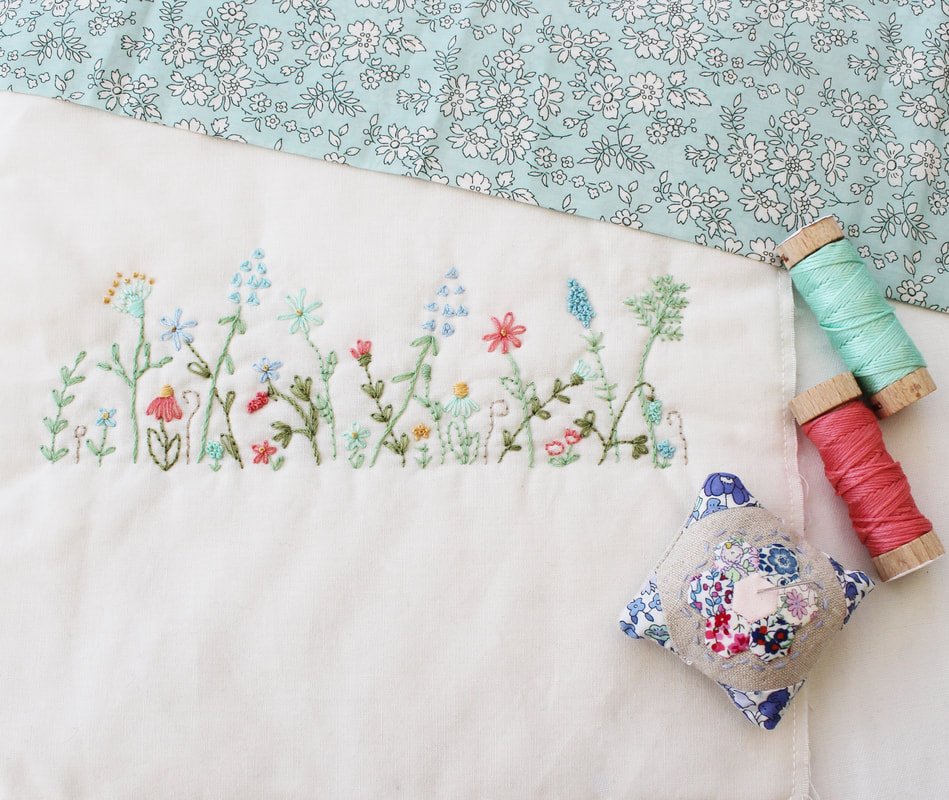
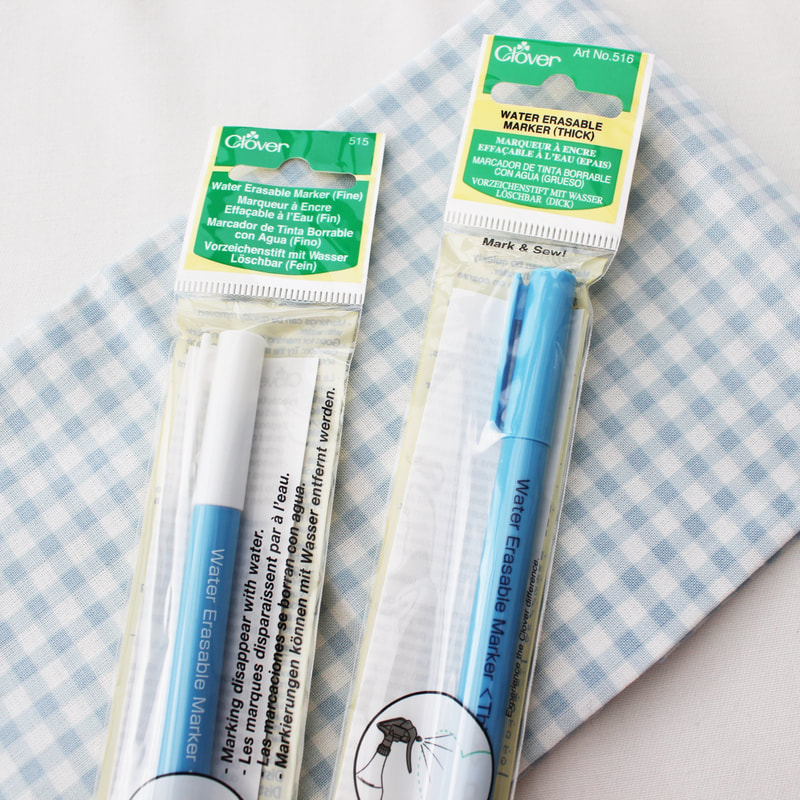
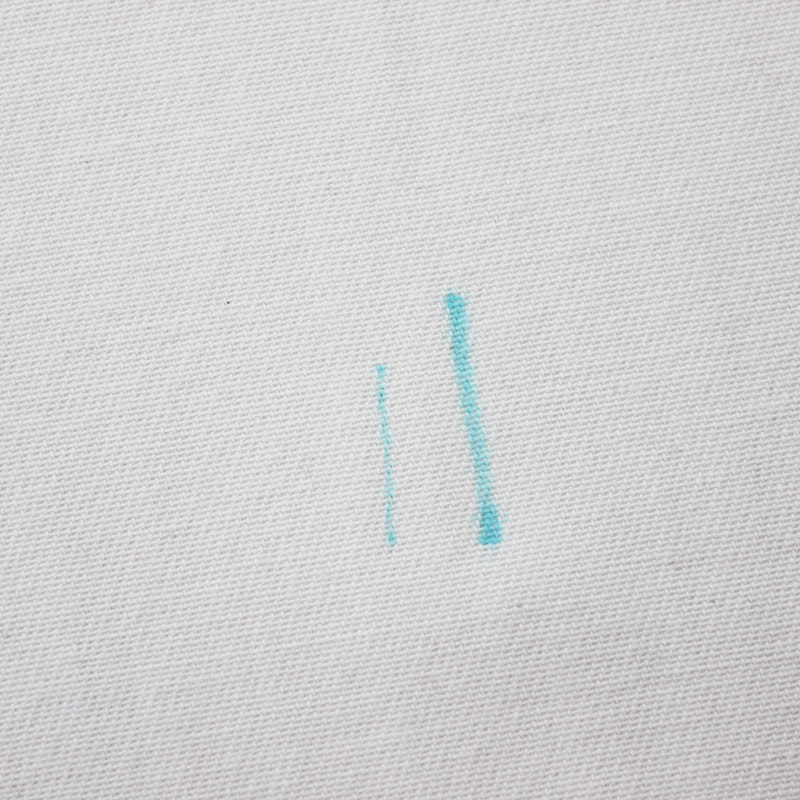
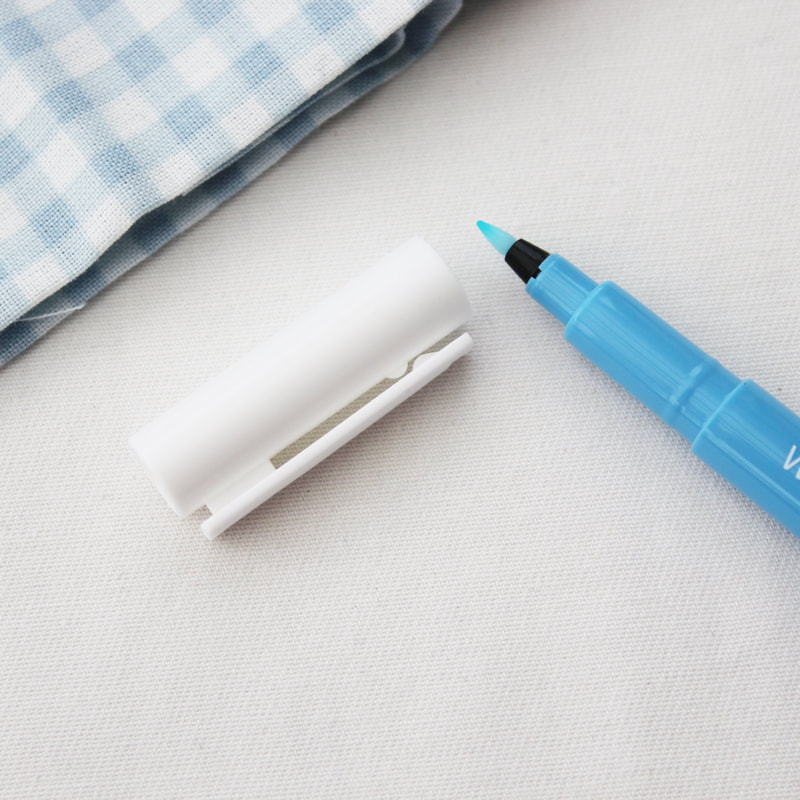
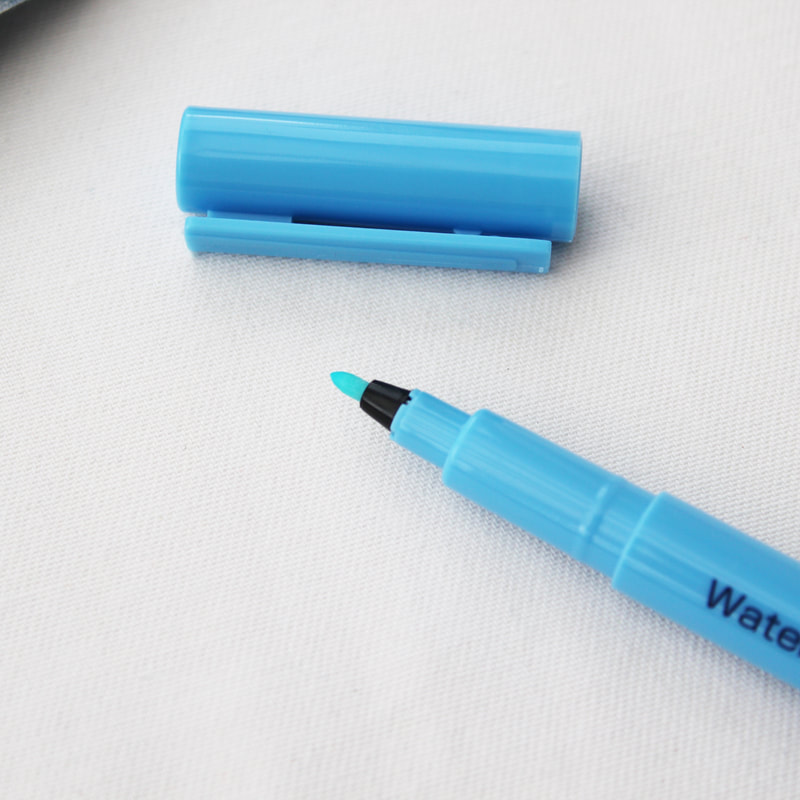
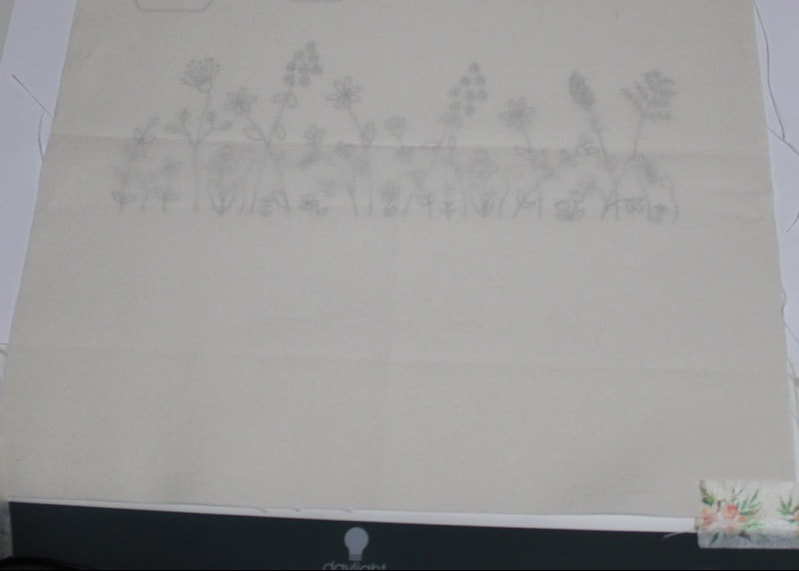
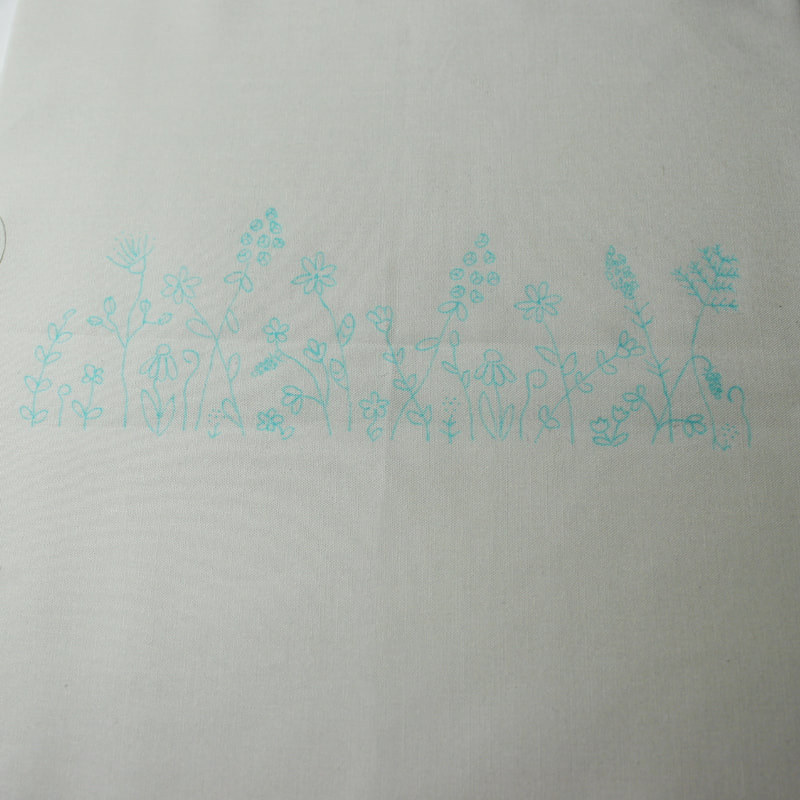
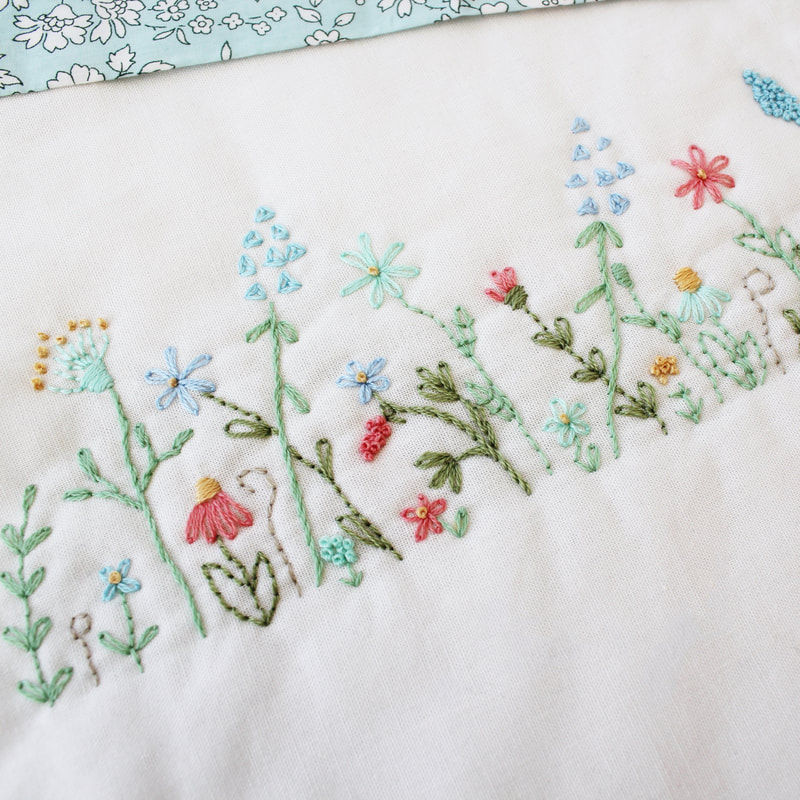
It has completely amazed me just how much people have loved this little mini quilt, my Gran would have been so happy if she could have seen it. I know there are a lot of people out there who would like to give this a go but were unsure as to whether it would be ok but you now have my permission to have fun and make this lovely design. A lovely lady called Marianne has already made her own version and it is beautiful. Thank you so so much again to everyone who has supported me in the epp journey I have been on this year. I hope this little free guide to making Mabel's Garden goes a little way to show just how grateful I am for all of you who read my blog and Instagram posts, you are all wonderful. I made the original using Hexiform shapes, but I've included a separate set of instructions for using paper templates instead. You can find the patterns here. And if you would like to read more about the original piece and the story behind it, you can find my original blog post here. Happy sewing! I'm currently working on a lovely pattern called Simple Sewing Folder by Lauren of Molly and Mama. The pattern is due to be released soon and I really recommend it. All of Lauren's pattern are beautiful but this one really spoke to me because of the embroidery. Over the years, I've tried lots of different methods of transferring embroidery designs to fabric, from heat transfer pencils to trying to print from my printer onto the fabric. But the method that works best for me is using a Lightbox and a water erasable pen. Clover very kindly sent me some water erasable pens to try so I thought I'd do a little review of them here. I only share products I really like and that I think you will like too. Clover make a thick and a fine pen. This is great because you have a choice over what sort of line you will need. I chose to use the fine pen and it was perfect for transferring this design. I taped the design to the Lightbox, placed the fabric on top and taped it down, switched it on and traced the design. The pen was very smooth across the fabric and I had the design transferred in no time! I've used other brands of water erasable pens in the past and it's always taken 2-3 washes with cold water to remove the lines. However, the Clover pen washed out on the first wash and I was delighted with the results. This design was a pleasure to stitch and now I can't wait to finish the sewing folder. What method do you use for transferring embroidery designs?
|
Follow me on InstagramAbout the Author
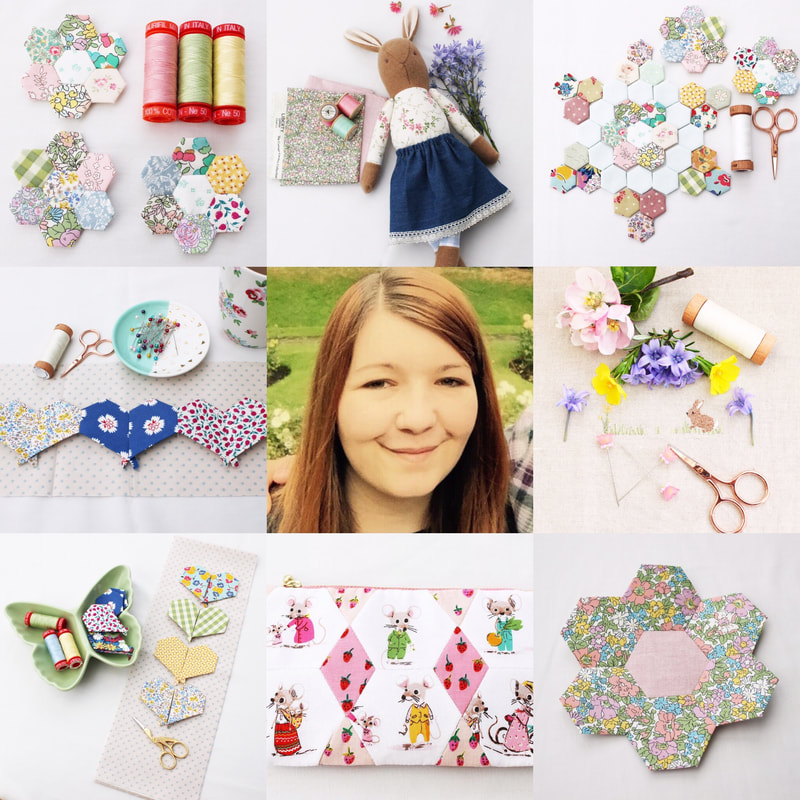
My name is Emma and I love all things sewing, especially EPP. My little blog is the place where I document what I'm making. I hope you enjoy reading what I'm up to! All opinions are my own and I only share things that I think you will love. Thank you for taking the time to stop by. Archives
September 2023
Categories
All
|
 RSS Feed