|
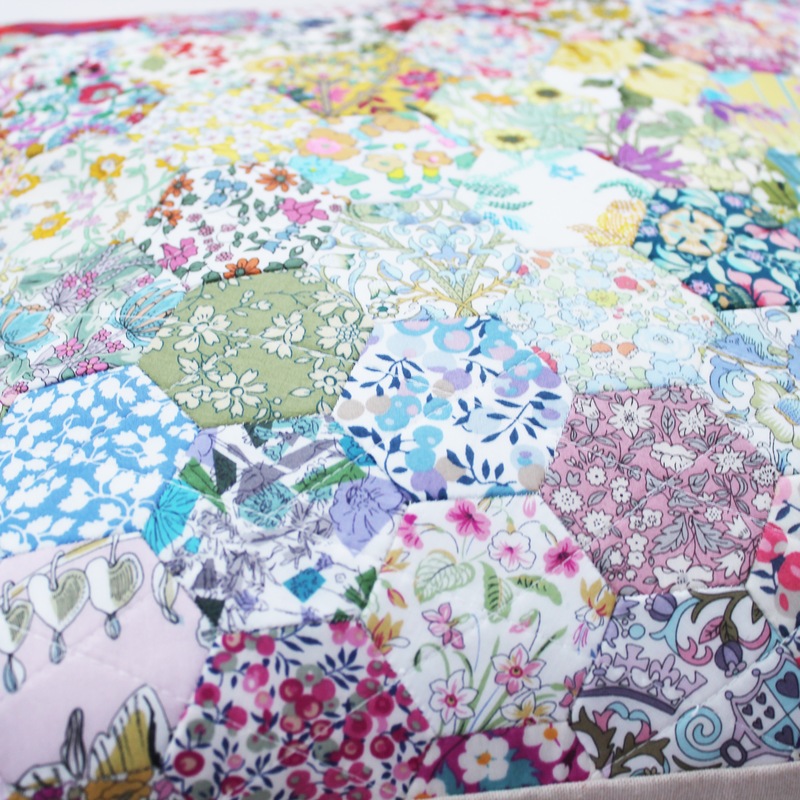
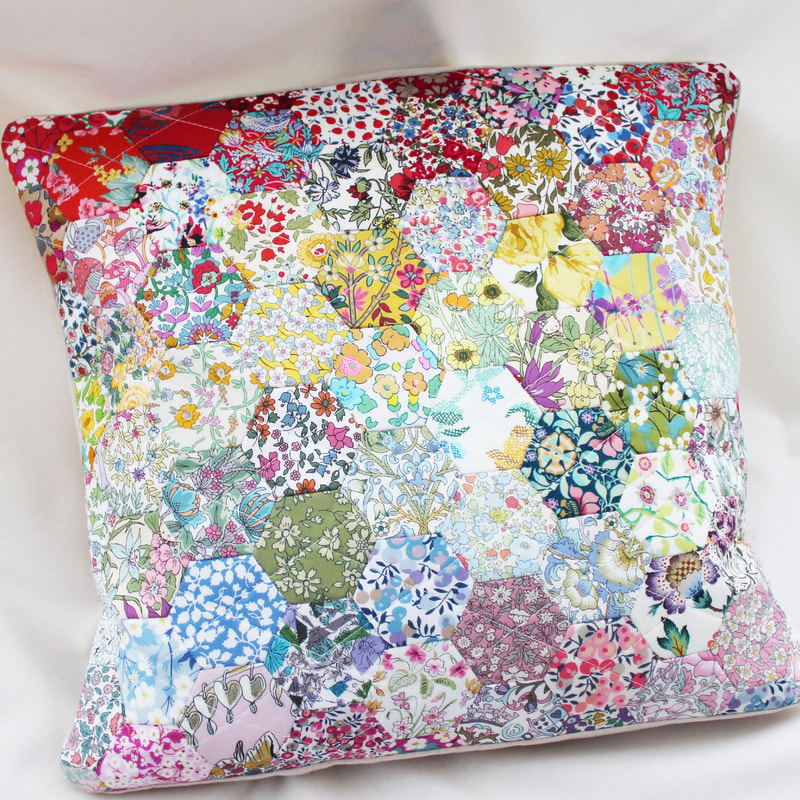
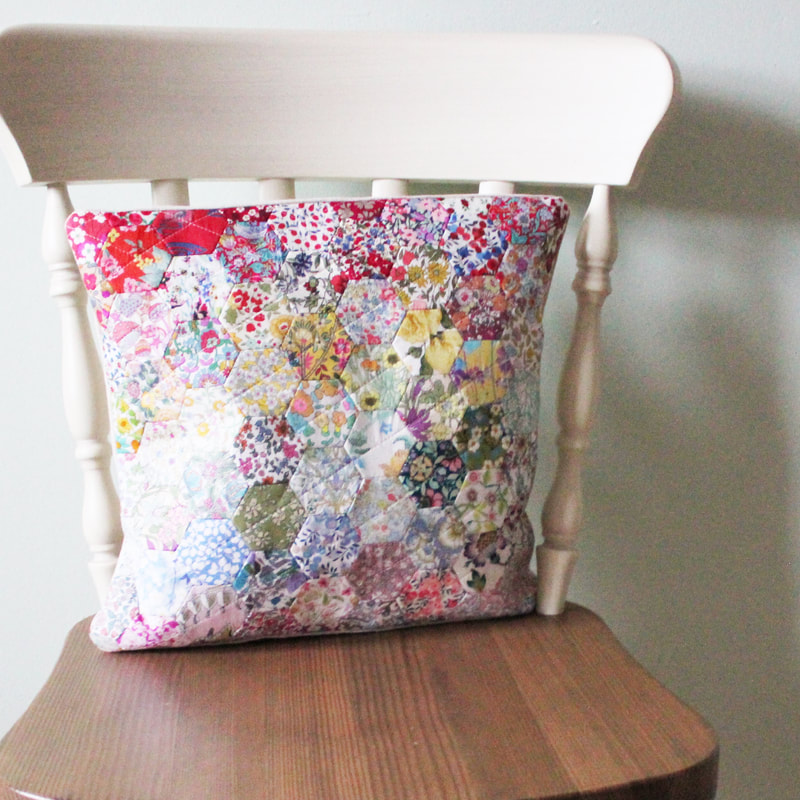
This week's Youtube video (well it should have been last week's but I am behind on all of my plans already!) is a little tutorial for how to make a hexagon cushion. This cushion is really easy to make for the following reasons: 1. I used pre-cut 1 1/4" hexagons from Ava and Neve for most of the hexagons, I only cut a few out myself. This really speeds up the process. The Liberty fabrics are so pretty and I love the overall "busy look" they created. I usually use solids to break up prints in what I make but I wanted to create a different look here. I also tried to create a bit of a rainbow gradient but not too obvious. 2. I used 1 inch Hexiform hexagons which were pre-cut too. Using pre-cut shapes and fabrics made it really quick to baste the shapes to get to the sewing part faster. 3. I glue based the shapes which is another really quick and easy method. 4. You can make the cushion any size you want, just lay out your hexagons to the desired size, remembering you will lose 1/4" in your seam allowance at the end. As a guide, my finished cushion is 14 1/2" x 12 1/2" and I made it from 7 rows of full 1 inch hexagons, 10 hexagons in each row. I also added 5 half hexagons to the top and 5 to the bottom. So that's a total of 70 x 1" hexagons and 10 x 1" half hexagons. 5. Hexiform is designed to be left in so this speeds the process up further as removing papers can take time. Having said all of that, it still took hours to sew it all together by hand so it was not a quick project for me. It was extremely enjoyable and relaxing to make and I am really happy with my finished cushion. I have lots of plans for more EPP cushions and I might have started two more already!
Thanks for checking out my video, have a lovely day.
2 Comments
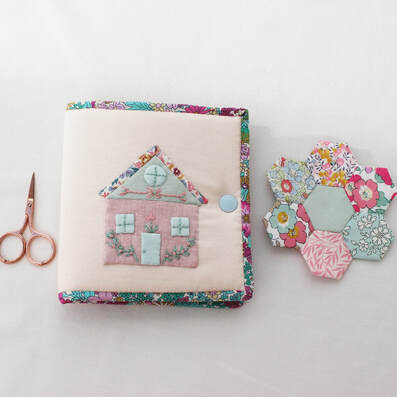
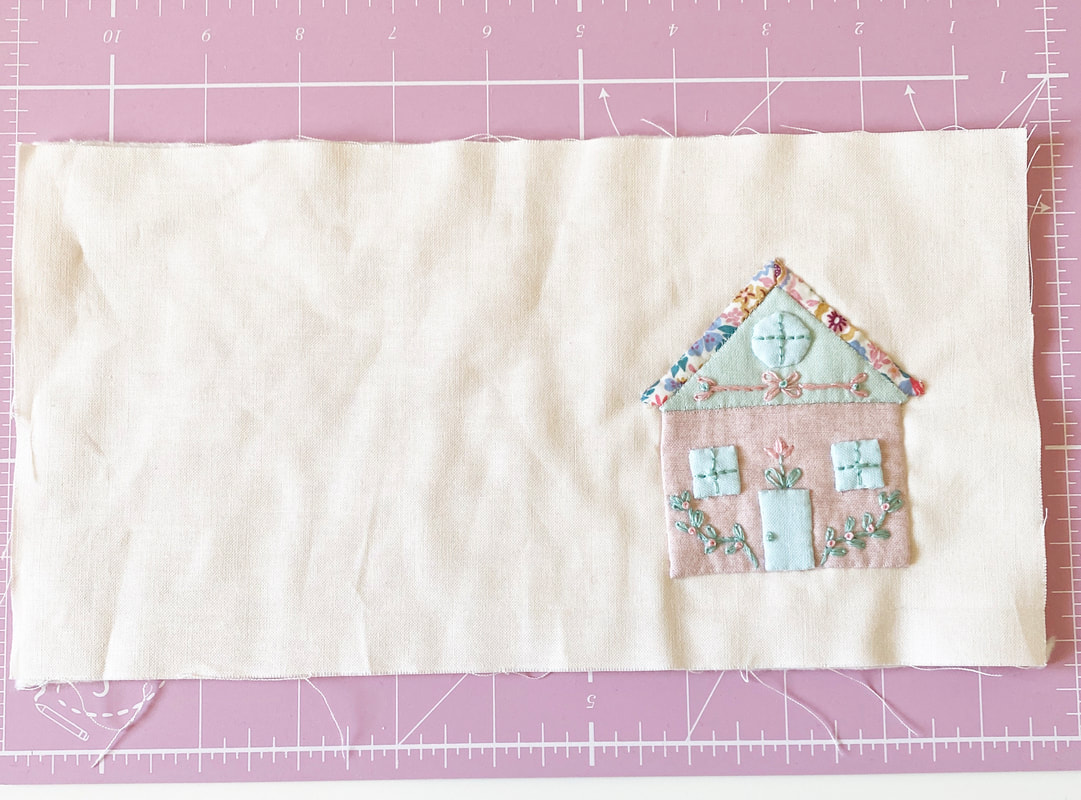
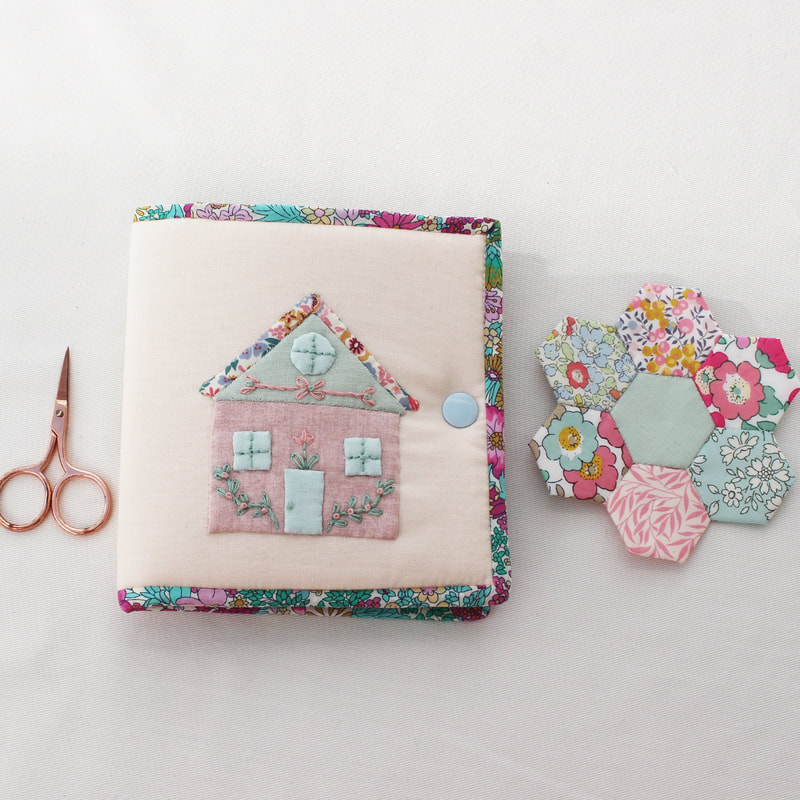
Hello! Today I am here with a little tutorial for how to make this tiny sewing case which is perfect for carrying around tiny stitching projects. The case has the little house block appliquéd onto it. You will find the templates for the house and the video showing how to make it here. To make the tiny sewing case, you will need:
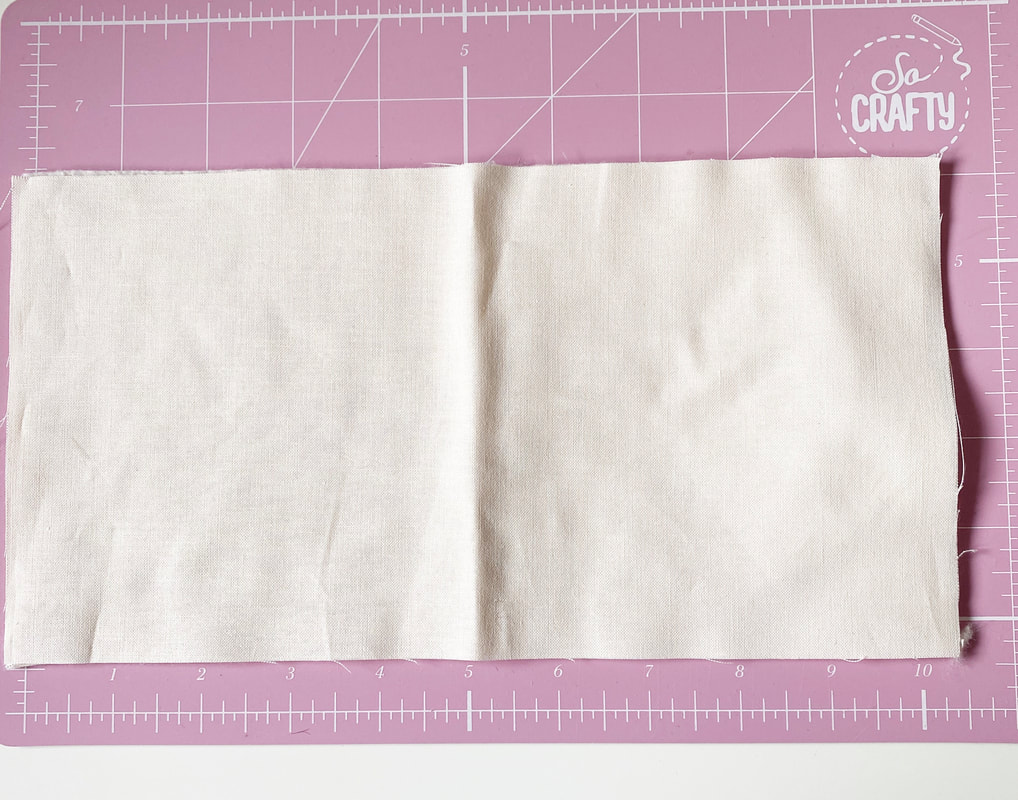
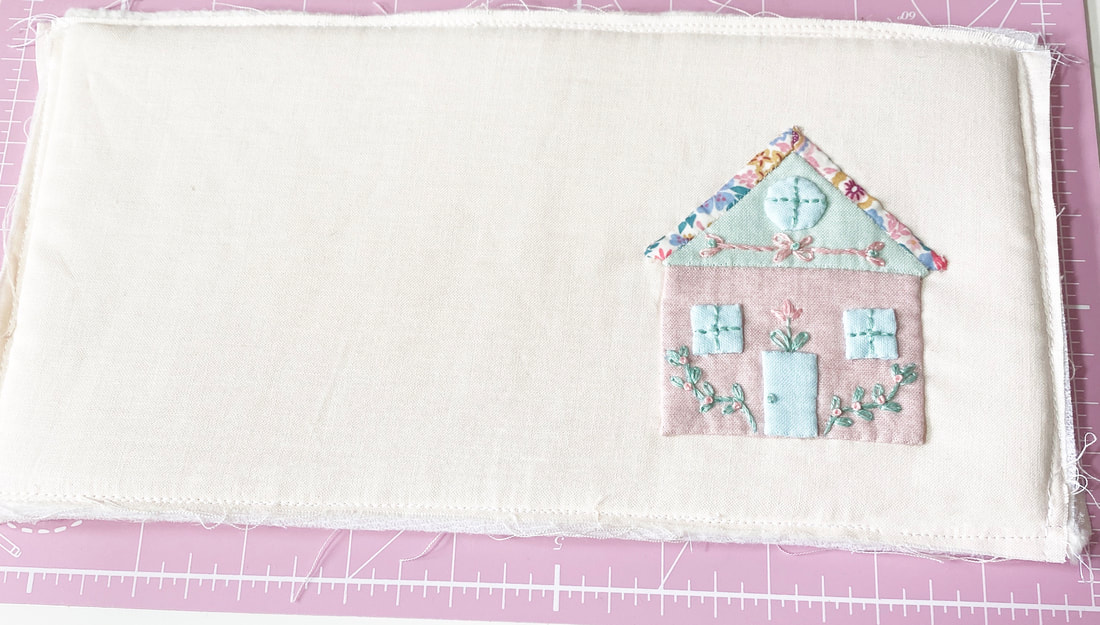
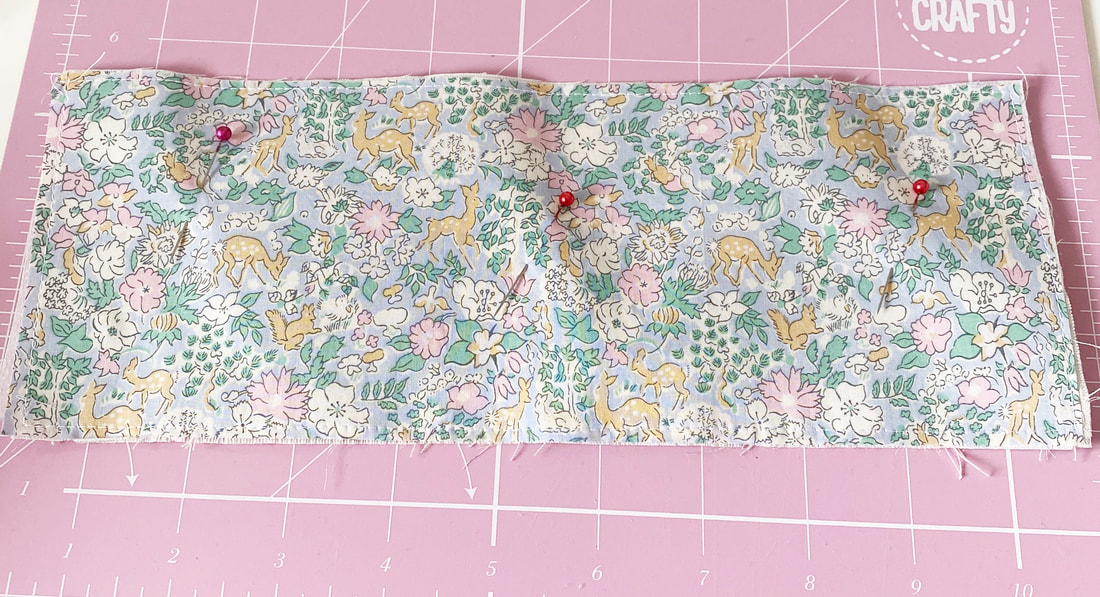
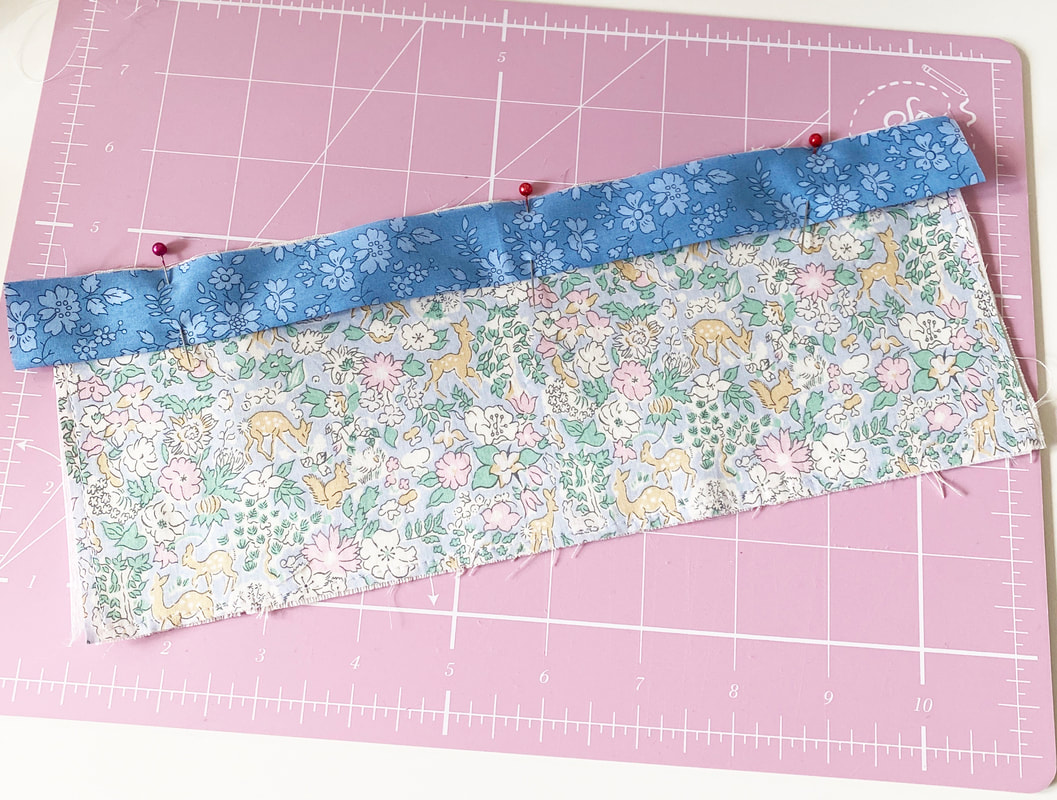
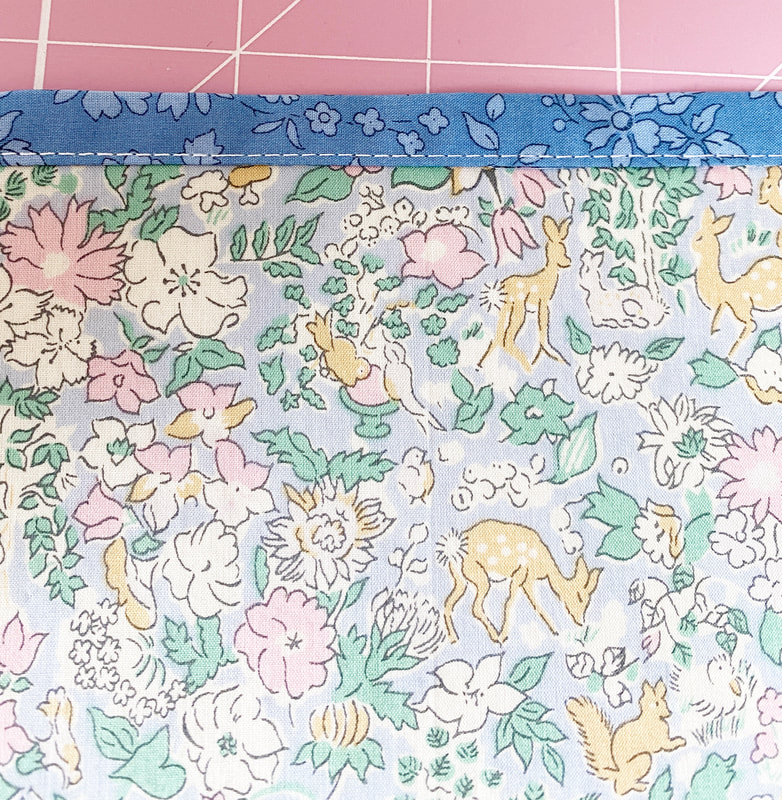
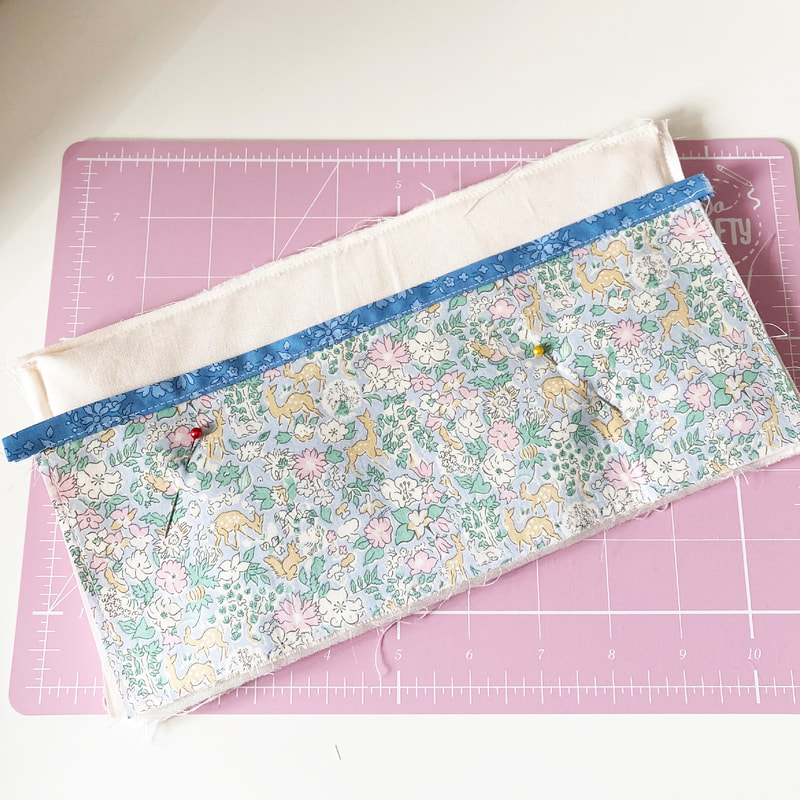
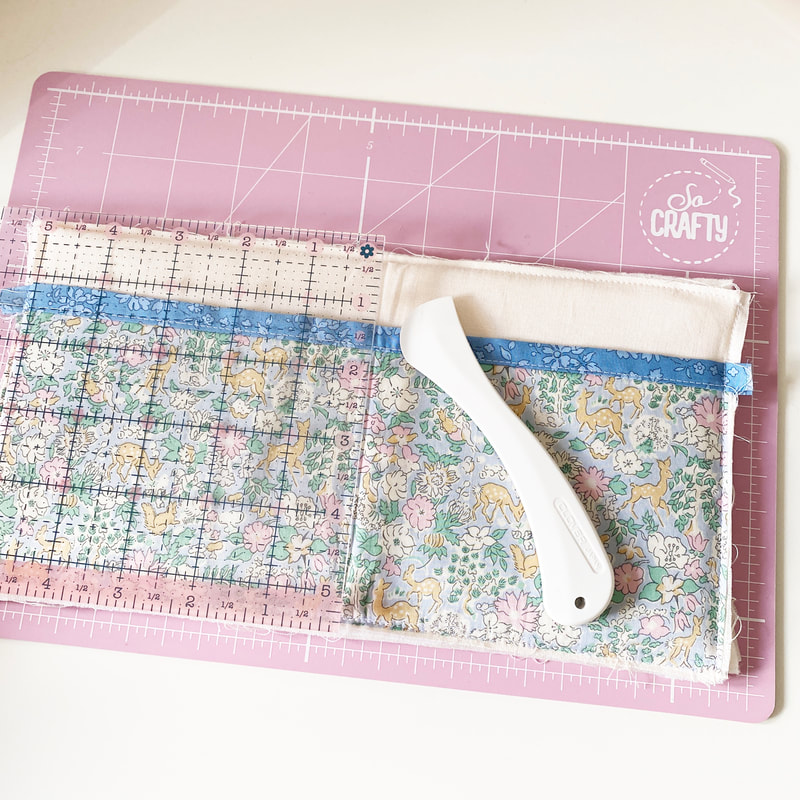
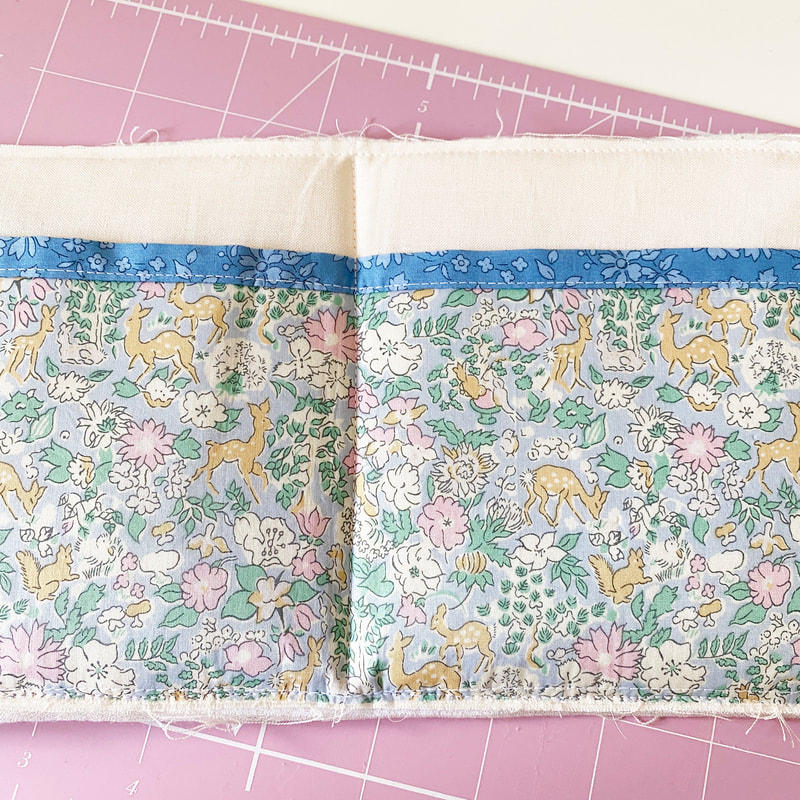
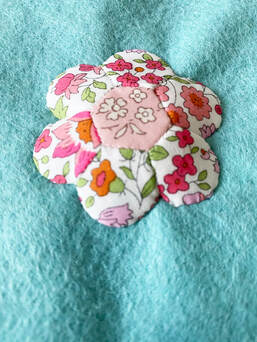
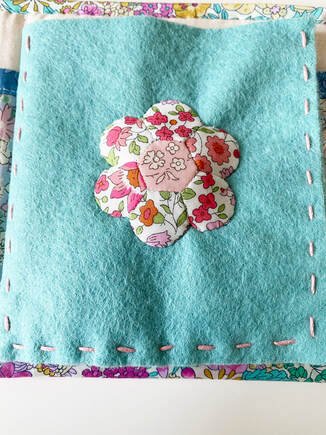
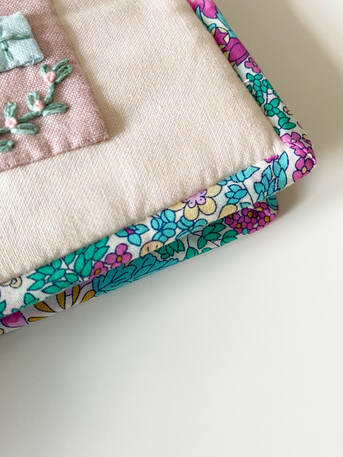
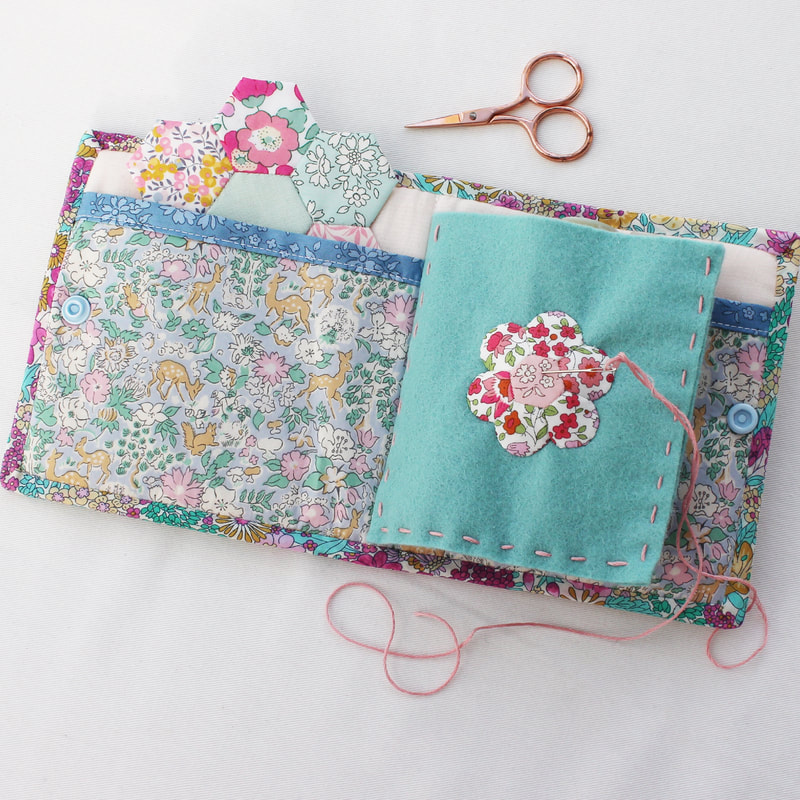
1. Take one of your pieces of cotton that measures 10 1/2" wide by 5 1/2" tall and find the centre by creasing it. 2. Applique your little house block to the right hand side. 3. Create a quilt sandwich by placing your other piece of cotton measuring 10 1/2" wide by 5 1/2" tall right side down, place the foam on top and then your piece with the house on top of that. Pin in place and sew all the way around the edge using a 1/4" seam allowance to secure the layers. 4. Next construct your pocket. Iron the interfacing to one of your pocket pieces. Place the two pieces of pocket fabric wrong sides together, pin and sew all of the way around the edge with 1/4" seam allowance. 5. Press your pocket binding piece in half length ways with the wrong sides facing each other. Line up the raw edge with the raw edge of the top of your pocket piece. Pin in place and sew with 1/4" seam allowance. 6. Fold the binding to the back and sew in place with 1/4" seam allowance or by hand if you prefer. 7. Place your exterior piece with the house on face down and put your pocket on top with the right side of the pocket facing up. Align the pocket with the bottom edge. Secure the pocket in place by sewing a 1/4" seam around three sides 8. Measure 5 1/4" in from one side to find the middle and stitch down the middle of the pocket to split it into two pockets. Tip - I used a Hera marking tool made by Clover to mark the central line to give me an accurate sewing guide. This is a great tool because it makes a crease in the fabric which is not permanent so you don't risk ruining the fabric. 9. Next fold your felt in half width ways and open again to find the centre and place it on top of the centre line you just sewed down the middle of your case. Make sure the felt is equidistant from the top and the bottom. Sew down this line to secure it in place. 10. I appliqued an EPP flower to the front of my felt and stuffed it with toy filling before sewing all of the way round so that the flower can be used as a needle stop. You could do this with a hexagon flower if you prefer. 11. Line up both parts of your felt pocket and add a running stitch around three sides to keep the two pieces together and to form a pocket. 12. Apply bias binding around the entire edge of the case. Finally add a snap fastener of closure of your choice and the case is complete! I hope you liked this little tutorial and I really hope you enjoy making the case if you do give it a go. I think I will definitely be making another one soon! They make lovely little gifts for sewing friends.
Take care, until next time, happy sewing! Hello everybody, I hope you are all well and staying safe at home. I feel like life is a battle at the moment, trying to deal with what is happening and the constant worries about so many things. Keeping busy is my strategy so I have two new things to share with you. First up, I've started a YouTube channel. I get asked frequently if I have a YouTube channel and also told I should have one! I didn't have much confidence in my video making skills so I didn't pursue it but after some thought I've decided to give it a go. The thumbs down feature on YouTube has always put me off. I know that when I get a thumbs down on a video, I will be a bit hurt. I don't have thick skin but I think I need to work on that, I know I will never please everyone! Currently there are only a few short videos on there as I work on uploading videos I have already shared on other platforms but I have big plans and ideas for what I'd like to share. First of all, I want to bring clear, concise 'how to' style videos to show people how to do English Paper Piecing and embroidery. These will be a combination of short videos teaching one or two techniques, and also longer, more in depth videos. As well as techniques, I have some ideas for project tutorials that I want to teach through video. My other idea is to do some lifestyle videos showing how slow stitching can be a beneficial part of every day life. What I show on YouTube will be different from Instagram. Instagram will be more of a daily snapshot at what I'm making and Youtube will be more tutorial led. What are your thoughts? Would you like to see videos like these from me? Do you have any other ideas for videos you think I should make? If you'd like to subscribe to my channel, I would be truly honoured. It's completely free and it means that you will see my new videos when I make them. You can find my channel here. The other thing I have been working on is updating my Hexagon Needle Book tutorial and putting it into PDF format. It's still available as a blog post but I thought it would be easier for people to download the PDF and save it to their computers rather than having to search for my tutorial. The PDF download is of course free and can be found here. Thank you to everyone who has made one so far, it's so exciting to see them popping up on Instagram. If you do make one and share it on Instagram, please tag me so I can see it.
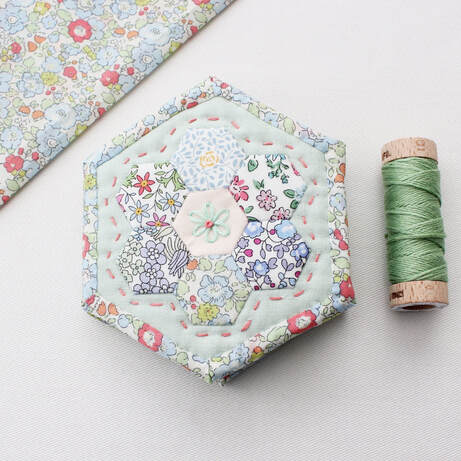
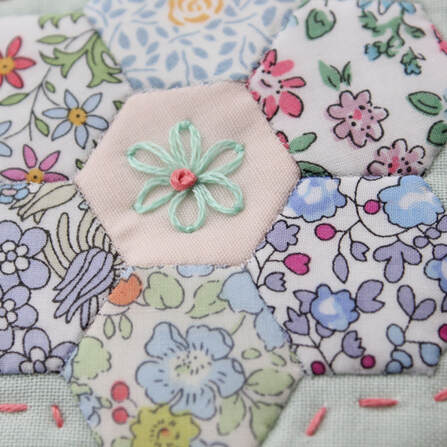
Take care, until next time, happy sewing! Just sharing some photos of another needle book I made as a gift for a friend just before Christmas and I think this one might be my favourite so far! I love the blues and greens and the Betsy Ann print I used for the edge/inside is one of my favourite ever prints. If you'd like to make one too, I have a tutorial that you can follow here. It's a lovely project as it is all made by hand and there's something really nice about that I think. I love adding little embroidered details like this lazy daisy stitch, I think they are sweet and add a lovely touch. I've made myself two of these needle books and I wish I needed more as they are so enjoyable to make! Thank you to everyone who has tried my tutorial and made their own already! It really does make me so happy to see your versions. So if you make one too, please share it with me either here or on Instagram as I would love to see.
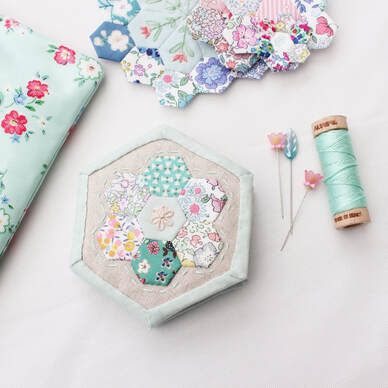
Happy sewing! These little needle books are so lovely to make. I made mine completely by hand but you could use a sewing machine for some aspects of it if you wanted to. I'd been wanting to make a hexagon shaped needle book/sewing case for a long time but couldn't find a way to make it that I liked. When I saw Naglaa's tutorial on her Instagram page for quilt as you go hexies, I suddenly thought about using it to make needle books. So please check out her tutorial as it will help you in making your needle book. To make a needle book you will need:
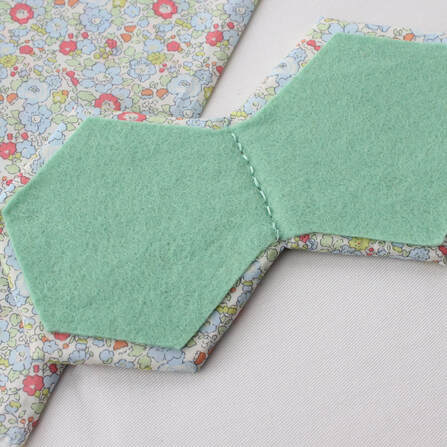
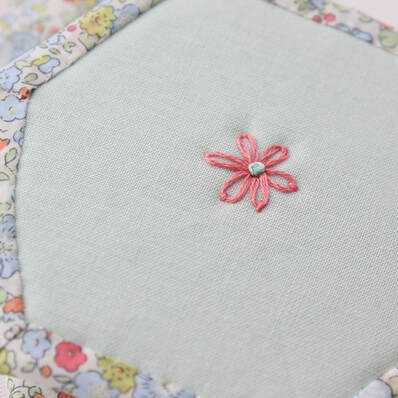
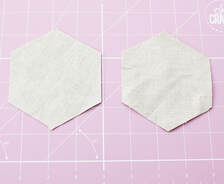
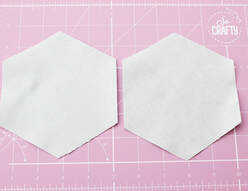
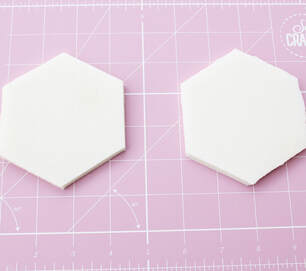
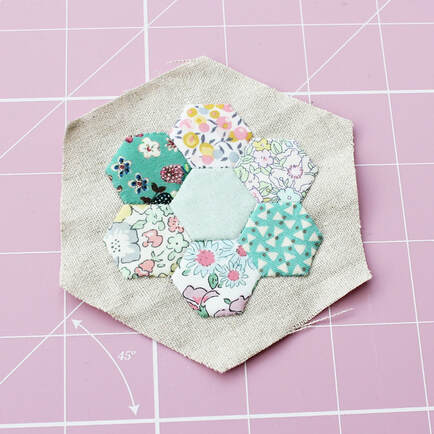
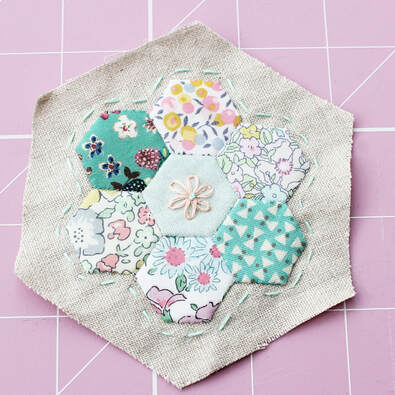
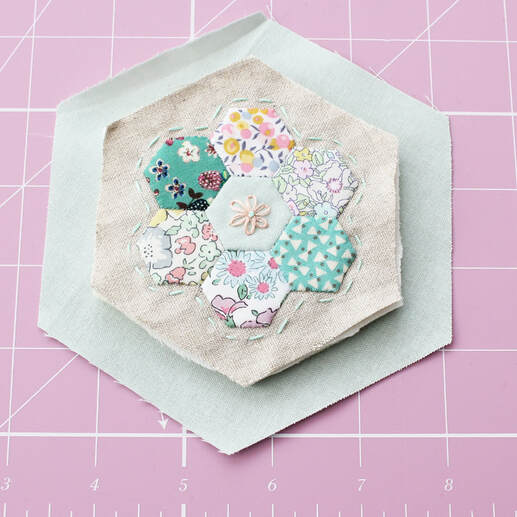
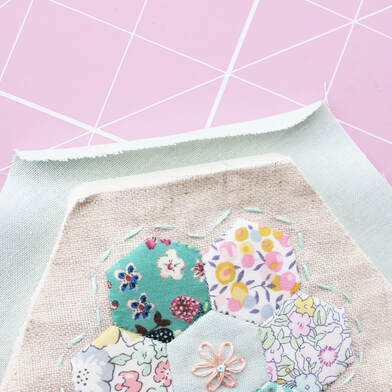
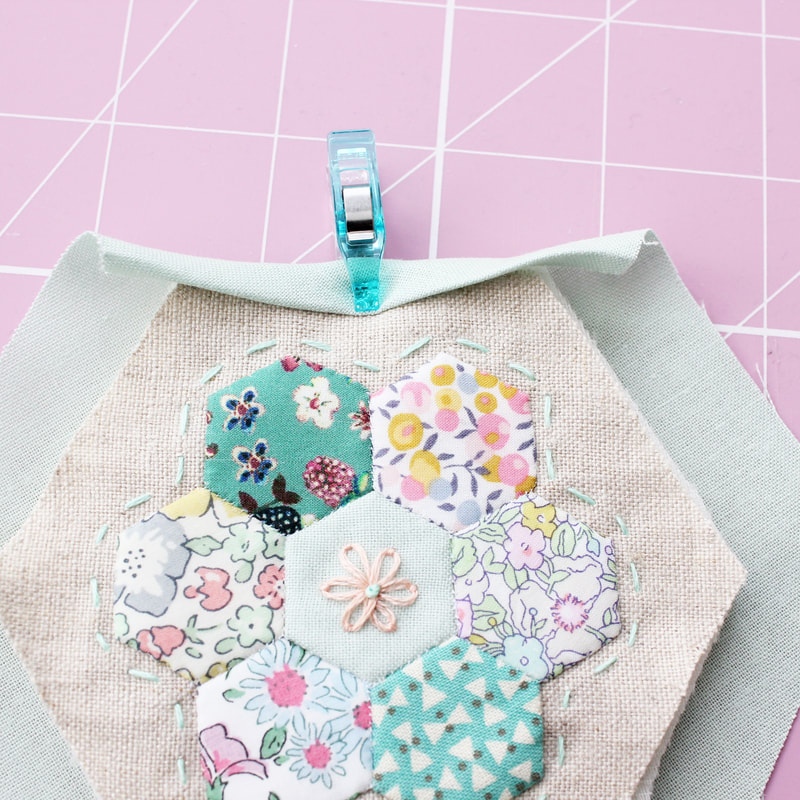
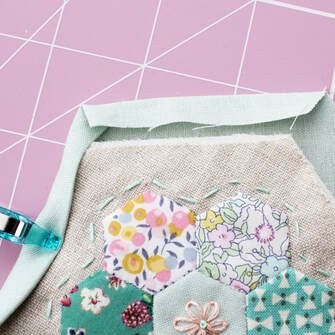
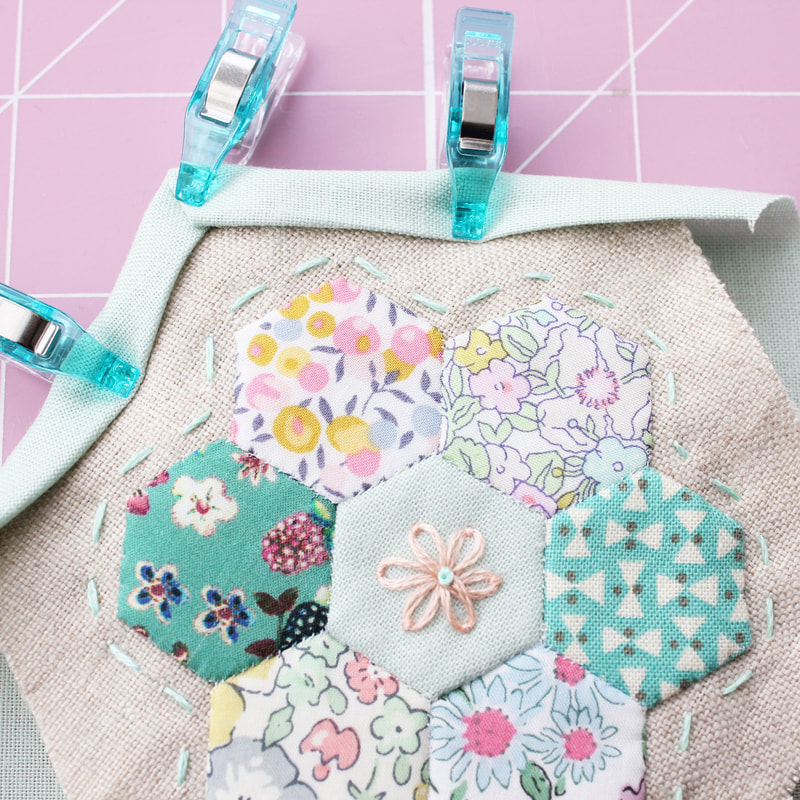
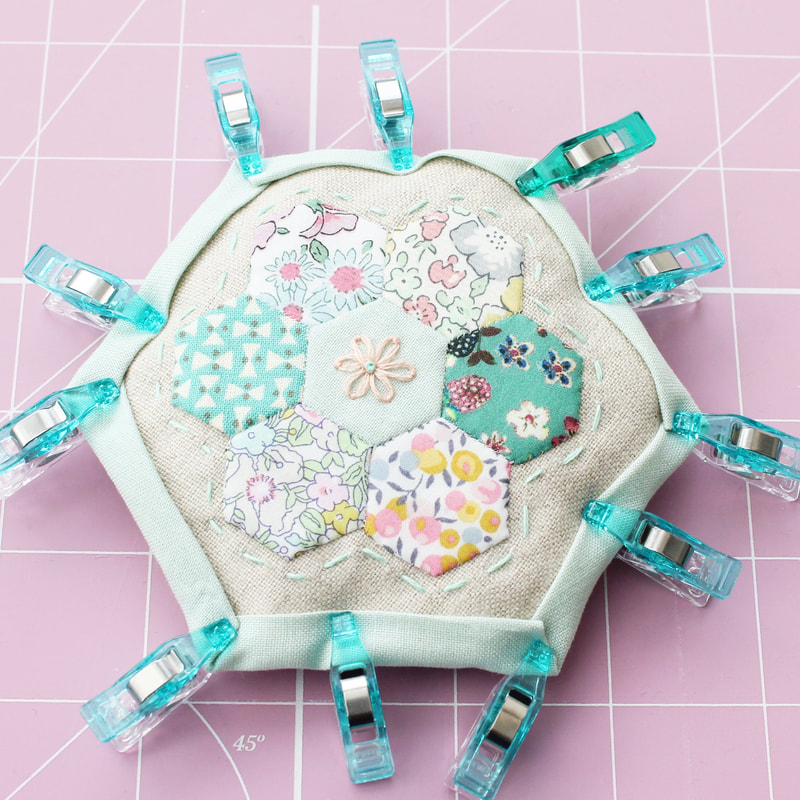
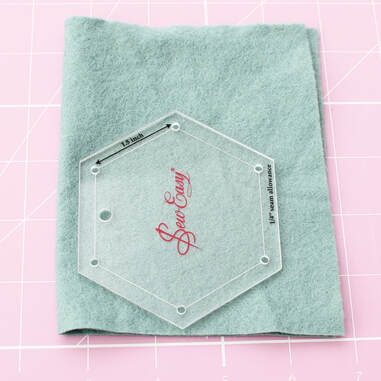
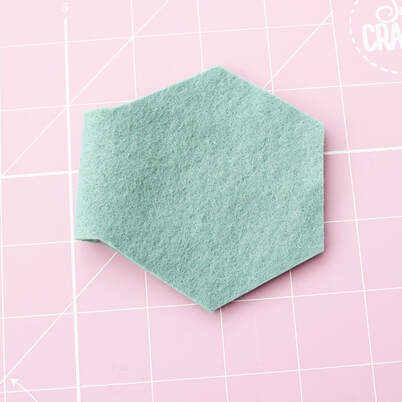
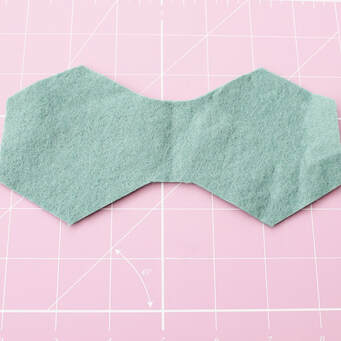
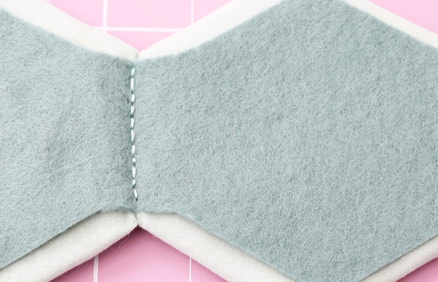
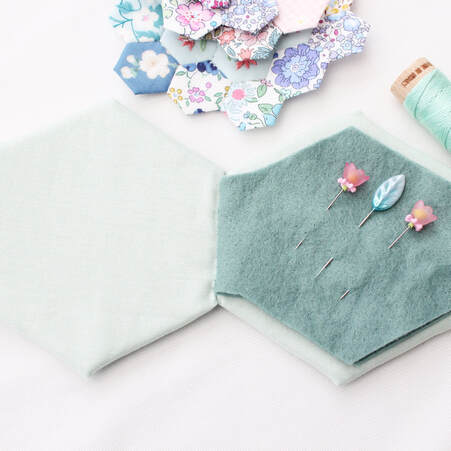
1. Make a hexagon flower using your preferred epp technique. Take a piece of your linen, fold in half and half again to find the centre. Place your hexagon flower in the centre and appliqué in place. Take care to have your hexagon with a point at the top and line the hexagon flower up with this point. 2. Add a running stitch around the edge to frame the flower and embroider a little flower in the centre if you wish, using a lazy daisy stitch and a French knot. 3. Create a quilt sandwich. Place your large, 2.75 inch cotton hexagon right side down and put the hexagon made from wadding or flex foam on top in the centre. Place your linen hexagon on top and ensure it is central. 4. Fold one edge of the larger hexagon inwards by about a quarter inch and press. 5. Fold it over again to overlap the linen and use a pin or a wonder clip to hold it in place. 6. Repeat for the other five sides of the hexagon, taking care to line up the corners to mitre them. 7. Use a blind hem stitch to sew it in place. 8. Now the front cover of the book is complete, layer up the remaining pieces of linen, wadding and cotton into a sandwich and repeat steps 4,5,6 and 7 to make the back cover. You can of course add a little embroidery detail to the back piece of linen first if you wish. 9. Now the front and back covers are done, put them together with the insides facing each other and join them together along the spine with a ladder stitch. 10. Fold your felt in half and place your 1.75 inch hexagon template, half an inch from the folded edge as in the photo above. Cut around the template. Unfold and you will have two "pages" joined in the centre. 11. Place it inside your needle book, lining up the points of the hexagons so they match, and stitch in place down the centre taking care just to catch the fabric from the needle book and not to stitch all of the way through. Your needle book is complete! The finished size is approximately 3.75 inches in diameter and 4.25 inches tall. Fill it with needles and pins to keep them safe. I hope you like this tutorial. If you make one and share it on Instagram, please tag me so I can see it! If you need any support in making one or have any questions please get in touch via instagram or using the contact form on the home page of this website. Happy sewing.
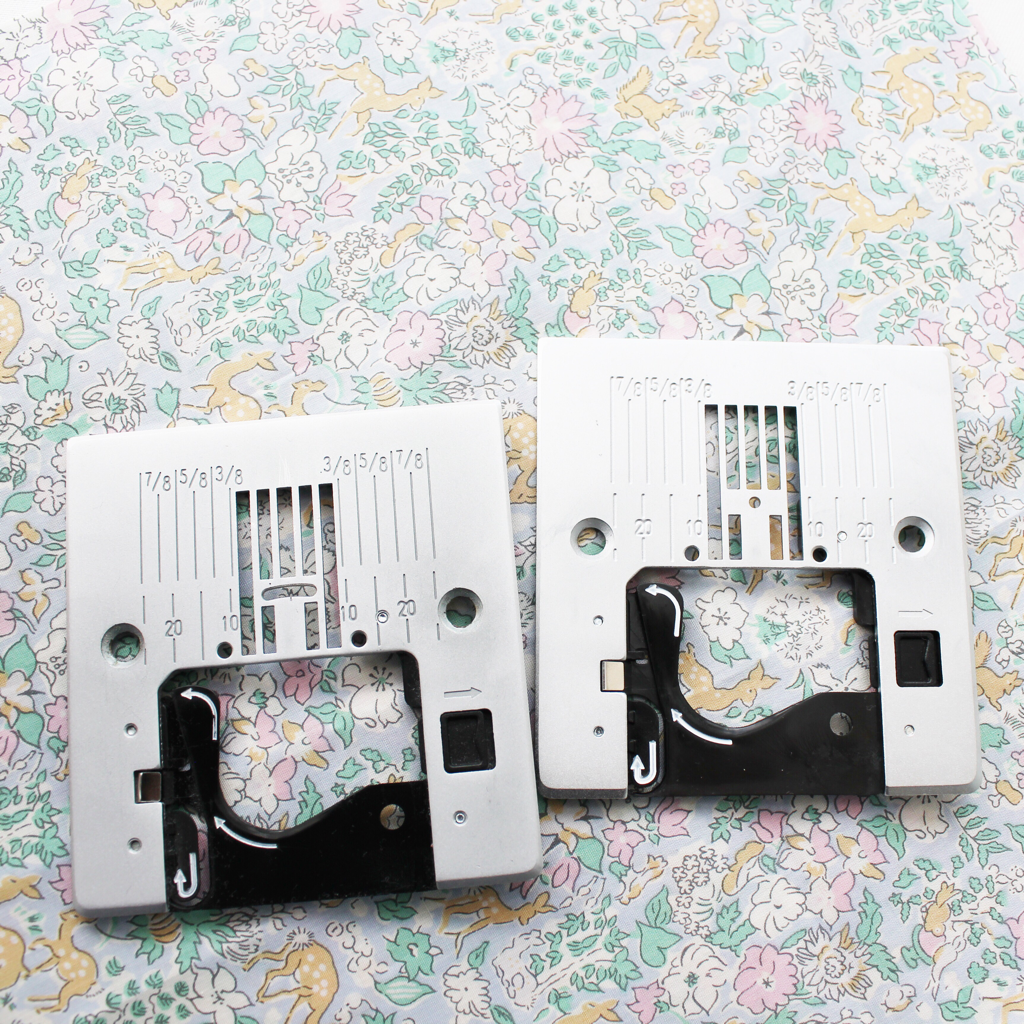
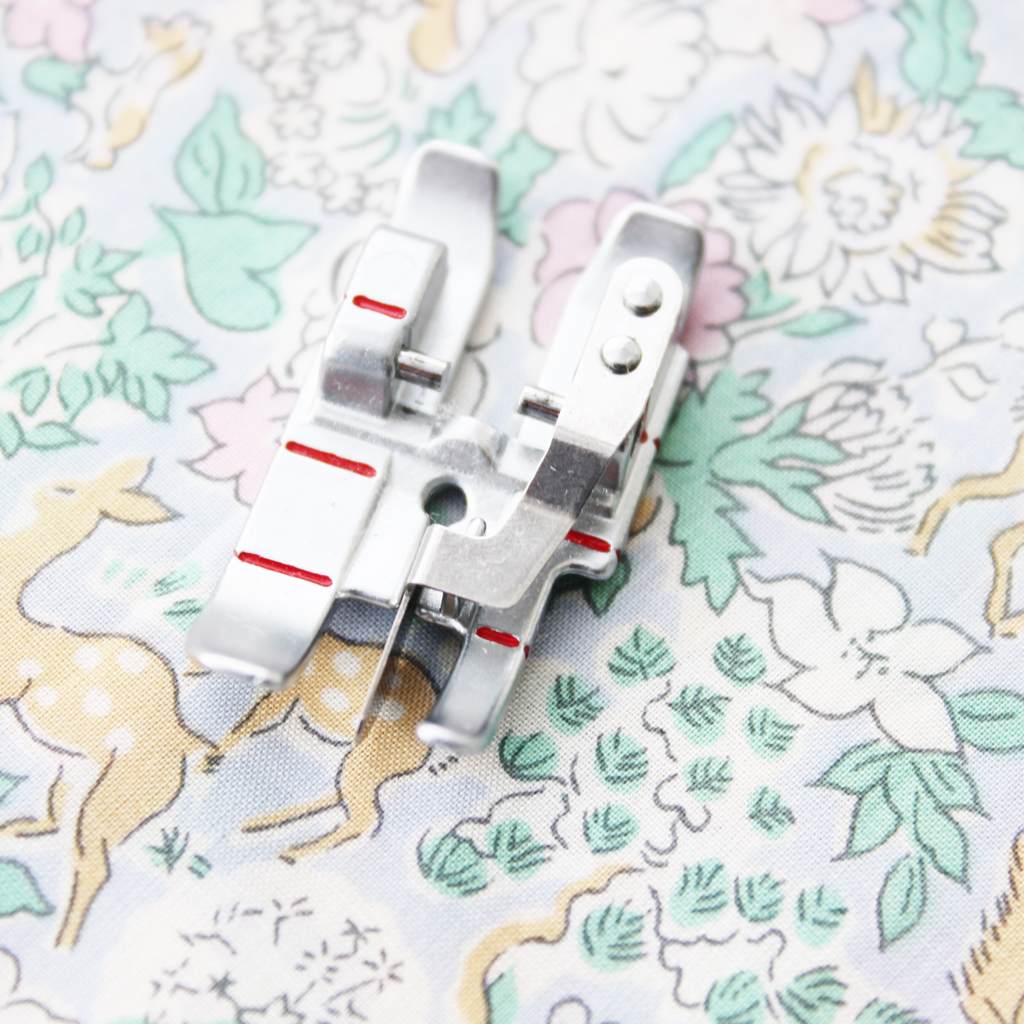
I’ve recently made a few changes to how I sew on my machine to combat two issues I was having. The first issue I was having was some trouble when sewing with Liberty tana lawn on my machine. The needle was dragging the corners into the machine because the hole in the stitch plate was so large (see left stitch plate below). This meant they were getting tangled in thread and the corners weren’t crisp or they would become jammed. So I invested in a straight stitch plate which has a much smaller hole (see right below). It cost me £20 which is quite a lot of money but I know I won’t be changing my sewing machine so I was happy to buy it. I’m so pleased with the results too! It has completely alleviated the issue I was having and now I can sew tana lawn with no problems. It’s actually really nice for all patchwork and it adds more stability when starting off at the corners when joining shapes so I’m really happy I finally purchased it. The next problem I’ve been having was generally inaccuracy when piecing seams. I feel fairly confident when hand sewing but when it comes to my machine, I was consistently disappointed with the results I was having. So I decided it was time to buy a quarter inch foot! I should have bought one a long time ago but I always try to make do with what I have. The foot has a guide on it that makes it really easy to line it up with the fabric and repeatedly create accurate quarter inch seams. Its also important to pin properly to ensure seams line up when joining rows. I press seams open and line them up, pushing a pin through the seam line on both sides. Making these little changes has definitely improved my accuracy. My seams aren’t perfect but I’m much happier with the results. Have you got any top tips for accurate sewing? Please share any you have in the comments below.
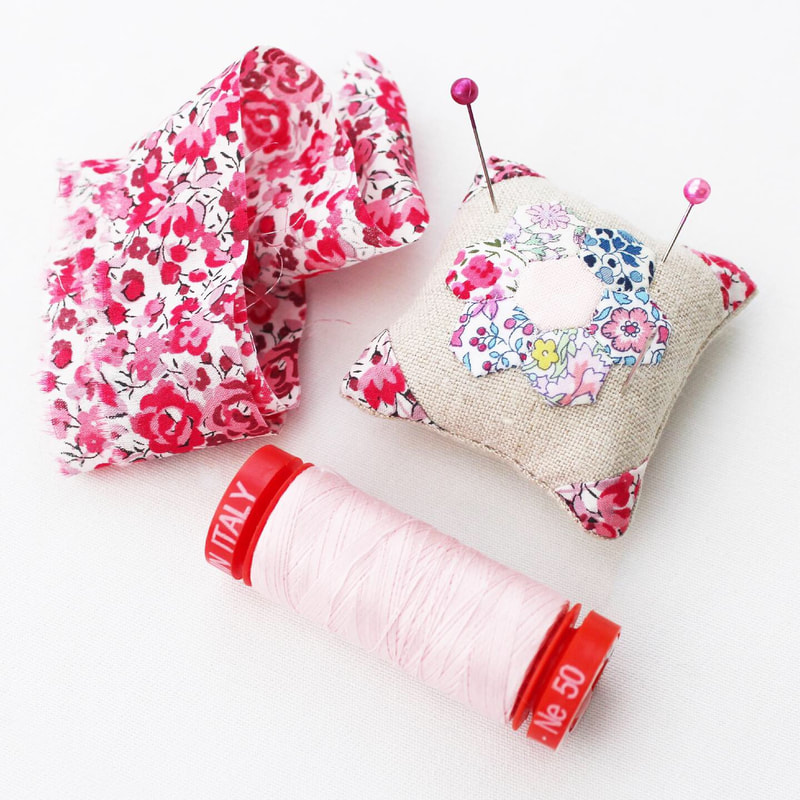
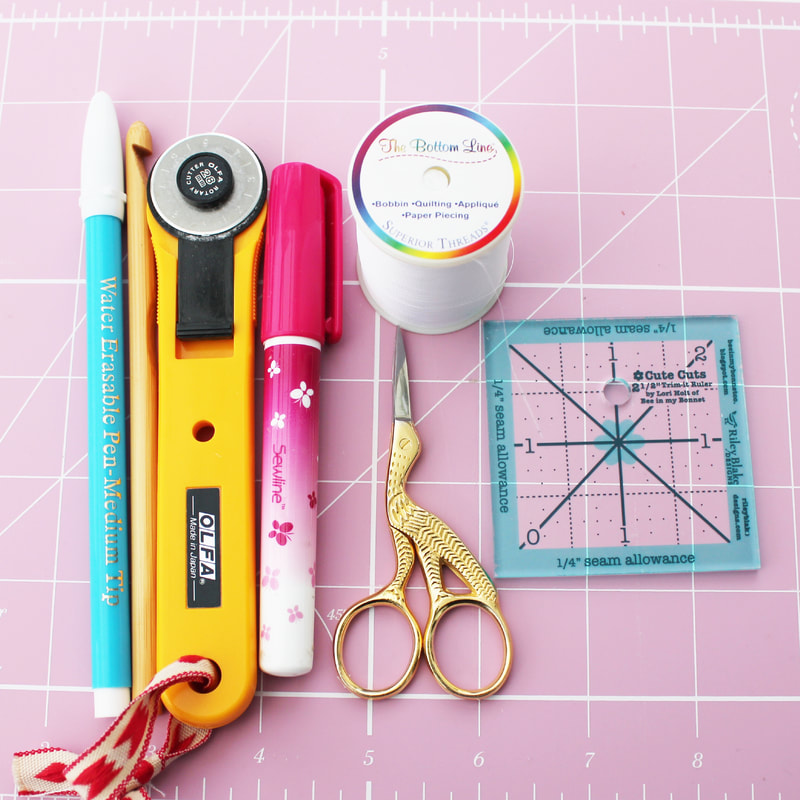
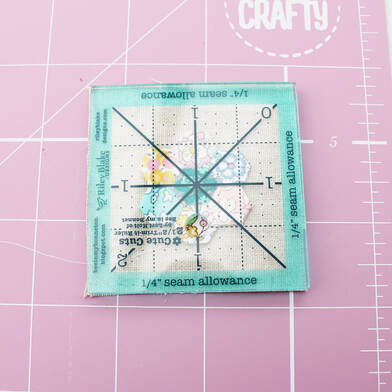
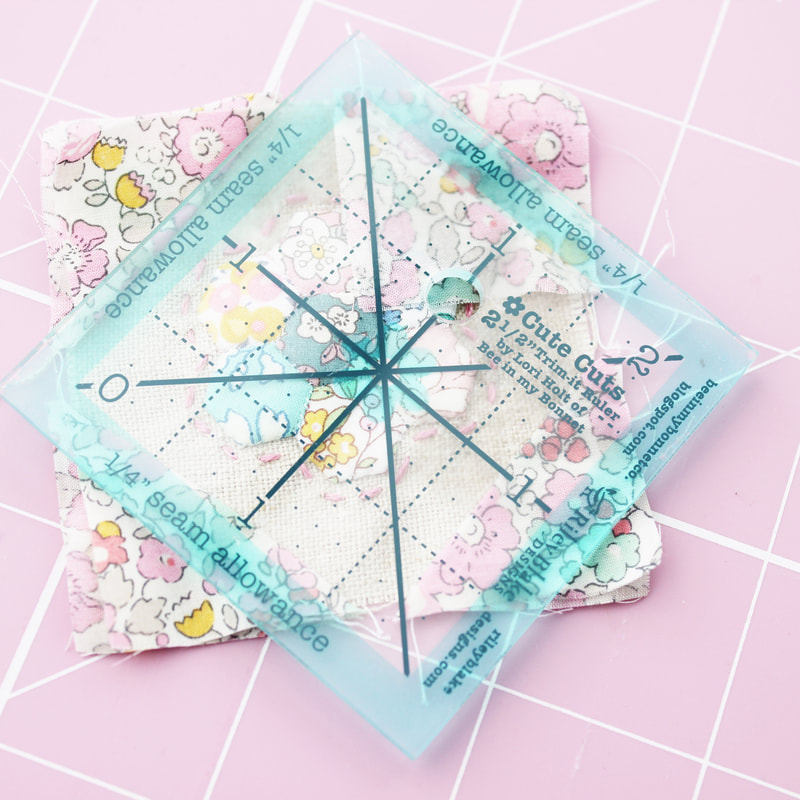
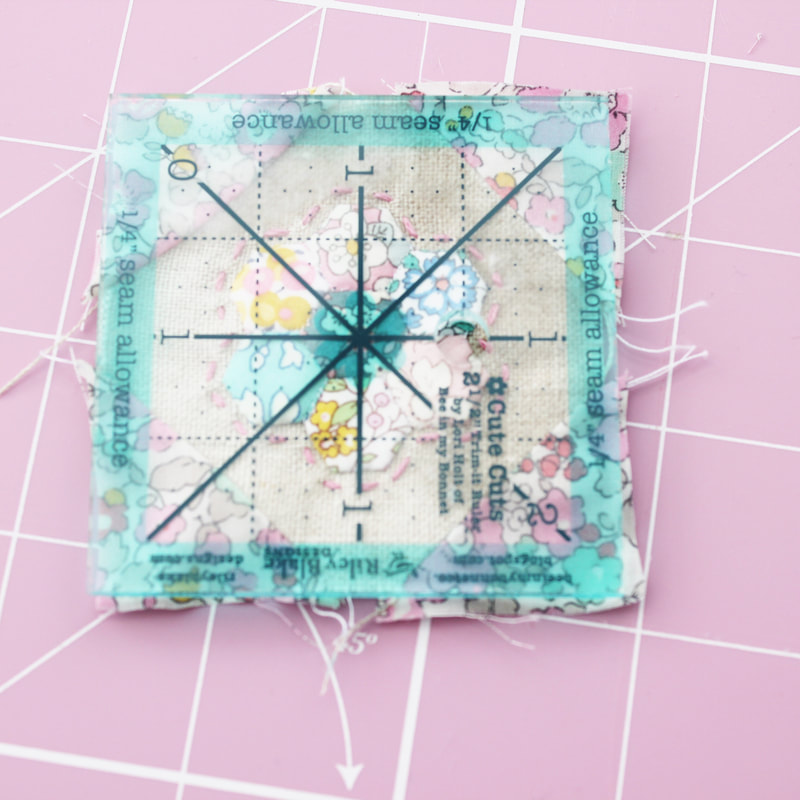
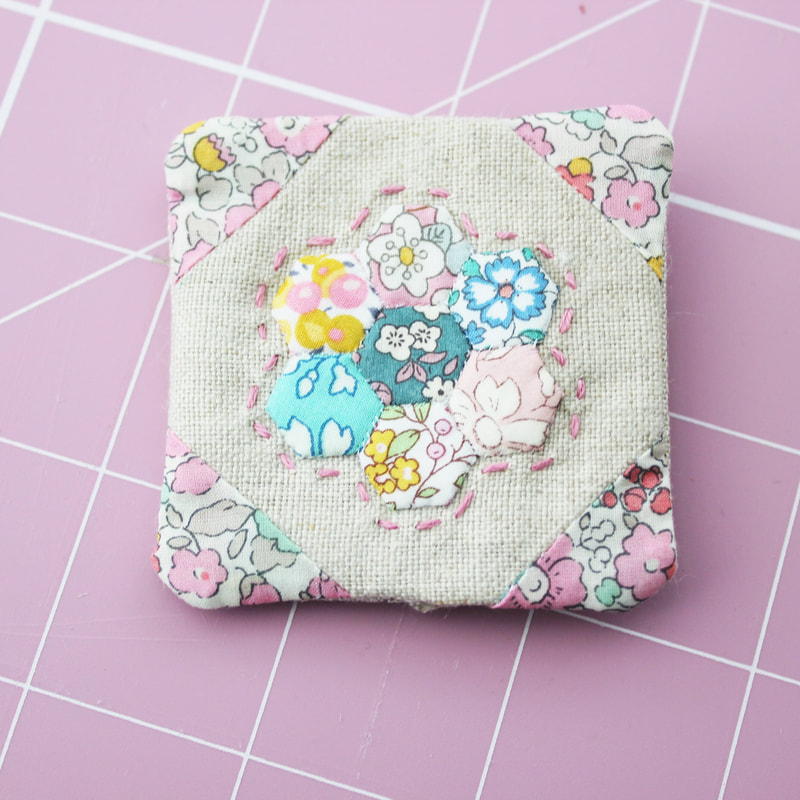
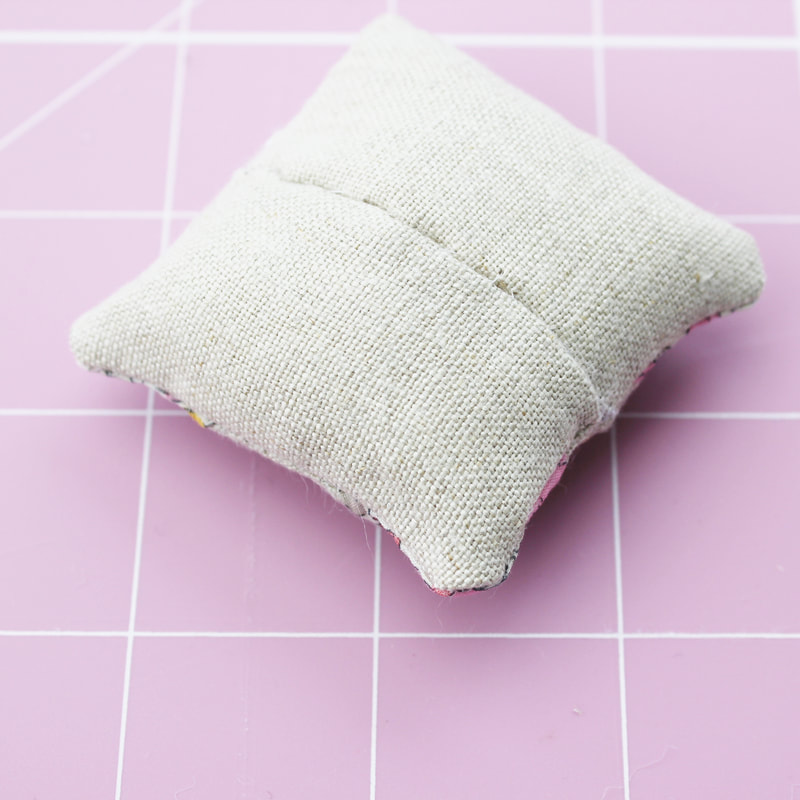
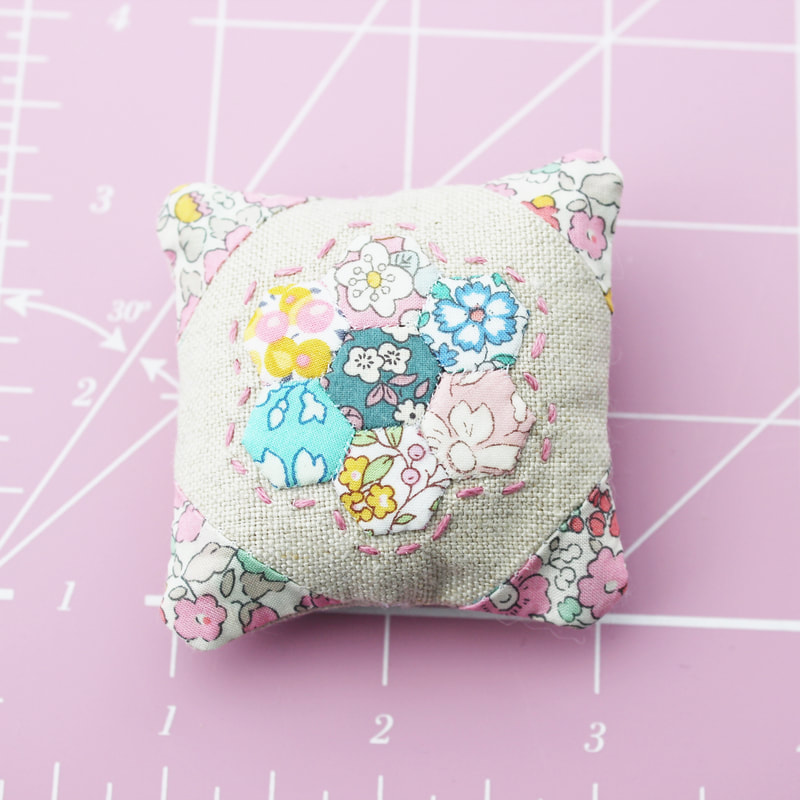
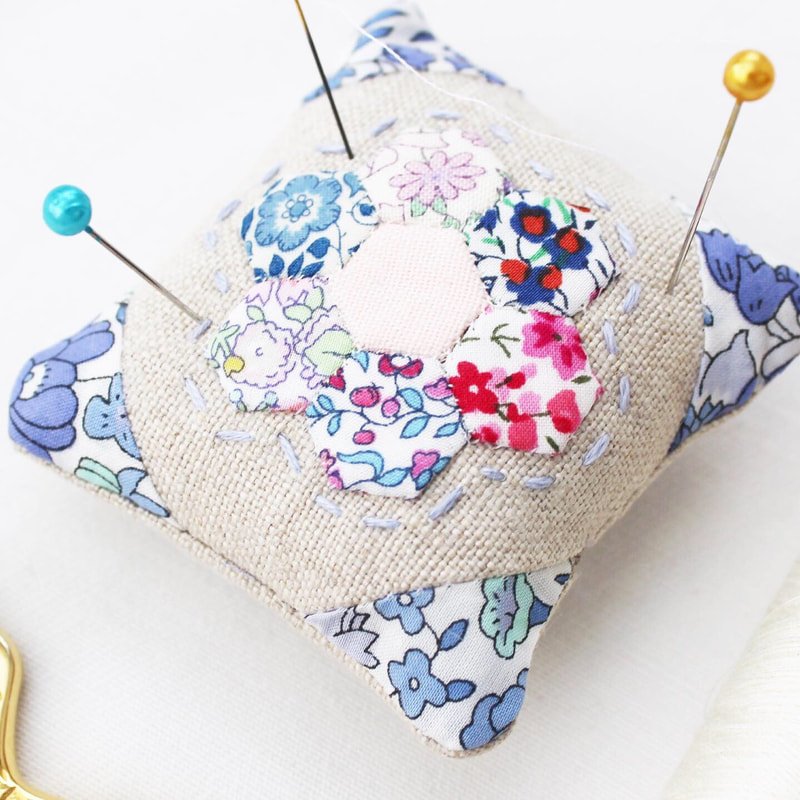
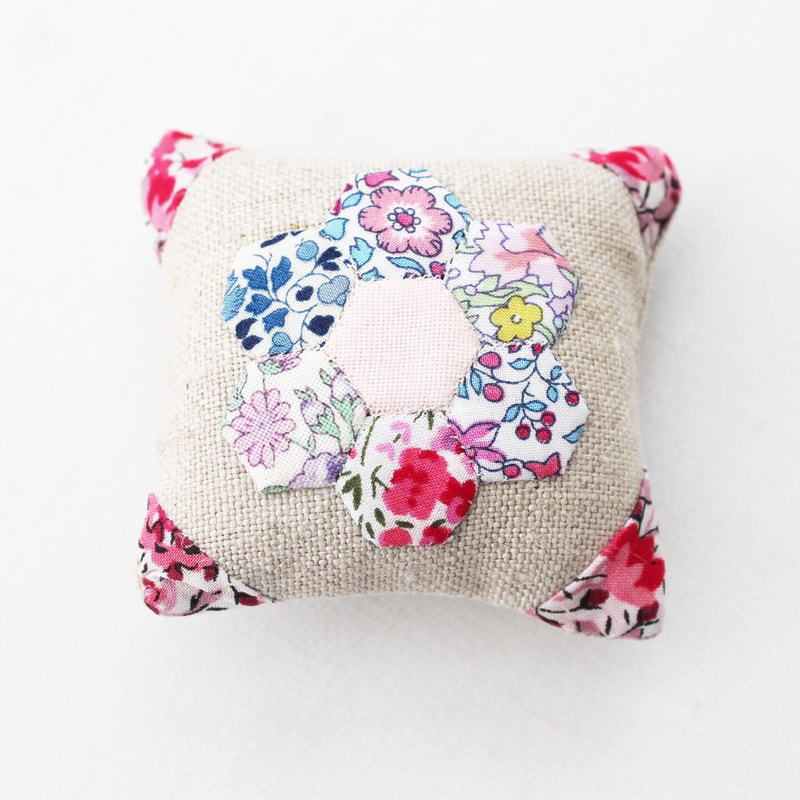
I made these super cute tiny pincushions to take part in the teeny tiny pinnie parade that is taking place on Instagram at the moment. It is being hosted by Cheri @tinkerellen and I thought I'd share how I made them here just in case there's anybody out there who was curious or who would like to have a go too. They are perfect for using tiny scraps and the finished result is two inches square! I've linked to some products I've used but all links are just for your information and are not sponsored or affiliate in any way. If you have any questions you can always ask me on Instagram, in the comments here or through the contact form on the home page. I hope you like this tutorial! Tools To make this pincushion you will need the usual sewing supplies, needle, thread, sewing machine, rotary cutter, scissors, cutting mat, ruler, Sewline glue pen, erasable pen, point turner (I use a crochet hook). I'm a big believer in use what you have and in that you don't need fancy things to create beautiful projects, but I am going to recommend two things for this pincushion which are not in any way 'must have' items but they do make life easier. Firstly the little two and a half inch ruler pictured above. It is called Cute Cuts and I bought mine from Sew and Quilt. This is one of my most used tools for sewing as I find it to be the perfect size for most of the things I make and I use it daily. The other thing I am going to recommend is Superior Threads The Bottom Line thread. It is a polyester thread and it has been said that polyester thread can damage cotton fabrics over time (which I have no experience of) and whilst I do prefer using cotton thread, this thread is perfect for this project as it is strong and hardly visible. When making tiny things, your stitches can seem really big, so using this thread reduces this. Again, this can be bought from Sew and Quilt. You will also need seven, quarter inch hexagon templates. You can use paper or I use hexiform from Ashmead Designs. The hexiform doesn't need to be removed so this makes the process even easier. If you want to use paper, I have free printable templates here. Materials You will need:
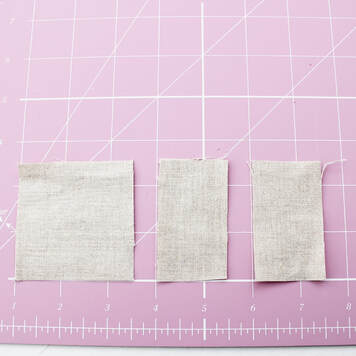
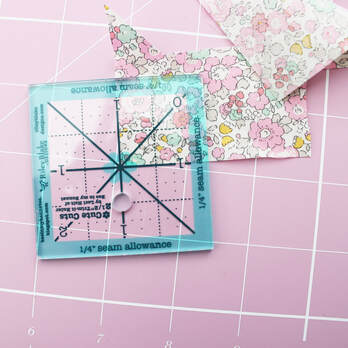
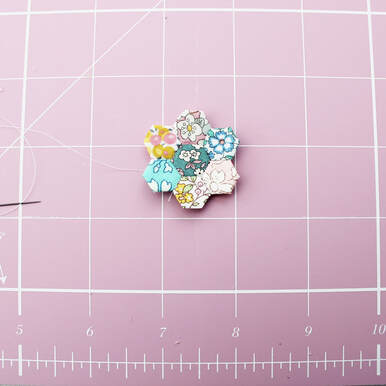
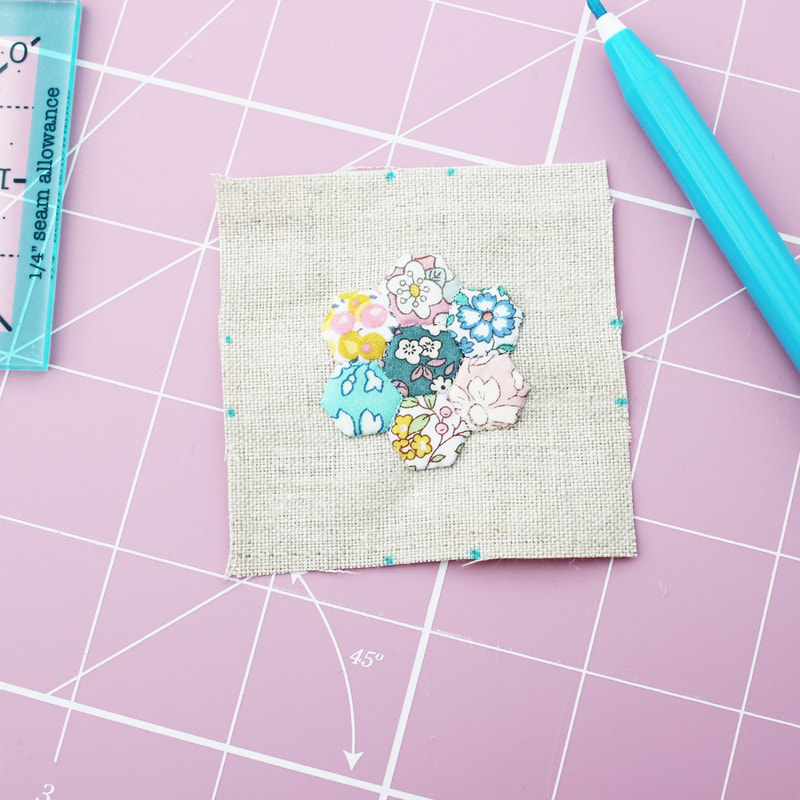
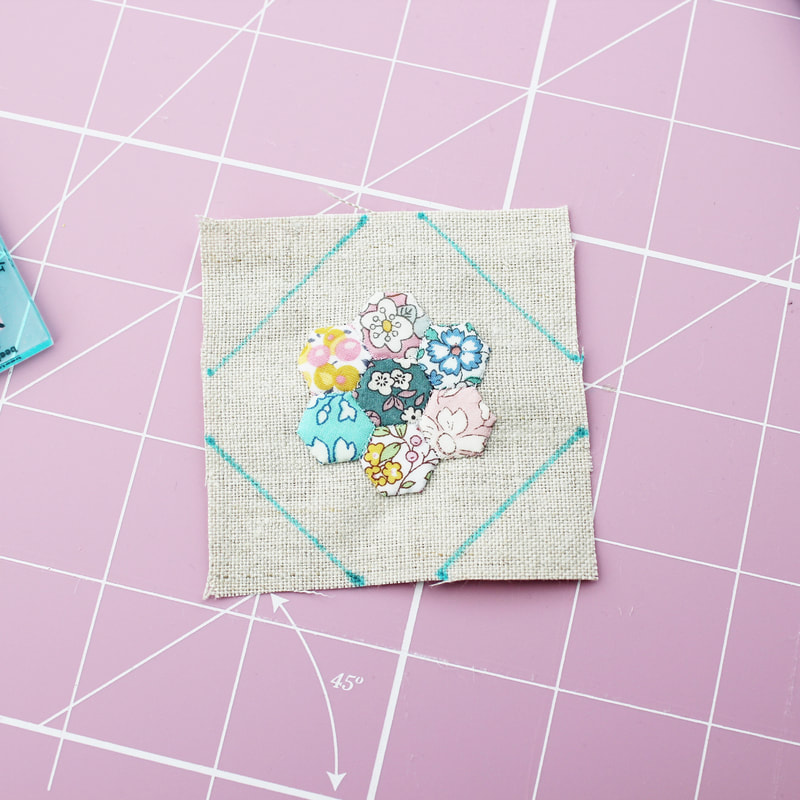
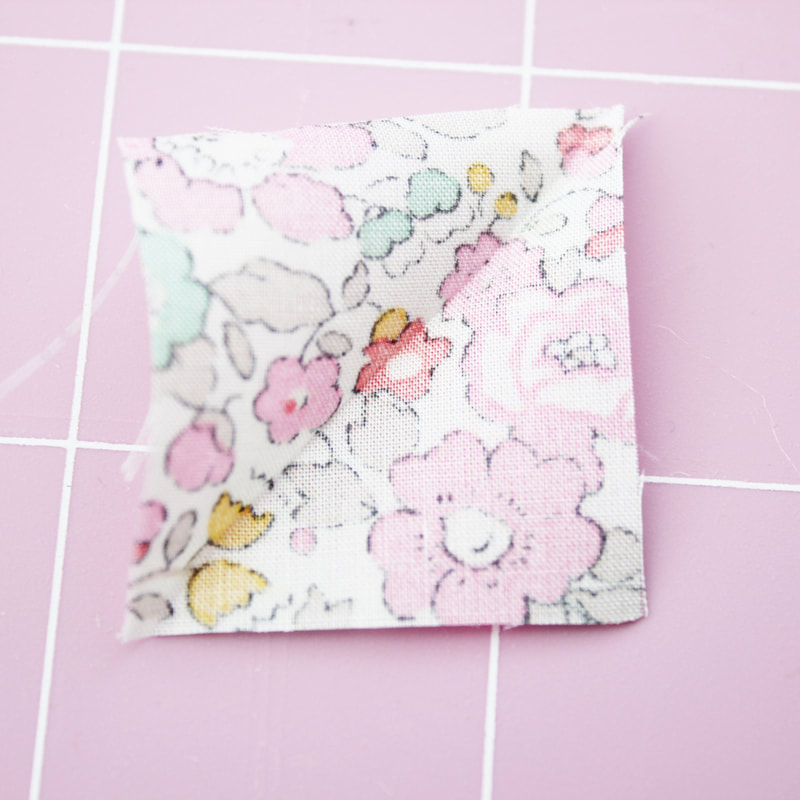
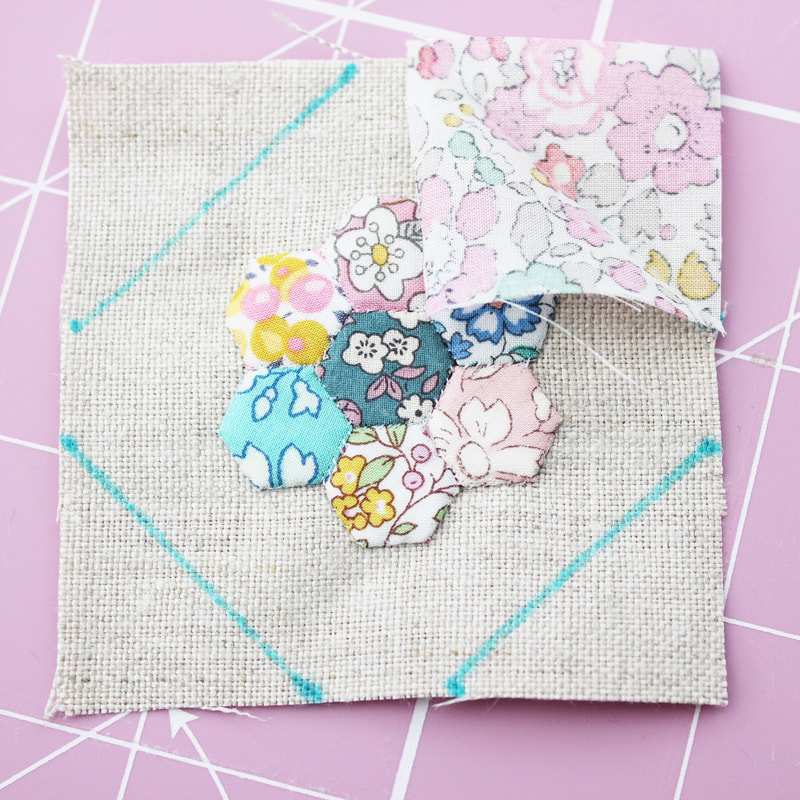
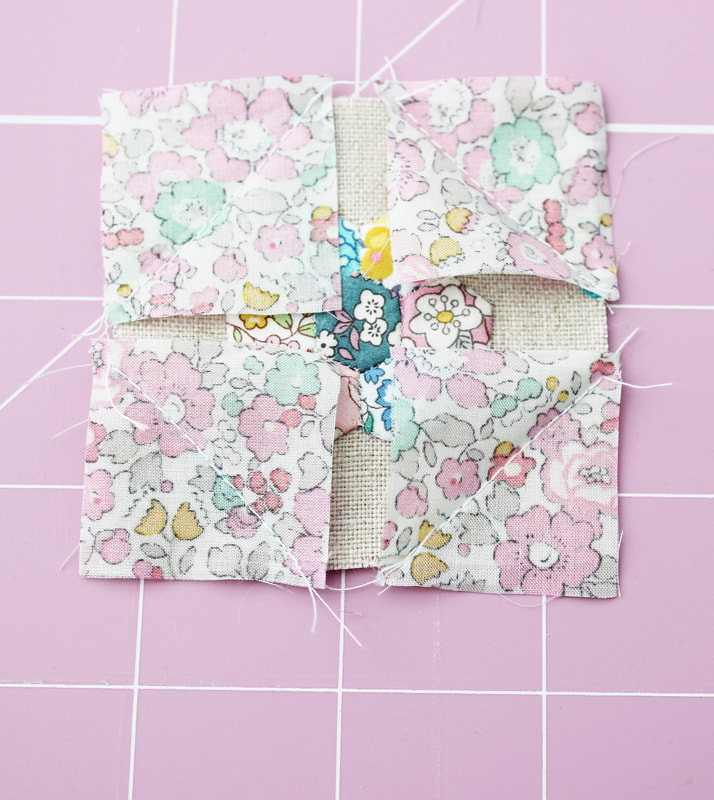
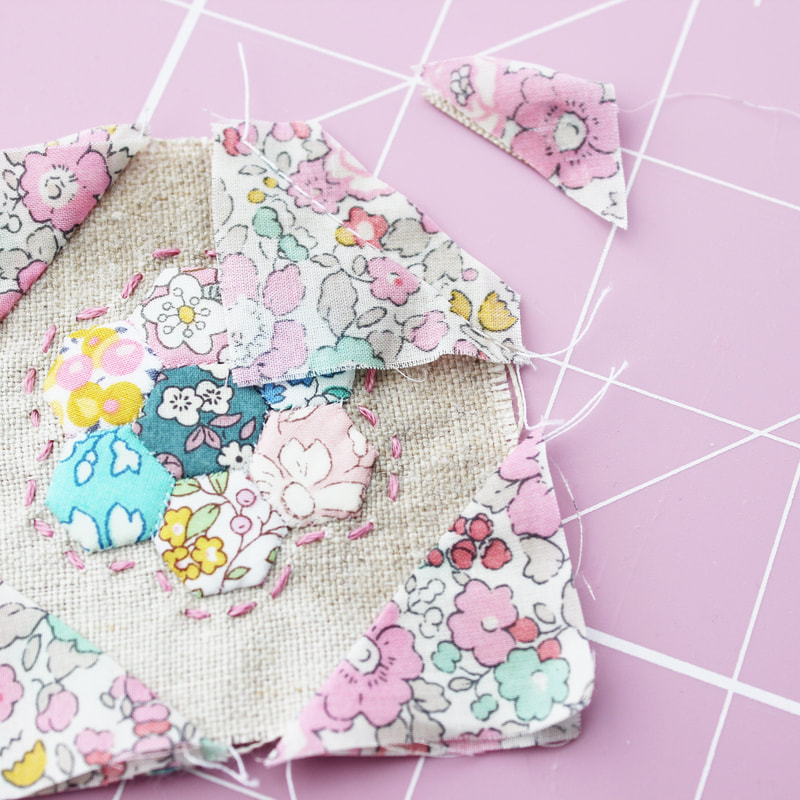
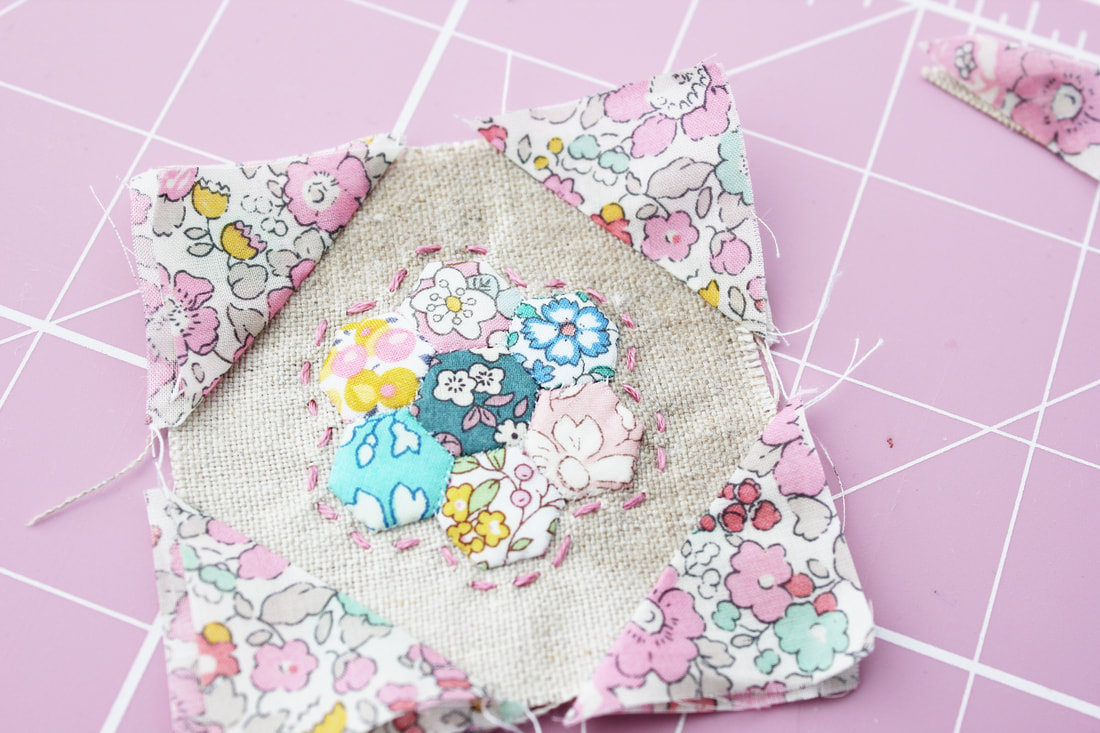
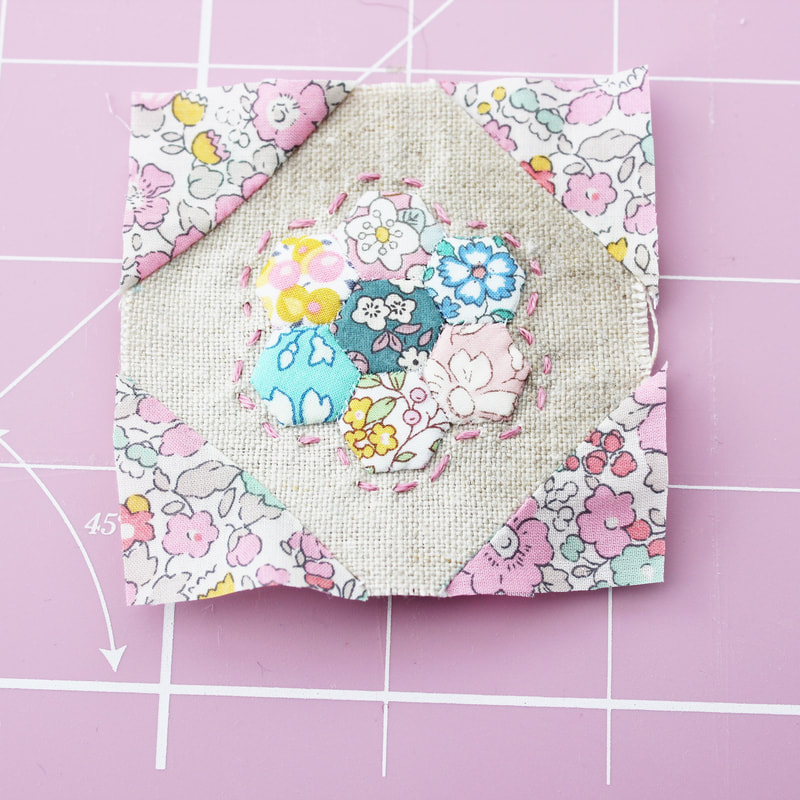
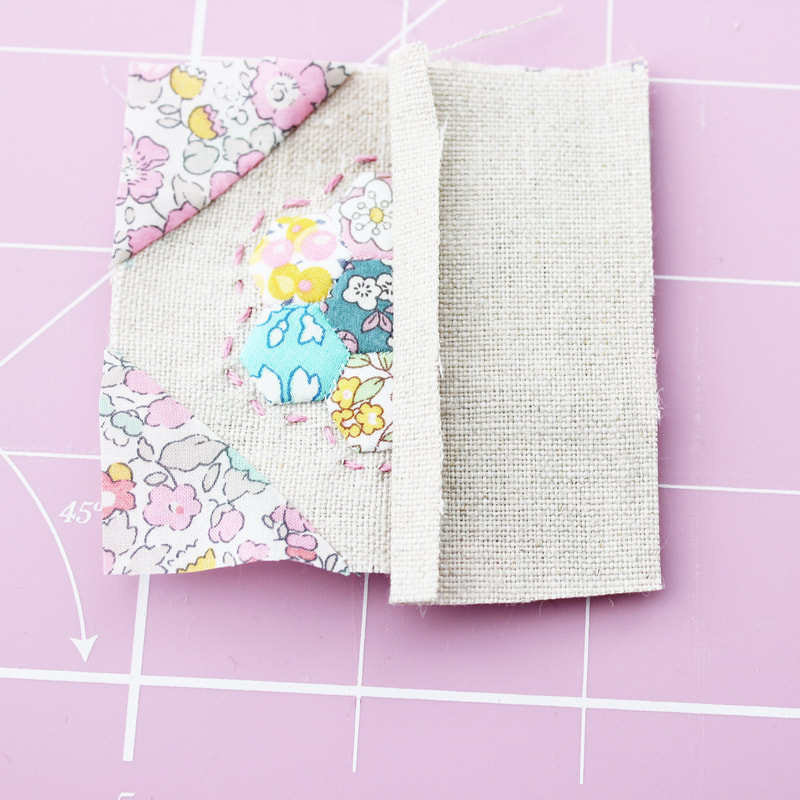
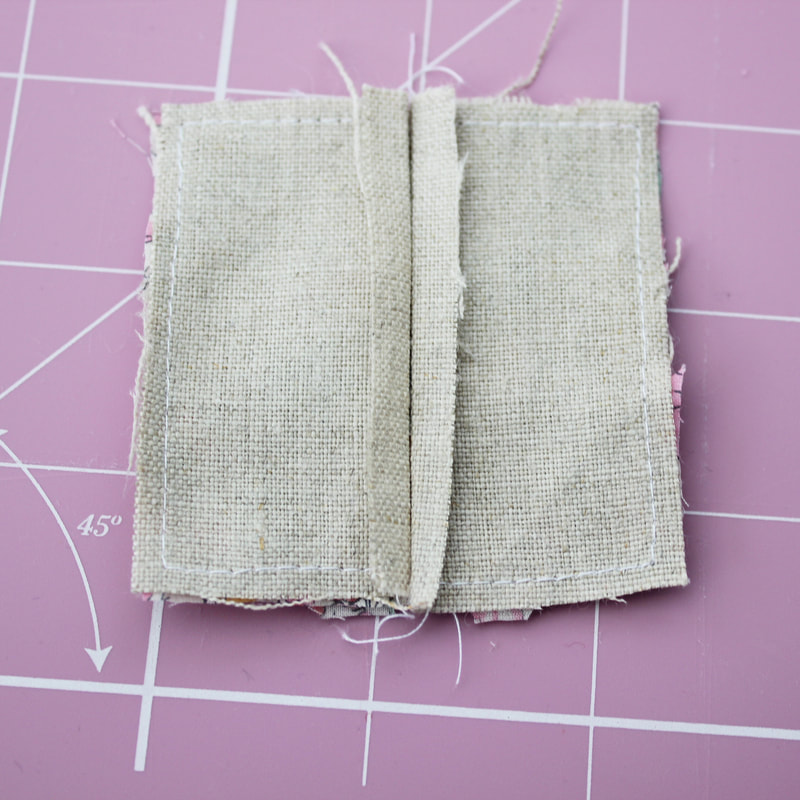
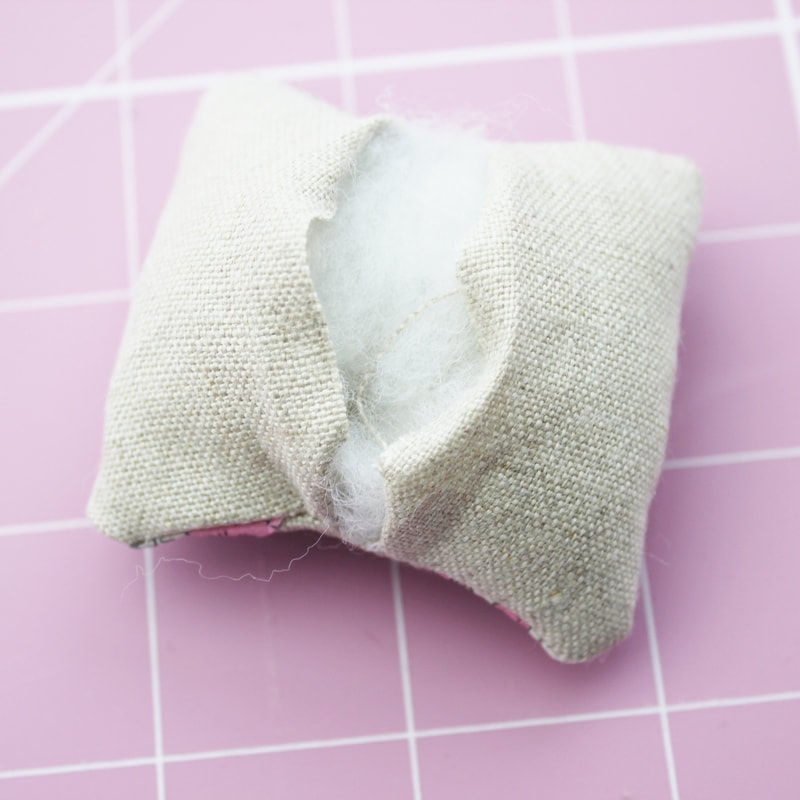
1. First make your English paper pieced hexagon flower. I have a video tutorial here showing how to make a larger hexagon flower. To make a small one the principals are the same, but I don't cut the thread after each seam, I carry it across the back, you can't see it so nobody will know! If using paper templates, you will need to press your flower, spray with spray starch and press again before removing the papers and then appliqué it onto your two and a half inch backing fabric. Again, the little ruler is so useful here as it helps you centre the hexie flower. 2. Next you need to mark where you will add the corners. On the top edge, I measured one inch in towards the centre from each corner and marked it with a water erasable pen. I then marked one inch down from each corner and marked it. I repeated this with the bottom corners, measuring and marking one inch in along the bottom edge and one inch up. If it helps, you can draw a line across these points to mark the corners and show where you will stitch. 3. Next take your one inch squares and fold them in half. Finger press to get a visible crease across the square but take care not to stretch them out. If it helps, you could draw a line across the squares instead. 4. Place your fabric square on the corner of your pincushion top, right side facing down, lining up the diagonal lines. Your fabric square is slightly larger than the corner of your pincushion so it will overlap the edge. This will be trimmed off afterwards. I use a dab of Sewline glue to hold it in place as this works better than pins. Stitch across the diagonal line with your sewing machine and repeat for the remaining corners. 5. Trim the seam allowance at the corners back to a quarter inch and turn your corners out. Remove your water erasable pen marks and then press with an iron. Take care not to use the iron on the erasable ink as this can make it difficult to wash out. This is also the time to add any hand stitching details. I added a tiny running stitch around the edge of the hexie flower. 6. Using the little ruler, trim your block to make sure it is two and a half inches square. The two pictures below show before and after being trimmed, so it does make a difference. 7. Now it's time to make the back. Take one of your rectangle pieces and fold over one of the long edges a quarter inch and finger press in place. Place it right sides together on top of one side of your pincushion top, making sure the folded edge in in the middle. 8. Stitch this in place along three sides, leaving the folded edge free. I started my stitching after the fold and finished it before the fold at the bottom. I used just less than a quarter inch seam allowance when sewing this together to allow for turning it right side out. Repeat for the other side with the other rectangle piece in exactly the same way. 9. Now gently turn your pincushion right side out. I used a wooden crochet hook to help push out the corners. Press with your iron. 10. Now it's time to stuff your pincushion. I used toy stuffing but you can use crushed walnuts for a really nice pincushion feel. Take care not to overfill it as this will make sewing up the opening tricky. 11. Now stitch the opening closed. I used a ladder stitch for this which is another reason why polyester thread is good for this project as when you pull the opening closed, your thread won't snap. And that's it, your pincushion is complete! Such a fun little project and a great way to use teeny tiny scraps. I hope you enjoyed this little tutorial and if you give it a try, I hope you love making your teeny tiny pincushion!
Happy sewing! I love English Paper Piecing so much, but I love tiny EPP the most! I'm currently working on a half inch hexagon project which will become a wall hanging. I love half inch hexagons and I think they might be my favourite size. I absolutely love combining embroidery and EPP and as I often use hexiform shapes rather than paper (which I buy from Ashmead Designs) embroidering into them is even easier! I'm really passionate about sewing being an accessible craft/hobby to all people, which is something I will talk about more in depth in another post. But for now I will say that EPP is a great hobby and anyone can do it. It's inexpensive, only requires a few tools (needle, thread, paper, fabric, scissors and maybe a glue pen if you don't want to thread baste) and is so portable. Recently I started a quarter inch hexagon project and I got lots of questions about it on Instagram. There was a lot of interest surrounding how I make the hexagons and sew them together. So I've made a little video tutorial that shows all of the steps and also how I made them into a little pincushion. I wanted a small pincushion to take around with me as when I'm stitching on the go I always need somewhere to park my needle in between stitches. I admit I was very tempted to make this little pincushion into a bracelet to wear whilst stitching, but maybe I will make another one for that. The beauty of half inch and quarter inch projects is that they use up the teeny tiniest of scraps which I think is brilliant. I don't have a lot of money to buy fabric so I like to use up what I have and also, this is better for our environment. I hope you like my video tutorial and that you find it useful, especially if you are a beginner. You can find it on the video tutorials tab under quilting tutorials or click on one of the links in this post. There are, of course, many ways to make things, I am just showing you my way. The two halves of the pincushion could be stitched with a ladder stitch whereas I have used a whip stitch. Please feel free to use my video as inspiration and to make the project your own in any way you like by changing stitches or adding your own twist. If you have any comments or questions, please leave them below. Happy sewing!
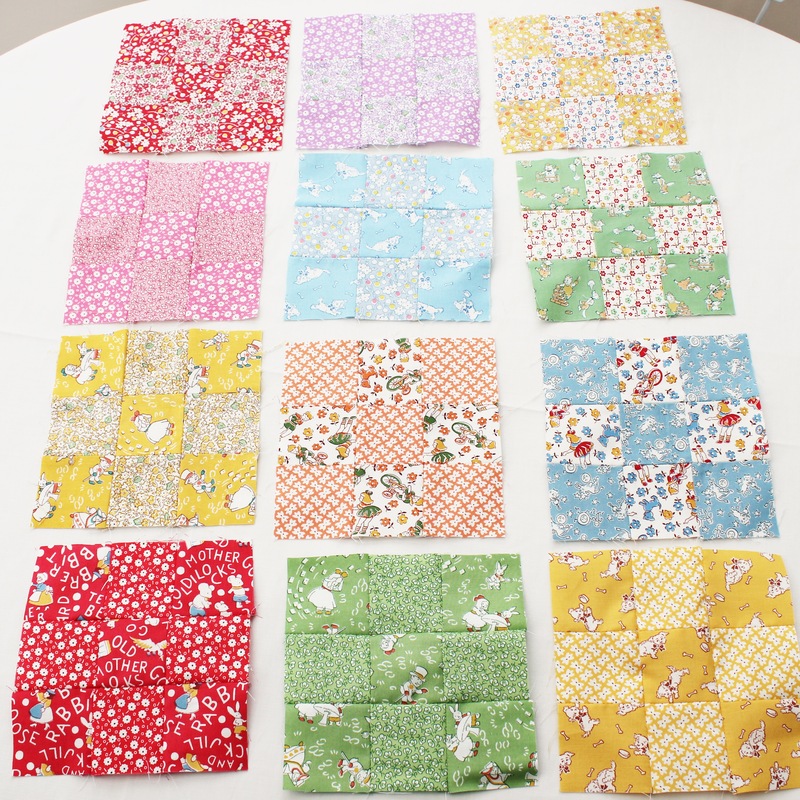
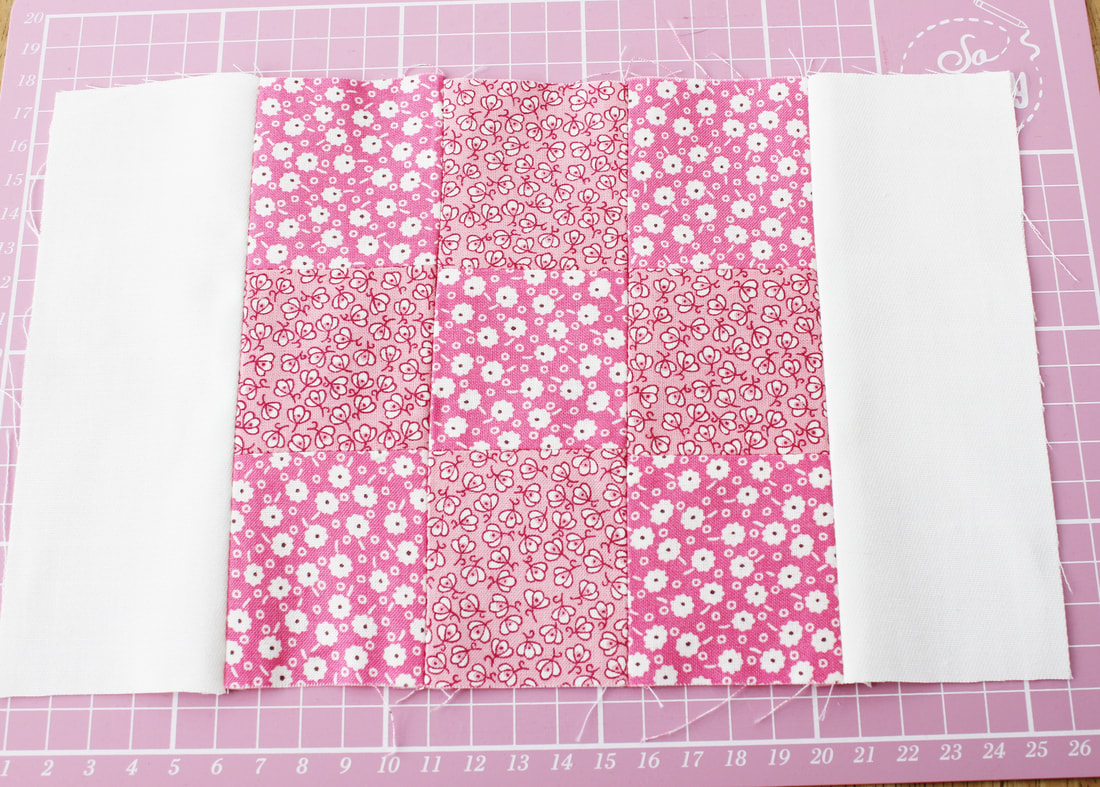
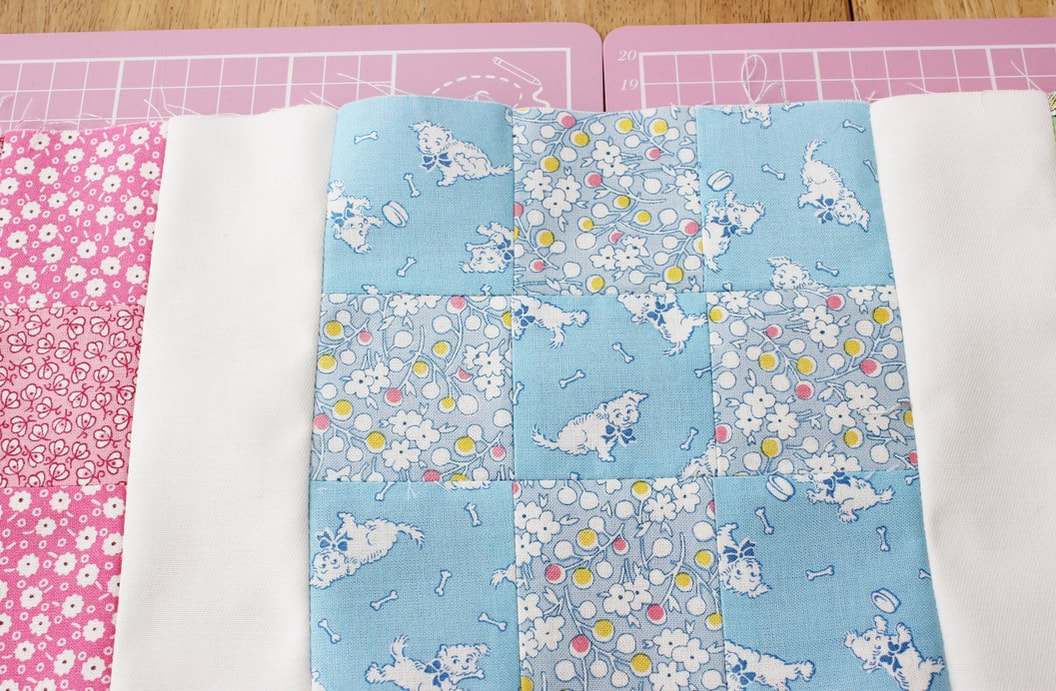
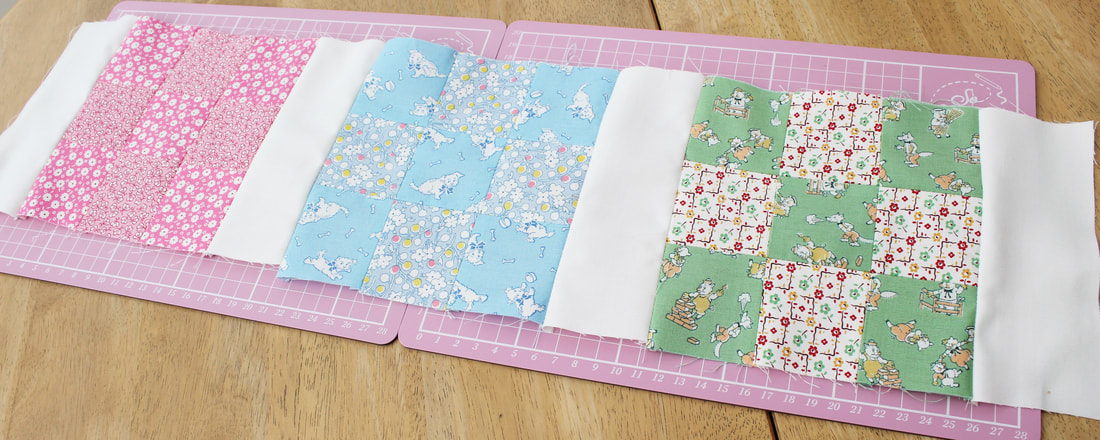
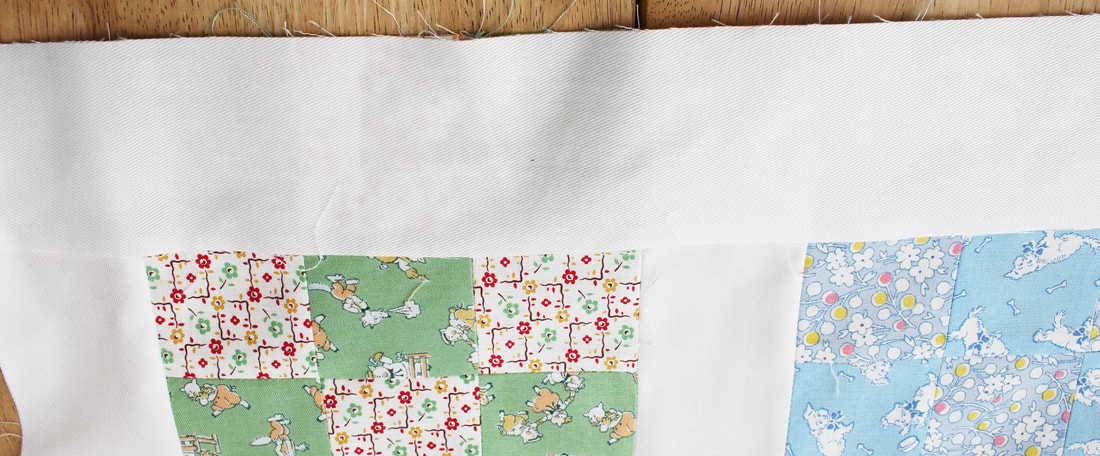
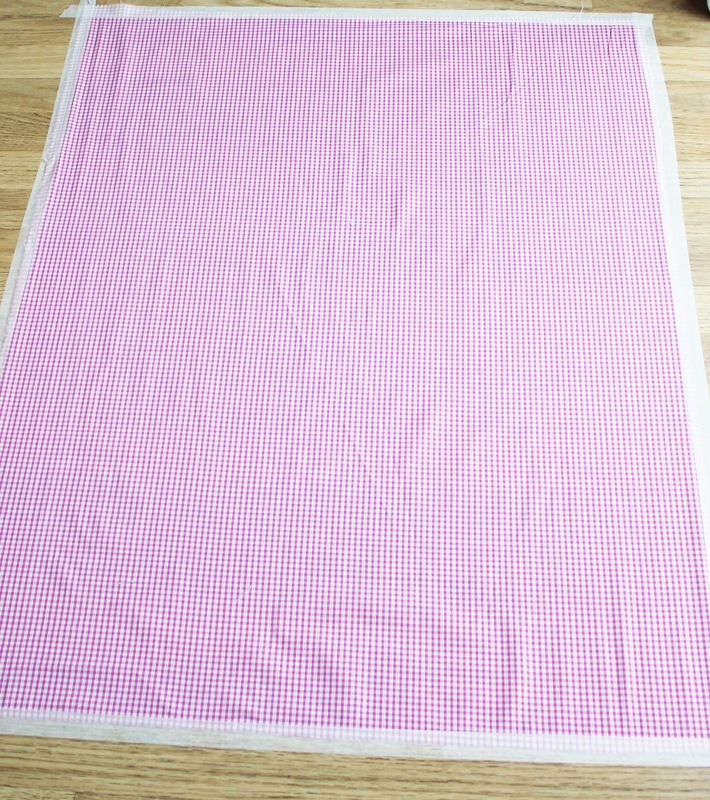
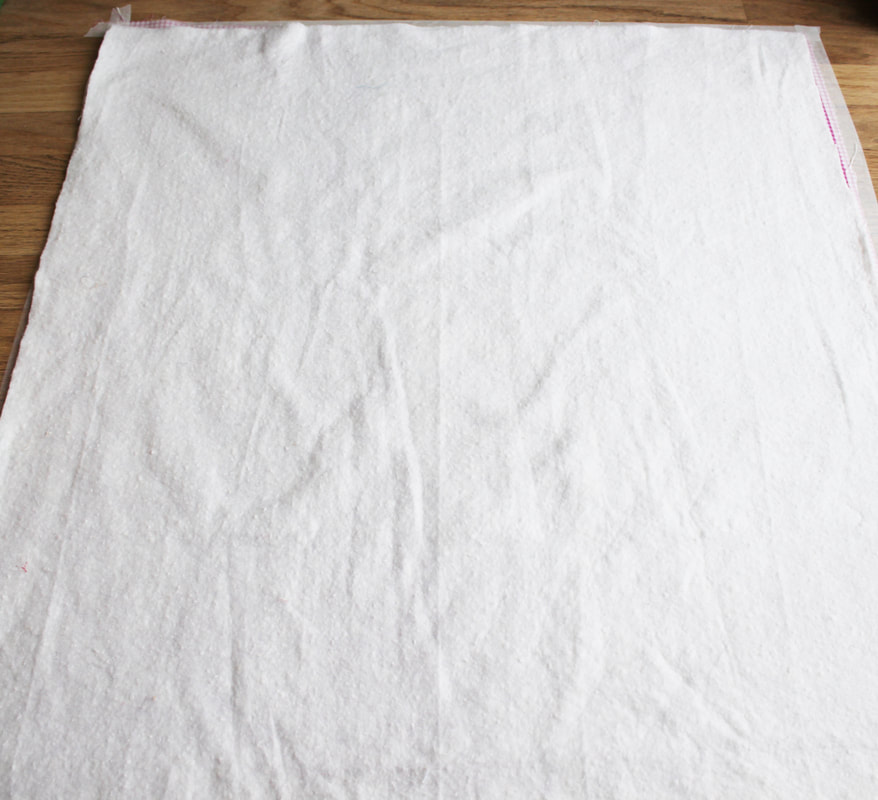
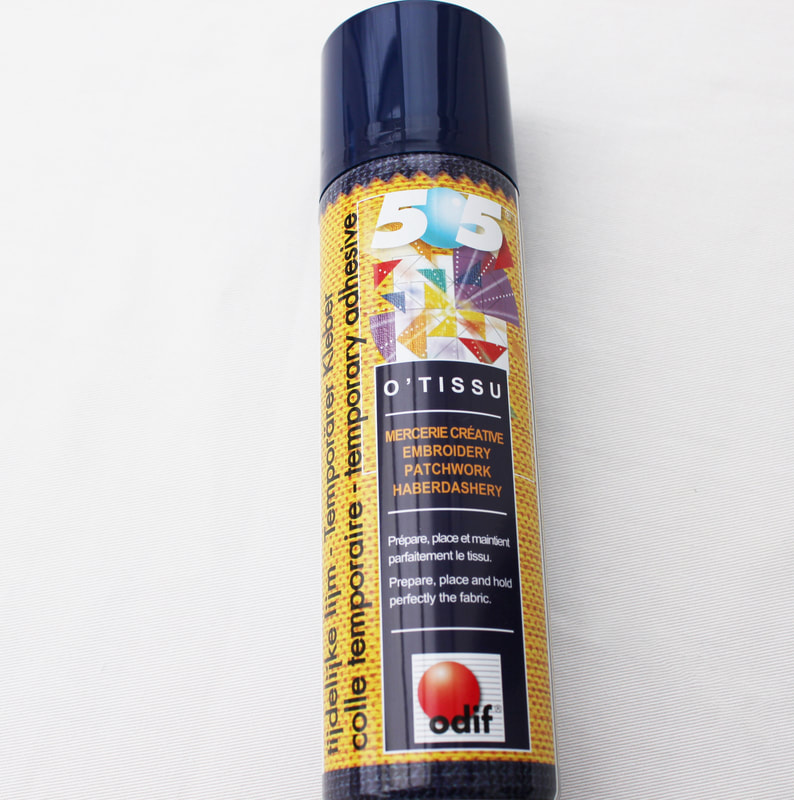
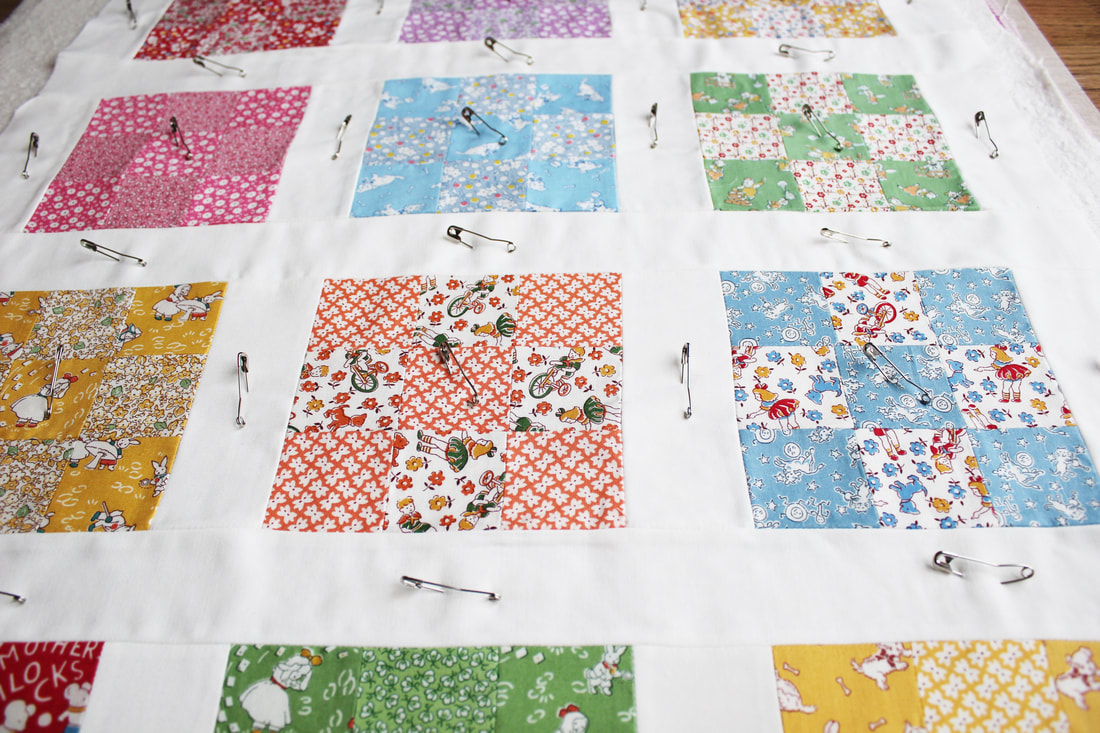
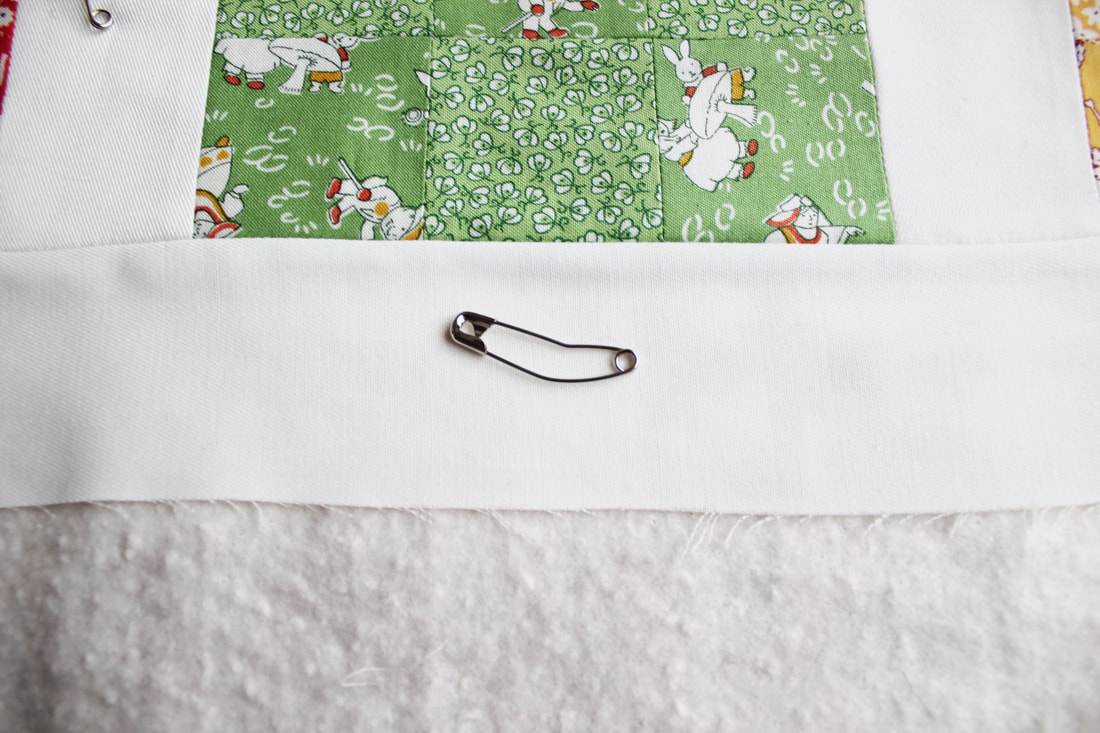
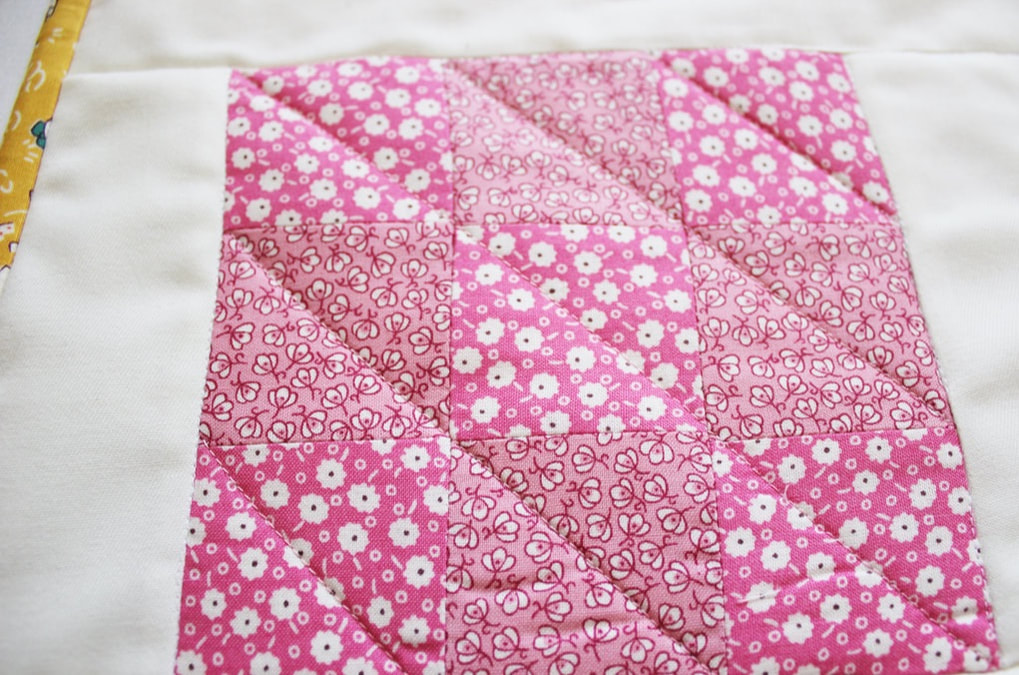
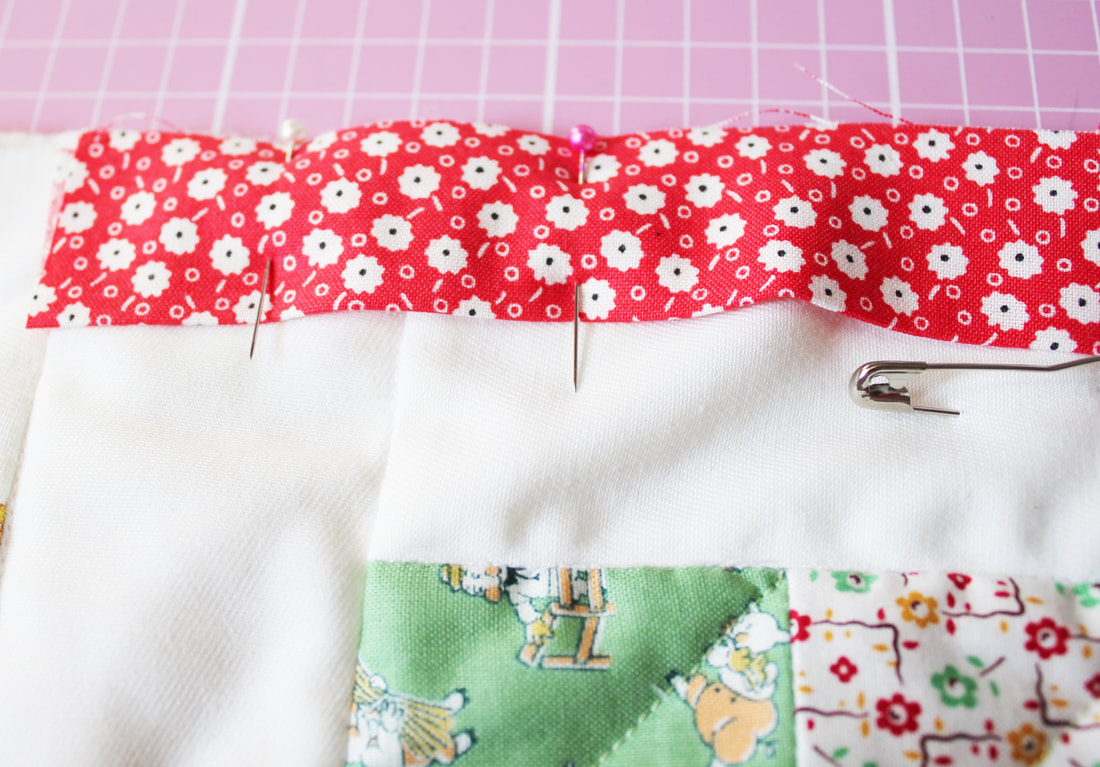
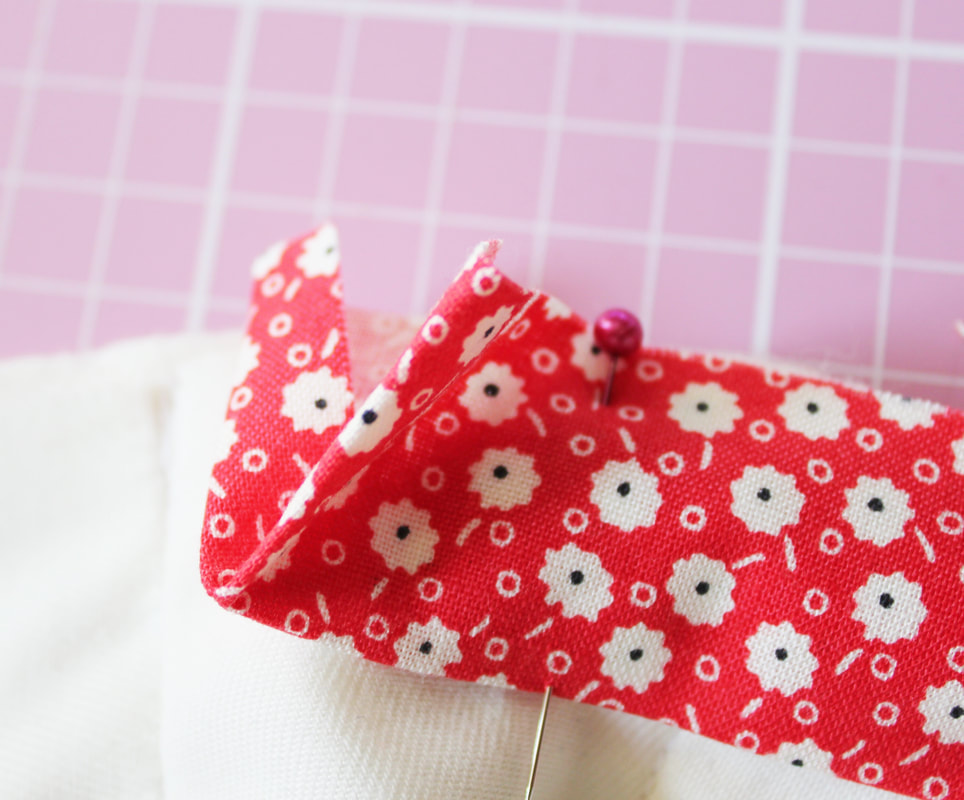
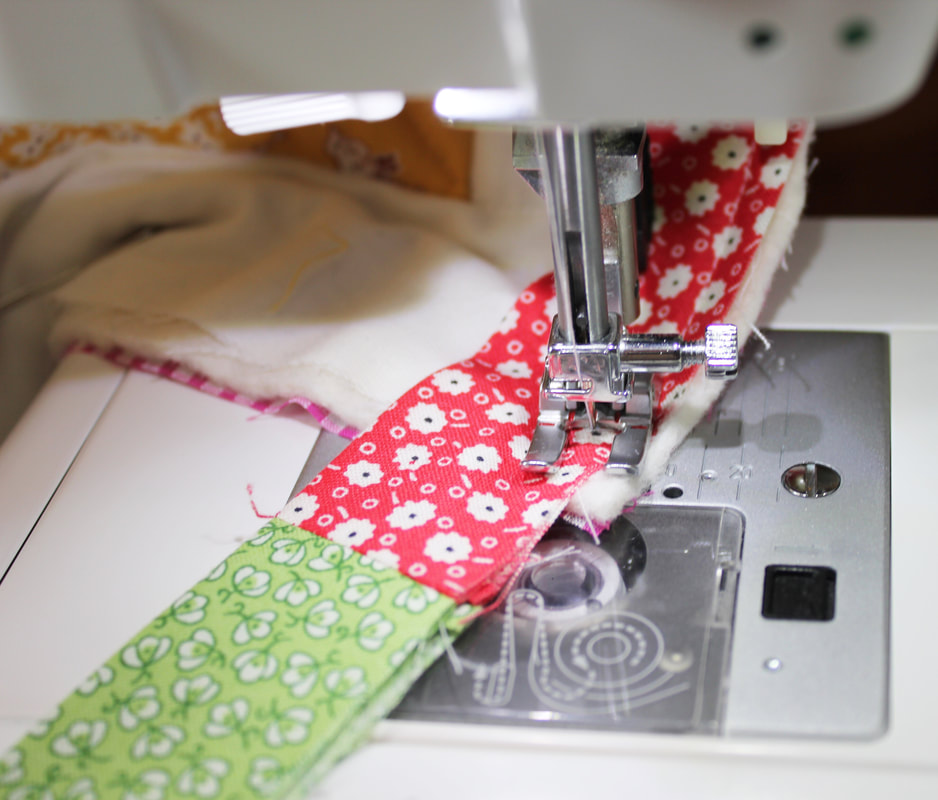
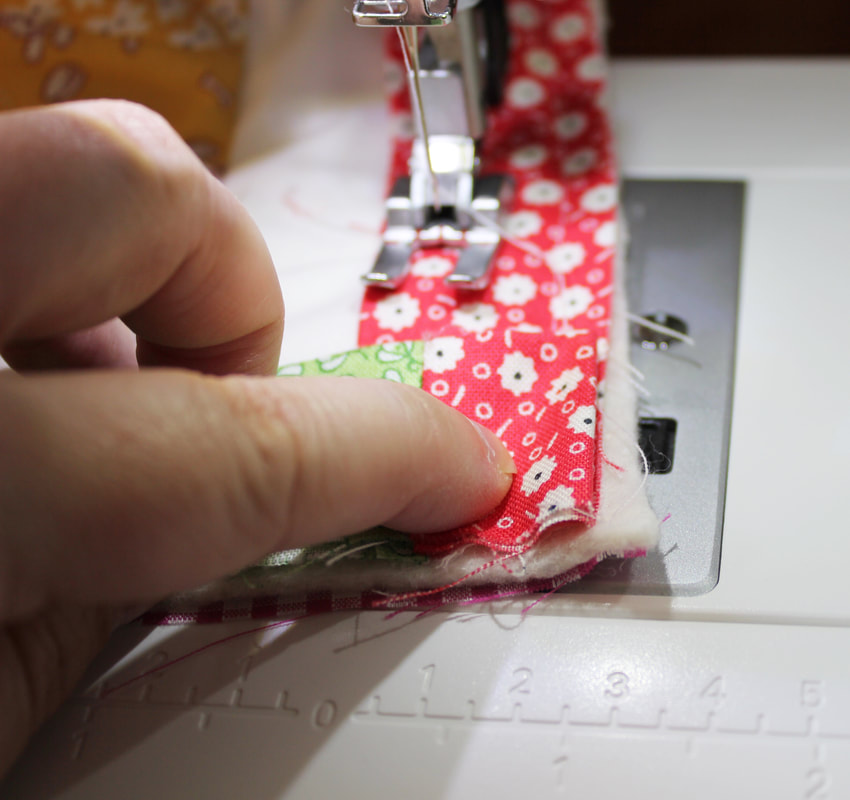
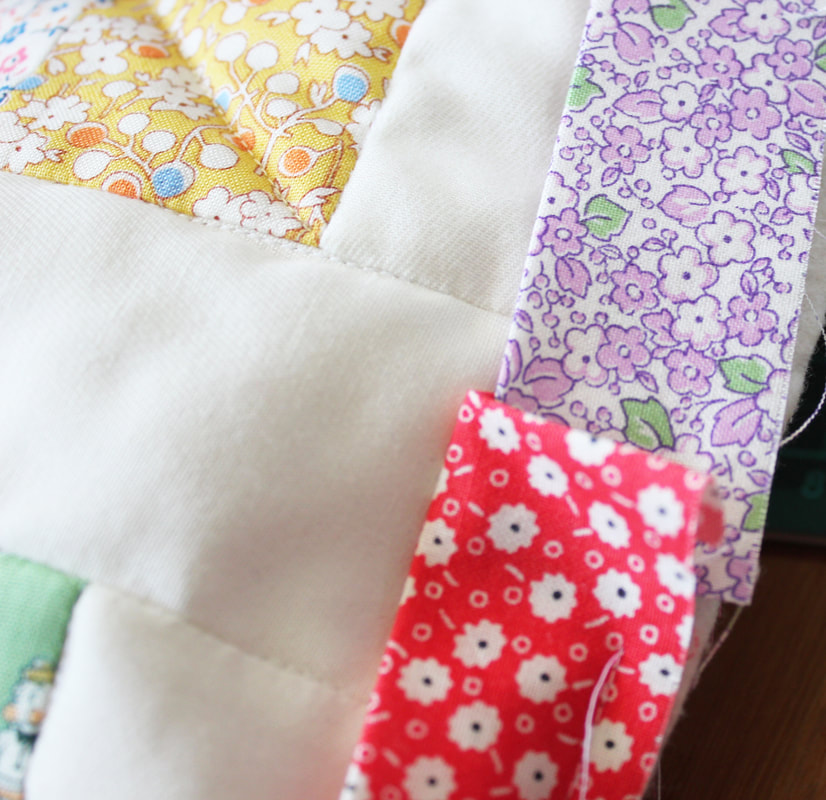
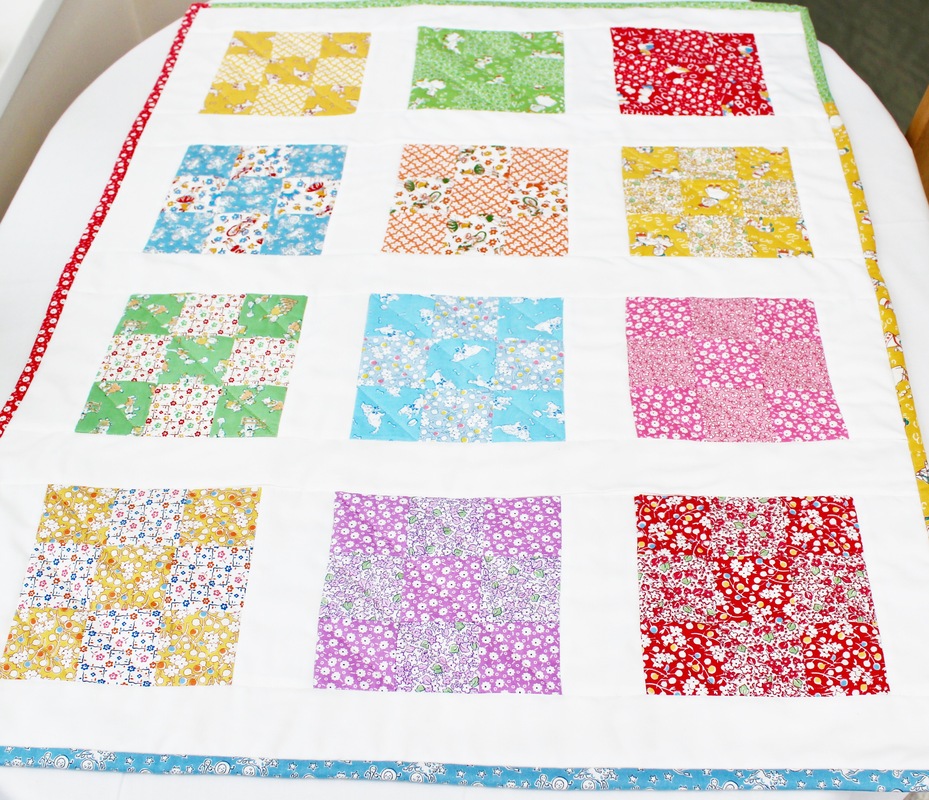
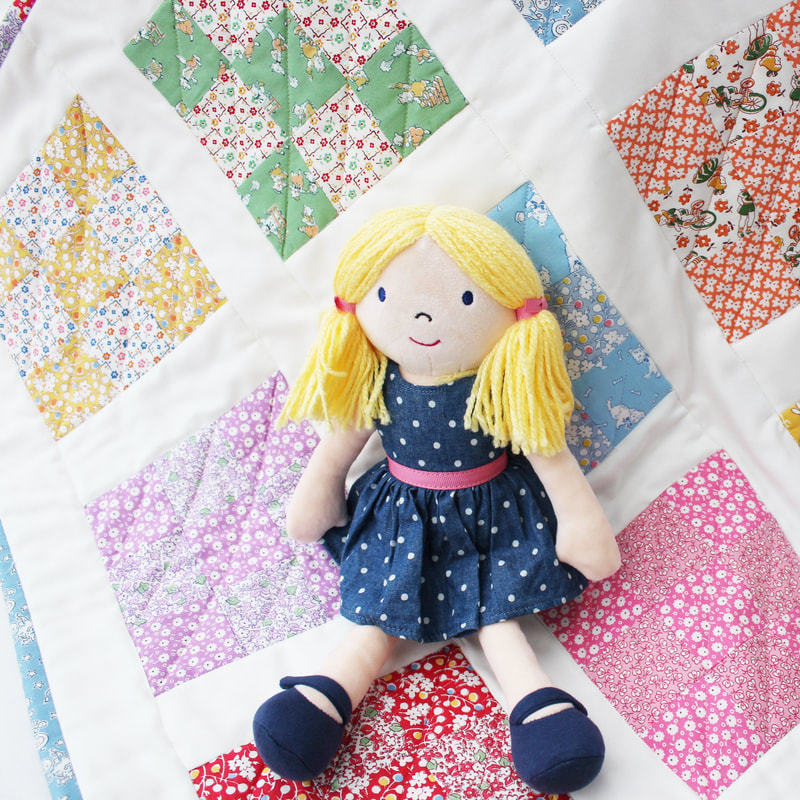
Continuing from my last post, you should now have all 12 blocks finished and ready to turn into a quilt. Play around with your blocks and decide on how you would like them to be arranged. You may also want to trim you blocks at this point to ensure they are all 6 inch squares. Now it's time to add the sashing. We will start with the vertical sashing between the blocks. 1. Cut 16 strips of fabric that are 6 inches long and 2.5 inches wide. 2. Take the first block of your quilt and lay a strip of sashing on top of it right sides together, lining up the raw edges on the left side as they face you. Sew together using a quarter inch seam allowance, open out and press the seam open. Repeat this to sew the sashing on the right side of the block. 3. Take the next block in the row and place it on top of the righthand piece of sashing, right sides together. Line up the raw edges on the right side and sew together with a quarter inch seam allowance. Flip open and press the seam open. 4. Next add the another piece of sashing to the right side of block two, in the same way as you did in step 2. 5. Continuing in this way, add the third block in the row and the final piece of sashing. 6. Repeat these steps for the remaining three rows of your quilt. 7. Next add the long, horizontal sashing strips to join the rows together. Take your first row and place a sashing strip along the top, right sides together. Sew with a quarter inch seam allowance and flip open and press the seam open. 8. Repeat this for the sashing on the bottom on the top row. 9. Now add the next row to that piece of sashing by placing the row, right sides together, on top of the sashing, lining up the raw edges. Flip open and press the seams open. Continue in this way to add each row with sashing in between. Now your quilt top is done! It's time to quilt. 10. I don't have a huge table for creating my quilt layers, so I use the floor. Spread out your backing fabric with the wrong side facing up and secure to the floor with masking tape. 11. Next lay the wadding on top and the quilt top on top of that. 12. Pin the layers together using quilters pins, making sure your pin goes through all layers. I put a pin every few inches apart as I also sprayed some quilters basting glue on my layers to keep them together. If you don't use the glue, make sure you use more pins. 13. Now remove the masking tape and begin to quilt. I stitched in the ditch (sewing along each seam on the right side) and I quilted my squares diagonally but you can choose however you wish to quilt them. 14. Once the quilting is done, trim your backing fabric and wadding to be the same size as your quilt top and remove your pins. 15. Now it's time to add the binding. Press your binding in half and pin in place on the quilt top, lining up the raw edges. 16. I turn the raw edge at the start in on itself to encase it. Sew in place with a quarter inch seam allowance. 17. At each corner, I sew off the edge at the corner, lift the presser foot and readjust the angle of the binding so that it is a right angle. I then continue to sew along. This will give you a mitred corner. 18. When you get back to the beginning, put the end of your binding inside the beginning of your binding to encase it. 19. Now flip your binding round to the back of the quilt and stitch in place by hand with an invisible appliqué stitch.
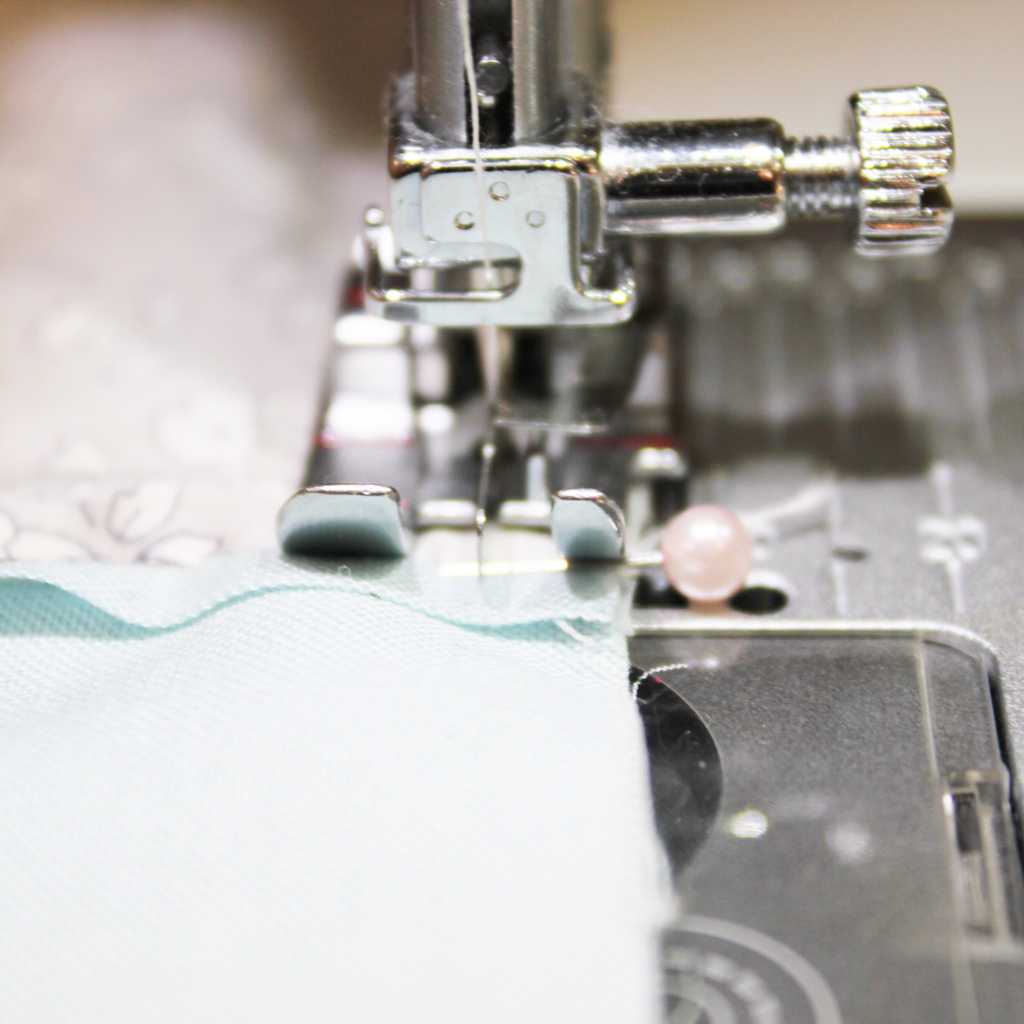
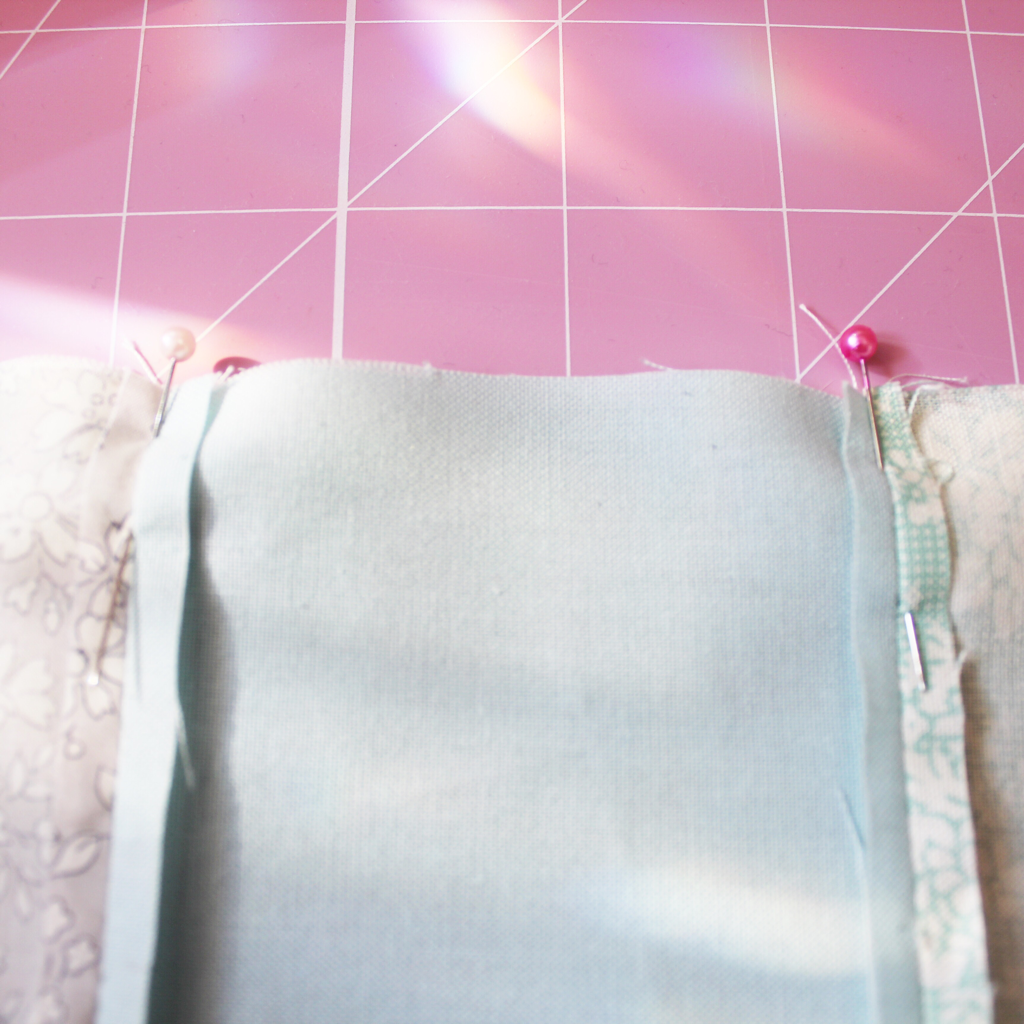
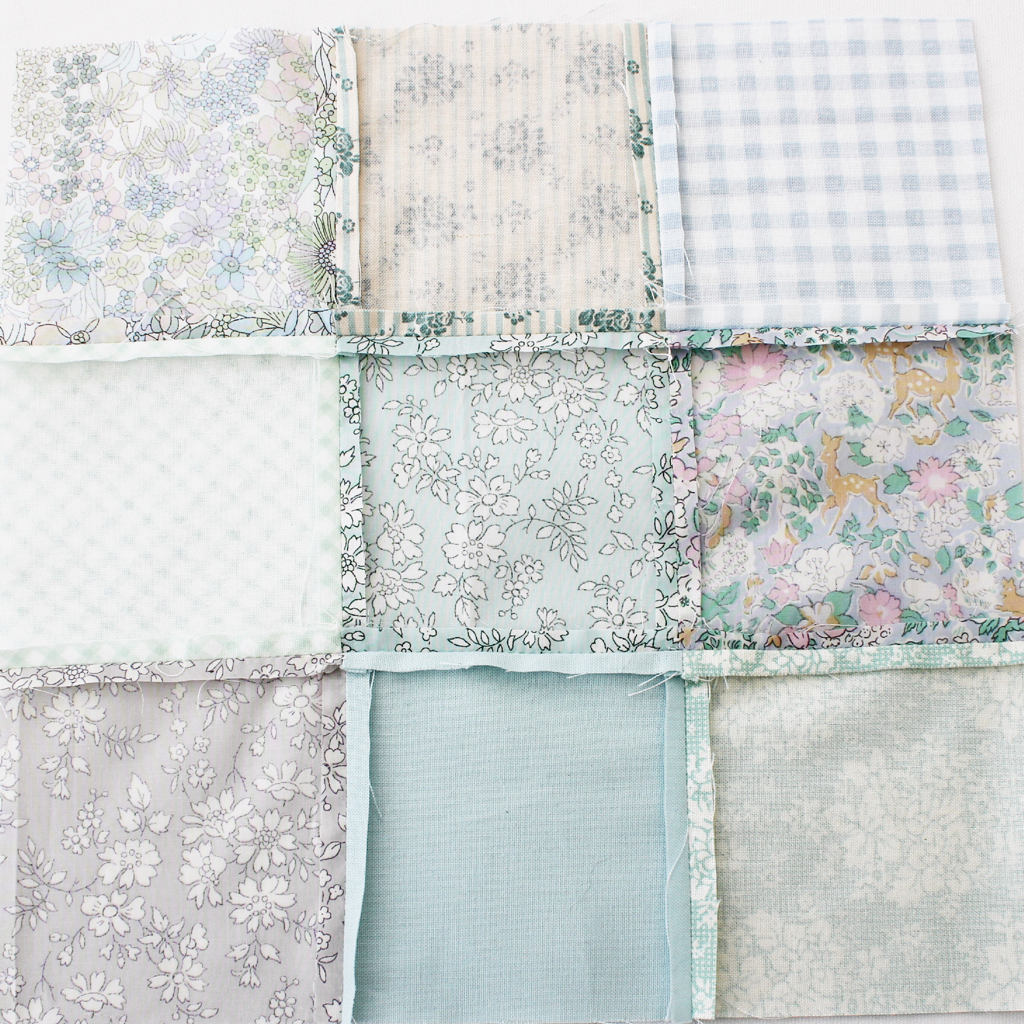
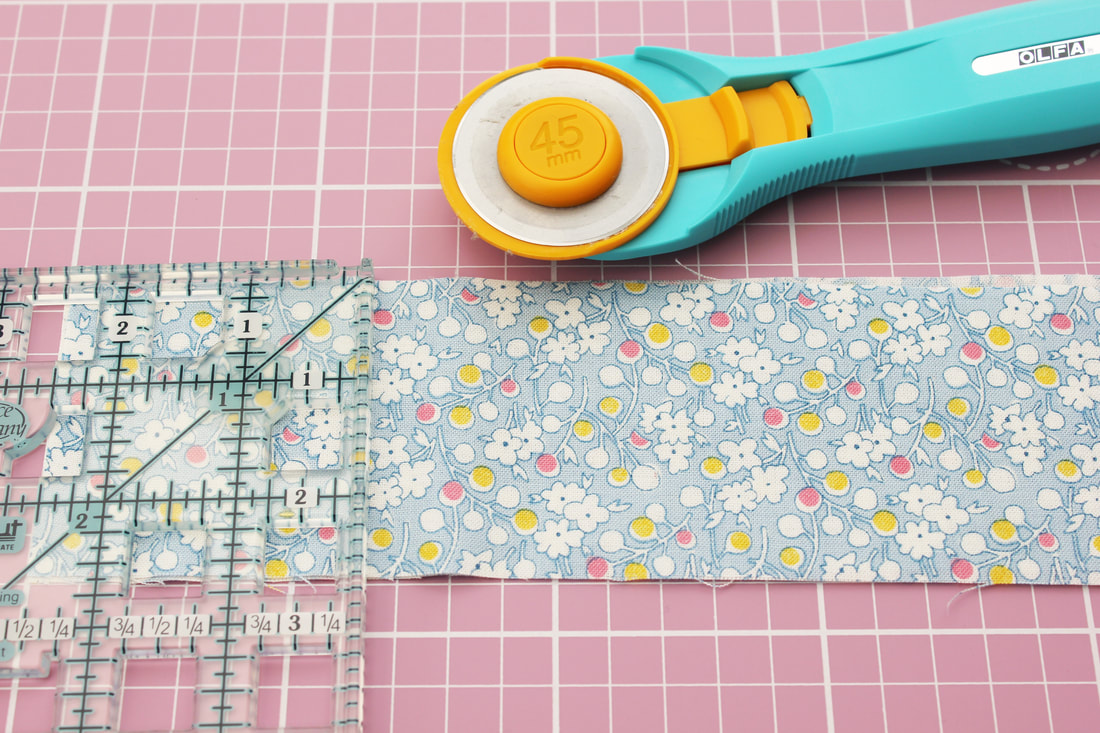
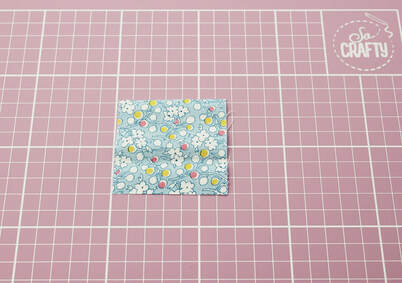
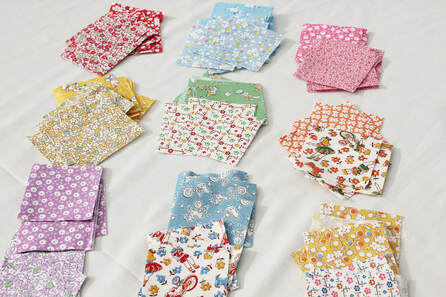
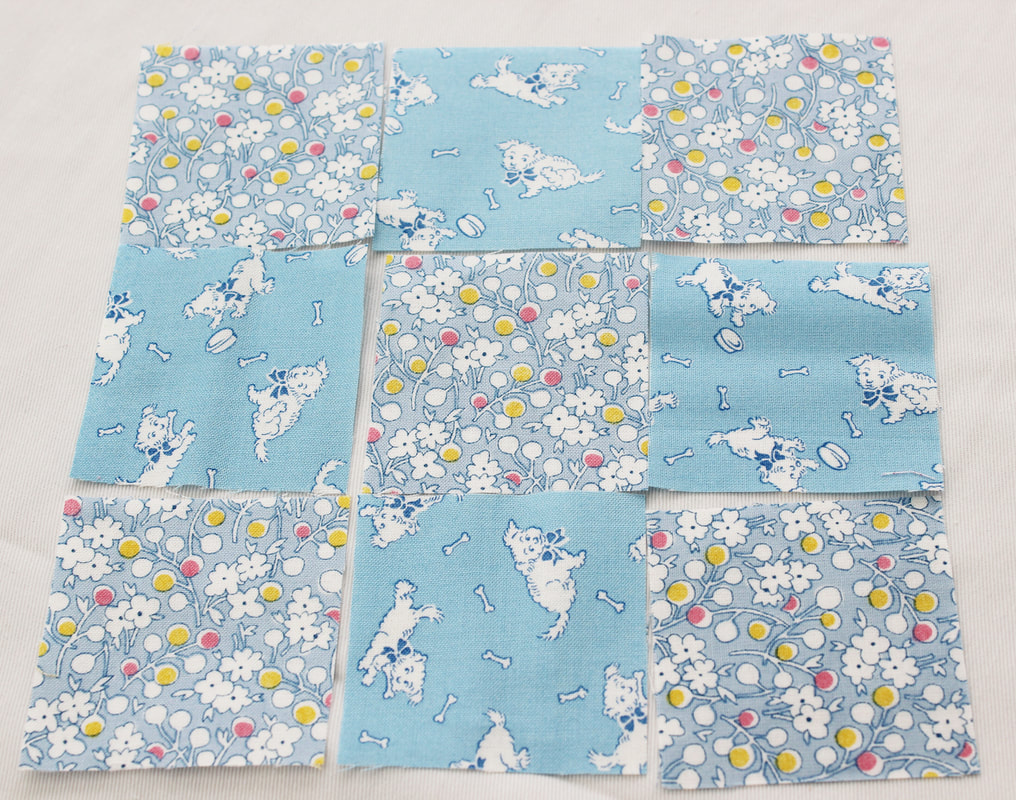
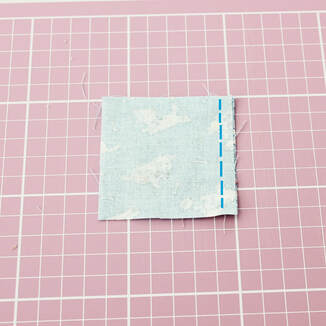
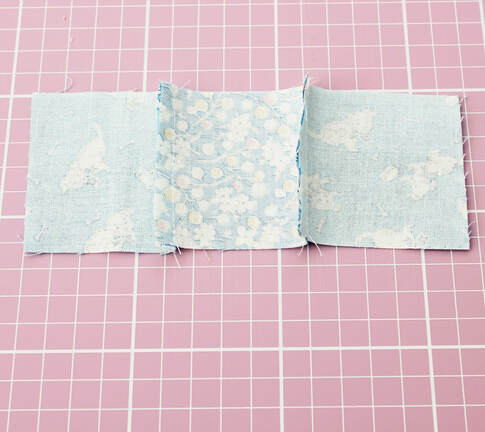
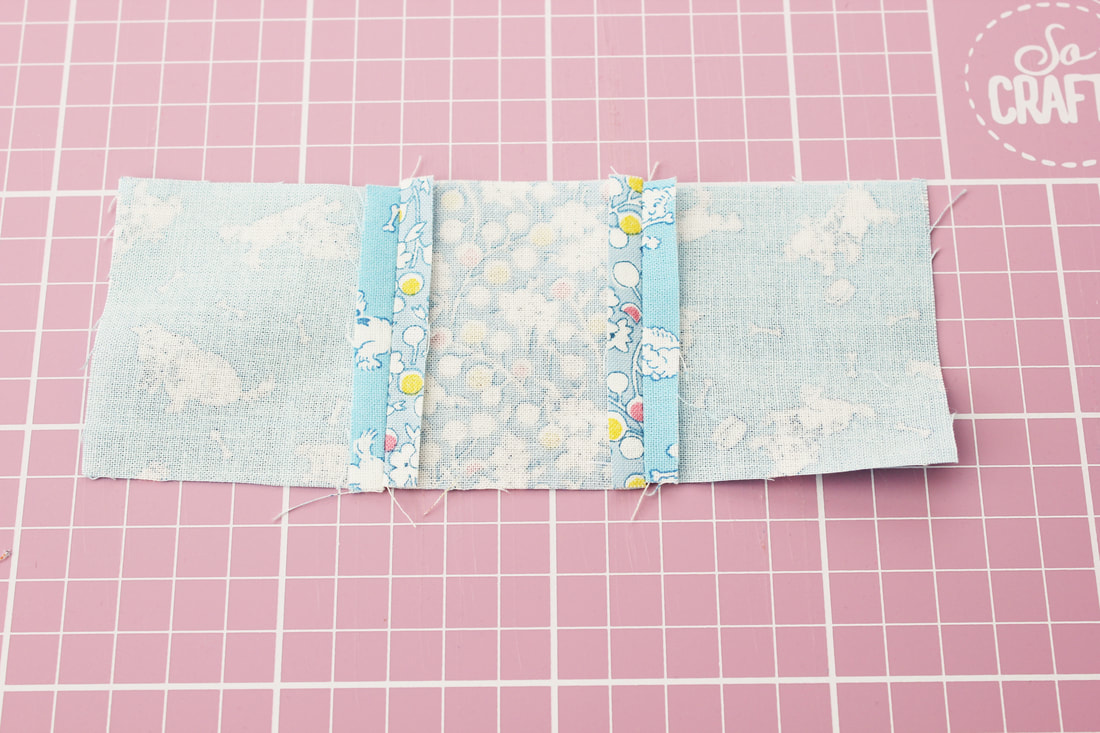
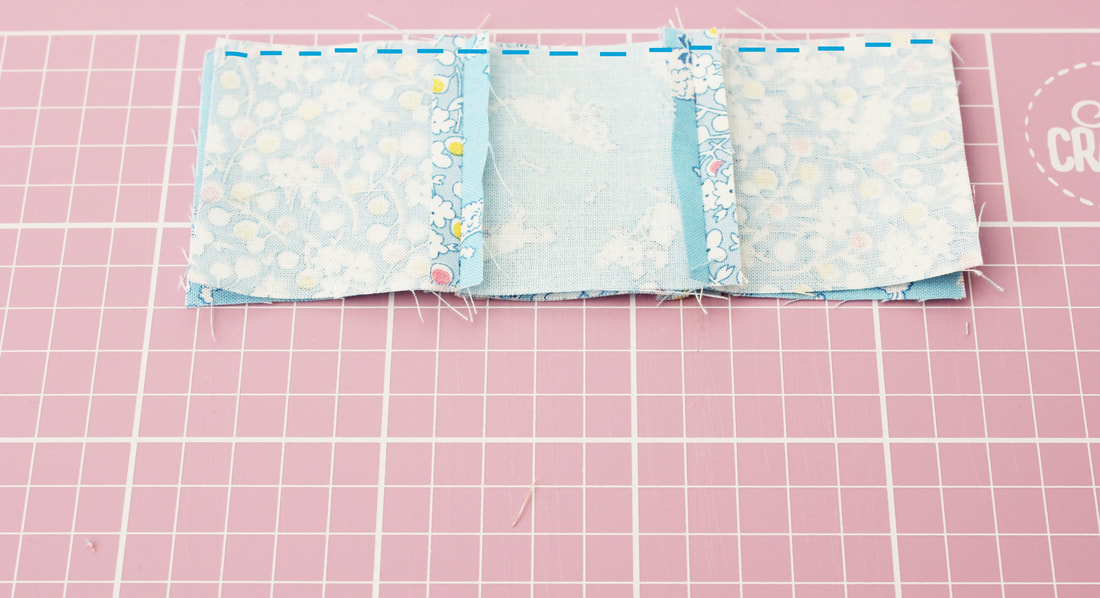
Your quilt is done! I hope you enjoy this tutorial. If you have any questions please contact me. Happy sewing! Let's start making the quilt! To start we need to cut our fabrics. This is really easy because we are working with strips that are 2.5 inches wide for everything! So that keeps things nice and simple. For the coloured nine patch blocks, you need will need 24 strips of fabric that are 2.5 inches wide. Each block uses two contrasting fabrics. So you will need one strip to be 10 inches long and one to be 12.5 inches long. 1. Cut your 10 inch long strip into four 2.5 inch squares. Cut your 12.5 inch long strip into five 2.5 inch squares. The photo shows how to line your ruler up with the 2.5 measurement in line with the edge of the fabric. Then you can cut along the edge of the ruler. 2. Decide which fabrics you are going to pair up for each block if you haven't already done so. We will be creating a pattern like this; Once all of that cutting is done, it's time to get sewing! We will be sewing each block a row at a time, then joining them together. 3. Take the top left square and the top middle square. Place them right sides together and sew in place down one side using a quarter inch seam allowance. As I've used white thread I've drawn over it on the computer in blue to show you where to stitch. 4. Open it out and repeat on the other side of the central square with your top right square. 5. Now there are different opinions about what to do with your seams. Some people press them to one side. I press them open. I like this because I find it easier to line them up when joining them to other pieces. I've never had a problem with fabric showing through to the other side. So press your seams open if you wish. Repeat steps 3, 4 and 5 for the middle and bottom rows. 6. Now it's time to join your three rows together. Lay out your three rows how you'd like them to look when finished, with the right sides facing up. Pick up the top row and flip it over on top of the middle row so that the right sides of each row are facing each other. You need to make sure you have flipped the top row over towards you before placing it on top of the middle row, so that you are lining up the bottom raw edge of the top row and the top raw edge of the middle row! Sounds complicated but it isn't, it's just tricky to explain in words! So here is a photo. Sew along the blue line with a quarter inch seam allowance. Top Tip! It is important to line the two middle seams up of both rows before you sew them together. I use pins to do this and I stick the pin through the middle of each seam, catching the middle of the seam on the other piece.
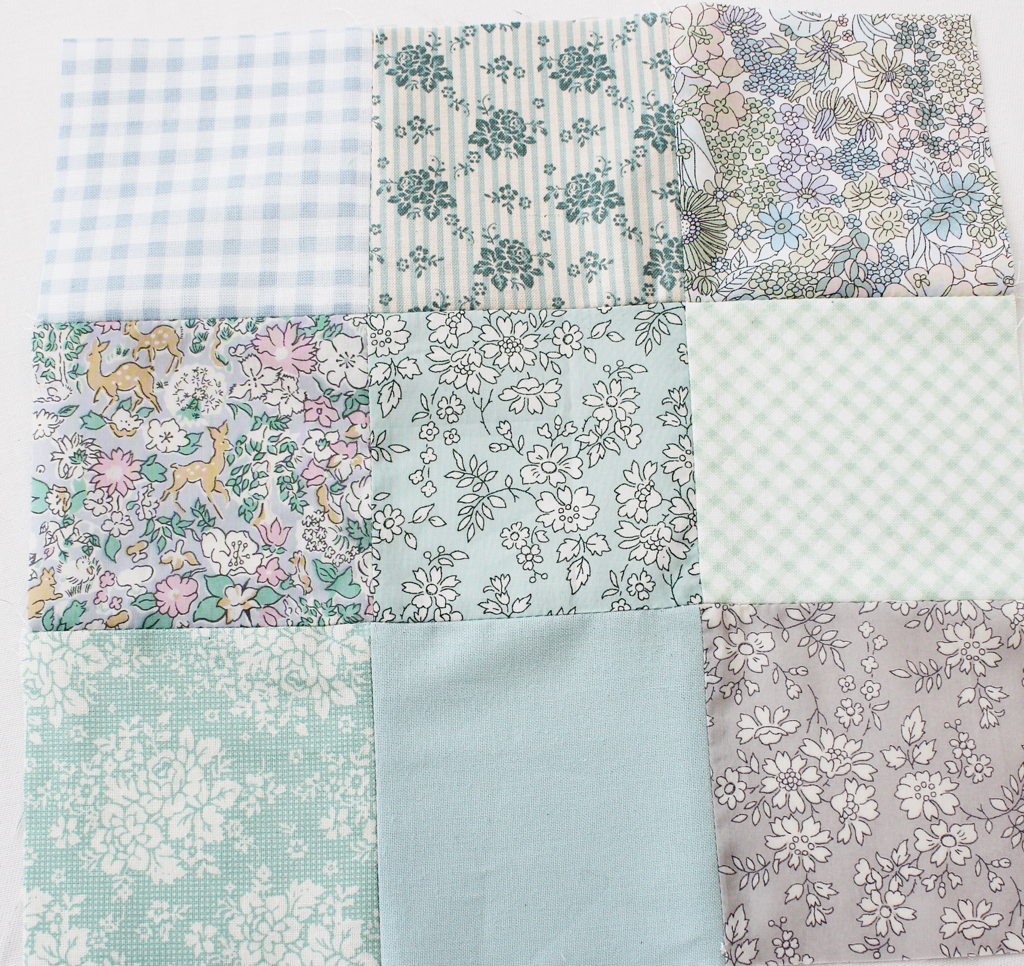
7. Open it out and press your seam open. 8. Repeat steps 6 and 7 to join the bottom row, making sure you flip the bottom row up, lining up the top raw edge of the bottom row with the bottom raw edge of the middle row! 9. And that is your block finished! Repeat for the rest of your blocks and you will be ready to add sashing. I will be back tomorrow showing you how to do that! As always, if you have any questions or need me to clarify anything, leave a comment or send me an email. Happy sewing! |
Follow me on InstagramAbout the Author
My name is Emma and I love all things sewing, especially EPP. My little blog is the place where I document what I'm making. I hope you enjoy reading what I'm up to! All opinions are my own and I only share things that I think you will love. Thank you for taking the time to stop by. Archives
September 2023
Categories
All
|
 RSS Feed