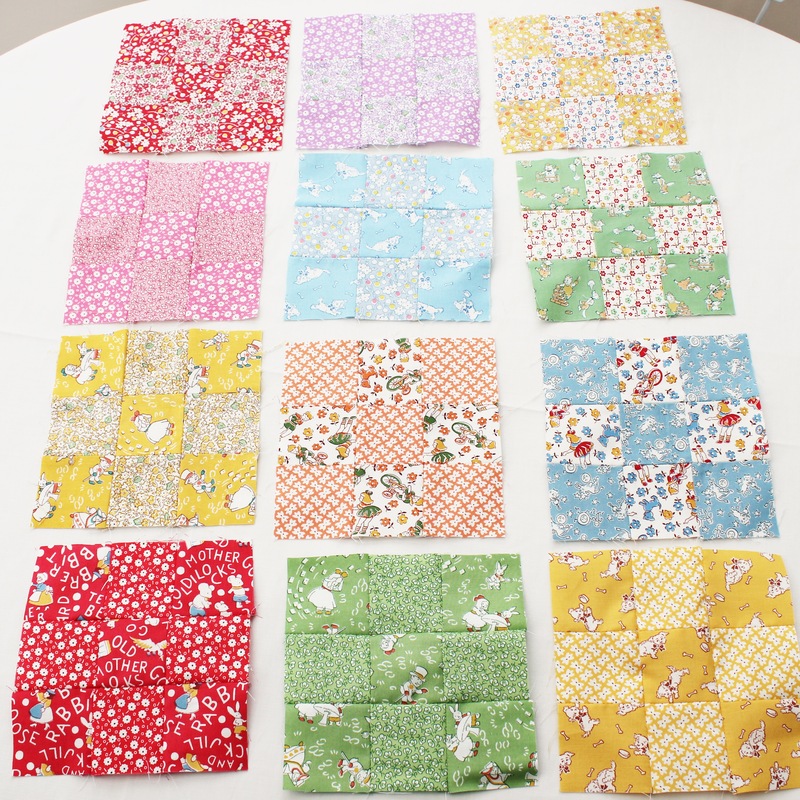
 Continuing from my last post, you should now have all 12 blocks finished and ready to turn into a quilt. Play around with your blocks and decide on how you would like them to be arranged. You may also want to trim you blocks at this point to ensure they are all 6 inch squares. Now it's time to add the sashing. We will start with the vertical sashing between the blocks. 1. Cut 16 strips of fabric that are 6 inches long and 2.5 inches wide. 2. Take the first block of your quilt and lay a strip of sashing on top of it right sides together, lining up the raw edges on the left side as they face you. Sew together using a quarter inch seam allowance, open out and press the seam open. Repeat this to sew the sashing on the right side of the block. 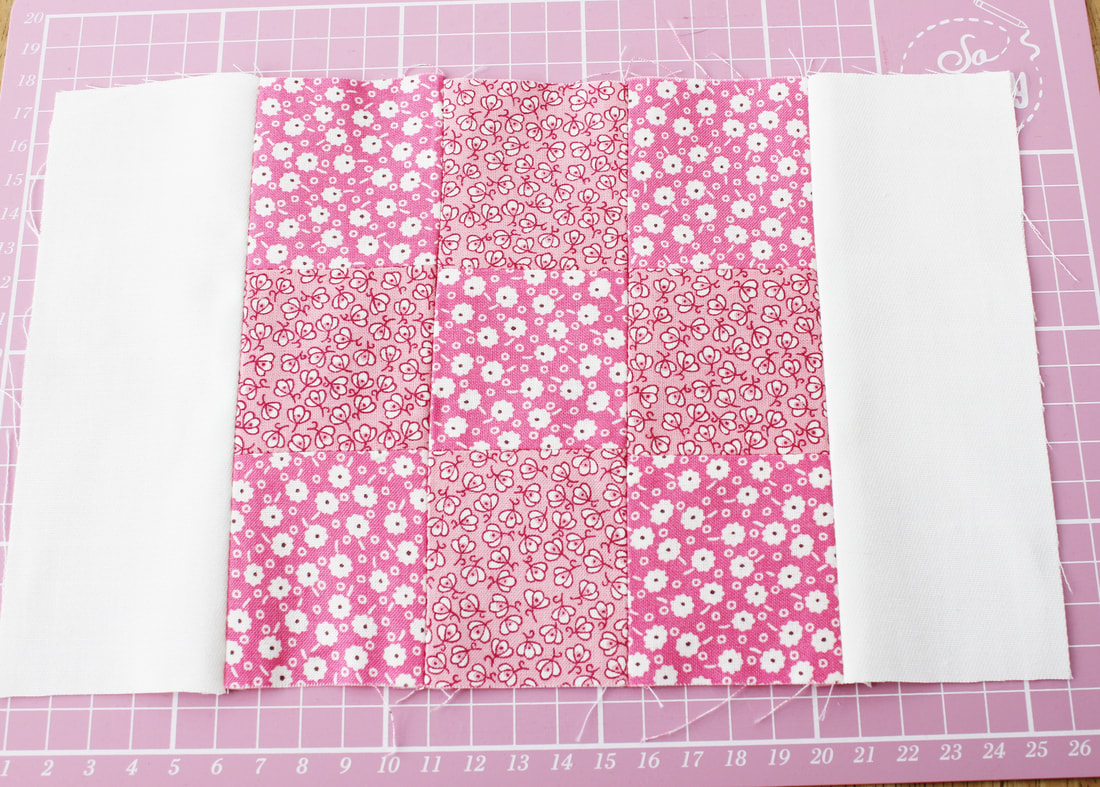 3. Take the next block in the row and place it on top of the righthand piece of sashing, right sides together. Line up the raw edges on the right side and sew together with a quarter inch seam allowance. Flip open and press the seam open.  4. Next add the another piece of sashing to the right side of block two, in the same way as you did in step 2. 5. Continuing in this way, add the third block in the row and the final piece of sashing. 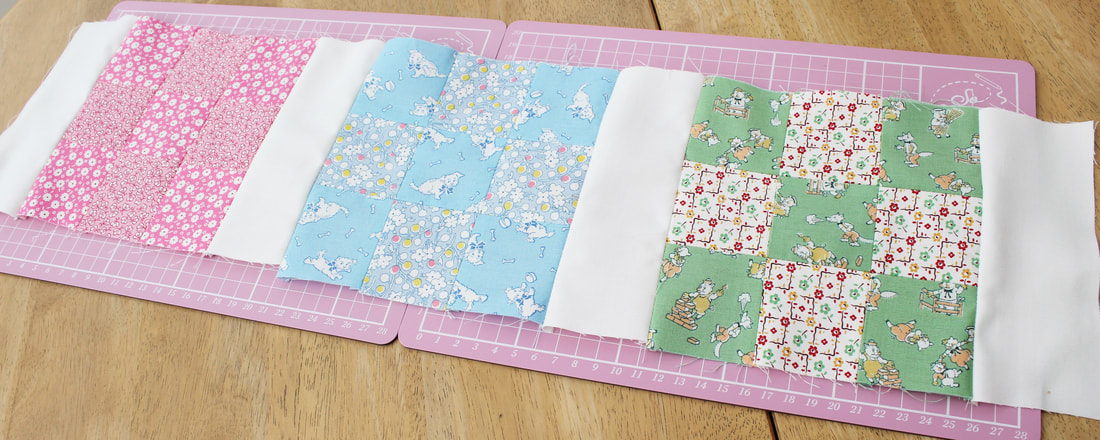 6. Repeat these steps for the remaining three rows of your quilt. 7. Next add the long, horizontal sashing strips to join the rows together. Take your first row and place a sashing strip along the top, right sides together. Sew with a quarter inch seam allowance and flip open and press the seam open. 8. Repeat this for the sashing on the bottom on the top row. 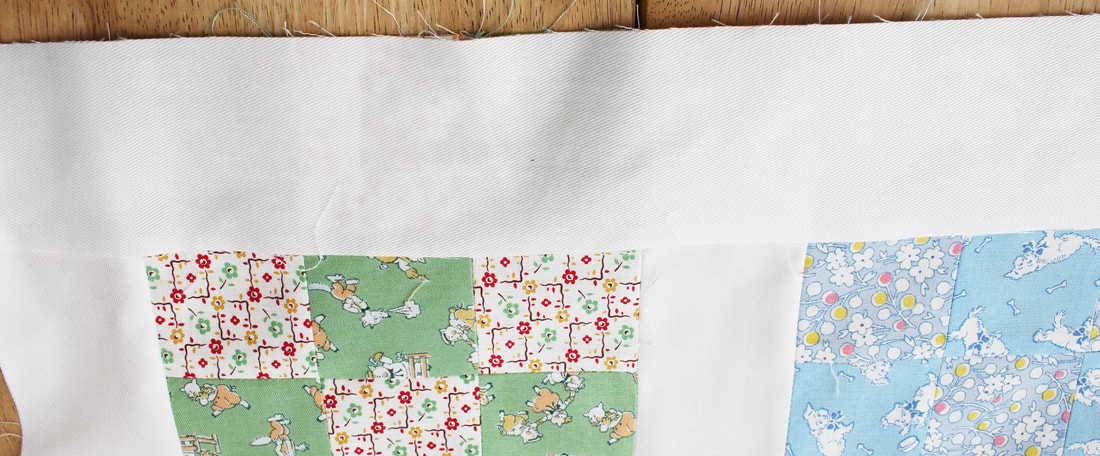 9. Now add the next row to that piece of sashing by placing the row, right sides together, on top of the sashing, lining up the raw edges. Flip open and press the seams open. Continue in this way to add each row with sashing in between. Now your quilt top is done! It's time to quilt. 10. I don't have a huge table for creating my quilt layers, so I use the floor. Spread out your backing fabric with the wrong side facing up and secure to the floor with masking tape. 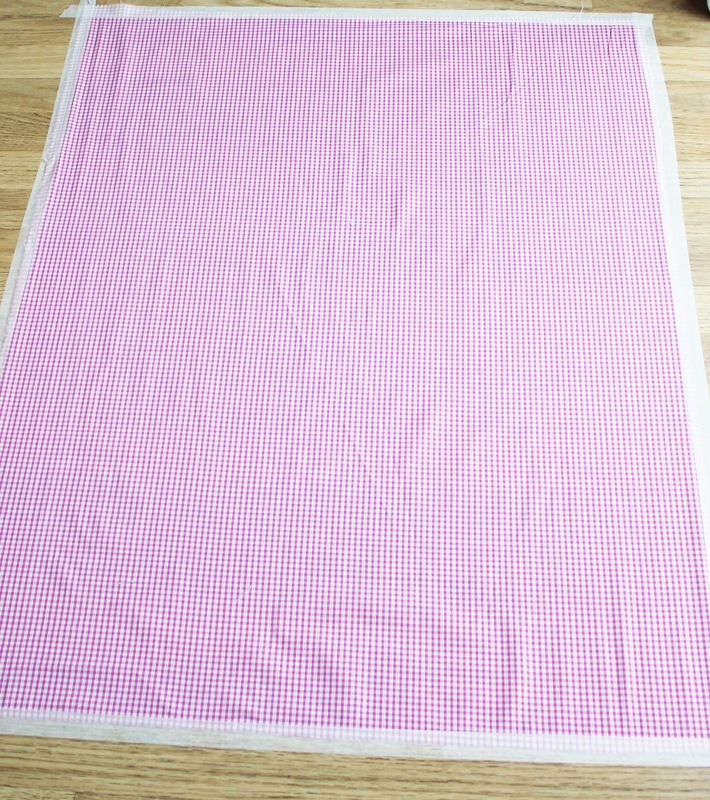 11. Next lay the wadding on top and the quilt top on top of that. 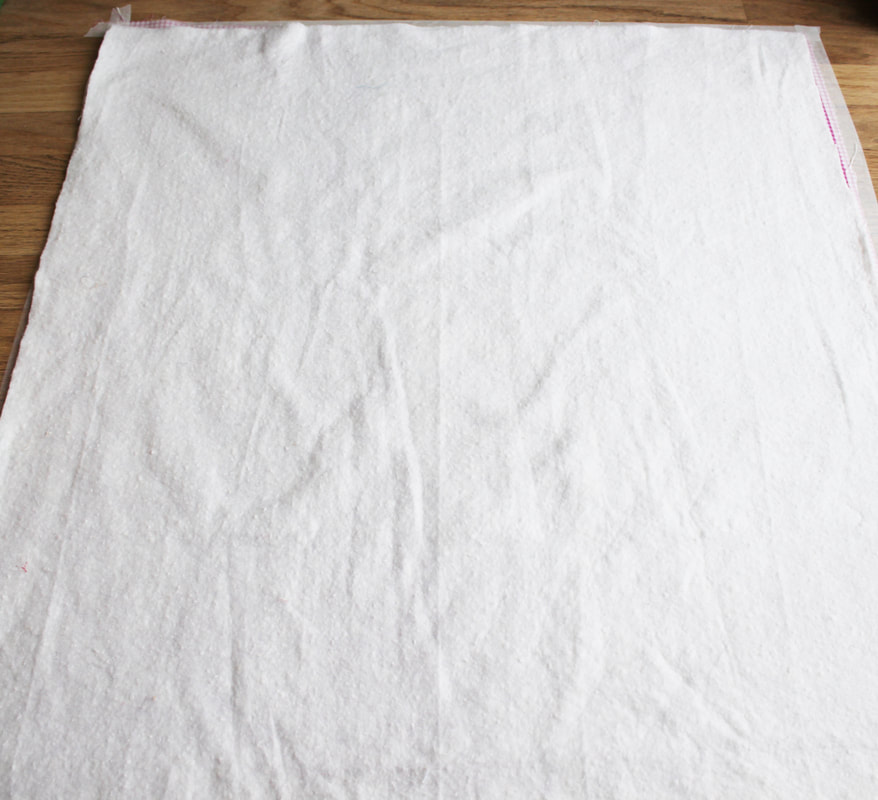 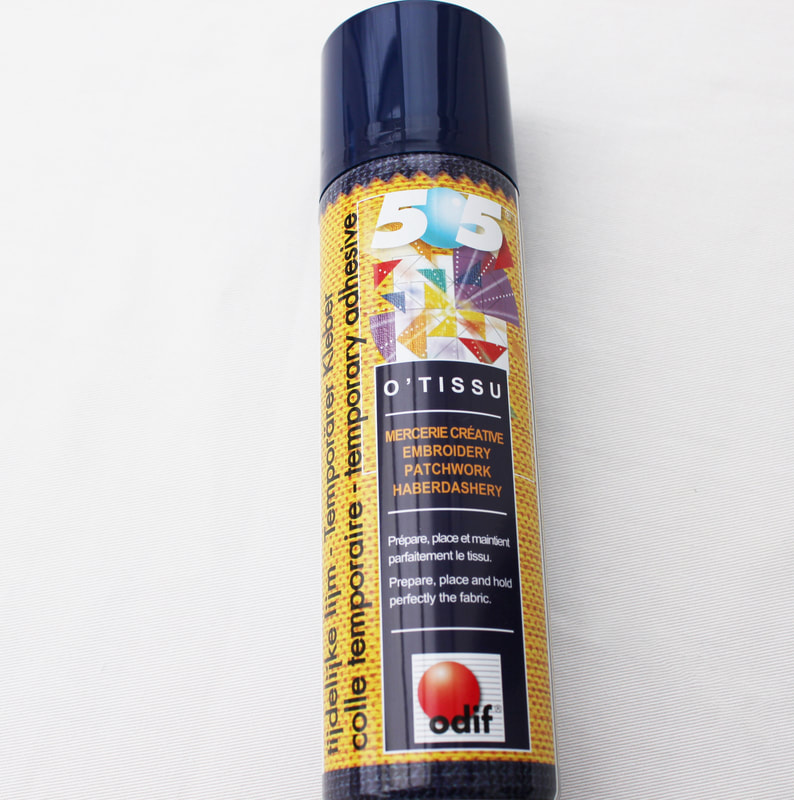 12. Pin the layers together using quilters pins, making sure your pin goes through all layers. I put a pin every few inches apart as I also sprayed some quilters basting glue on my layers to keep them together. If you don't use the glue, make sure you use more pins. 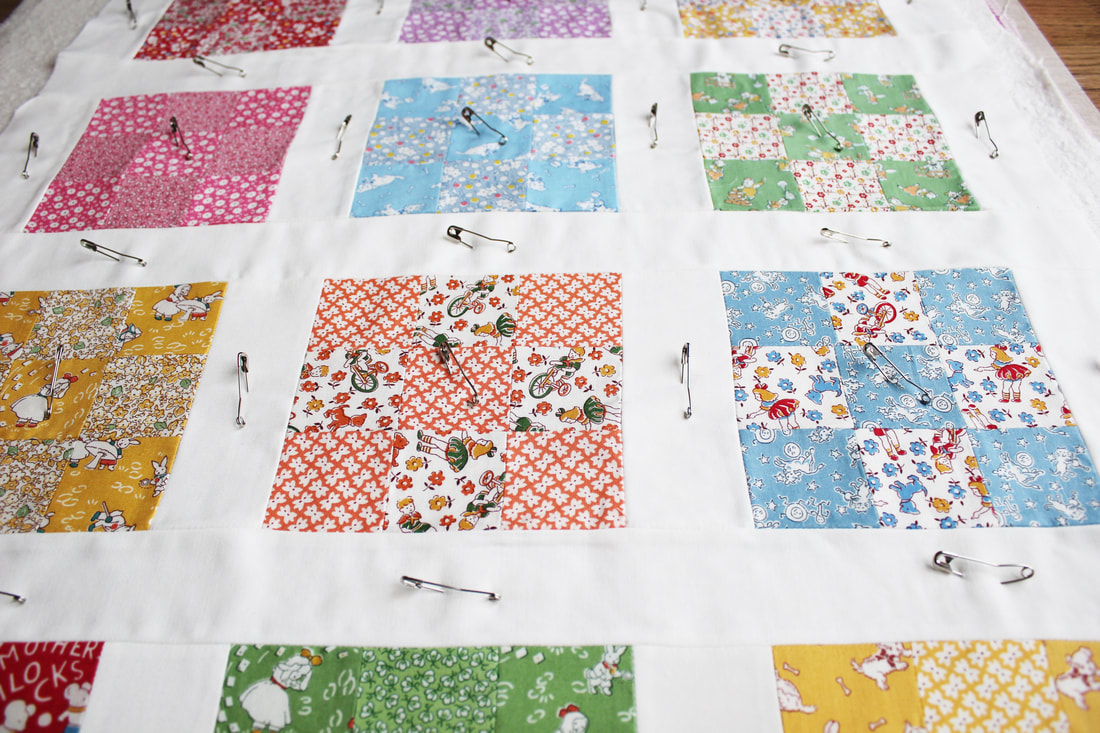 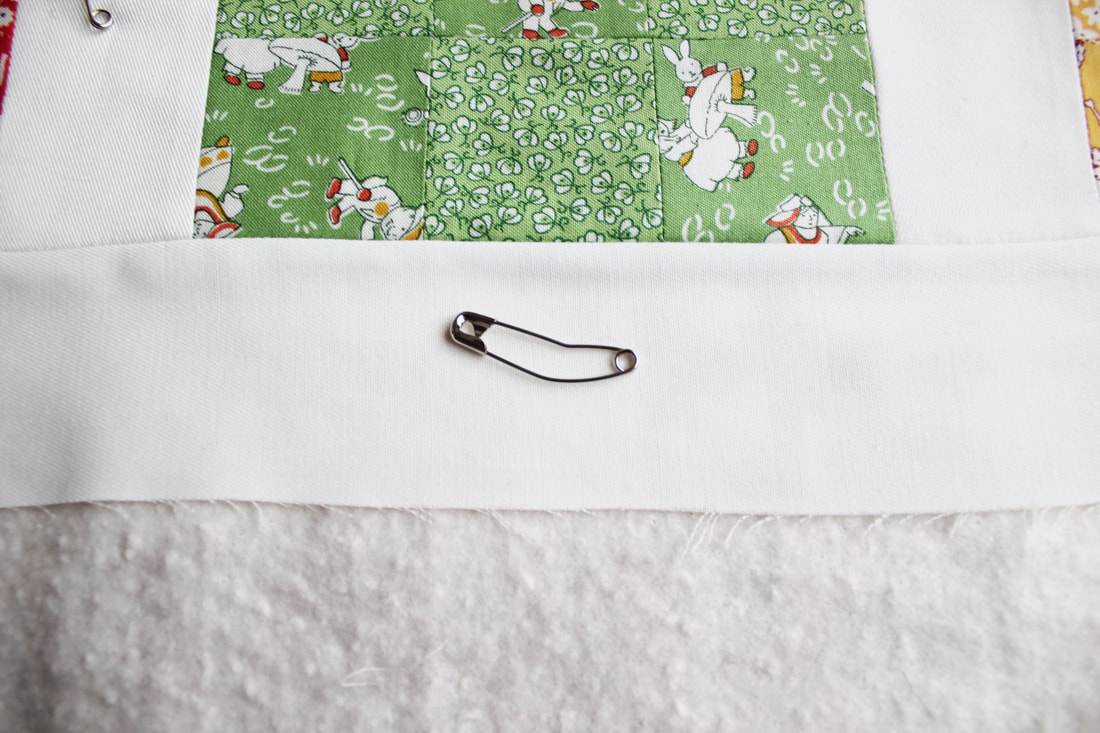 13. Now remove the masking tape and begin to quilt. I stitched in the ditch (sewing along each seam on the right side) and I quilted my squares diagonally but you can choose however you wish to quilt them. 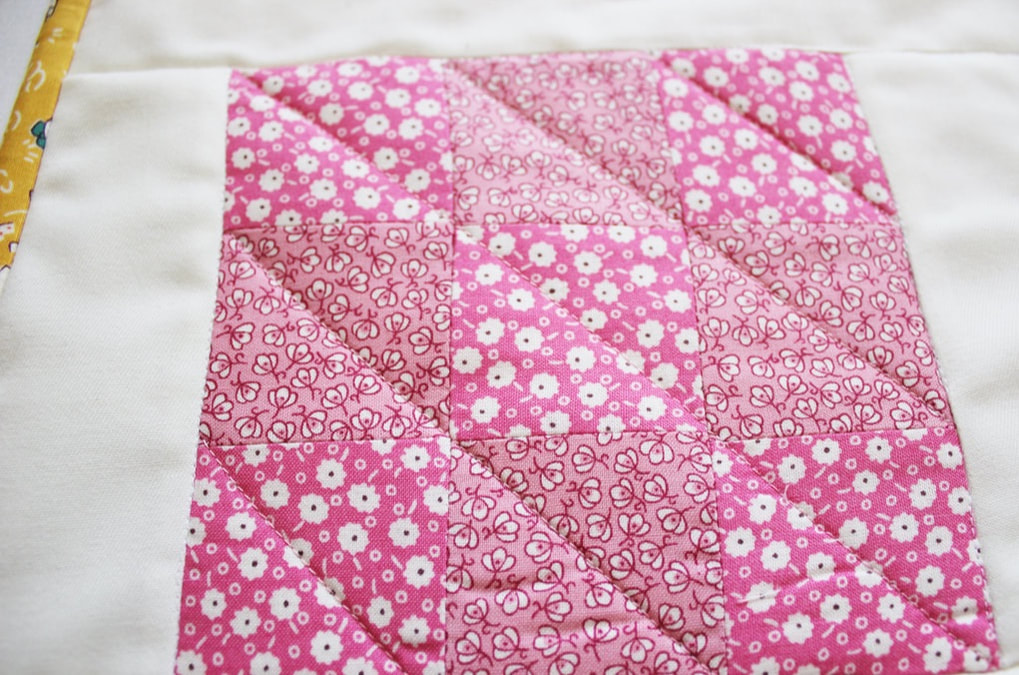 14. Once the quilting is done, trim your backing fabric and wadding to be the same size as your quilt top and remove your pins. 15. Now it's time to add the binding. Press your binding in half and pin in place on the quilt top, lining up the raw edges. 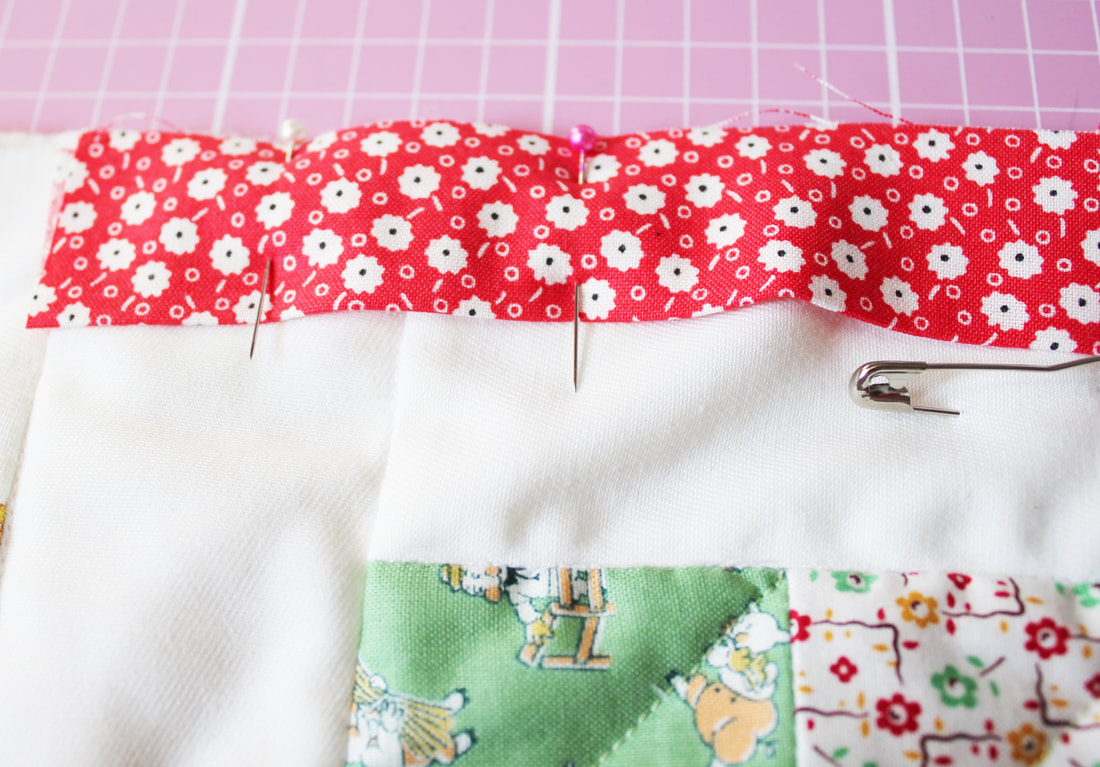 16. I turn the raw edge at the start in on itself to encase it. Sew in place with a quarter inch seam allowance. 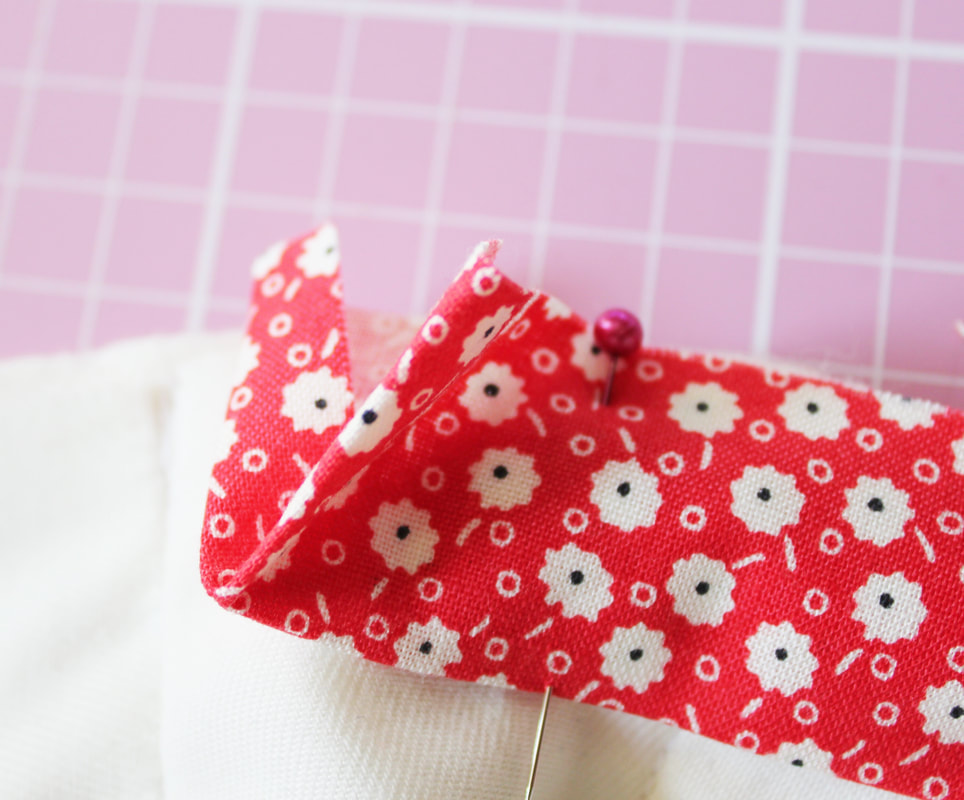 17. At each corner, I sew off the edge at the corner, lift the presser foot and readjust the angle of the binding so that it is a right angle. I then continue to sew along. This will give you a mitred corner. 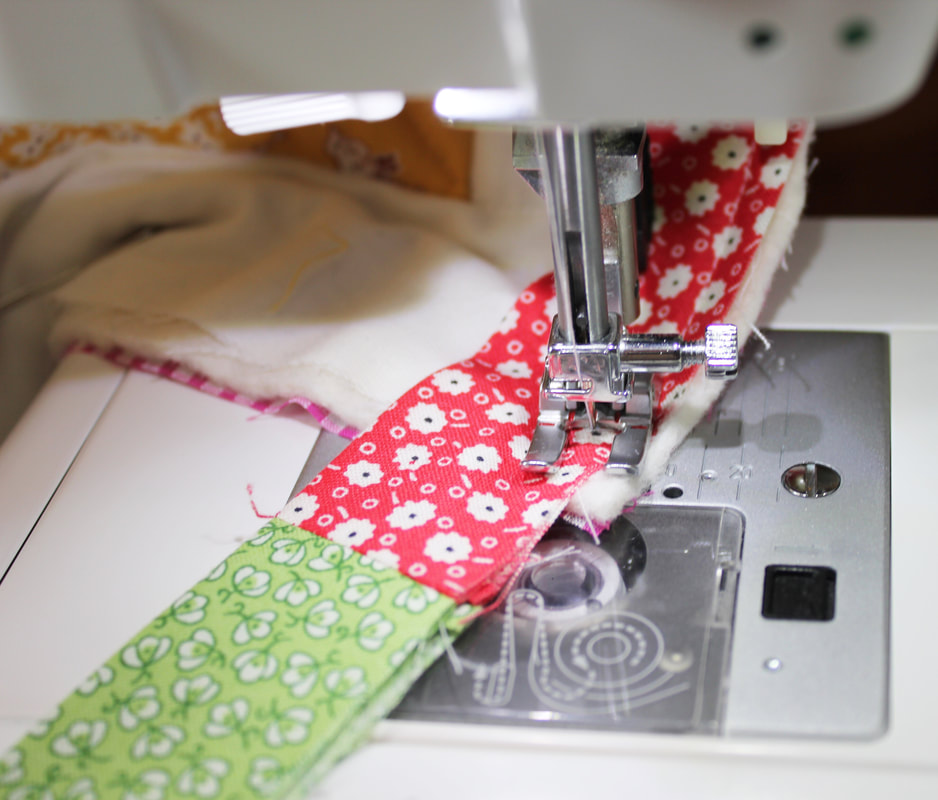 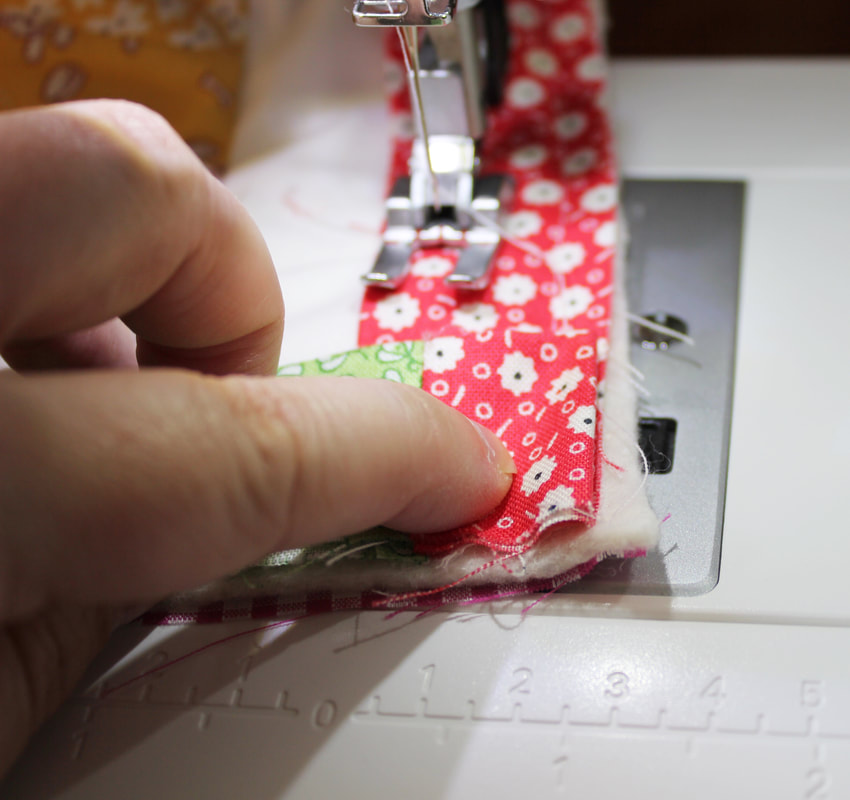 18. When you get back to the beginning, put the end of your binding inside the beginning of your binding to encase it. 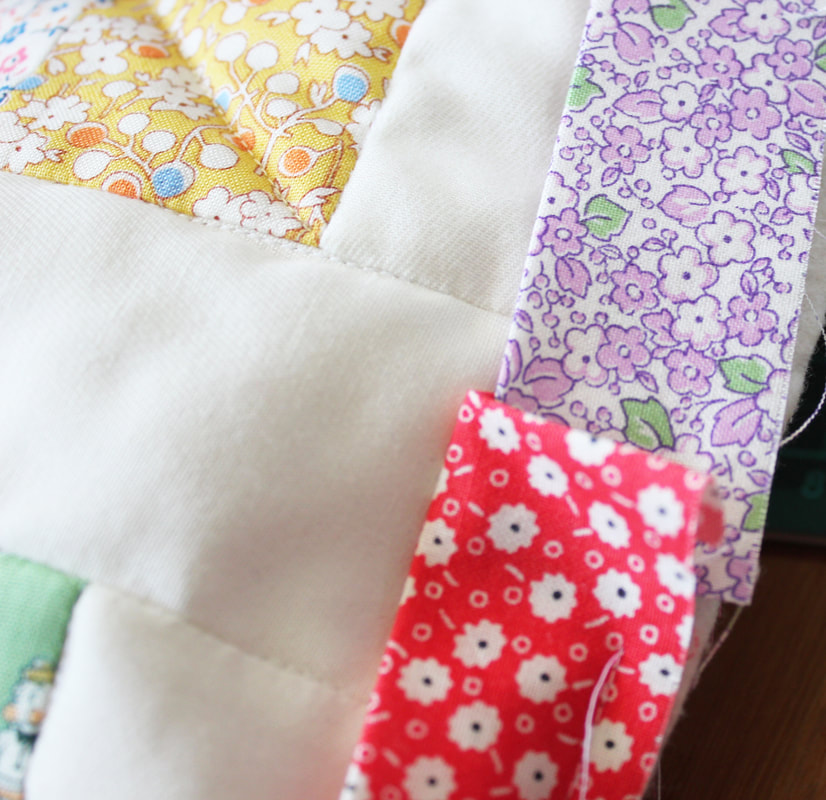 19. Now flip your binding round to the back of the quilt and stitch in place by hand with an invisible appliqué stitch. Your quilt is done! I hope you enjoy this tutorial. If you have any questions please contact me. Happy sewing! 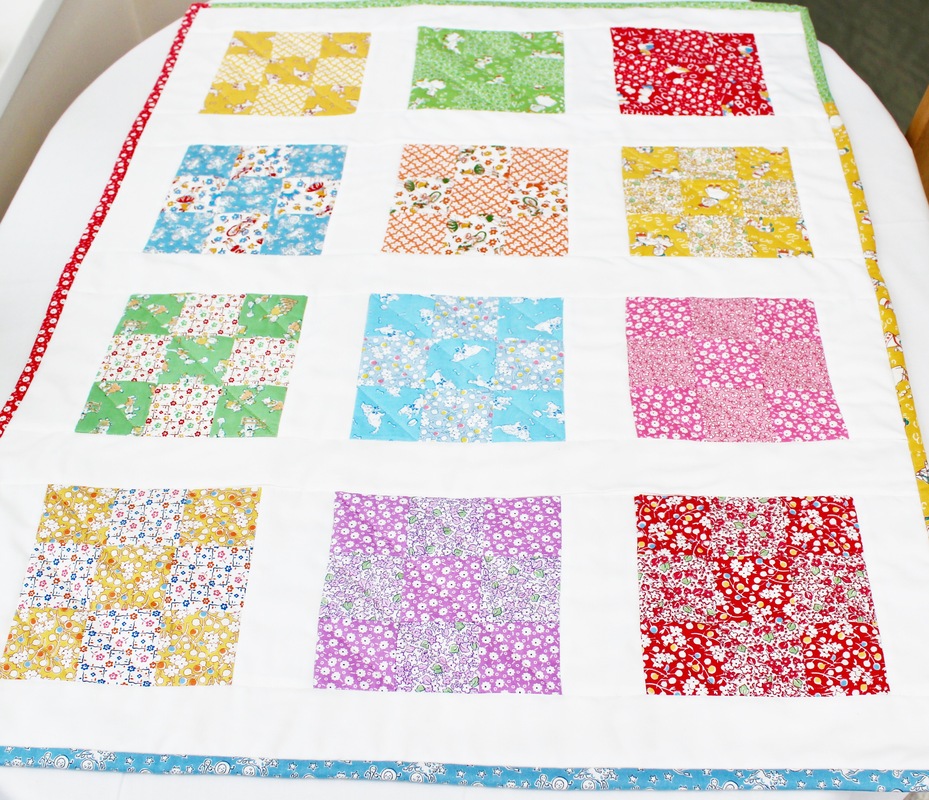 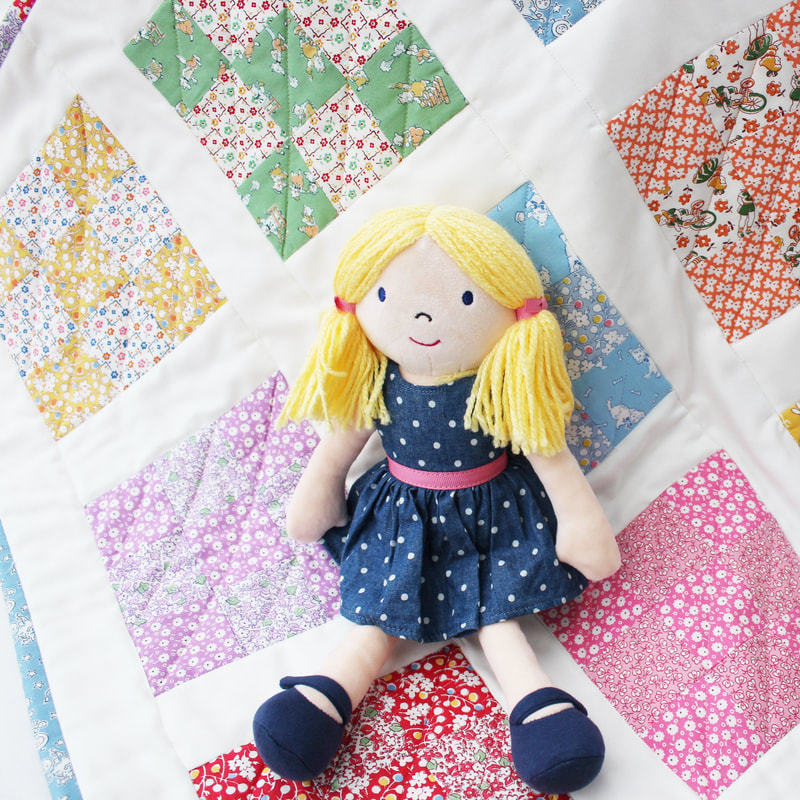
0 Comments
Leave a Reply. |
Follow me on InstagramAbout the Author
My name is Emma and I love all things sewing, especially EPP. My little blog is the place where I document what I'm making. I hope you enjoy reading what I'm up to! All opinions are my own and I only share things that I think you will love. Thank you for taking the time to stop by. Archives
September 2023
Categories
All
|
 RSS Feed
|
Copyright Vintage Sewing Box 2024
|
| ||||||