|
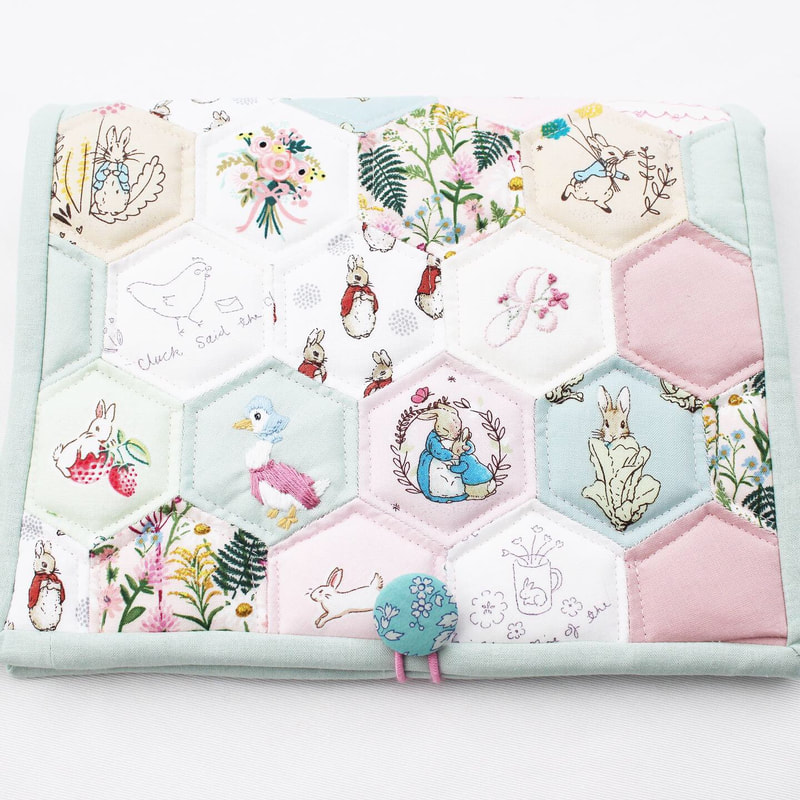
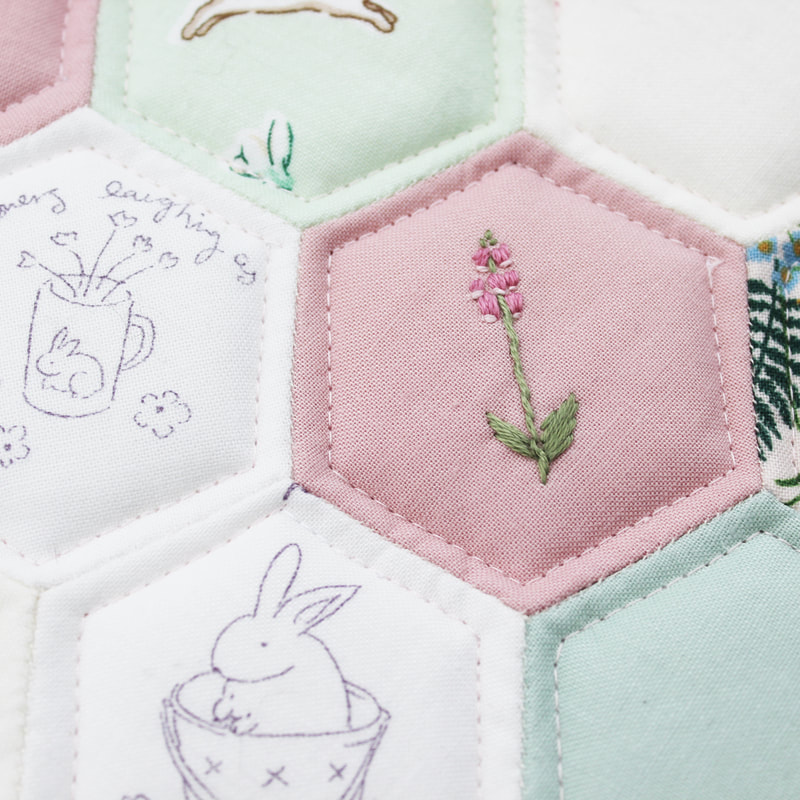
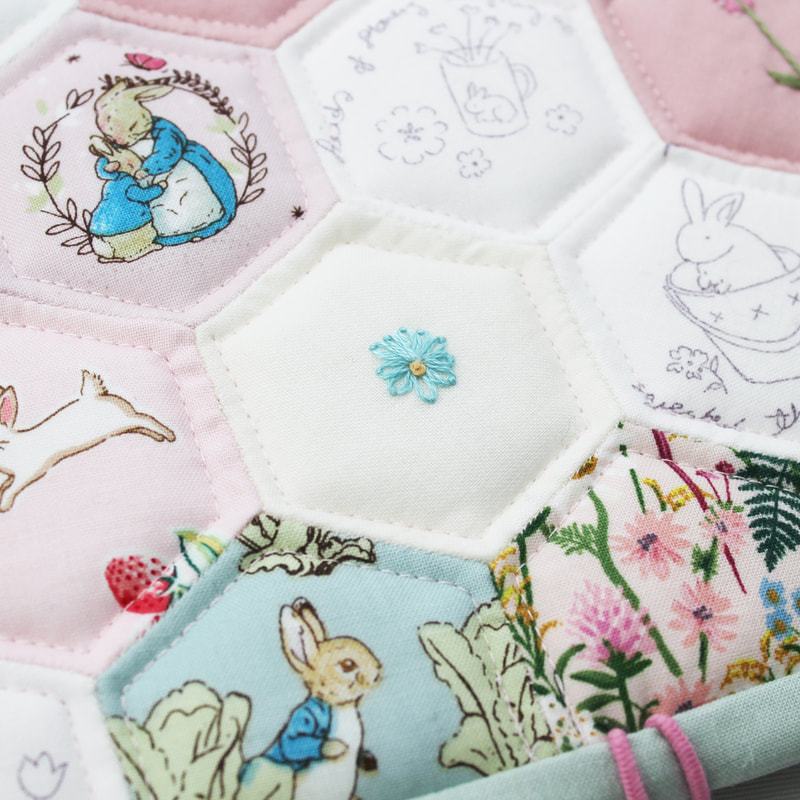
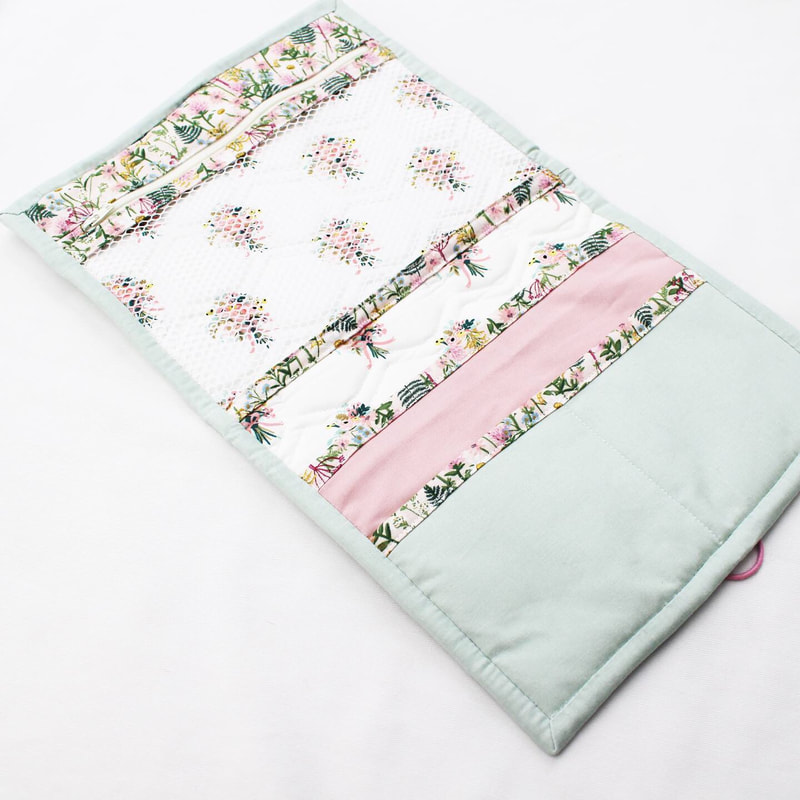
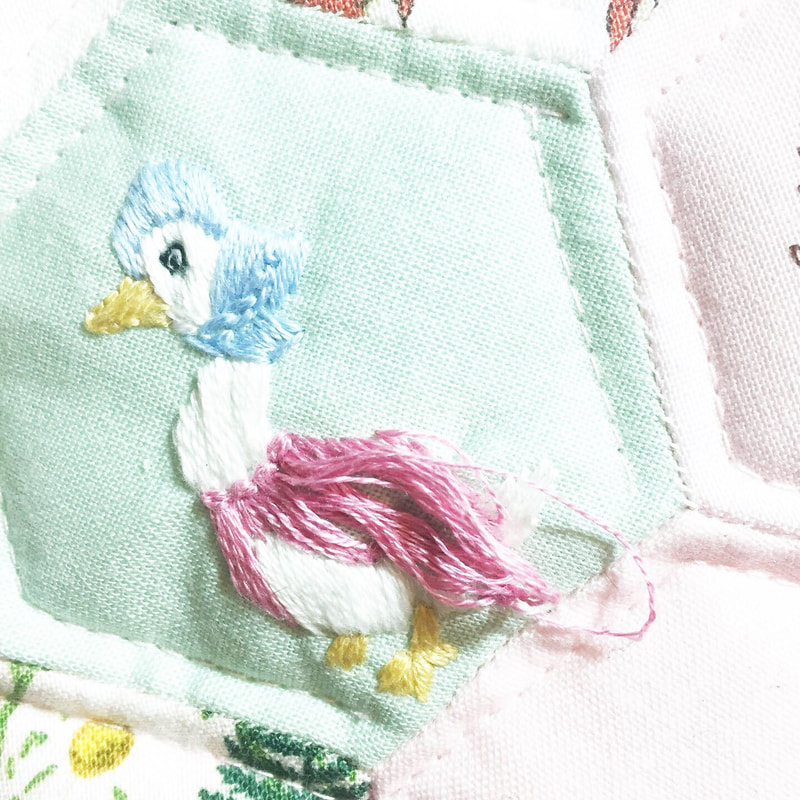
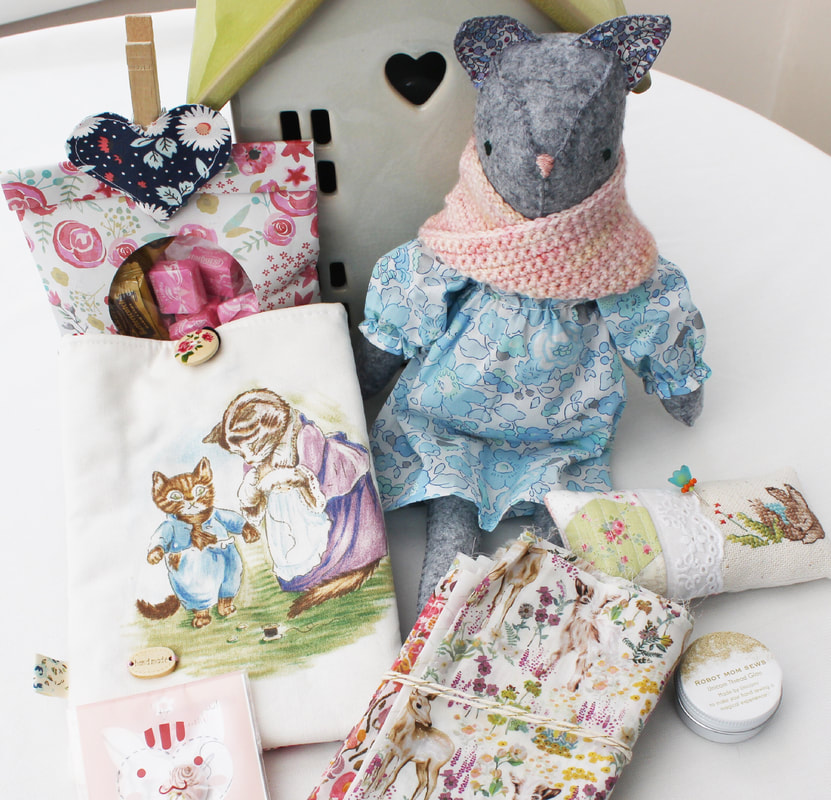
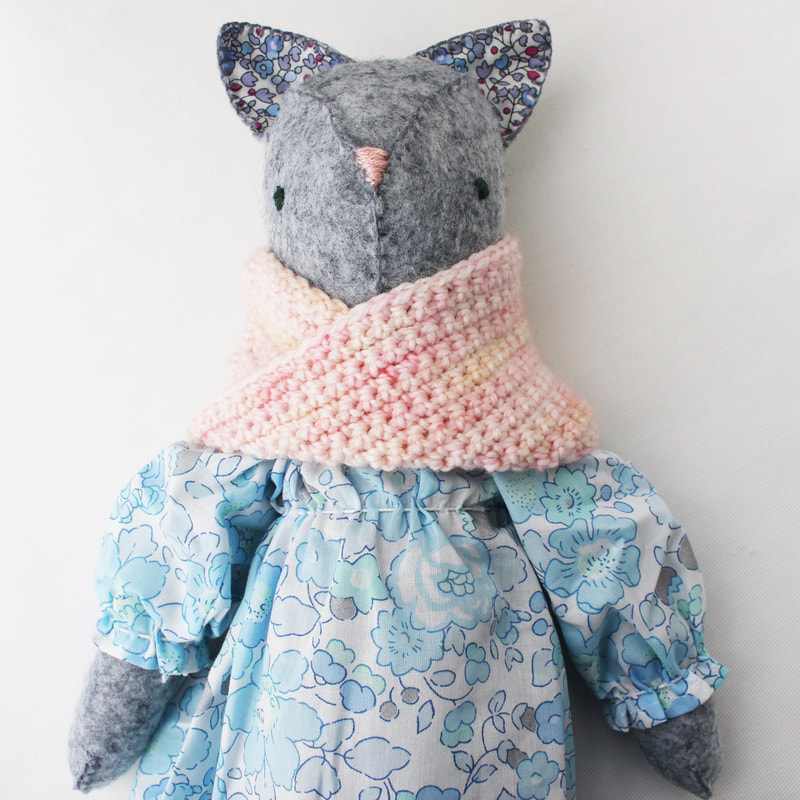
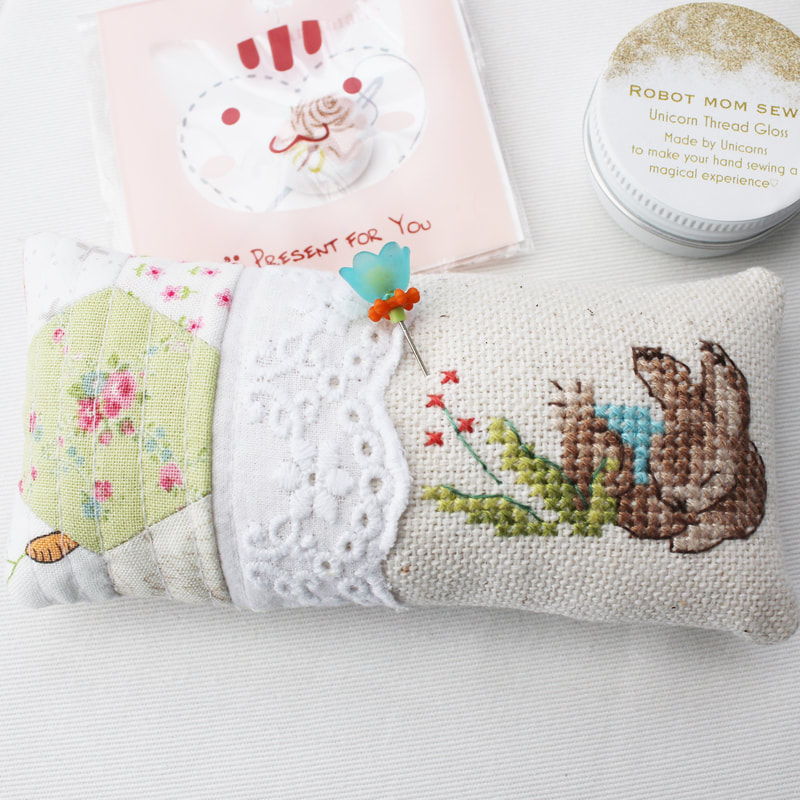
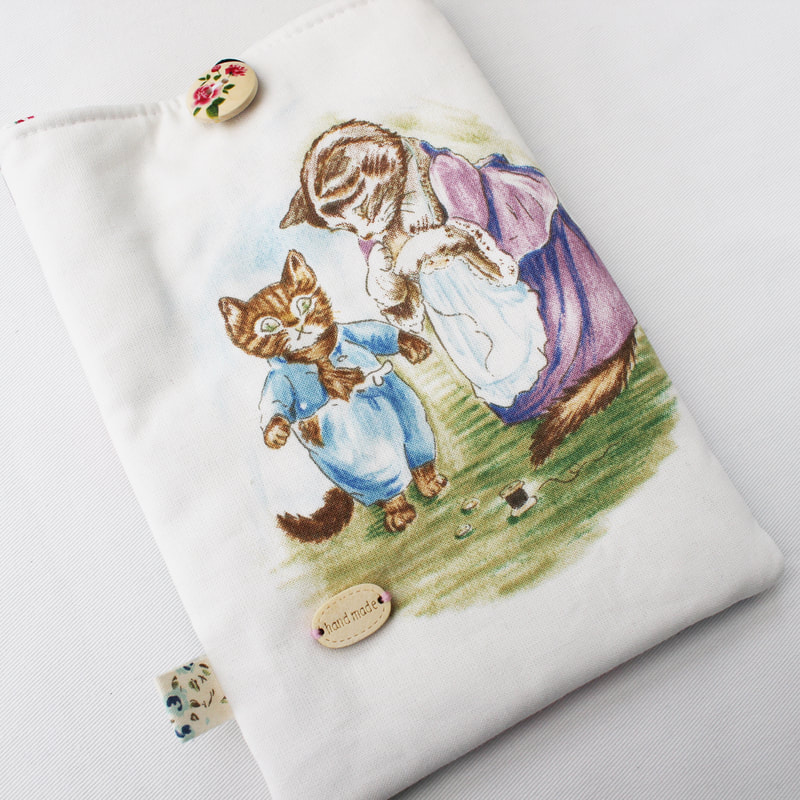
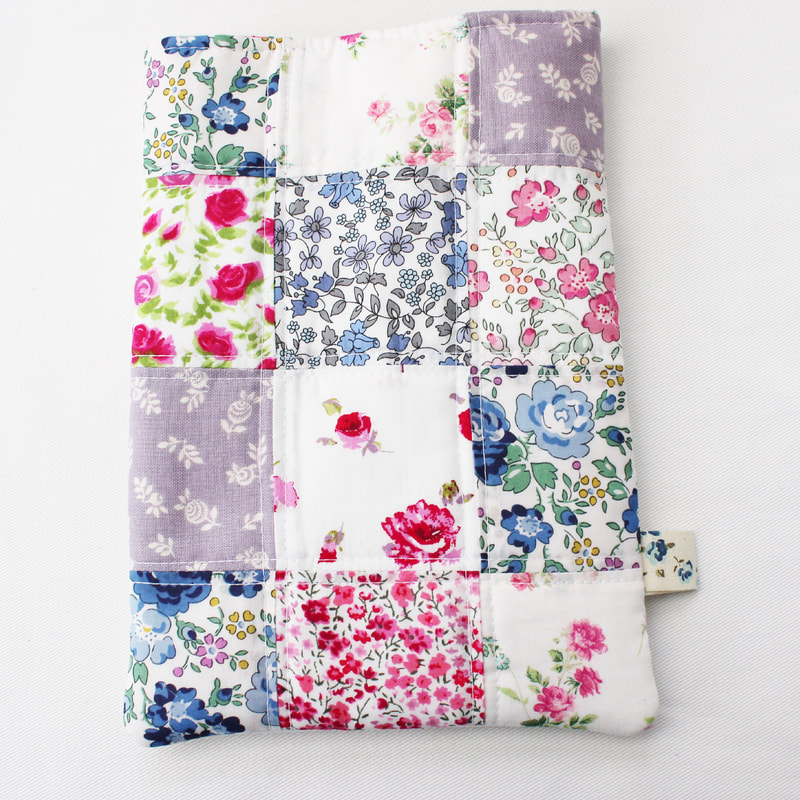
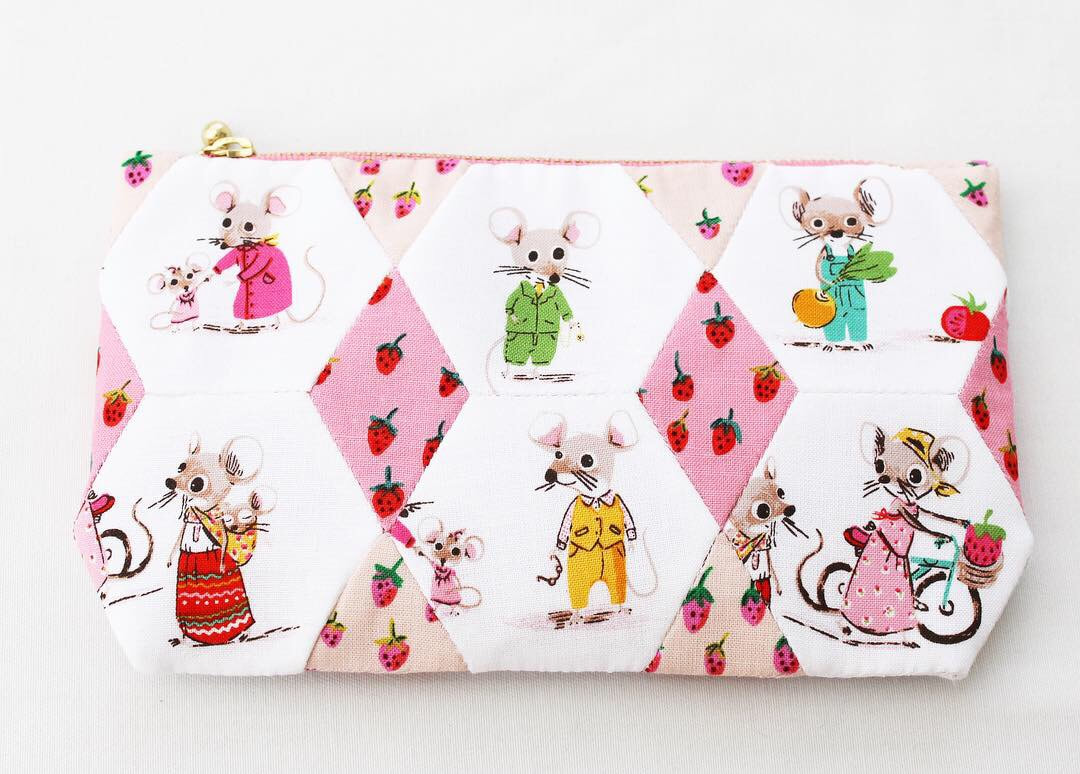
I am over a month late documenting this because I completely forgot about writing a blog post about it! But I thought I would share with you what I made for the Beatrix Potter swap that was being held on Instagram - check the hashtag beatrixpotterswap2019 to see all of the amazing makes. This is the second time I have signed up for this swap and if it's running next year I would definitely recommend joining in if you love Beatrix Potter. It's so much fun and so inspiring to see what everyone comes up with. My lovely swap partner Jennifer - @crimsonconfection sent me some colour palettes that she likes and mentioned that she loves details so I tried to follow that when creating her gift. I decided I wanted to make her a sewing case so I started with some 1.25 inch hexies and I fussy cut some of them using Beatrix Potter fabrics and other pretty florals and fabrics with rabbits on. I created a panel big enough to be a sewing case when folded in half. Next I embroidered her favourite character, Jemima Puddleduck onto a plain hexie and I also embroidered her initial as well as some flowers. This was easy to do because I used the hexiform shapes instead of papers. Hexiform gives a cushiony feel and is left in, which adds some structure to the piece. Next I cut a piece of foam and spray basted it to the inside and I backed it with some fabric, essentially making a quilt sandwich and I quilted it. Then I added pockets inside and bound the whole piece with binding to finish it off as well as adding a Liberty button and elastic fastener to close the case. I did have one major hiccup in that whilst I was quilting the piece, part of my sewing machine got caught in my stain stitches and ruined Jemima! I was so upset but I managed to fix it by cutting the stitches out and re-sewing them, despite the backing fabric and foam covering the back. I loved making this case and I am already plotting making another sewing case for myself, because, you cannot have enough sewing cases can you?! When I received my swap parcel from Jennifer I was completely blown away by what she had made for me. She is a phenomenal maker and she made me my very own Tabitha Twitchit wearing a Liberty dress! She also made me a gorgeous pouch using beautiful Liberty fabrics and an amazing piece of fabric with Tabitha on it, as well as a sweet pin cushion with one of her beautiful cross stitches on it of Peter Rabbit. I was overwhelmed by Jennifer's generosity. Her package was beautifully wrapped, so much thought and detail what into it, I am so so lucky. Thank you Jennifer. Have you ever taken part in a swap before? If you haven't then I recommend you give it a go one day, it is really good fun!
3 Comments
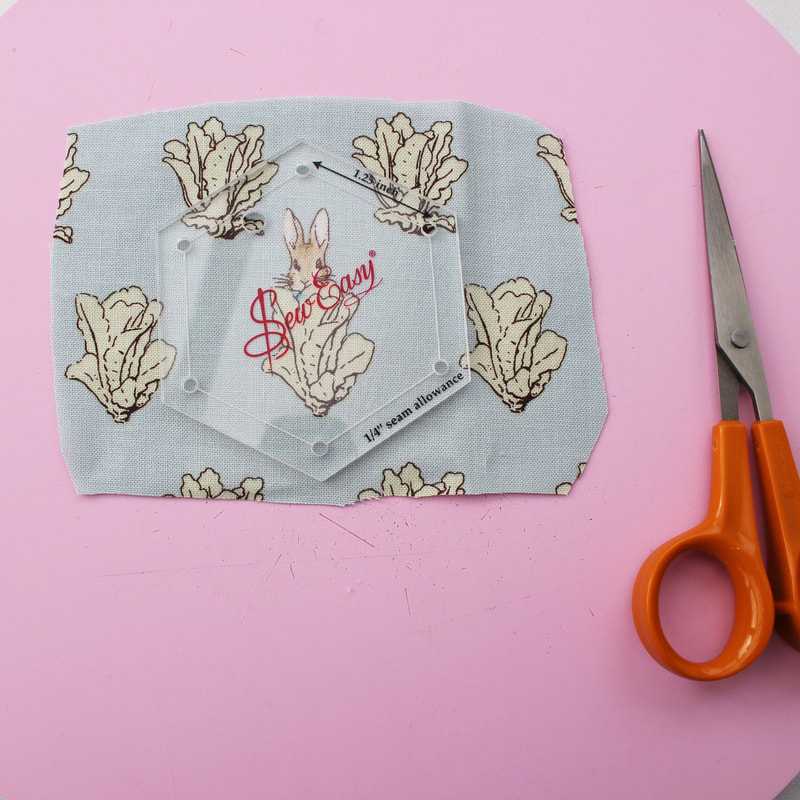
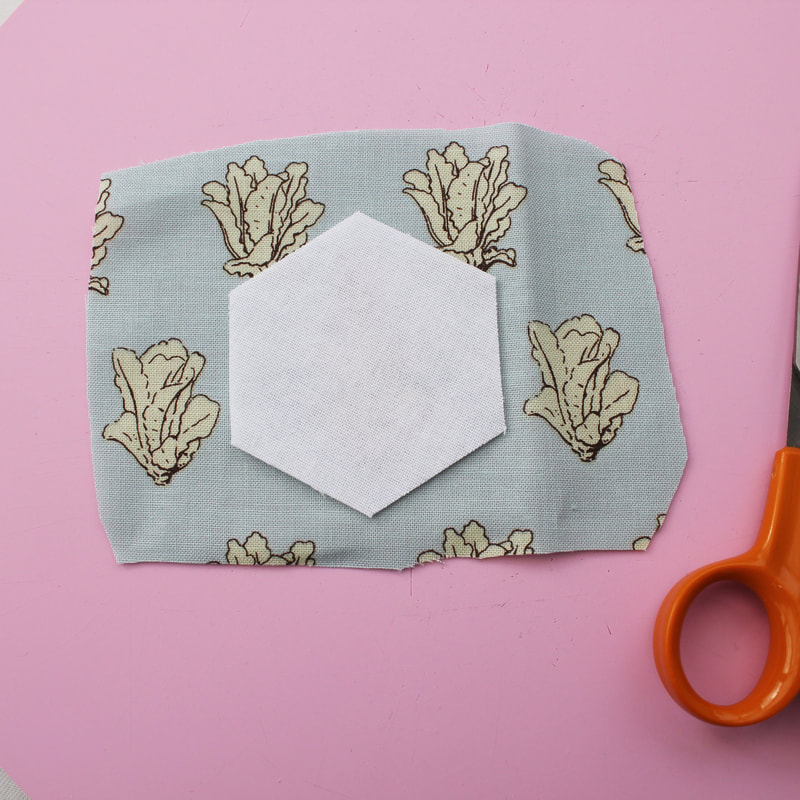
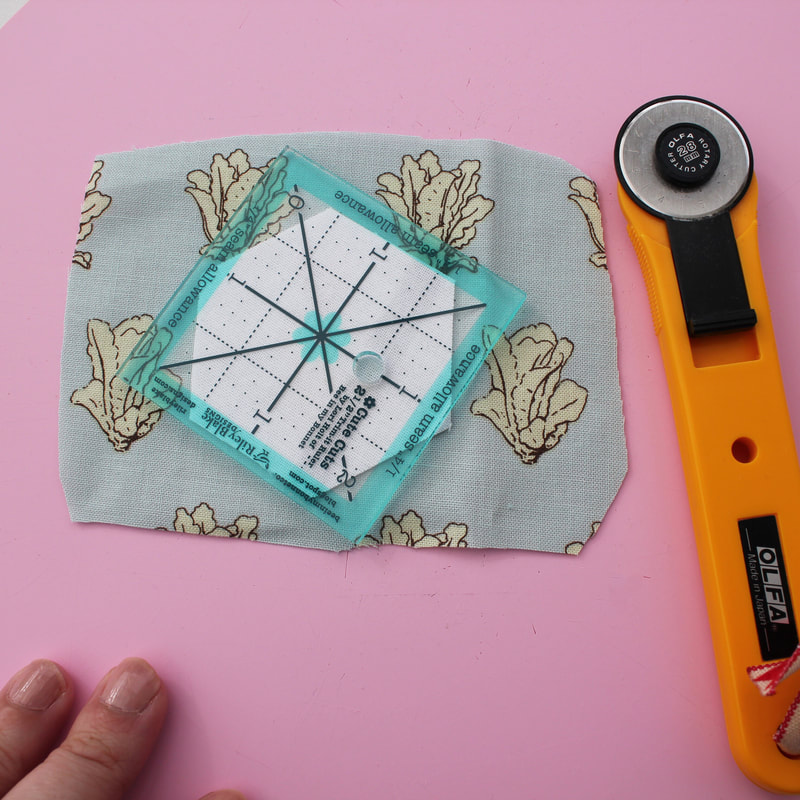
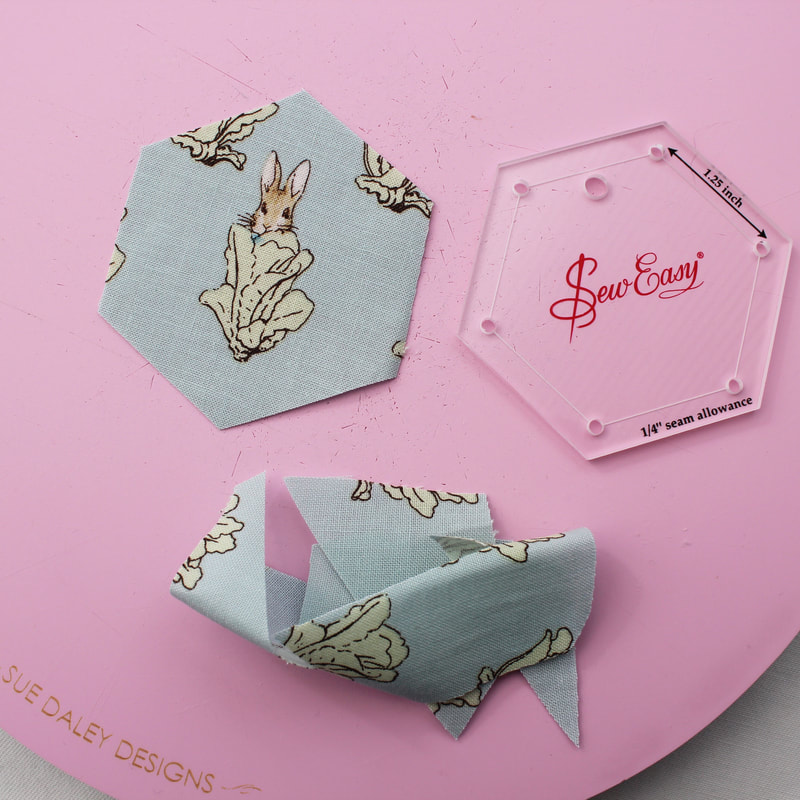
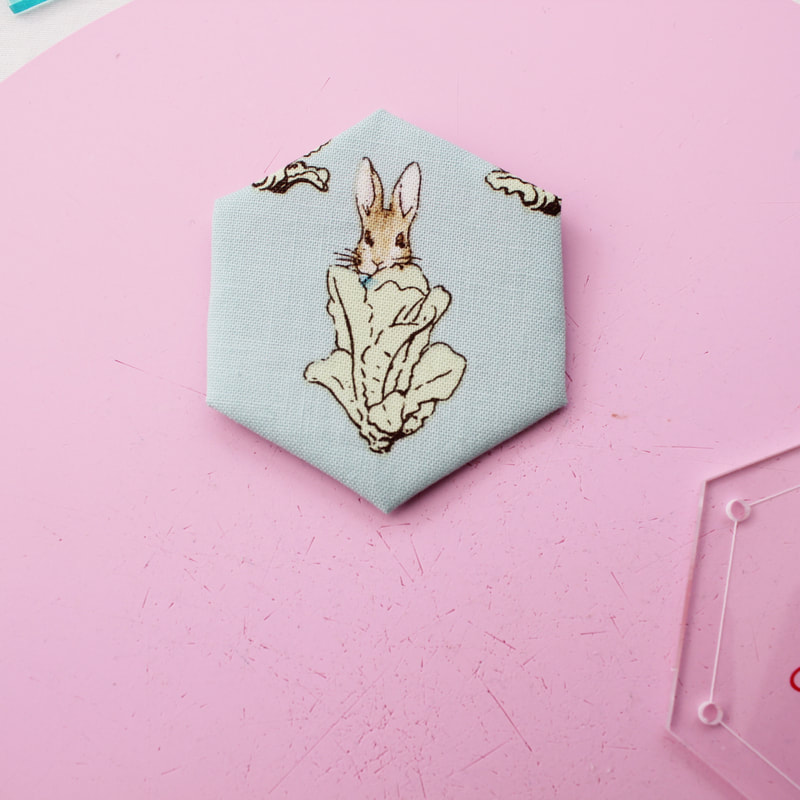
There are so many interesting and imaginative ways to cut your fabric for epp and this is called fussy cutting. Fussy cutting is essentially choosing a particular part of the fabric to use, for each shape. This could be a motif, a section of a pattern or maybe just lining up dots or stripes. The results of fussy cutting can be spectacular, creating kaleidoscopic designs or even turning the motif into something different entirely. Today I am going to show you my technique for simple fussy cutting which creates very pleasing results. I am yet to try anything more complex but I really want to, so I will be sure to share that journey with you when I do! The first thing I do is to decide which motif I want to centre in my shape. In this case I've chosen to centre Peter Rabbit in a hexagon. I am using an acrylic hexagon template here, which makes this process nice and simple. It enables you to see the design easily and this means you can position it perfectly. The template has holes at each corner so I use them as reference points. I've lined the bottom point of the lettuce up with one of the corners, and I've centred the corner at the top in between his ears. Then you can either draw around it and then cut it out with scissors, or use a rotary cutter. The acrylic template includes a quarter inch seam allowance. If you don't have an acrylic template then it is still possible to fussy cut your design, you just have to use your eye a bit more. I find it easier to position the paper template on top of the motif and hold it up to the light to judge where it is positioned. When I am happy with its position, I will cut around it using an add a quarter inch ruler. You could, of course, draw around it first before cutting, to ensure you have positioned it correctly, and you could do this on the reverse of the fabric if you prefer. I like doing it on the right side of the fabric as I feel I can see what I am doing properly. Once you have cut your fabric, you need to transfer your paper template to the back of your fabric, centre it correctly then baste your shape as usual. The accurately cut seam allowance will help you to do this. And that's all there is too it! As well as acrylic templates there are fussy cutting templates on the market which are like little windows but I don't own any of them. I find acrylic templates to be really useful and I like having them. I have a couple of sets of the shapes and sizes that I use most often. However, it can be costly to invest in lots of templates if you find you use many different shapes and sizes. So in my next post on this topic, I will show you how you can make your own for a fraction of the cost!
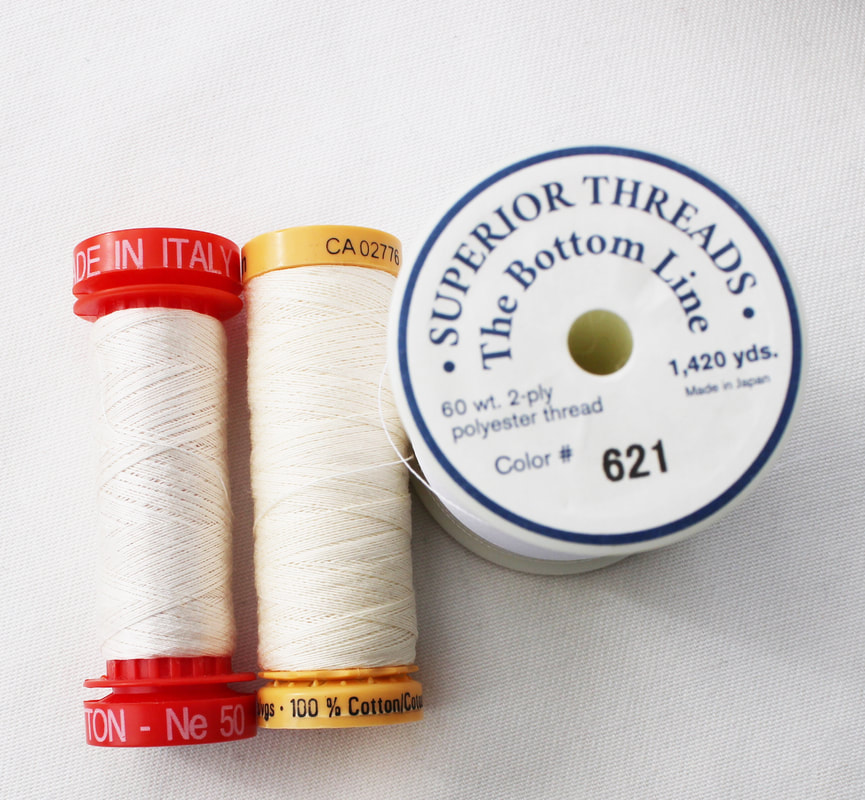
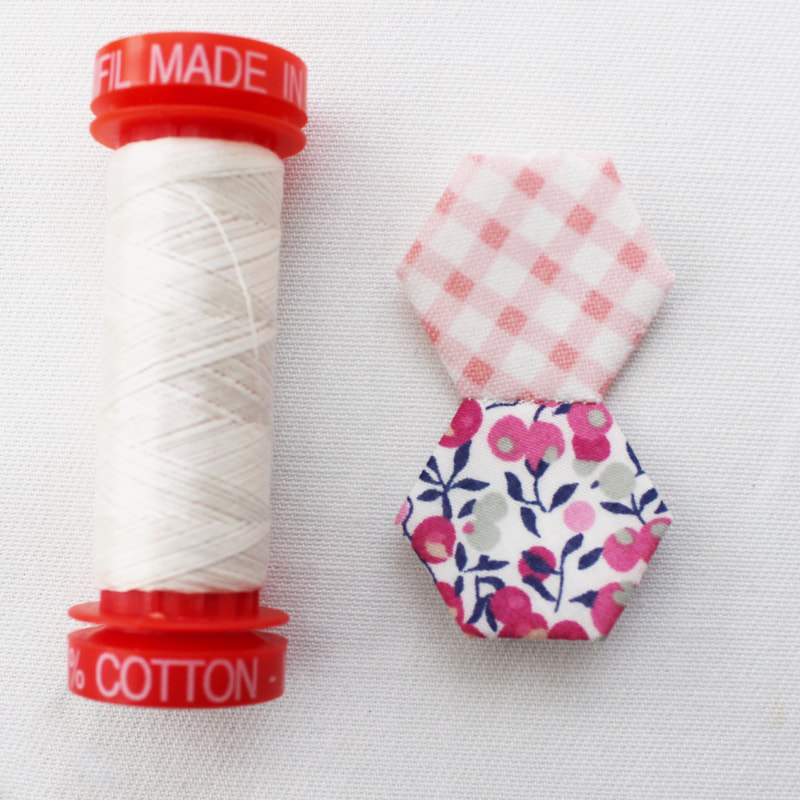
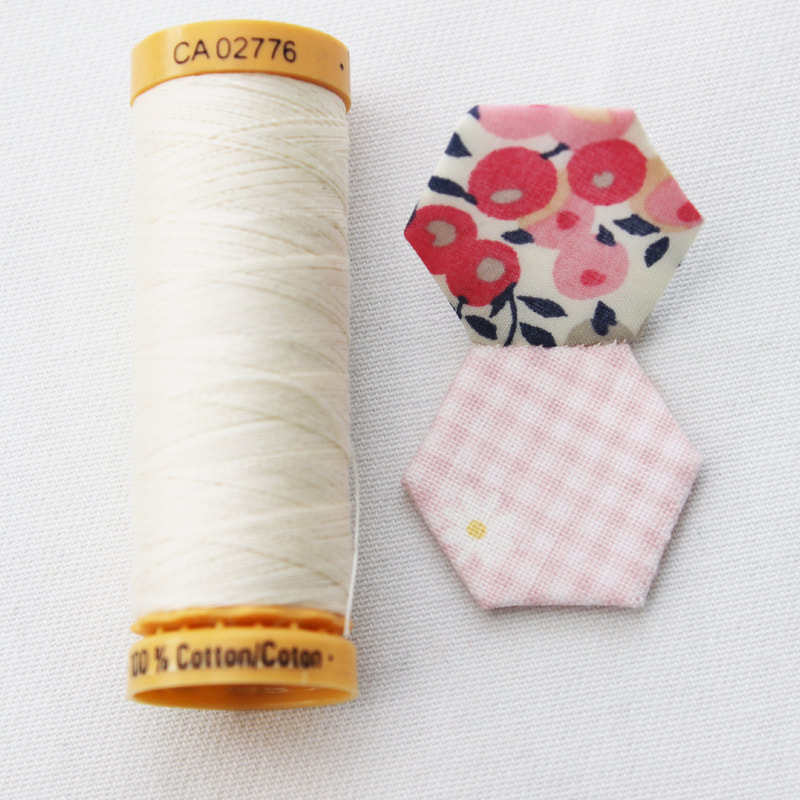
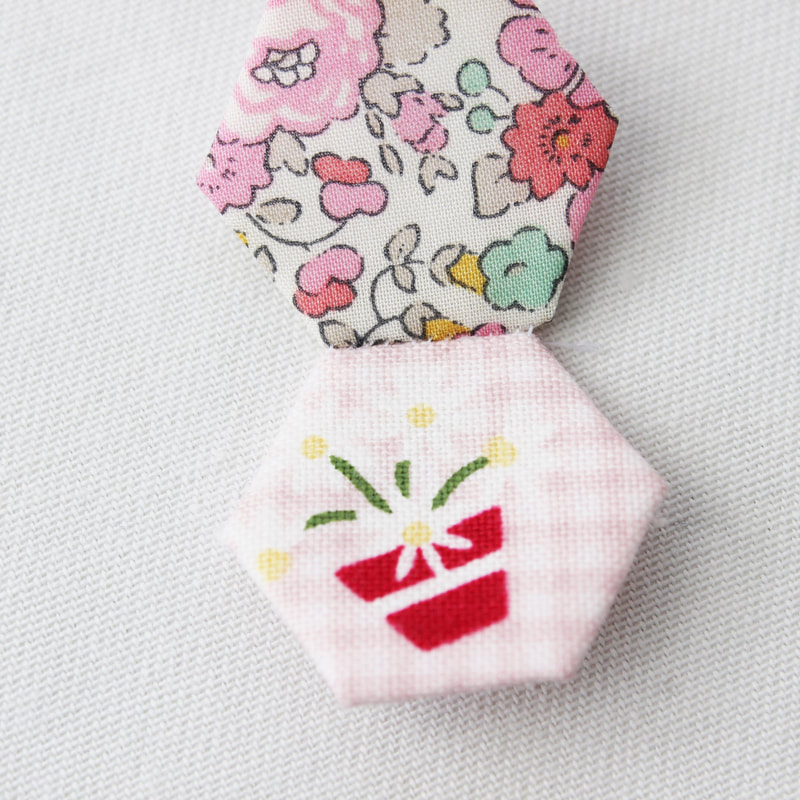
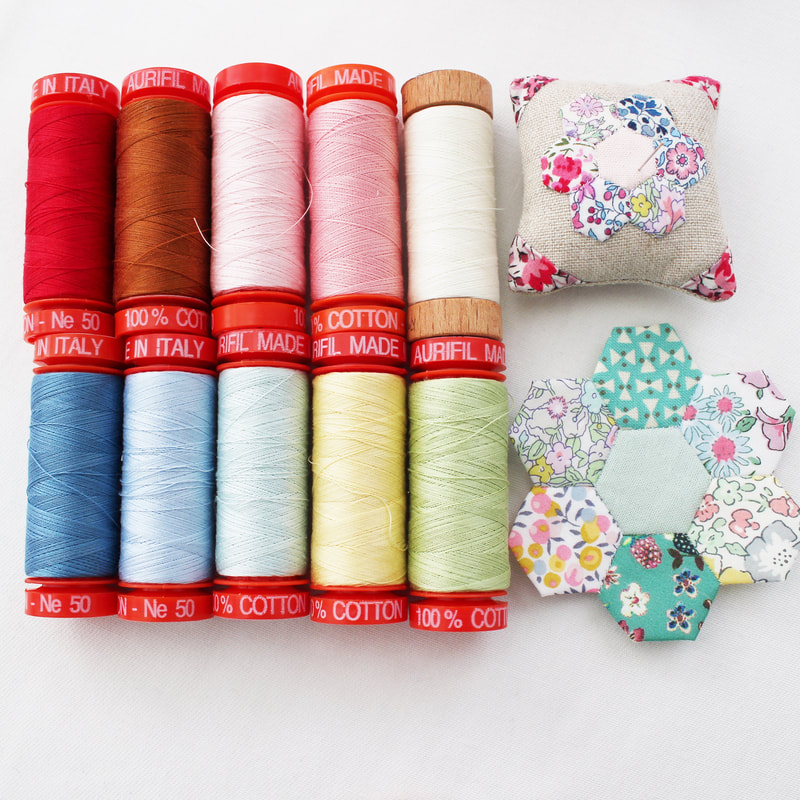
Happy sewing! P.S Thank you to everyone who entered my little giveaway on my last post. I put all of the names into a cup and pulled out a winner which was ... Liz! Congratulations Liz. Please contact me either through the contact form on this website or send me a DM on instagram and I will send your prize out to you. 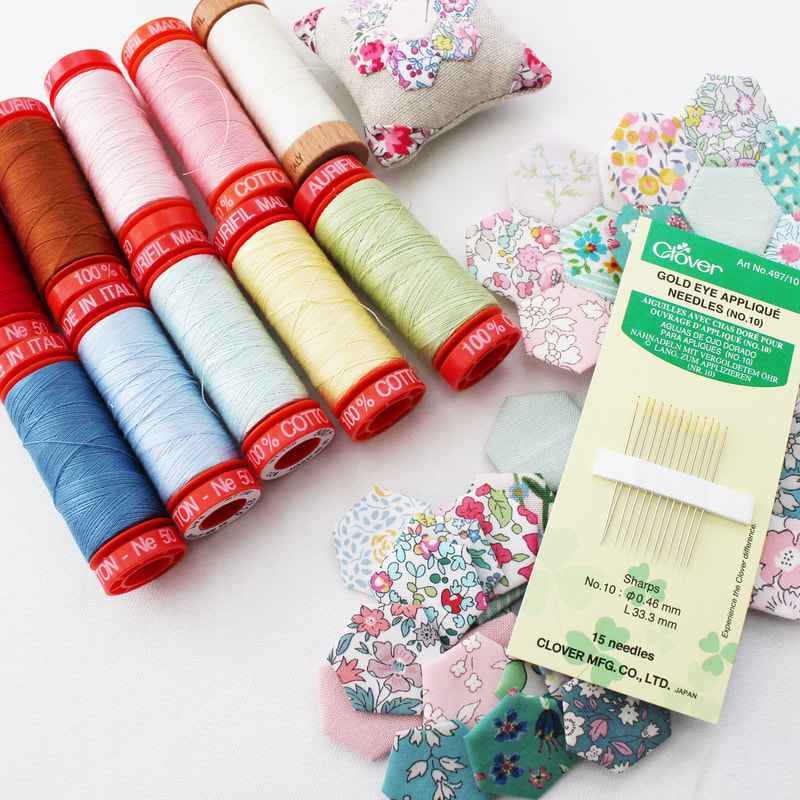 For a while now, I've been on a search for my favourite needle and thread for epp. I often get asked what I like best, and I haven't been able to give a proper answer because I've been undecided. I've tried a lot of needles over the last six months and I've finally settled on these Clover Gold Eye Appliqué No 10 sharps needles. Needles are such a personal preference. I remember getting a few comments on Instagram from people saying my needles were too big and looked like tree trunks! But I find tiny needles cause me to grip tighter and give me hand and wrist pain. I also didn't like long thin needles as they can be too flexible and bend. So I've been looking for a needle that isn't too long or too short, is sharp and thin but not too flexible and I think I've found it. I do a lot of appliqué so these needles are great for that but they are brilliant for epp too. You might like these needles but again, it is personal preference and what feels comfortable to you. These needles are relatively inexpensive and a packet of 15 is around £1.65. I also really love the John James brand of needles and I use them for embroidery and general sewing. I've also been testing threads over the last few months so I thought I would share what I've found here. Again, it's all about personal preference and the result you are after. I mostly use Aurifil 50wt or 80wt. I love the Aurifil colours but the one I use the most is 2311 muslin. Aurifil is strong, fine and glides through the fabric. The 80wt thread is finer but can snap so I tend to use 50wt the most these days. I was having lots of thread breakage problems a while back and discovered that it wasn't the fault of the thread, but it was my needle. The eye of that particular needle was so sharp is was breaking the thread and stabbing my fingers. So I'm really happy I've found the Clover ones. Pictured below is the results of stitching two half inch hexies with Aurifil 50wt. The stitches are hardly visible. Aurifil 50wt is around £3.50 for a 200 metre spool. Next I tried Gutermann 100% cotton thread colour 919 which cost £2 for 100 metres. Again this thread was strong and fine and had excellent results, see below. Finally I've been using Superior Threads The Bottom Line polyester thread which is 60wt in colour 621 and this cost me £6.95 for 1298 metres. The results were excellent, the stitches were almost invisible but as this is polyester and not cotton, it is slippy to use and sometimes the needle slides off. This has resulted in me gripping more tightly and causing me hand and wrist pain. (I am susceptible to this pain as I've suffered from carpel tunnel syndrome and RSI so please don't let this put you off this thread, the issue is my body not the thread!) Overall, I've decided the Superior Threads is great for quarter inch hexies as my stitches can seem really big in comparison to the size of the hexies so I like that this thread minimises that and I will continue to use it for that. I love cotton thread and will use that for everything else. All this being said, you don't need to have this thread or these needles to do epp, just use what you have to get started. I recently saw an epp starter kit on Etsy that was over £40 and it didn't include any fabric or paper templates and this got me thinking, what does a beginner need to start out for epp? How much does it need to cost? EPP is a simple craft that requires simple tools and materials and therefore shouldn't cost a lot of money and you shouldn't need to invest a lot of money into it to start out. As a thank you for the support I've received on Instagram and over here on my blog, I've decided to host a little giveaway. All you have to do is leave me a comment on this blog post telling me what your favourite needle and thread is. I will leave the giveaway open for a week and then I will pick a winner randomly and it will be announced on Instagram and on this blog. You will win an epp starter kit designed by me that contains a few of my favourite things such as needles, thread, a Sewline glue pen, paper templates and some pretty fabric. This giveaway isn't sponsored by anybody and it's open worldwide but please just one entry per person. If you follow me on Instagram and on Bloglovin then it will be easy for you to see when I announce the winner. Thank you and good luck!
|
Follow me on InstagramAbout the Author
My name is Emma and I love all things sewing, especially EPP. My little blog is the place where I document what I'm making. I hope you enjoy reading what I'm up to! All opinions are my own and I only share things that I think you will love. Thank you for taking the time to stop by. Archives
September 2023
Categories
All
|
 RSS Feed