|
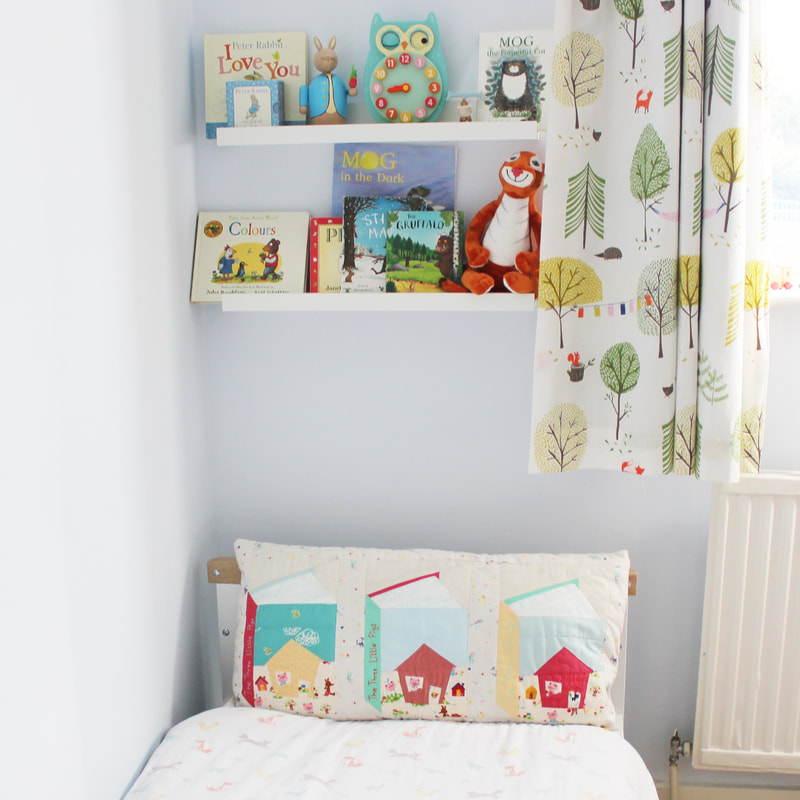
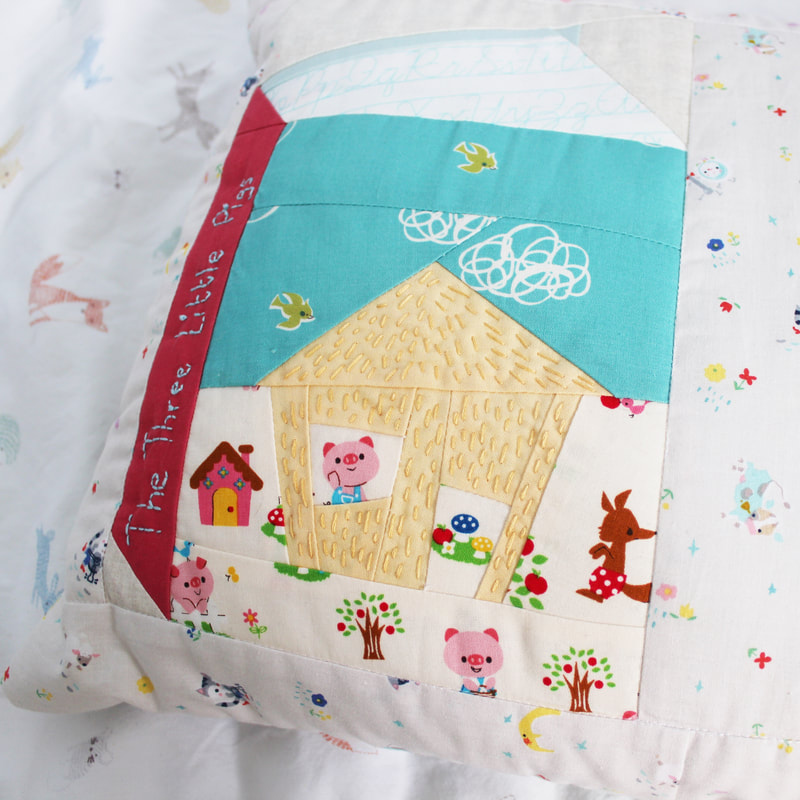
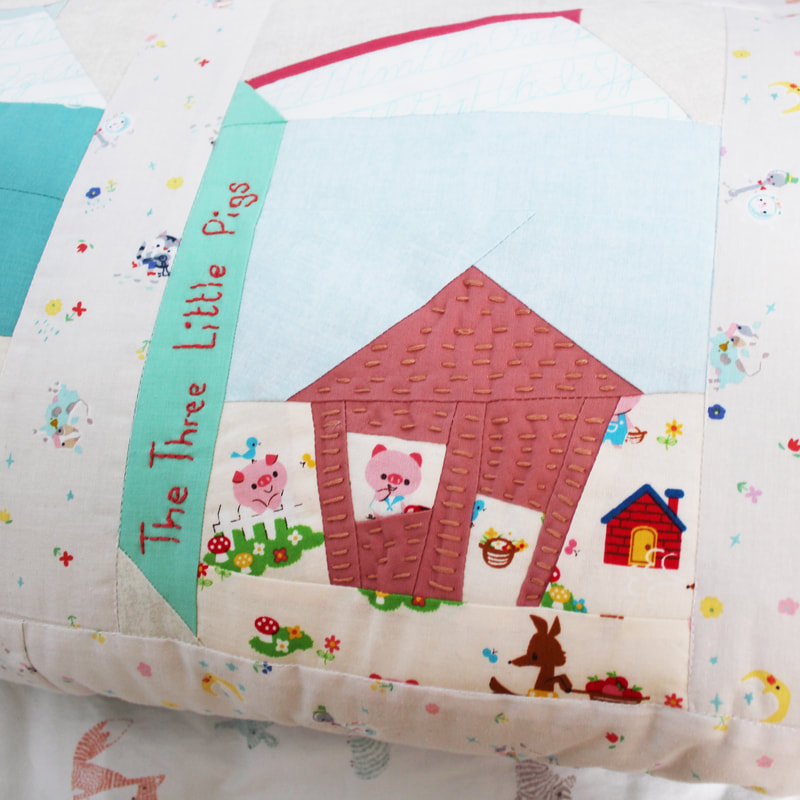
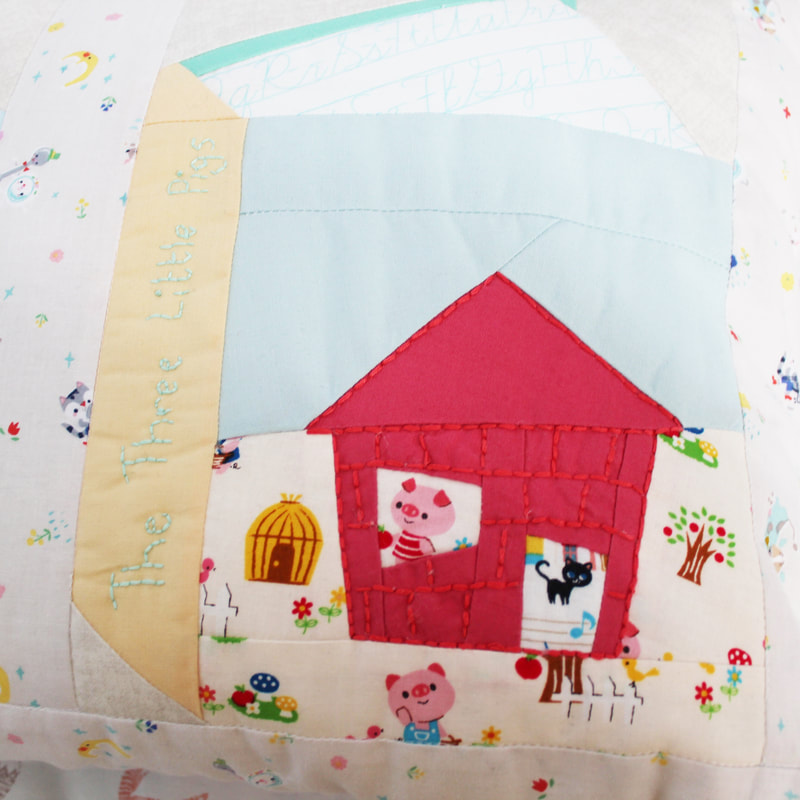
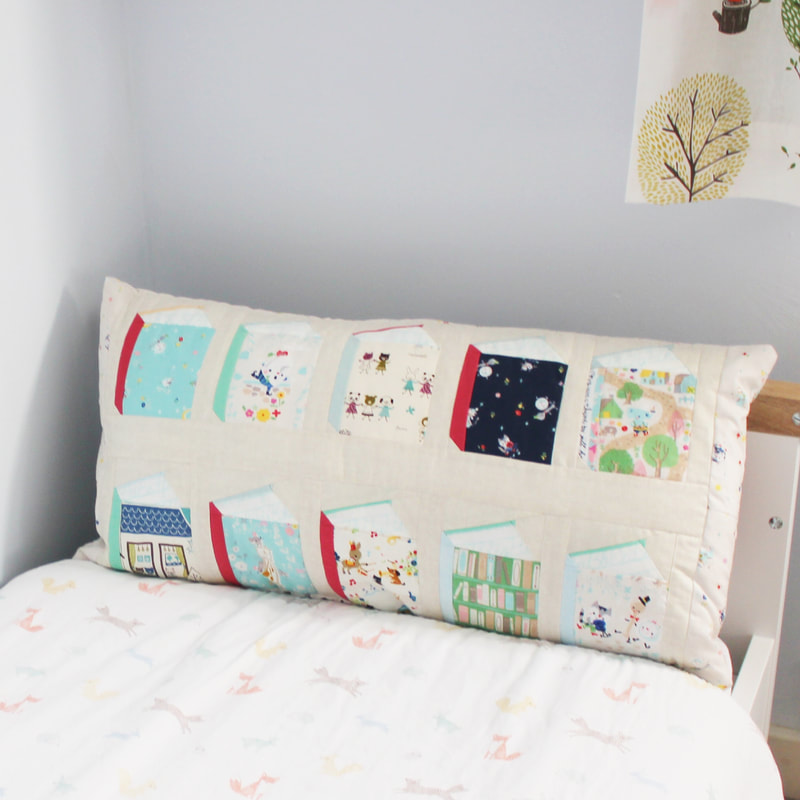
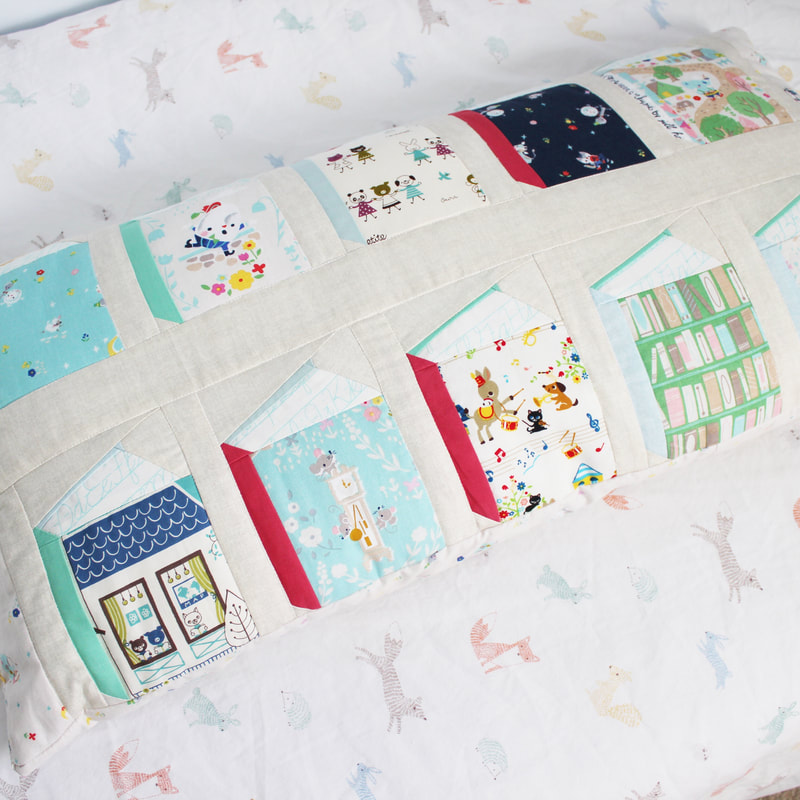
As a little change from the usual EPP topic of conversation around here, I'm going to share with you my finished FPP (foundation paper piecing) cushion. I started this as part of the Summer Book Club QAL run by Kate Basti using her Tall Tales book block pattern. When I began this project, I knew I was going to make a cushion/pillow rather than a quilt. Reading is one of my little boy's favourite things to do. I often find him in his room reading books to himself either sitting in his little armchair or lying in bed. It's hard for him to sit up in bed to read because there isn't anything comfortable to lean against, which brought me to the idea of making him a cushion and a book themed one would be perfect! After searching though my fabric stash and buying some story themed fabric to add to what I already had, I realised that my cushion needed a little something extra to make it really exciting. I had some Three Little Pigs fabric that I had bought about 10 years ago and that gave me the idea for incorporating The Wonky House pattern by Larisa who is @stitchingnotes on Instagram. It's such a cute pattern and I thought it would go perfectly with the books and I hoped that if I could get the sizing right then I could use the houses as the front covers. Well somehow I managed to pull it off! So it was my first attempt at FPP and even though it really isn't perfect, I really love this cushion. First of all it felt fantastic to actually finish something! Most of my projects are very much long term projects so I don't often experience the feeling of finishing something, and it feels nice! Secondly, the cushion is so soft and squishy and lovely to cuddle into. Once I'd pieced the front and back panels, I quilted them onto wadding by stitching with my machine in the ditch and adding hand quilting details. This gives it a lovely quilted effect and makes the cushion extra comfortable. I loved added the hand stitched details, I think that was my favourite part of making this cushion. There was something so soothing and relaxing about repetitively stitching into the quilted fabric, I loved it. Thirdly, I used some fabrics that were very special to me. I bought them many, many years ago in the hope of making a child of mine something special, and that has eventually come true and means so much to me. I will give this cushion to my little boy on his third birthday which is coming up very very soon! It's so incredibly important to me that I make things for him that he will love. He loves the story of the Three Little Pigs so I hope it will help him to retell the tale and I hope that beautiful illustrations on all of the fabrics I've used will be something he can use to help him develop his speech further. I remember being a similar age to him and having a dress that had a park scene printed on it. It was full of detail and I loved looking at it and imagining stories. I hope he does the same with his cushion. I really enjoyed FPP once I had got my head around the technique and I'm sure I will be trying it again. I think FPP is like magic! It's so fun how you can create images with your piecing, I can't wait to tackle some other patterns. If you are a beginner at FPP like me, I recommend both of the patterns I have mentioned here as they are definitely both achievable for beginners. I did have to use my seam ripper a few times but once I'd gained an understanding as to how to do FPP, it wasn't as tricky as I first thought. My piecing wasn't perfect but I am trying to embrace imperfections and learn from them for next time! And don't forget to check out this blog post of mine from a while back as it is full of useful hints and tips for FPP success!
2 Comments
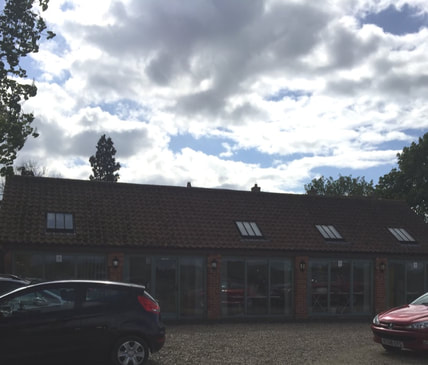
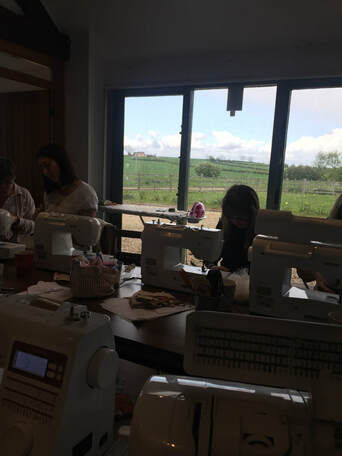
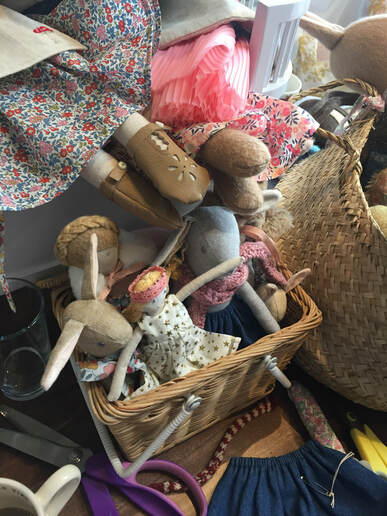
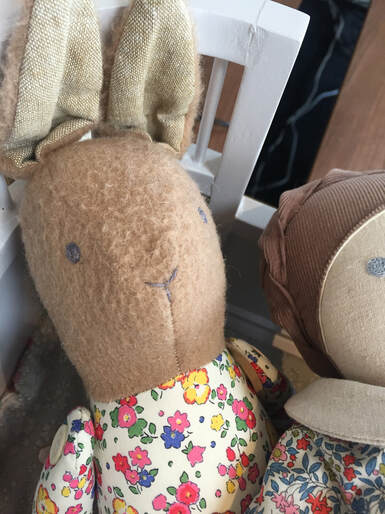
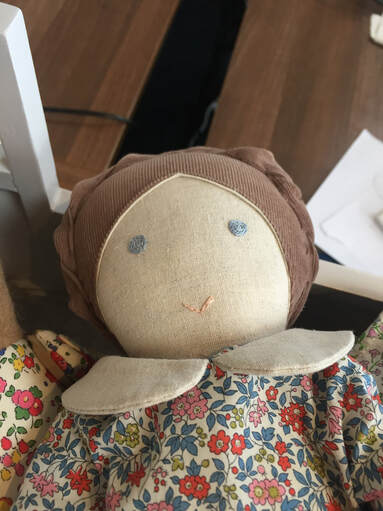
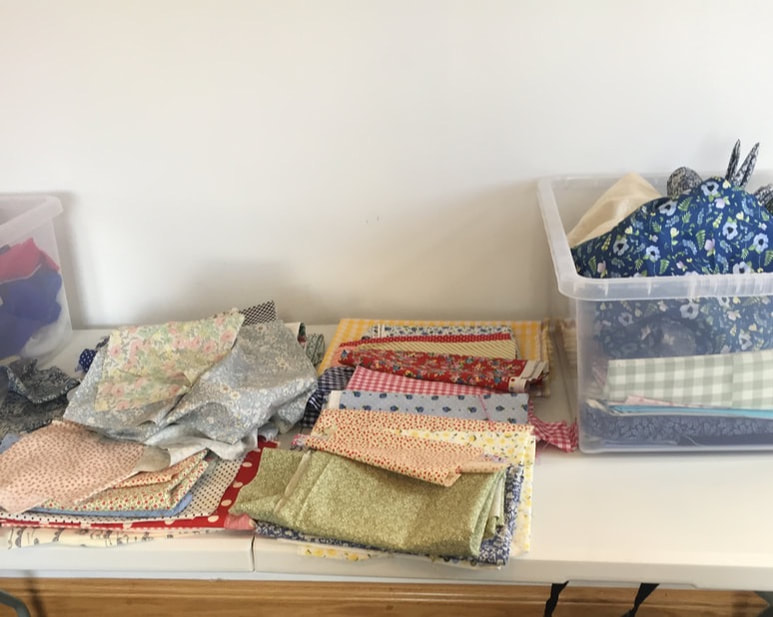
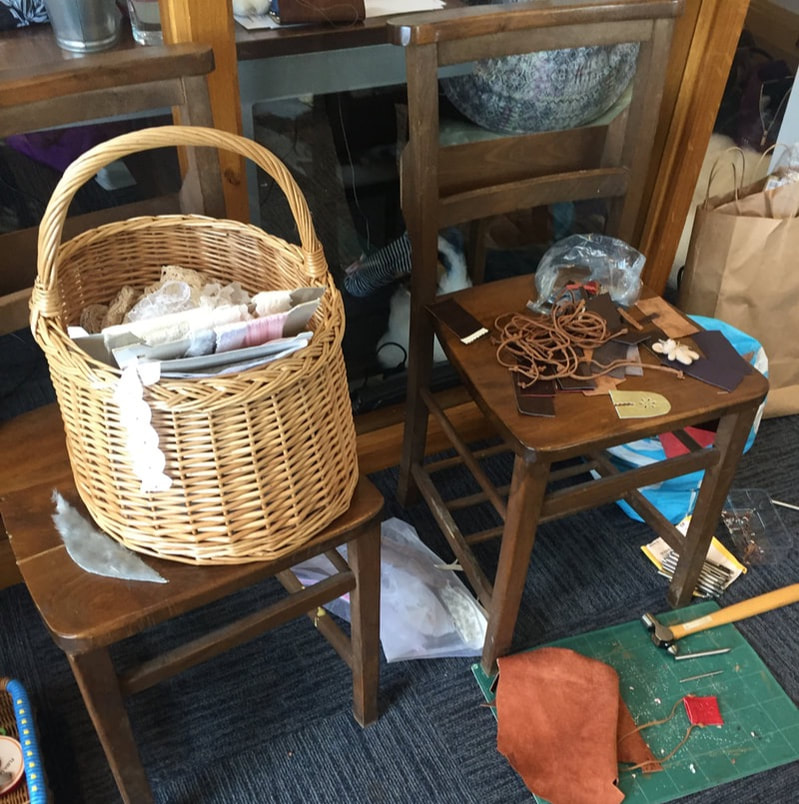
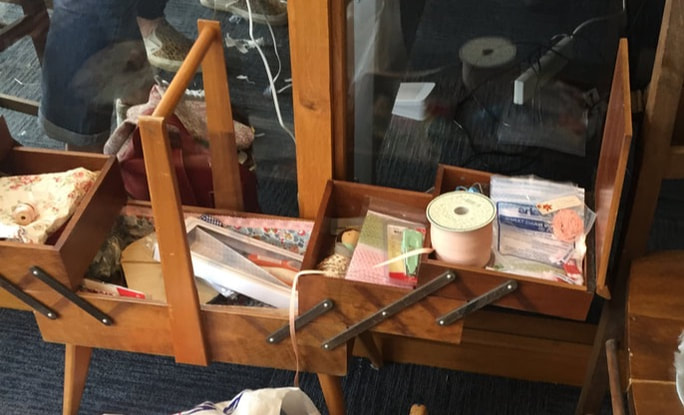
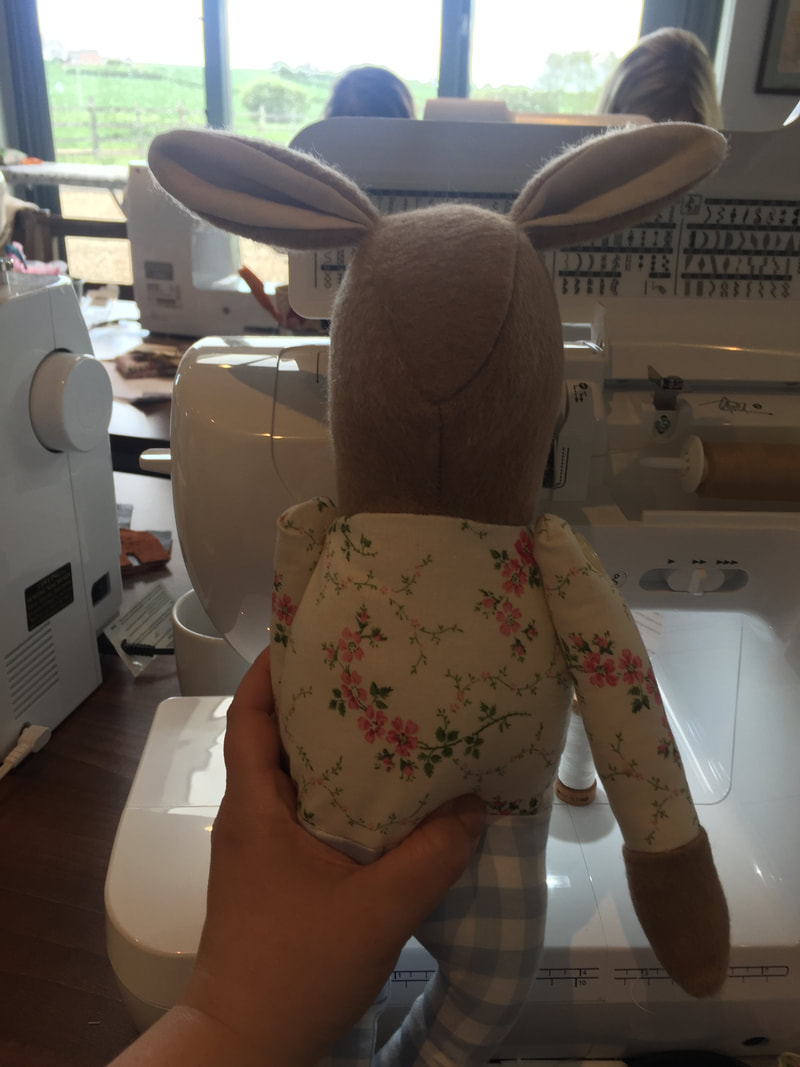
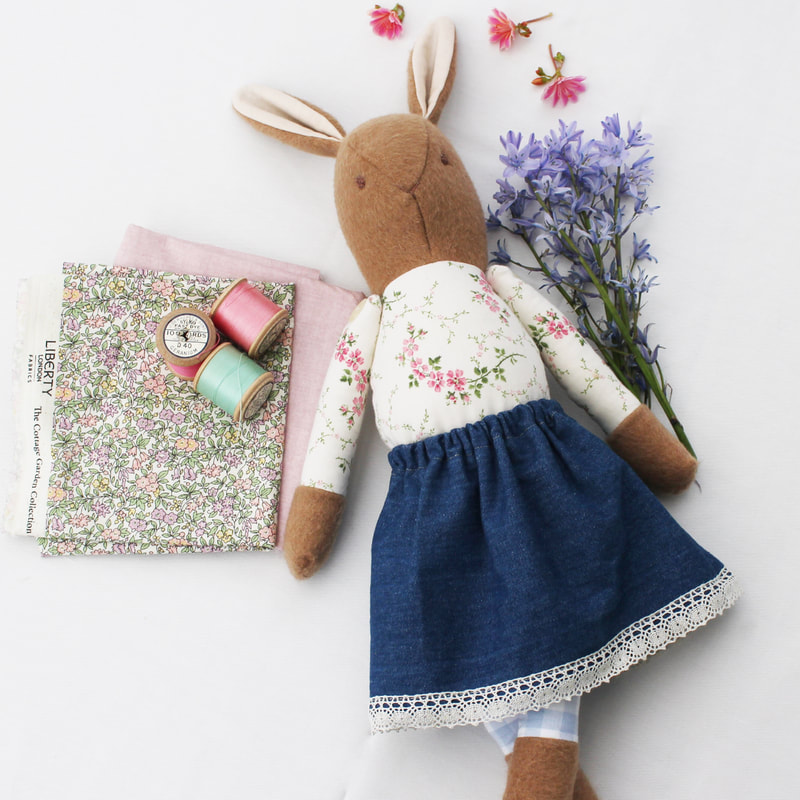
On Saturday 4th May I was lucky enough to be able to attend a workshop at Needle and Thread Workshops called An Introduction to Doll Making, taught by Katy Livings. I'm guessing that if you are reading this, you are familiar with Katy's work. She makes the most exquisite heirloom dolls and rabbits. Her attention to detail is perfection. I've followed Katy for many years and it really was a dream come true to be able to take part in the workshop and learn from her. I've also followed Needle and Thread Workshops for a long time and I've longed to attend a class there. They run the most interesting array of workshops, all of which appeal to me. They are located in Lincoln which is three hours away from me, so I've never been able to go before. However my husband realised his childhood friend lives 15 minutes away from there so it was the perfect opportunity for him to take our son to visit friends whilst I did some sewing! The location of Needle and Thread Workshops is stunning, a converted barn in the countryside, the perfect setting. When I arrived I was given a warm welcome and really taken care of with cups of coffee, slices of cake and a delicious, healthy lunch. If you ever have the opportunity to take a class there I highly recommend it. They have lovely sewing machines for you to use and if you need any help they are only too happy to support you. The first thing we did was look at the examples of Katy's work. Her dolls and bunny's are so beautifully made. It takes her four days to make one and you can really see how much love she puts into each and every single thing she does. She talked about her career and how it has lead her into doll making and it was really interesting to learn more about her. Katy then gave us patterns and we cut out what we needed. Then we could choose which fabrics we wanted to use and there was such an exciting selection, it was heaven! I chose to make a brown bunny out of cashmere wool and I'm so happy I did. It is so soft and luxurious and really makes my bunny feel special. I also chose to make the legs from gingham fabric and I picked denim for the skirt. For the body, I used vintage fabric that I had brought with me. It belonged to my Gran and I wanted to incorporate some of her things into my bunny as a way of remembering her. Katy showed me how to line the fabric I brought with calico as it was a fine fabric and this gave it much more structure. I also added a vintage trim to the skirt I made and this belonged to my Gran too. Katy is such a brilliant teacher. She is very generous with sharing her knowledge and I feel like I've learnt so much from her. She shares tips and techniques for every step of making the bunnies and dolls, it really is a masterclass. I loved the step by step examples she had brought of each stage of the making process. I'm a visual learner so being able to refer back to these throughout the day really helped me to understand the process and now I feel equipped with the knowledge to make more bunnies! I had so much fun taking part in this class. It's so lovely to be in a room of likeminded people and to learn from other sewists around you. I didn't quite finish my bunny on the day but that's ok! I was excited to get home and finish her off and I'm really happy with how she turned out. I think now she needs an apron, a cape, a bag, some shoes, a quilt...
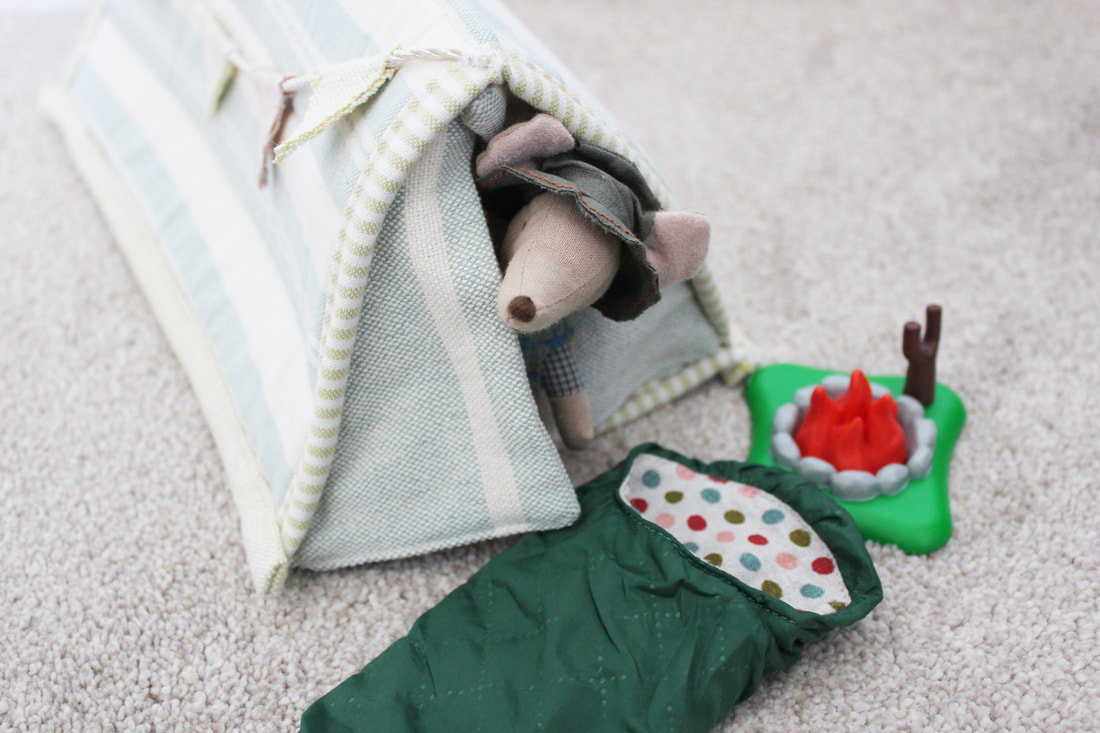
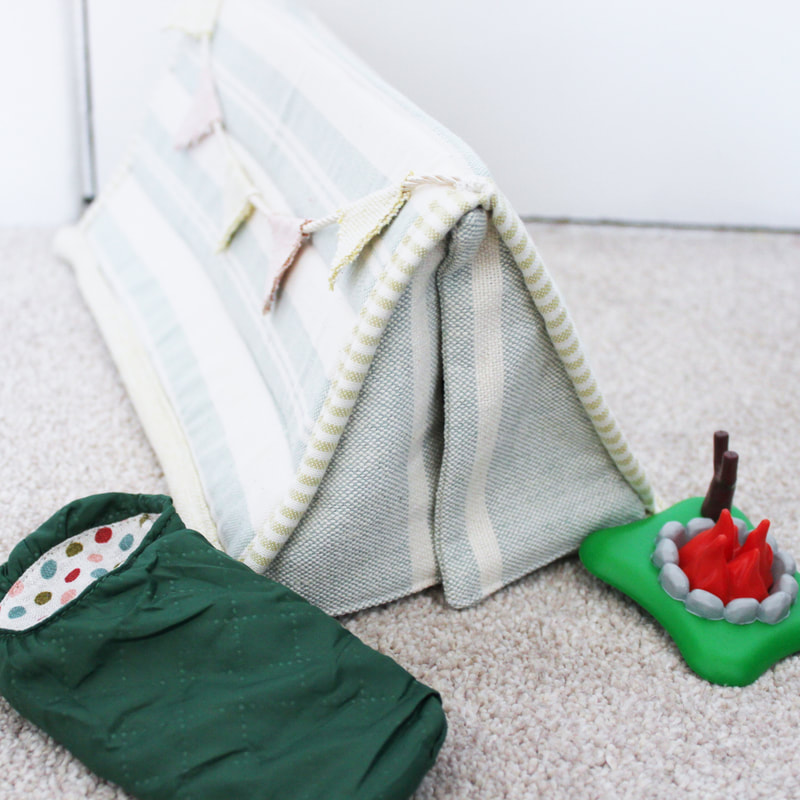
After having fun making the mini quilt for the Maileg bunny and creating her a handmade outfit, I decided to make something for my little boy to play with. I'd ordered some flex foam to make a laptop case for myself, but whilst cutting it out (it still isn't sewn together!) I realised how versatile this foam is and it gave me lots of ideas for how to use it to make toys. My first idea was to make a little tent for a Maileg explorer mouse and it worked really well. So here is a little tutorial for how I made it. You can of course play around with the size of the tent and use any fabrics you like. This is a great project for using up leftover fabrics and scraps from other projects. You will need:
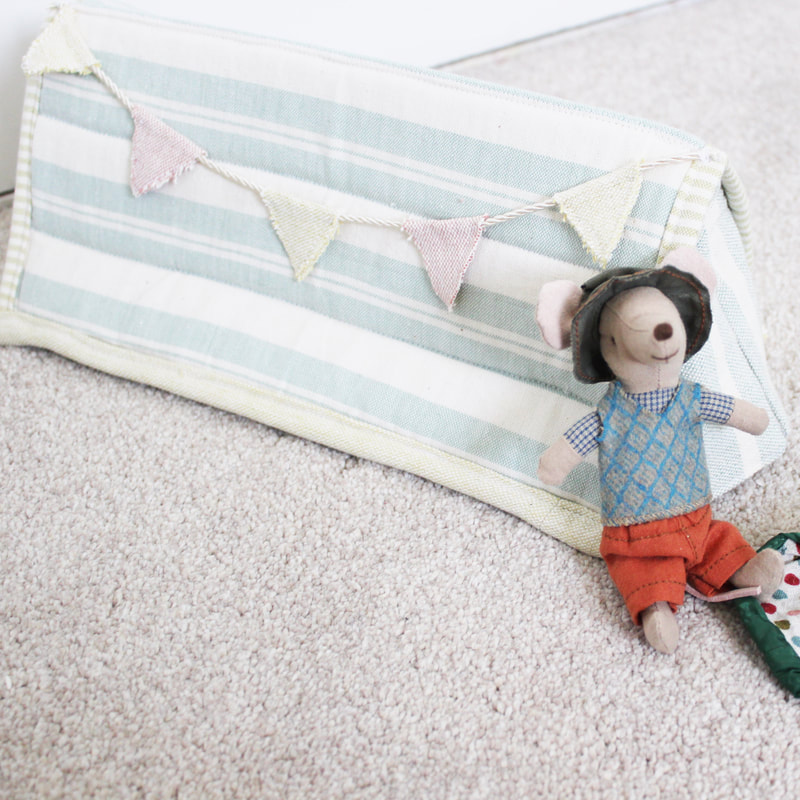
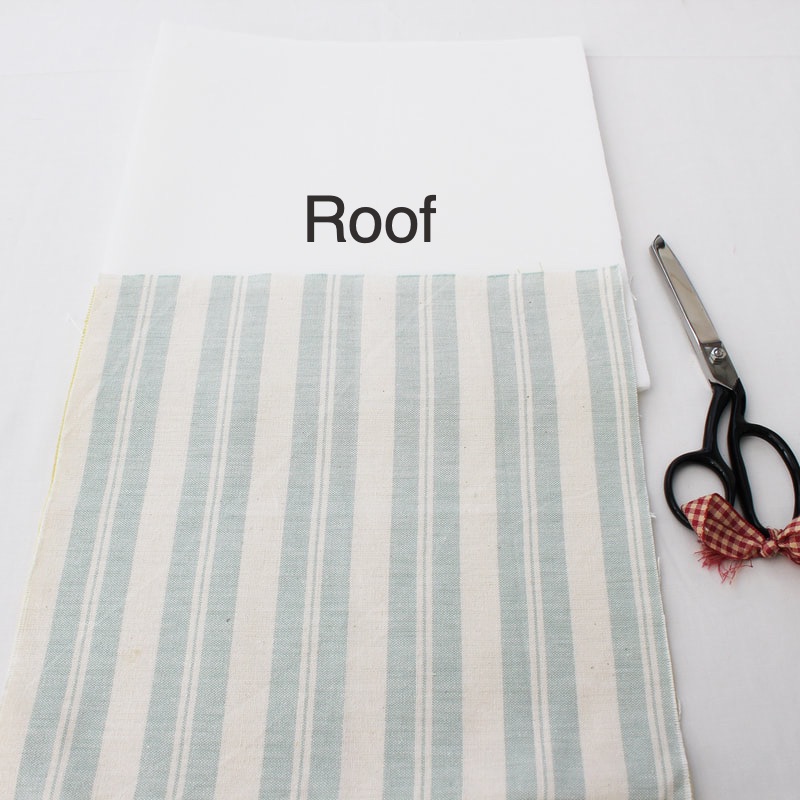
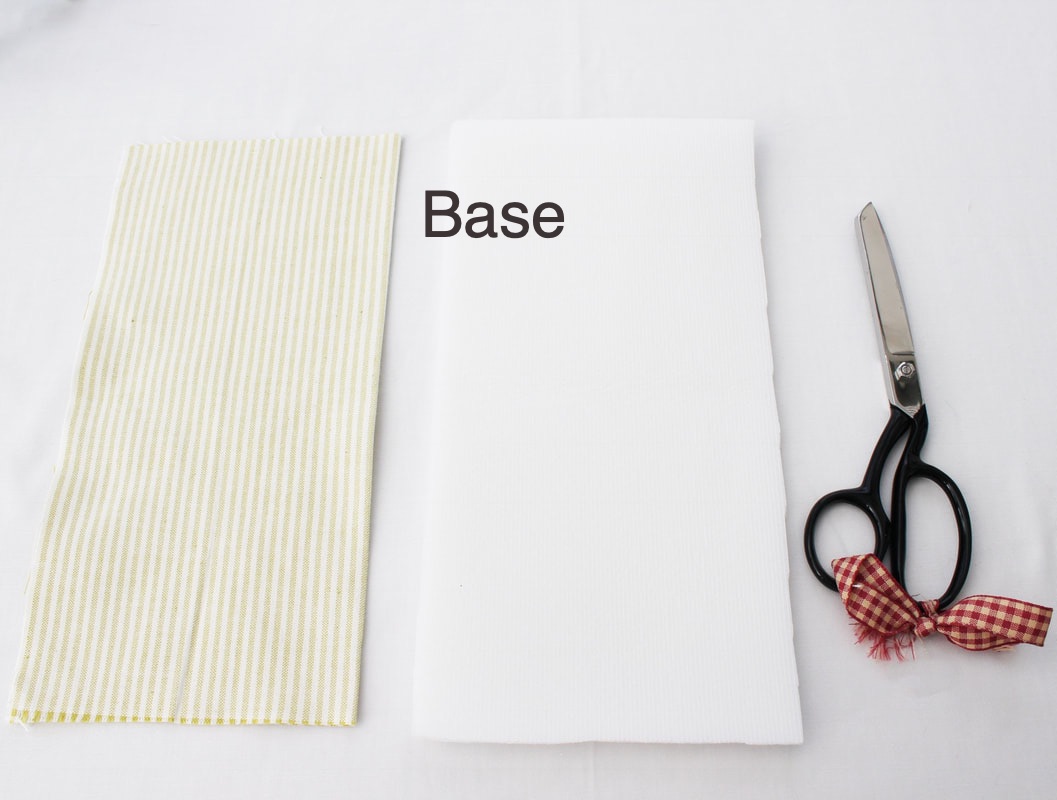
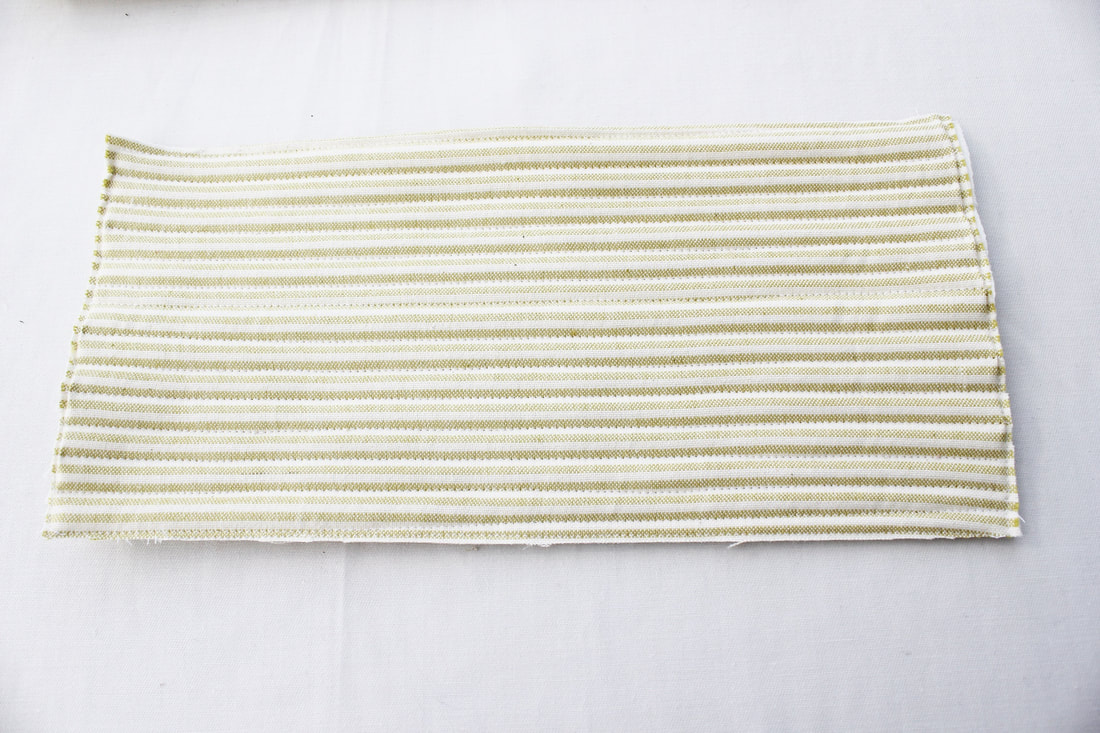
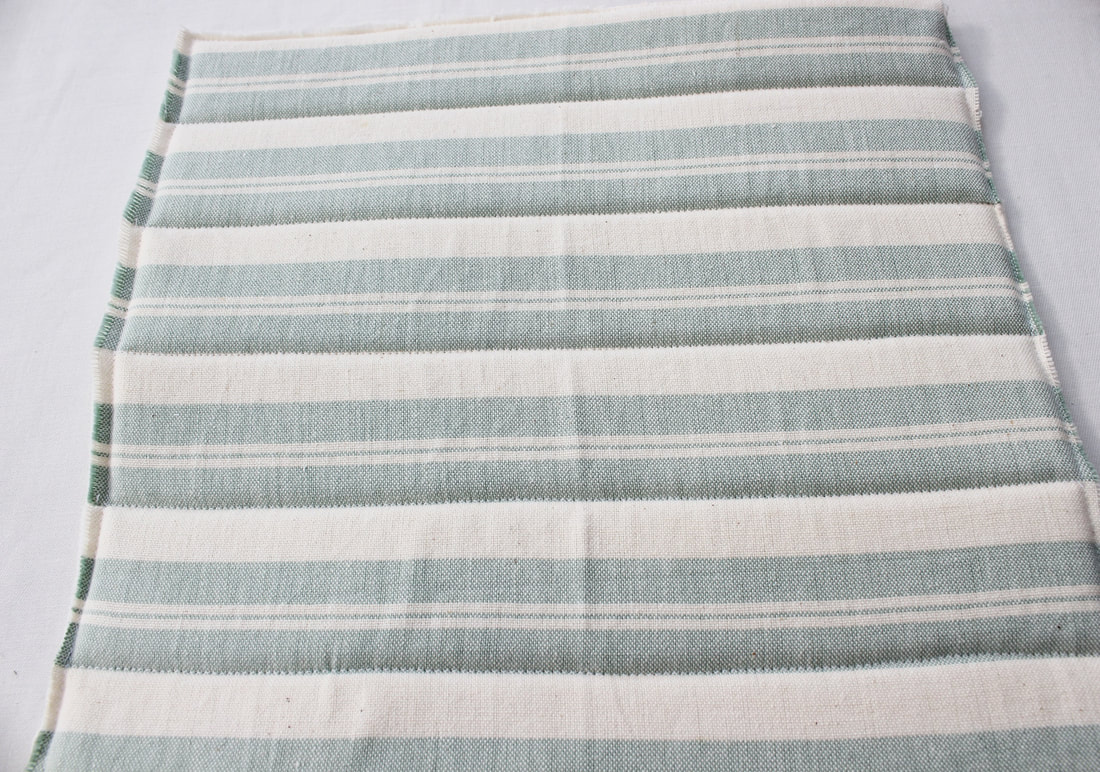
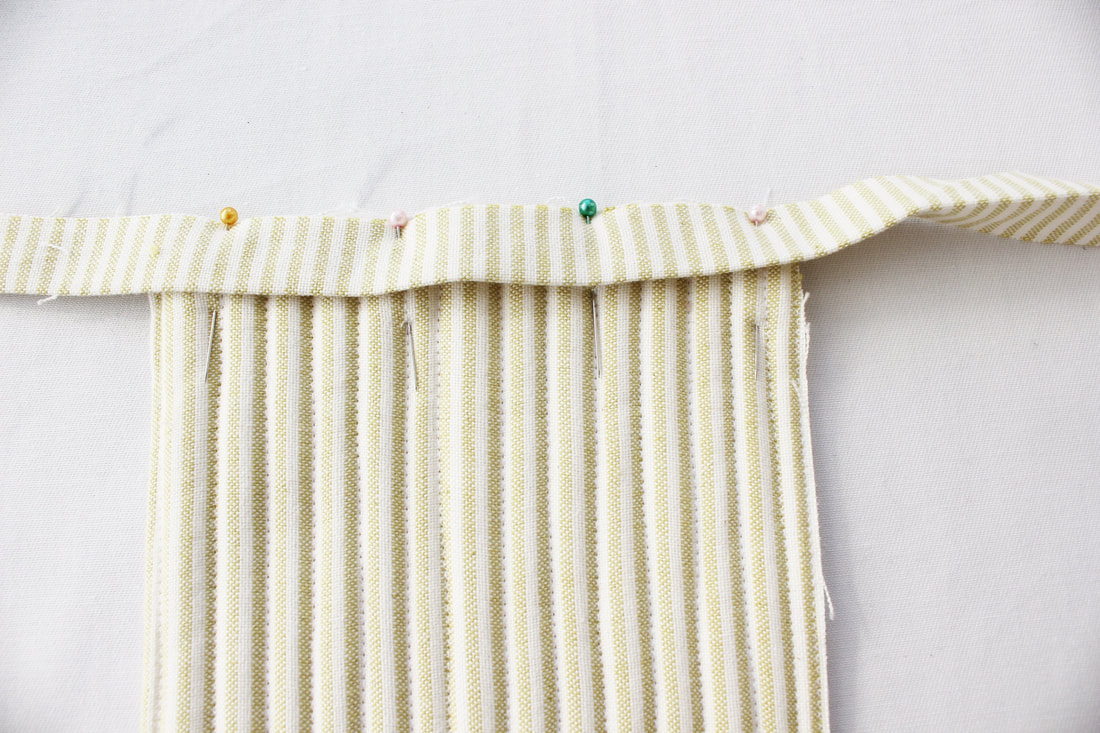
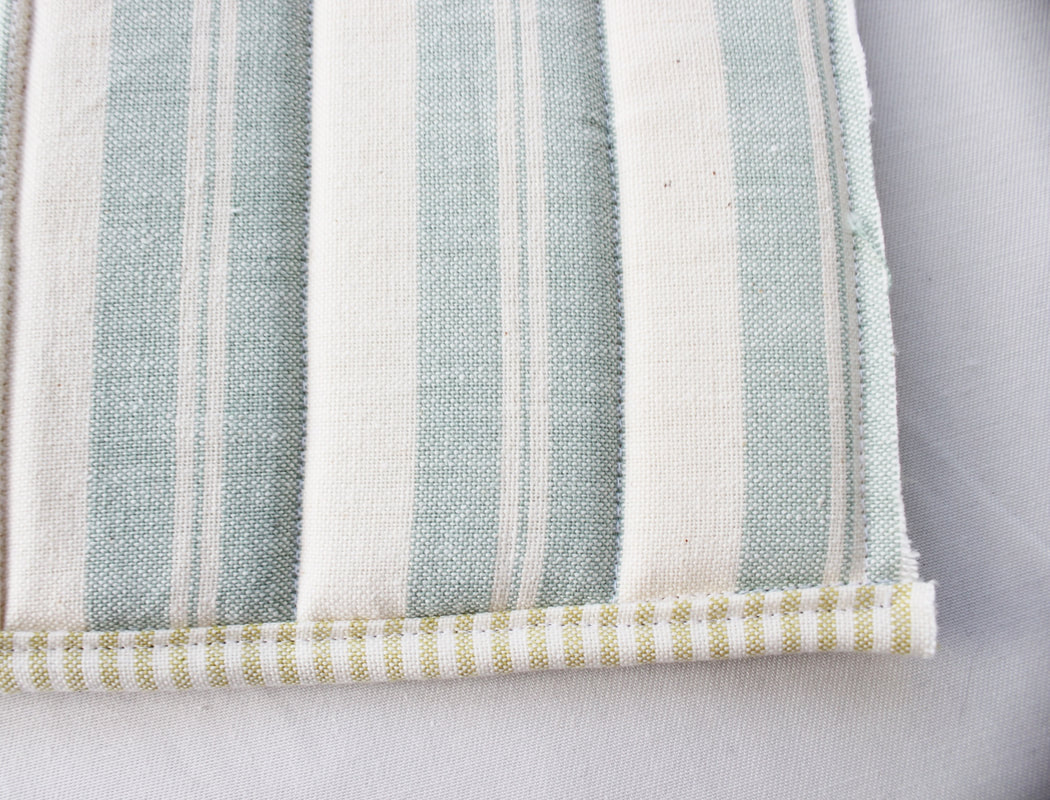
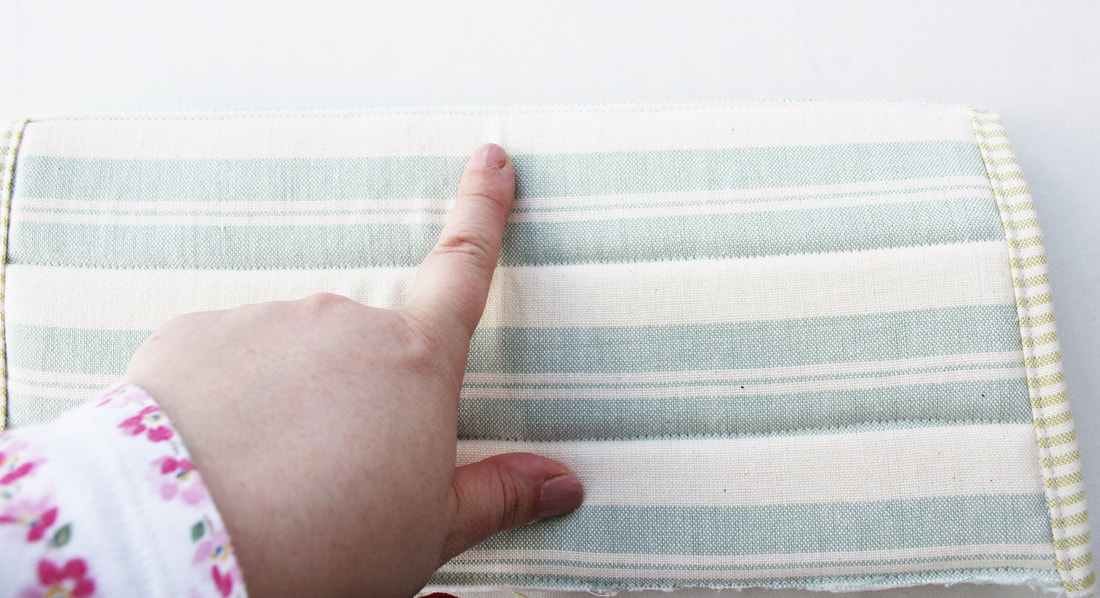
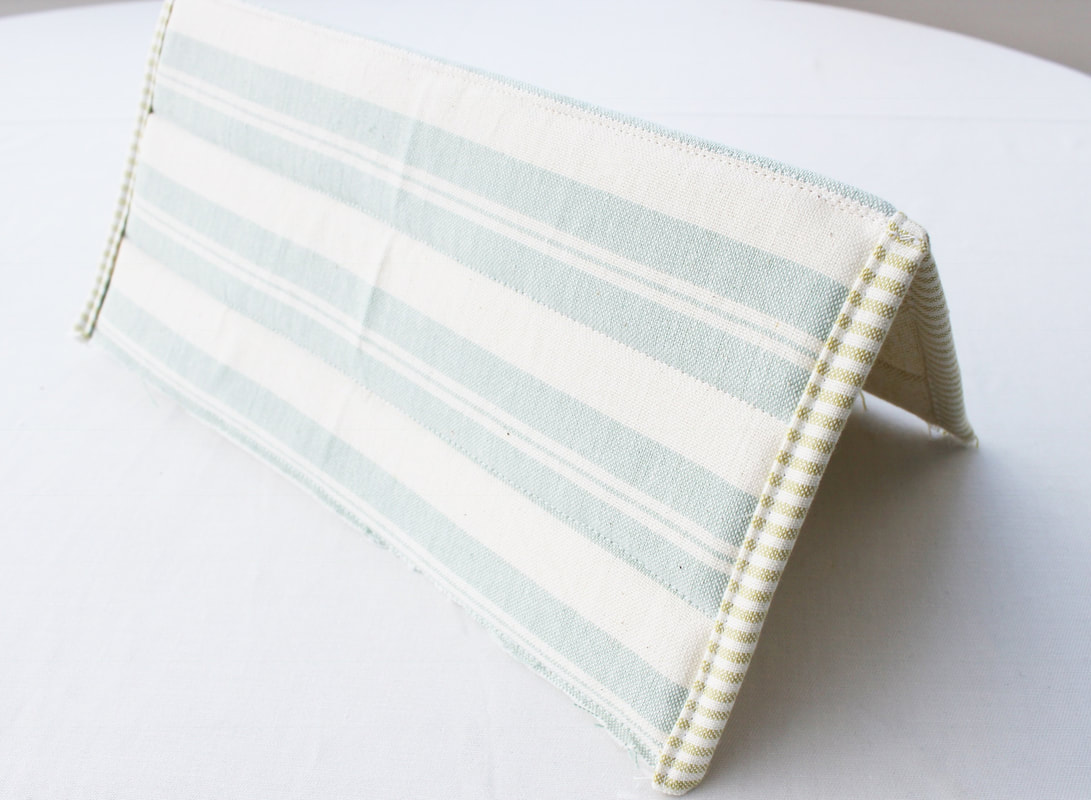
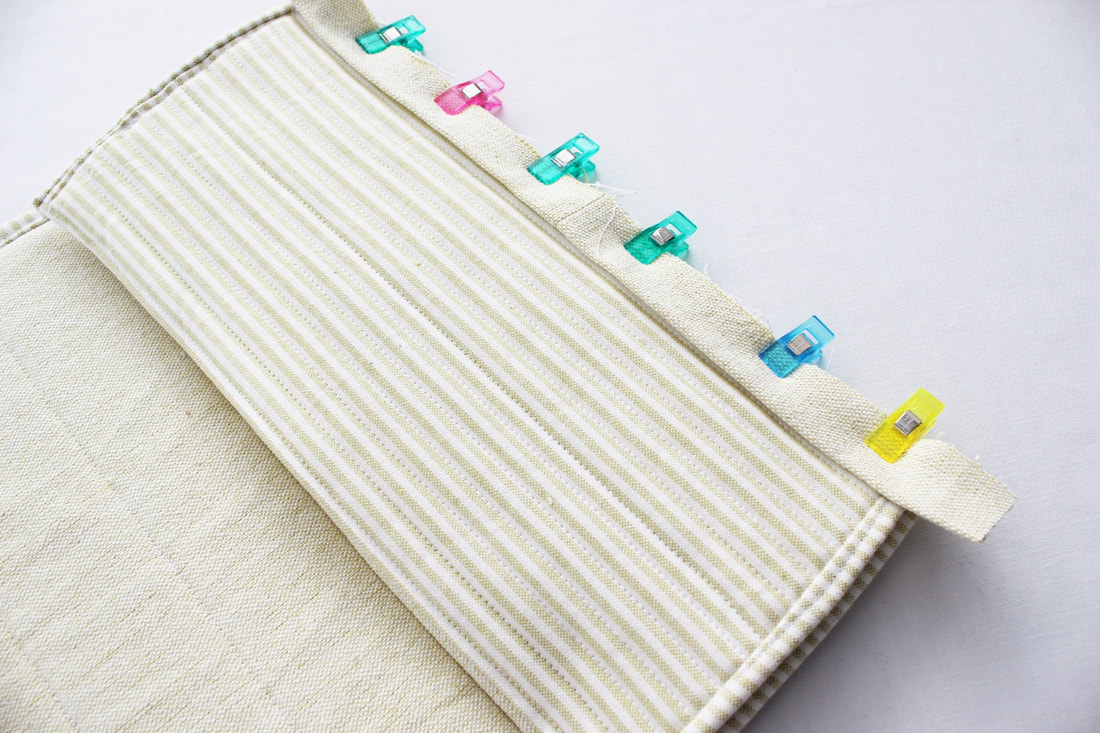
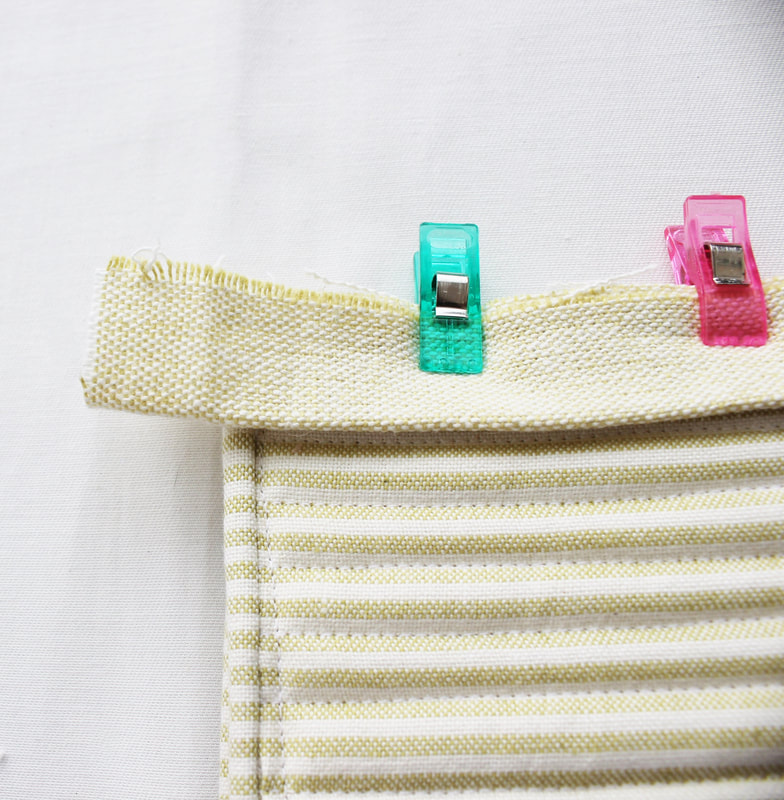
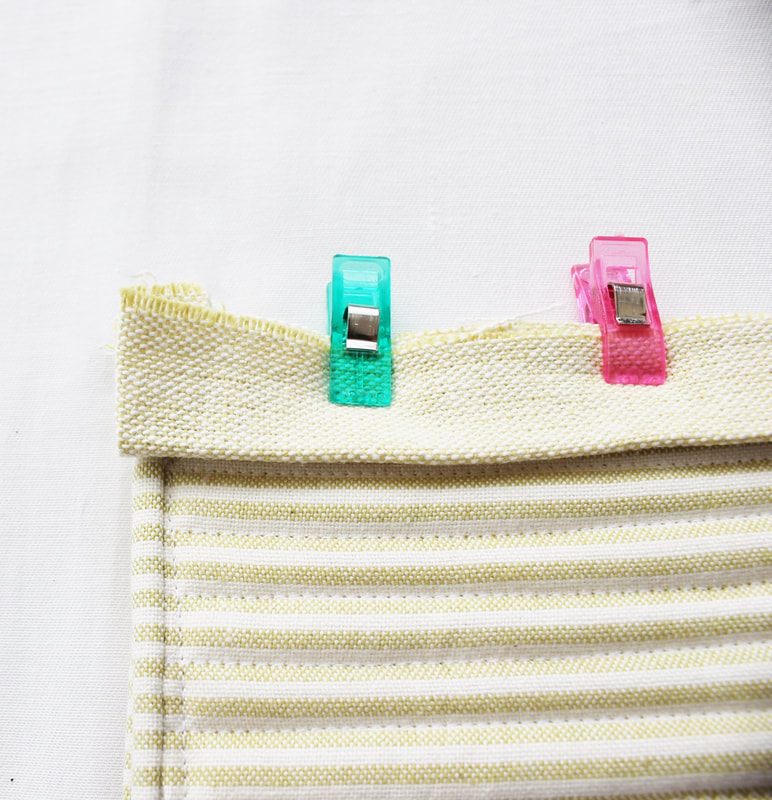
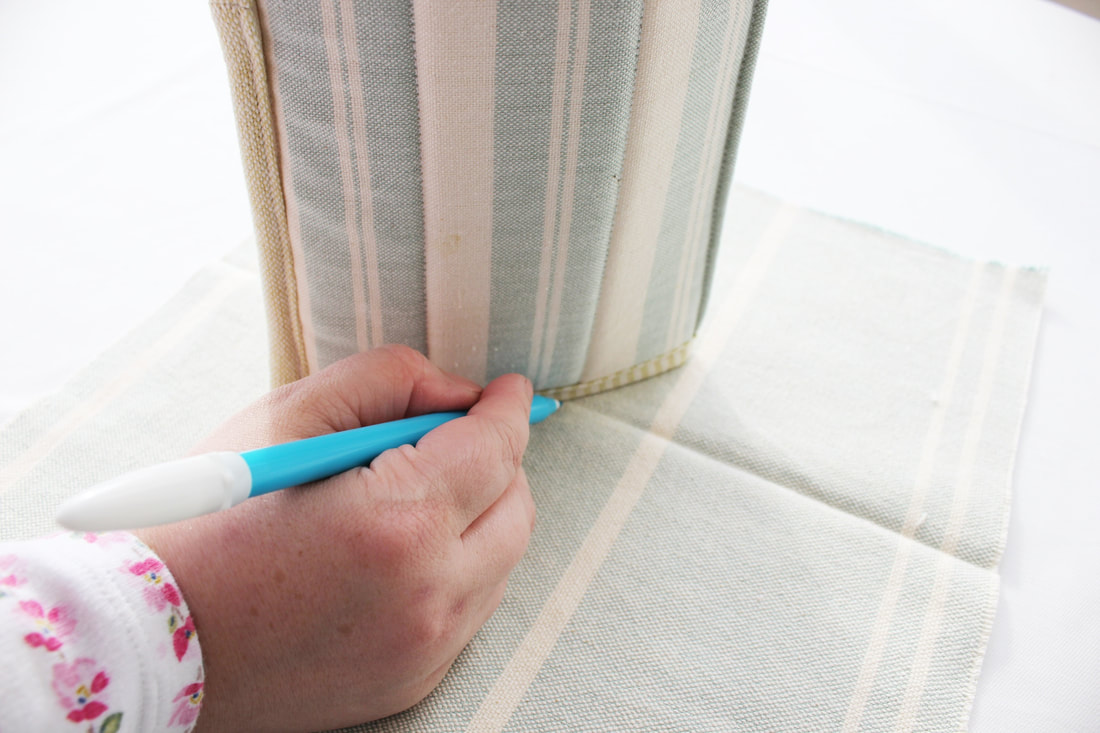
The tent is constructed from two pieces, a rectangular base and a square 'roof' which is folded down the middle to create the tent shape.. 1. You need to create two quilt sandwiches, one for your roof and one for the base. To do this, lay one fabric right side down, spray with spray glue and place the flex foam on top. Spray the flex foam with glue and lay your other piece of fabric on top, right side up. If you aren't using spray glue you can use pins to hold the layers in place. 2. Now quilt the layers together. I quilted my base with straight lines about half an inch apart but you can choose how you would like to quilt it. I quilted the roof every two inches to make it less rigid. 3. Now you need to attach the binding to the short ends of your base and the two opening ends of your roof. To do this, line the binding up with the raw edges of the quilt sandwich and pin in place. 4. Trim your binding to make it level with the edge of your quilt sandwich. Fold it over and sew in place. 5. Fold the roof in half and sew along the top ridge as close to the edge as possible on the right side of the fabric. This will help to keep the tent's shape. 6. Now for the trickiest part, attaching the roof to the base. Line up the long edge of the roof with the long edge of the base, with the insides facing and place your binding on top with the raw edges together. Because there is a lot of bulk, I used quilting clips to keep the layers together. 7. Trim your binding leaving just half an inch extra either end and turn this in on itself to conceal the raw edge. Sew along this edge using a quarter inch seam allowance. If your machine finds it difficult to sew through the layers, try starting in the middle of the edge, sewing along then turning around to sew back to the opposite edge. Sometimes sewing machines struggle to start sewing thick seams at the corners so this technique helps with that. Fold the binding over and sew in place with a half inch seam allowance. Repeat for the other edge of the tent. 8. To make the doors, turn the tent on its end and draw around the triangular opening with a fabric pen onto your fabric. Use a ruler to straighten your lines and add half and inch seam allowance all the way around the triangle you have drawn. You need four of these. 9. Cut the triangles you've just drawn out of the fabric and cut them in half down the middle. You will now have eight small triangles. Take two and place them right sides together. Sew along two of the edges using a quarter inch seam allowance. Turn the triangles right side out and fold the bottom edges in and sew them closed. Repeat for the other three. Sew them in place by hand on the inside edge of the opening to make the doors of the tent. Your tent is complete! I made some bunting in coordinating fabric to give it an added touch but you could decorate it however you wish. Why not add ric rac or pom pom trim? If you give this a go, I hope you enjoy making it and I hope the little person in your life loves playing with it too! Happy sewing.
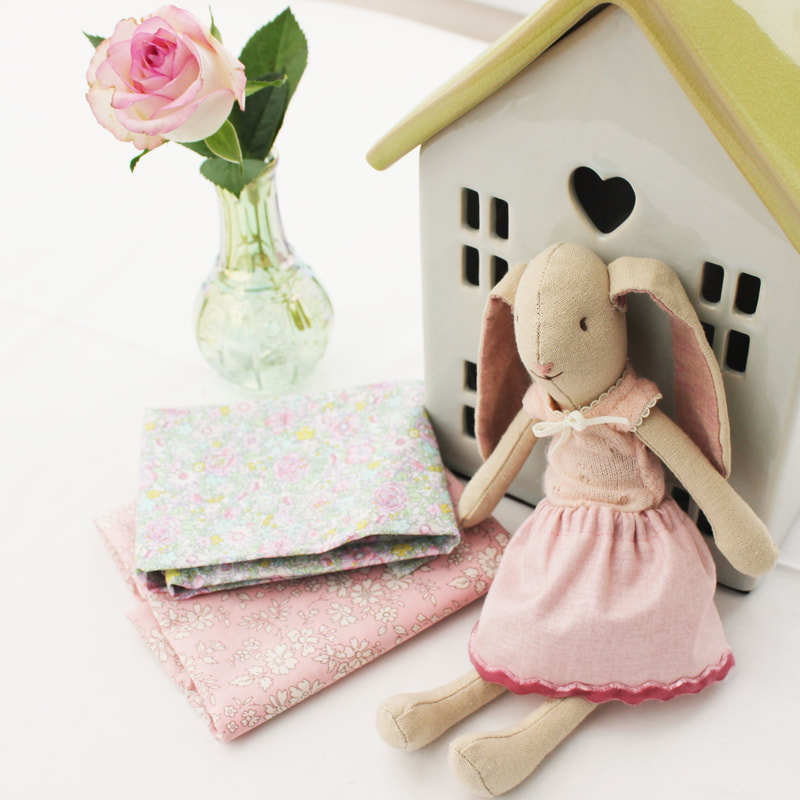
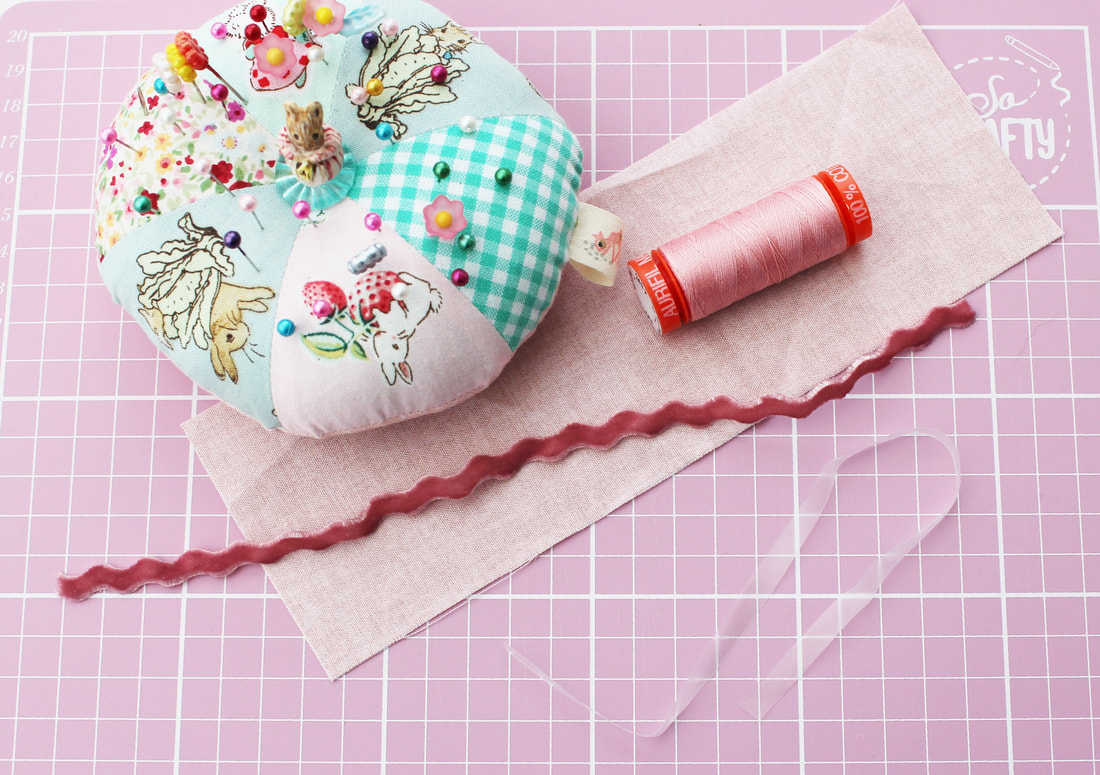
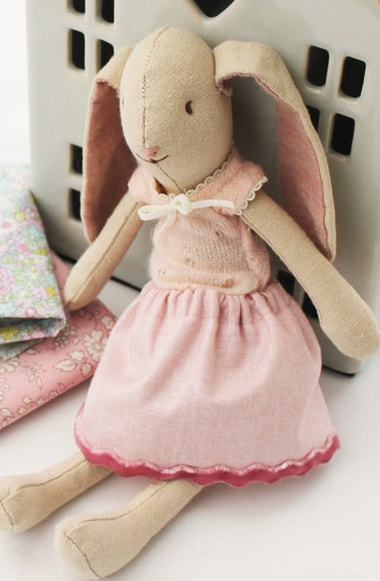
I enjoyed making the tiny hexagon quilt so much that today I decided to make the little bunny a skirt as she looked like she was in her underwear! I thought I'd share this as a little tutorial here as it was very quick and simple to make. It is also a great way to use up scraps of fabric and trims, so excellent for sustainable sewing. You will need:
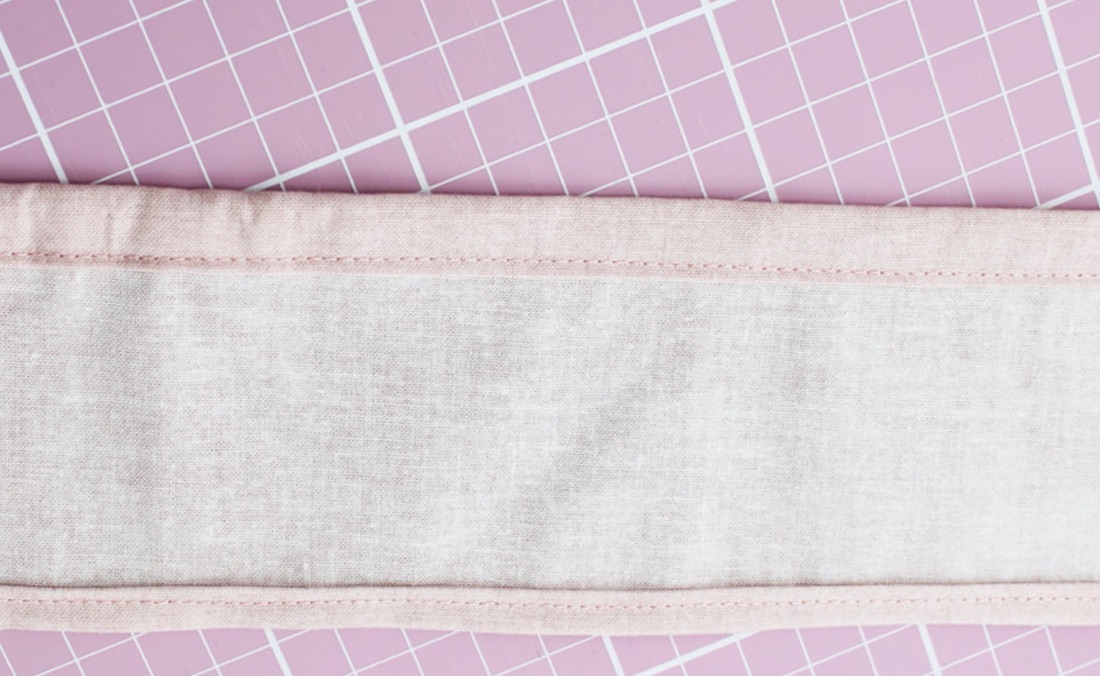
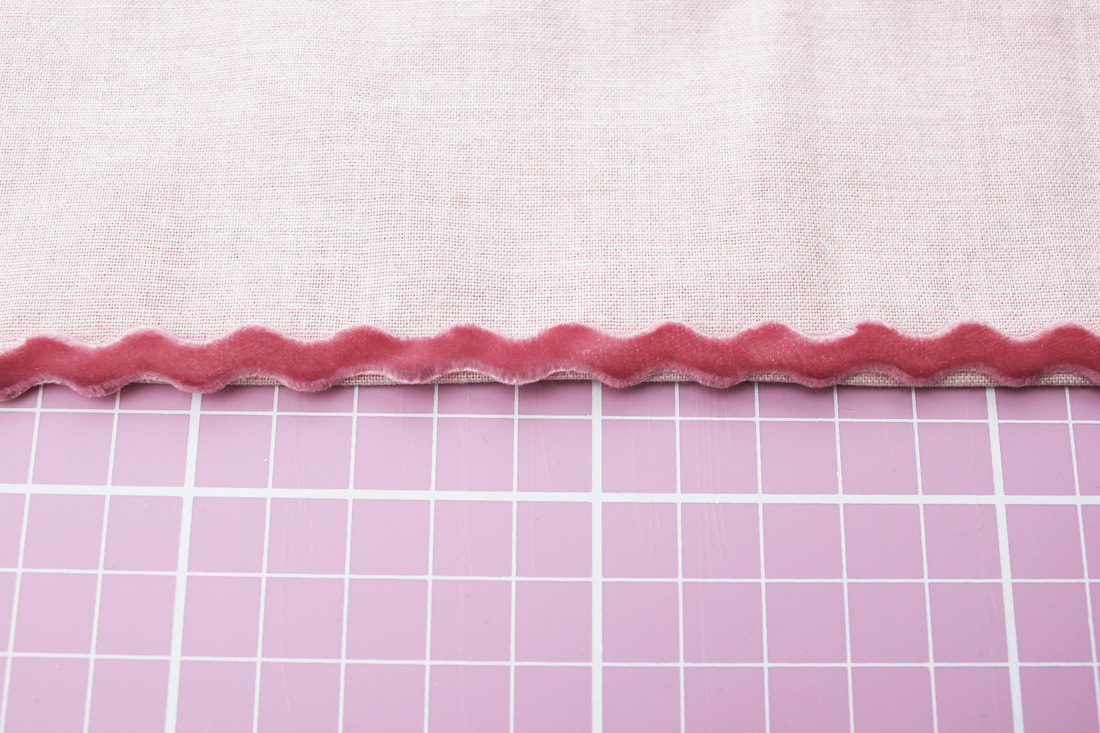
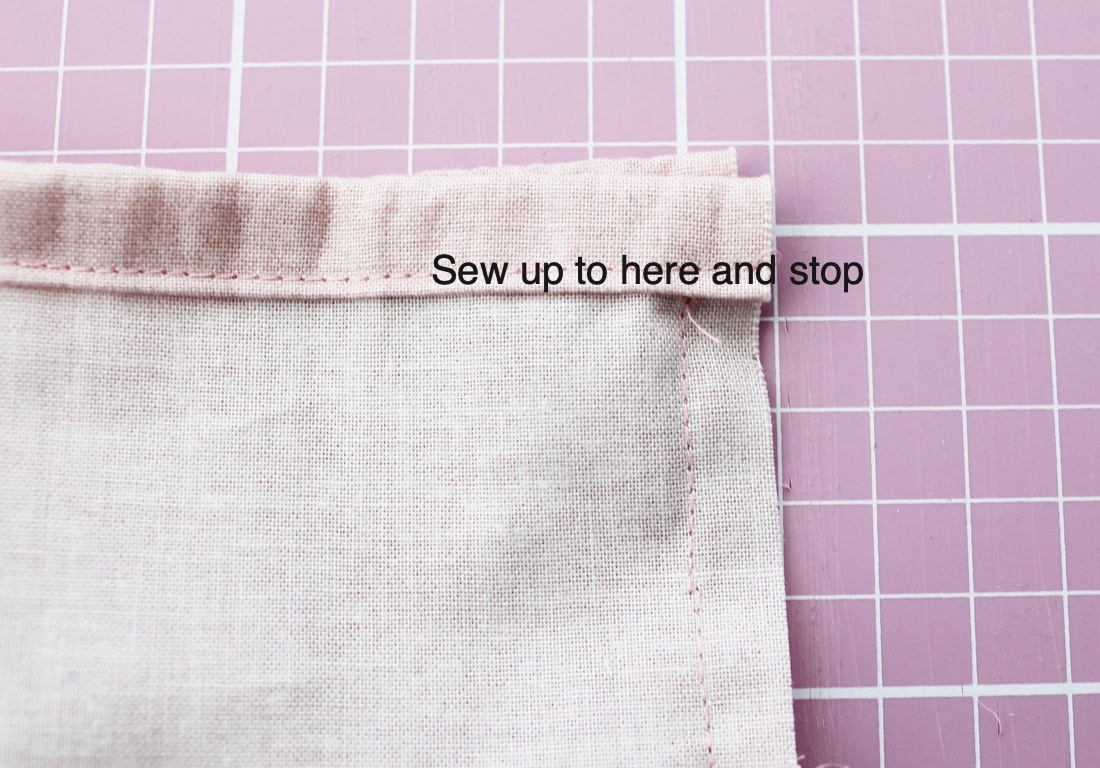
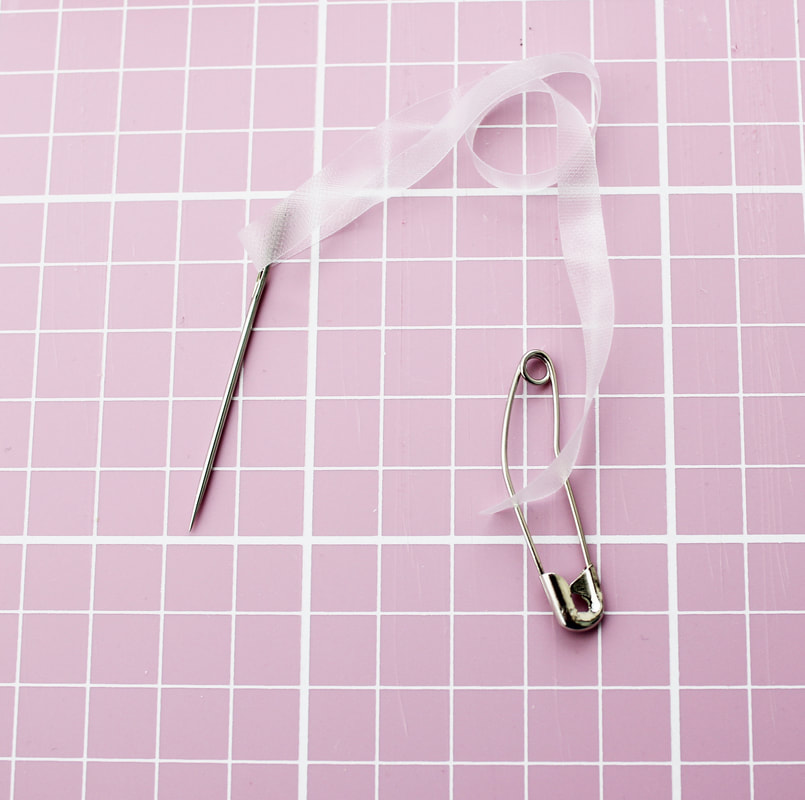
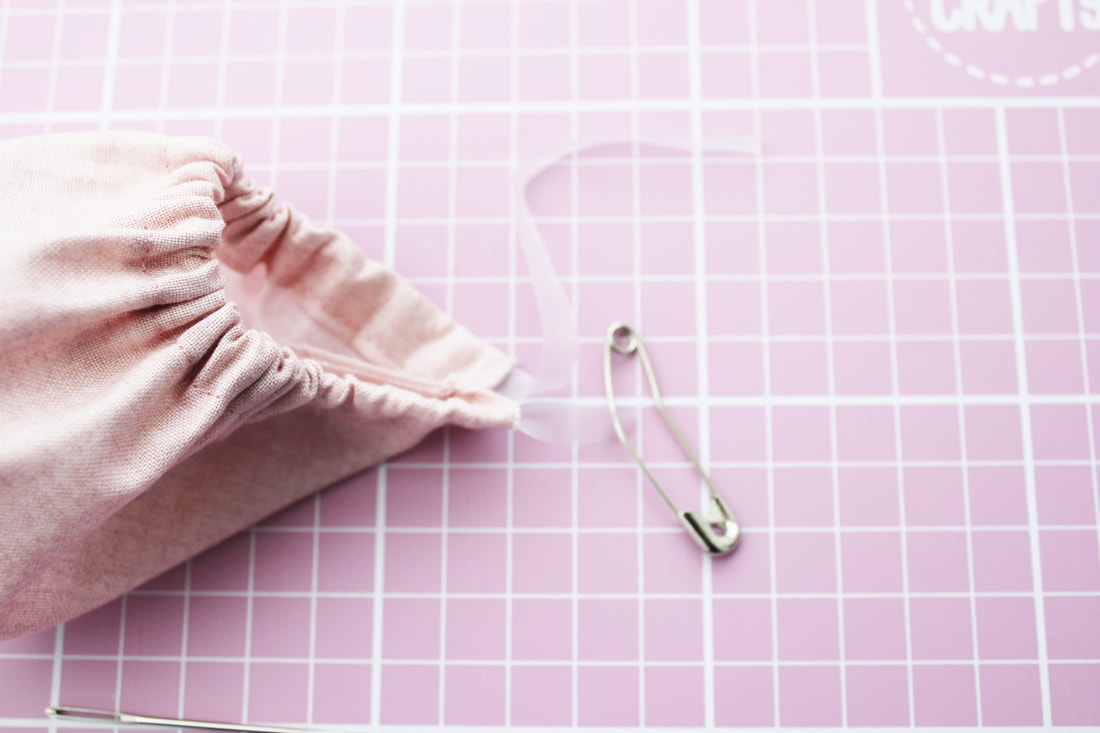
1. Press your fabric. Fold over the bottom hem on the long (9 inch edge) a quarter of an inch towards the inside of the fabric and press in place. Fold it over another quarter inch to encase the raw edge and press and pin in place to hold. Machine stitch it in place. 2. Fold over the top of the fabric on the long (9 inch) edge by half an inch and press in place. Fold it over another half inch and press in place to again encase the raw edge. Stitch in place towards the bottom of this fold. This creates a channel for your elastic. 3. Place your ric rac trim on the right side of the skirt hem, covering the stitching and sew in place by hand, just catching each hill and valley with your stitch. 4. Place the two short ends of the fabric right sides together and sew them together with a quarter inch seam allowance to form the centre back seam. Make sure you sew from the bottom hem up to the bottom fold of the channel. Do not sew to the top edge because this will close your channel meaning you won't be able to thread the elastic through it. Turn the skirt right side out. 5. Thread your elastic through the tapestry needle and attach the safety pin to the other end. 6. Push the needle through the channel and push the fabric along, taking care not to push the needle through the cotton. You are aiming to thread the elastic though the channel, not piercing the fabric at all. The safety pin will stop the other end of the elastic from going inside the channel. 7. Once the needle has passed through to the other end of the channel, arrange your gathers equally and pull both ends of the elastic to adjust the waist of the skirt to fit the bunny. Cut off the excess elastic and stitch the two ends in place securely by hand. Feed these ends into the channel So they are hidden. 8. Now you can finish the centre back seam right to the top by sewing the remaining part to enclose the channel and secure your elastic.
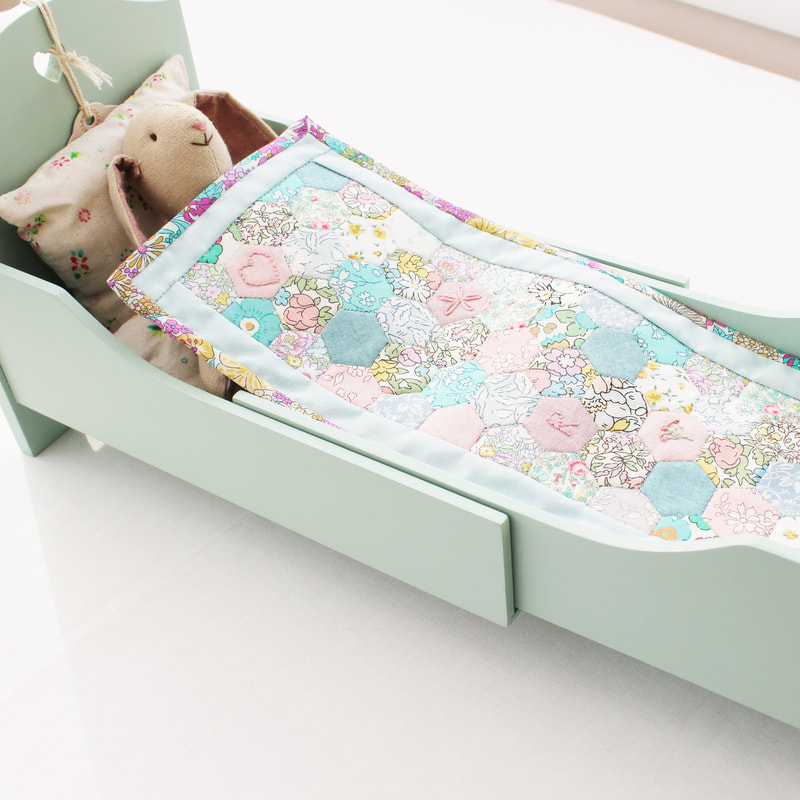
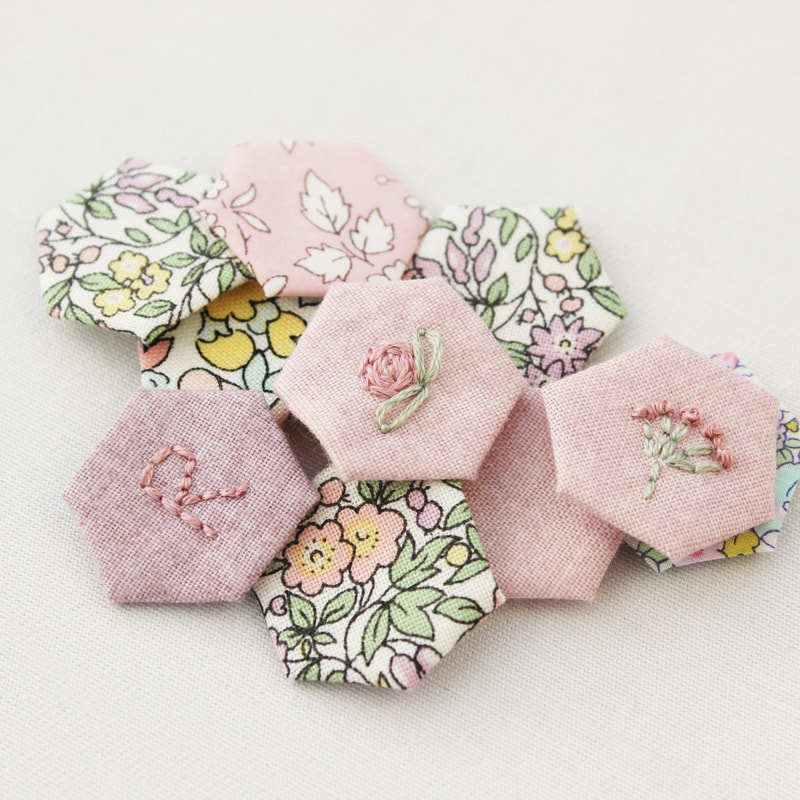
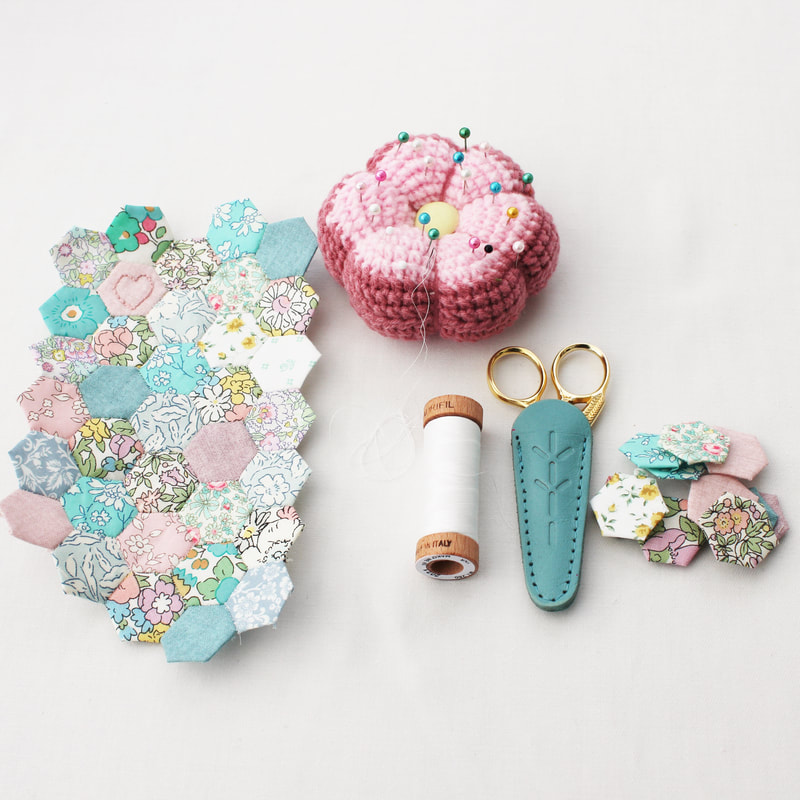
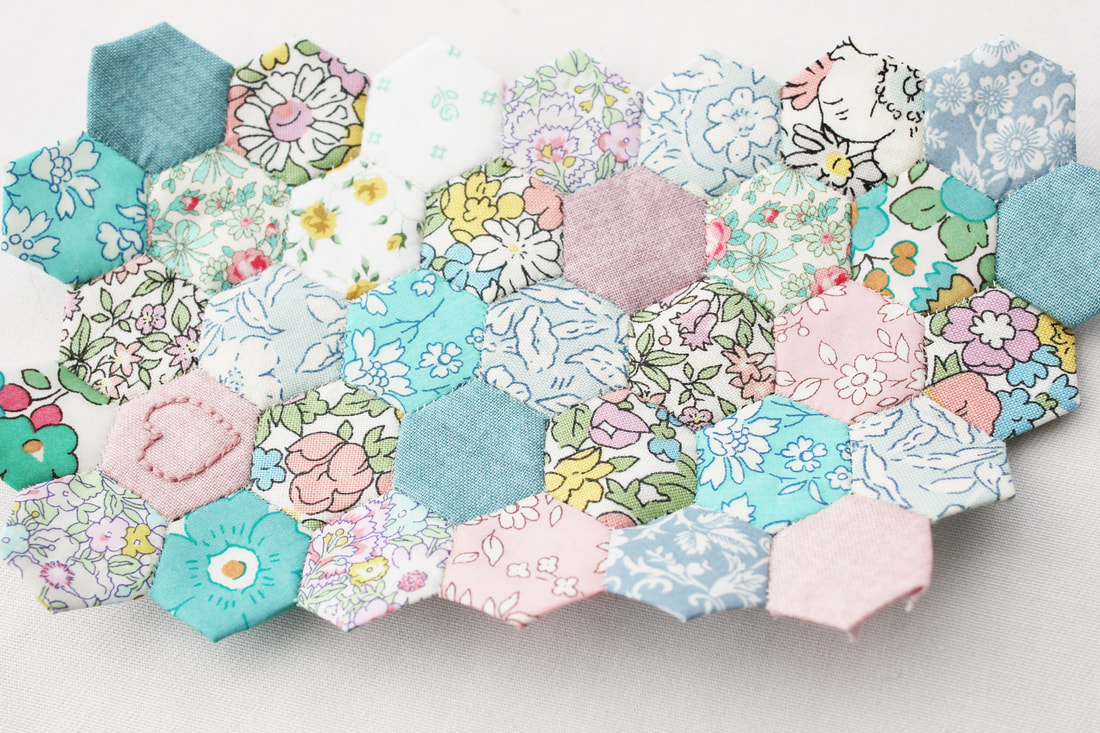
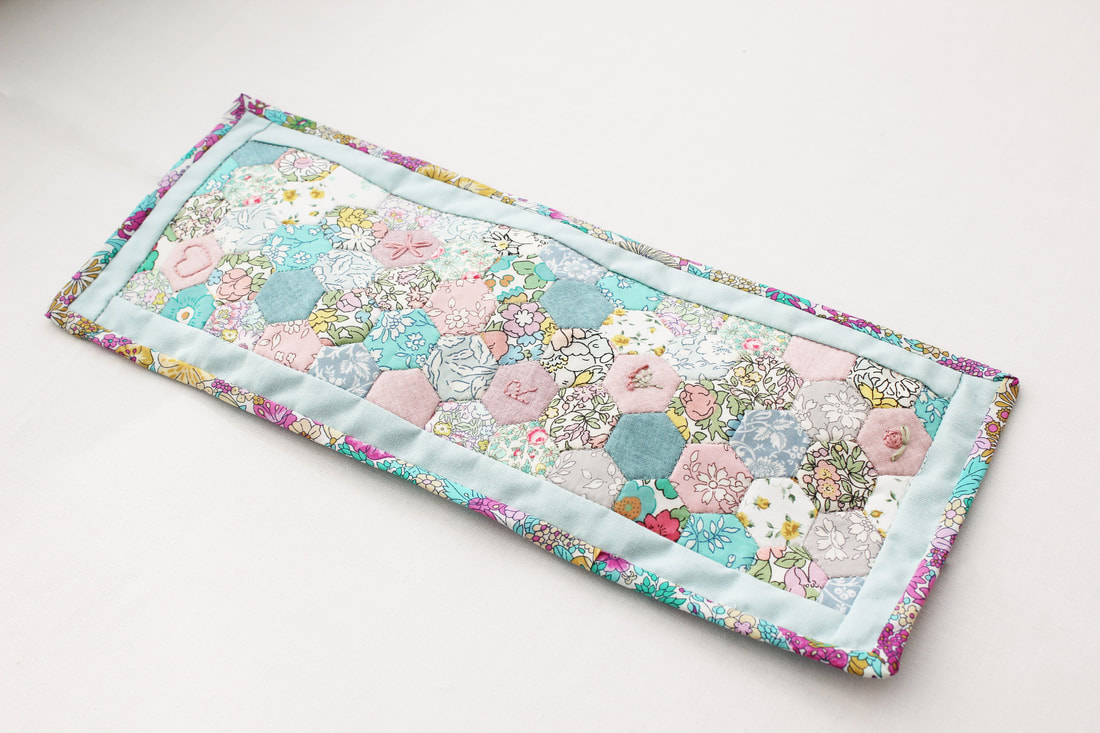
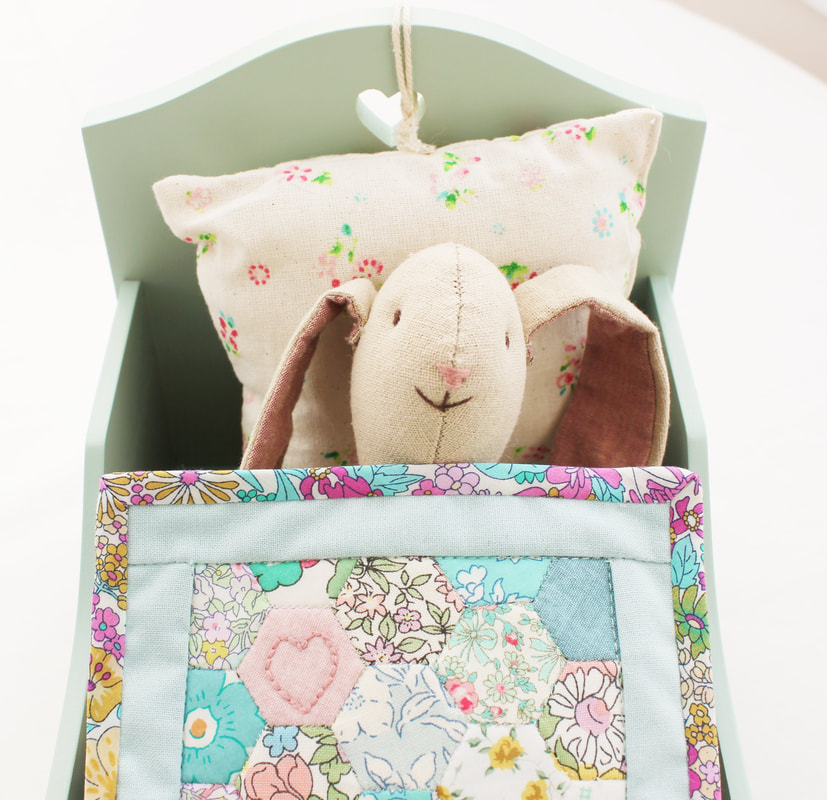
Your skirt is done! I hope this little tutorial is helpful if you are making simple clothes for toys for the first time. I'm now thinking that this little bunny needs a top...and maybe some embroidery on the skirt...the possibilities are endless! Happy sewing! When I bought this cute bunny in a little bed, I knew she needed a sweet little quilt to keep her warm. This is going to be a gift for my little niece, so I set to work creating this EPP quilt. I used pretty scraps left over from other projects and instead of paper hexagon templates, I used hexiform ones from a company called Ashmead Designs. The great thing about their hexiform shapes is that for small projects like this, you don't need any wadding/batting. I used 1/2 inch hexagons which is the smallest shape I've ever worked with. I absolutely loved making something so miniature and I'm sure there will be more in my future! Something I love to do is combine different types of sewing, and with the hexagons being made of hexiform, it was easy to embroider tiny details on some of the hexagons. I kept adding hexagons here and there, without worrying too much about where to put them. Once it was the size I needed, I attached a border in coordinating blue fabric and bound it with liberty bias binding. I hope this will be a treasured gift for many years to come!
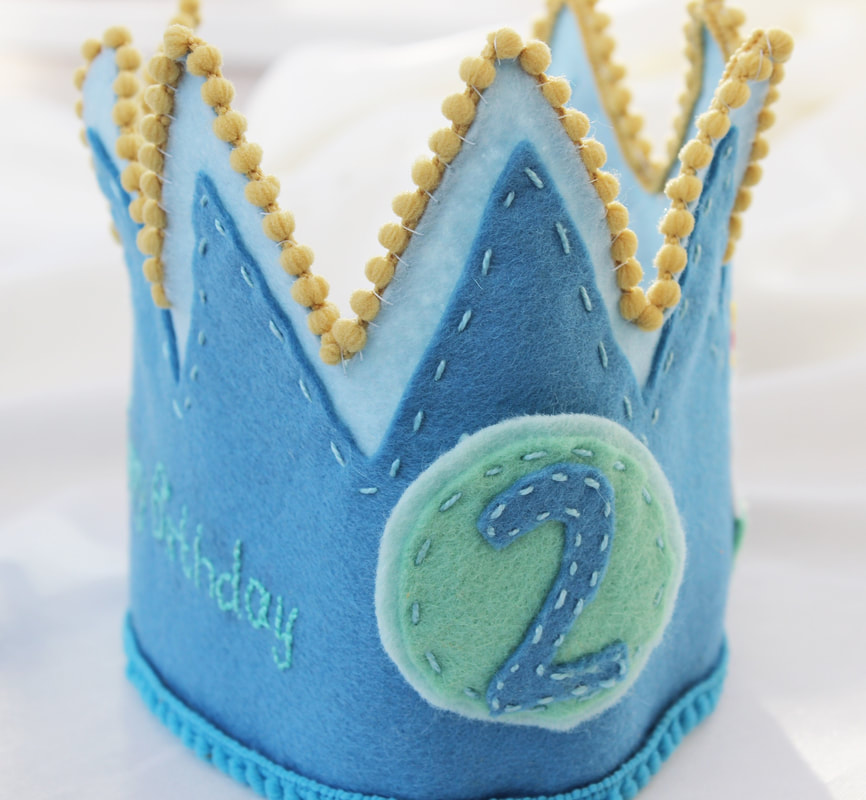
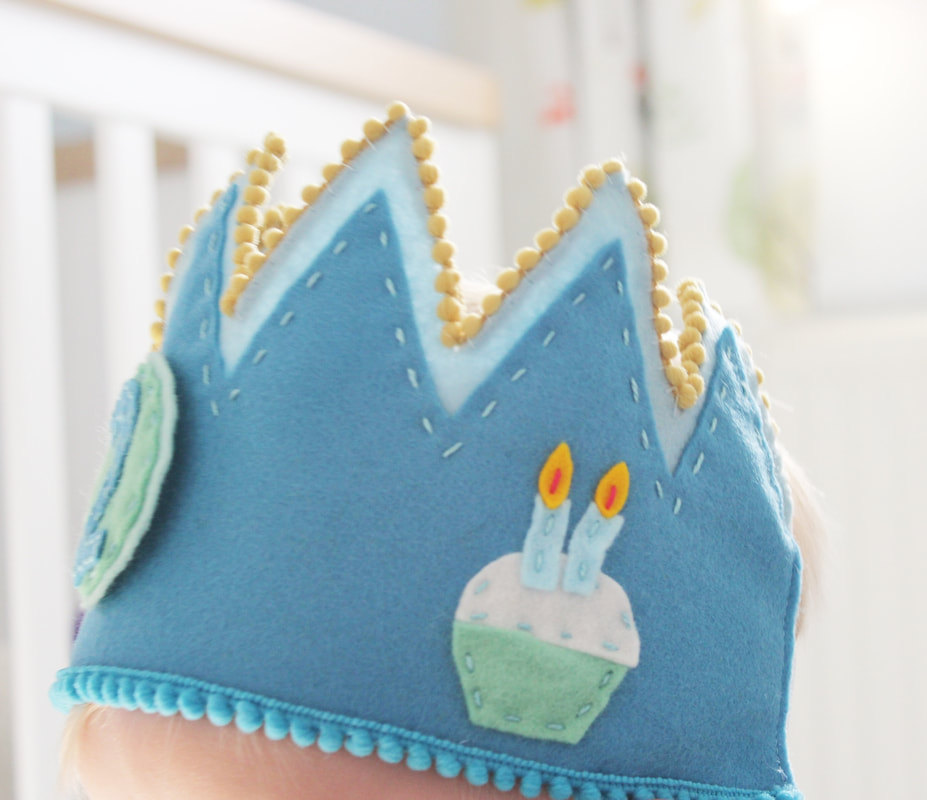
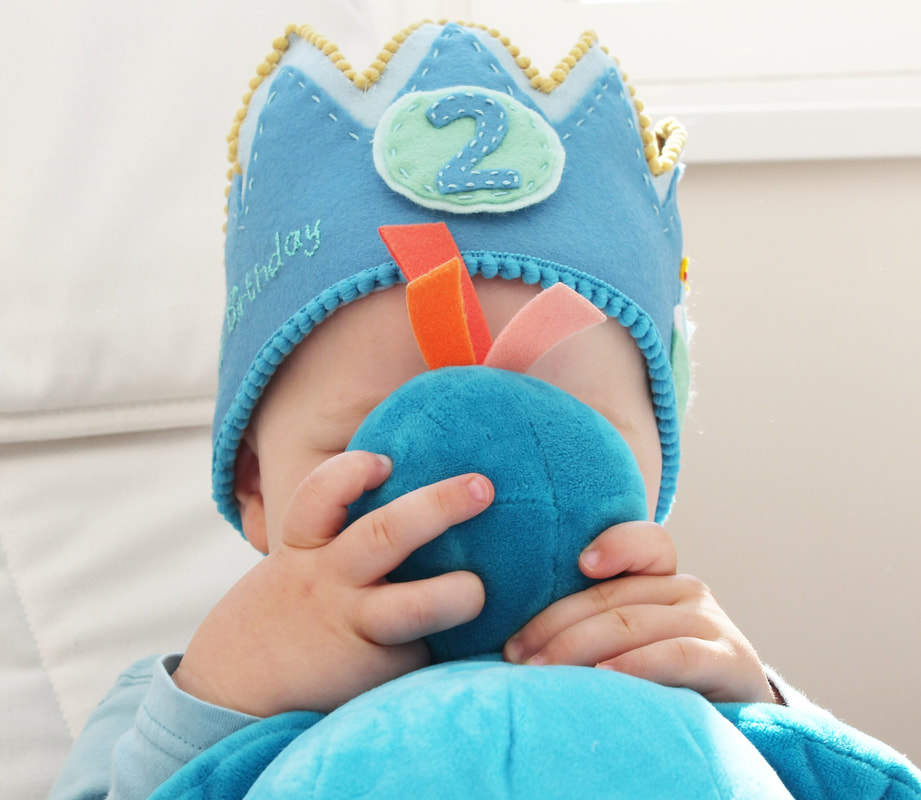
Introducing the birthday crown pattern! A free pattern to make a birthday crown from felt. This pattern was inspired by my little one's birthday and I can safely say he loved wearing this crown and it helped to reinforce that it was his special day. The design is simple and can be made in a few hours. But despite this, it was important to me that this design would grow with your child, particularly since we live in a throw-away culture and this is not something that I want to encourage. I believe that we should cherish our belongings, especially items we have made. So the number on the front of the crown is attached with Velcro so it can be changed each year. A candle can be added to the cake as your child becomes a year older and the elastic at the back allows for growth. The pattern only contains numbers up to 7 because after that age children might not want to wear the crown anymore but if they do, it is simple to make your own numbers from felt. Also, the ability to add and remove numbers and candles means other children in the family can use the crown. If you have more than one child, perhaps you could add the candles with Velcro rather than stitch them in place. I hope you enjoy making this fun crown for the children in your life. Please share any pictures of what you make using the hashtag #rosepetalpatterns.
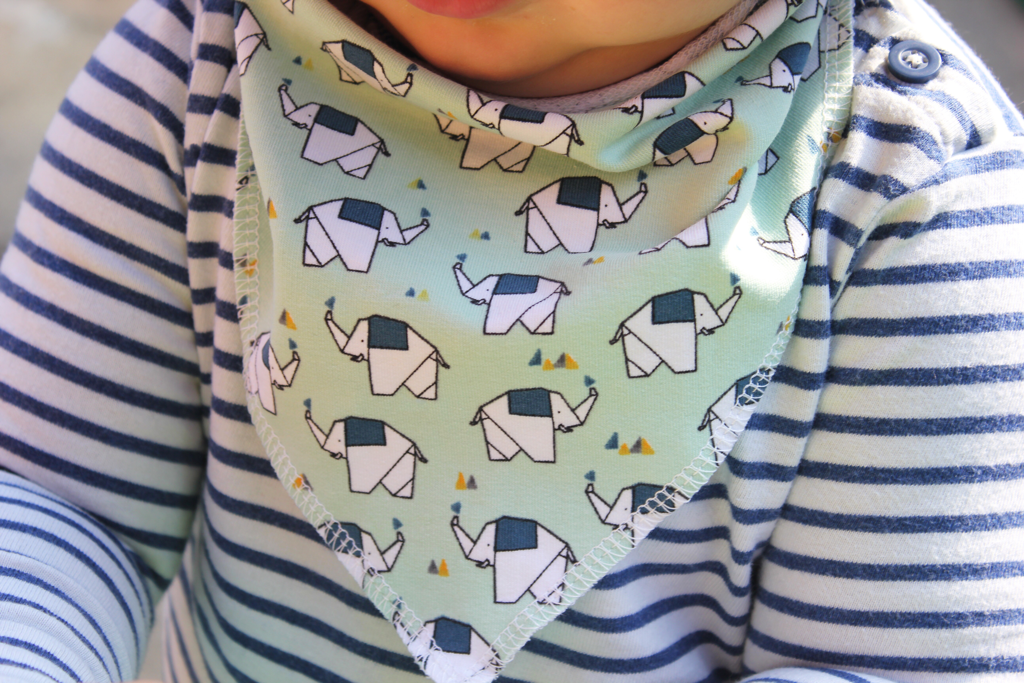
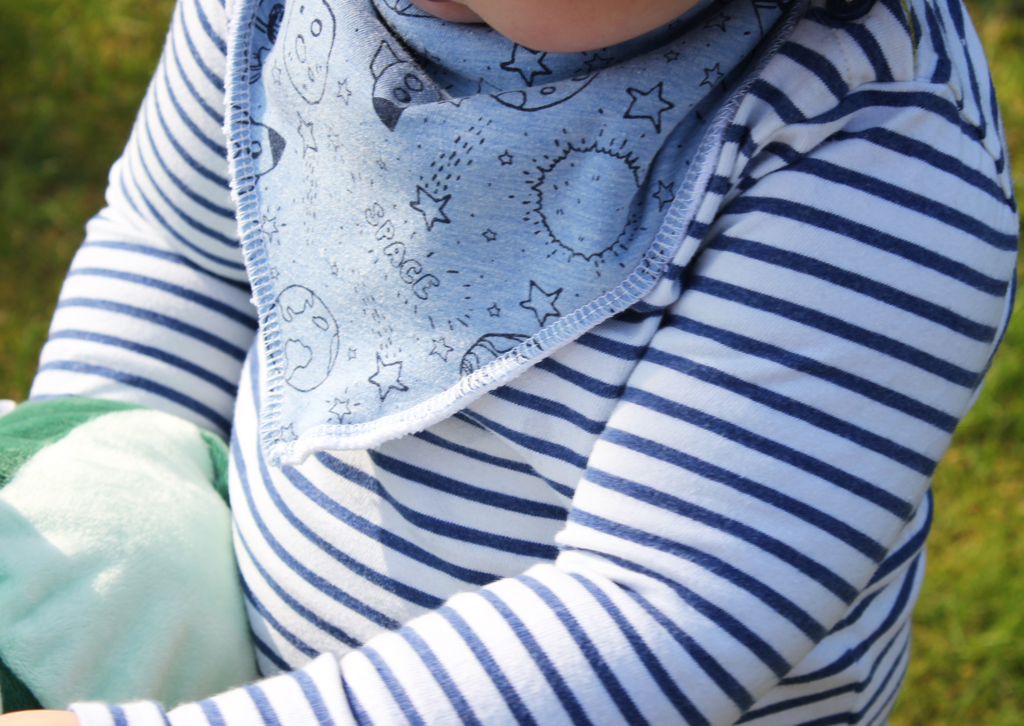
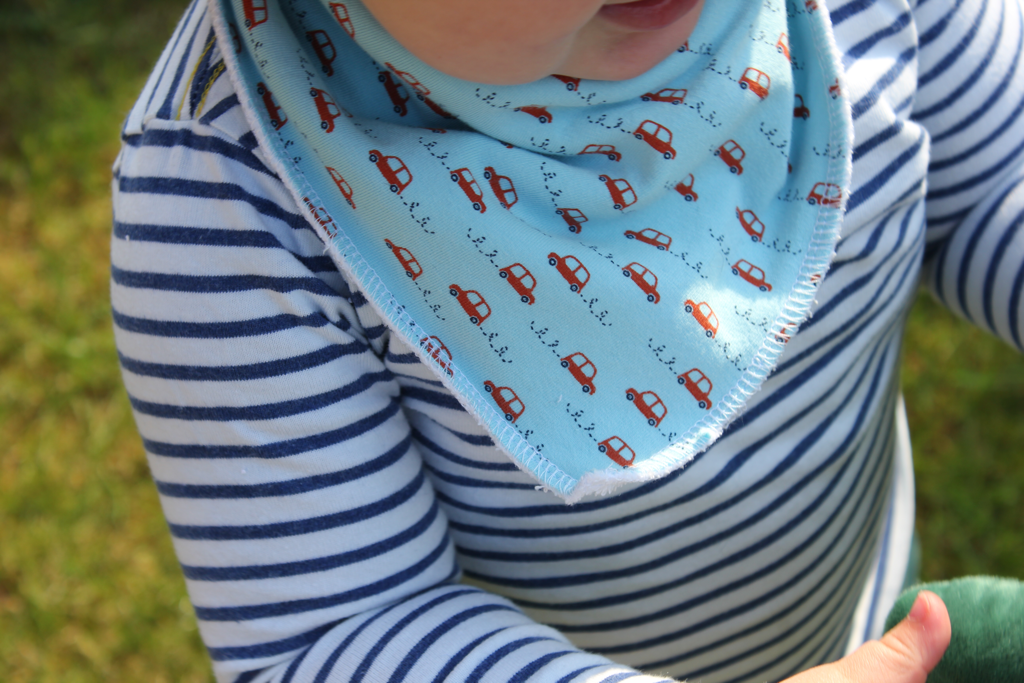
Happy sewing! Dribble bibs are essential for most babies and toddlers, they protect clothing and frequent changes prevent dribble rashes. I found the bibs from shops were quite small for my 18 month old, and I also wanted to be able to coordinate the bib with the outfit he was wearing. So I designed this pattern. This is the ideal project for a beginner. I made mine on an overlocker, so if you’re new to using an overlocker this would be ideal for you too. First you need to download the pattern and instructions which can be found on the free patterns page. I’ve suggested you need a quarter of a metre of fabric but you can certainly be clever about how you position the pattern piece which makes it an ideal way to use up scraps. Take care when printing the pattern piece that you have your printer scale set to actual size and not scale to fit. This way you can ensure the pattern will print out at the correct size. Along with the written instructions, there’s a video tutorial. This gives you information about using Prym colour snap fasteners which I think are simple and fun to use. They also give your bib a professional finish. I joined the outer fabric and the backing fabric with the wrong sides together. This means you don’t have to do any turning and topstitching which makes this a really simple make. The overlocked edge is visible but I like this look as it makes a feature of the stitching. If you prefer to hide this, place the pieces together with the right sides facing and sew around three quarters of the triangle. Turn it the right way out through the open edge and press. Topstitch all the way round taking care to close the open edge. I love making these bibs and I hope you do too. Tag your projects on Instagram #rosepetalpatternsbib. Happy sewing!
|
Follow me on InstagramAbout the Author
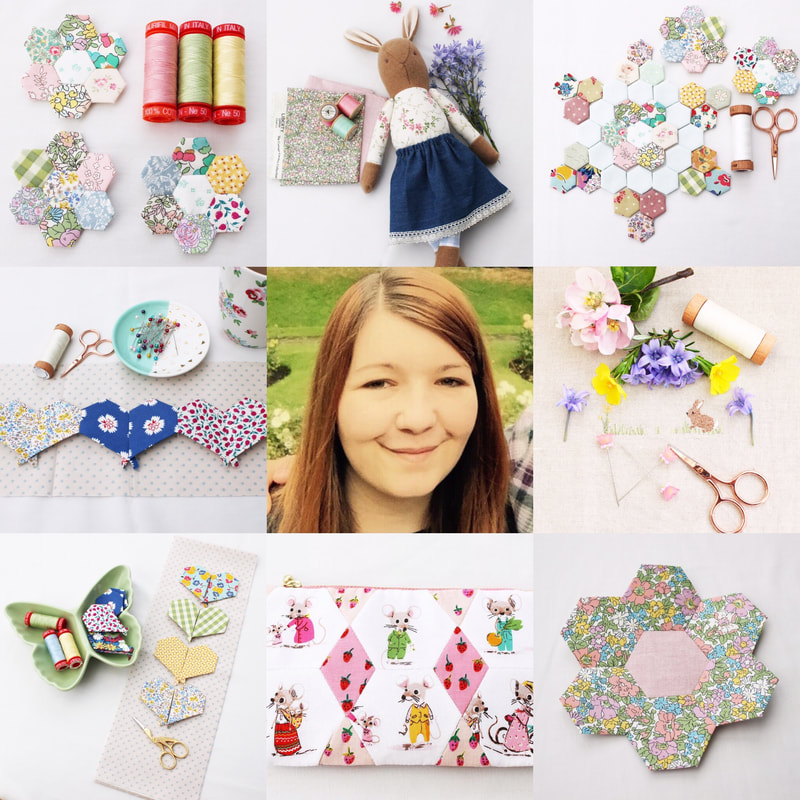
My name is Emma and I love all things sewing, especially EPP. My little blog is the place where I document what I'm making. I hope you enjoy reading what I'm up to! All opinions are my own and I only share things that I think you will love. Thank you for taking the time to stop by. Archives
September 2023
Categories
All
|

 RSS Feed