|
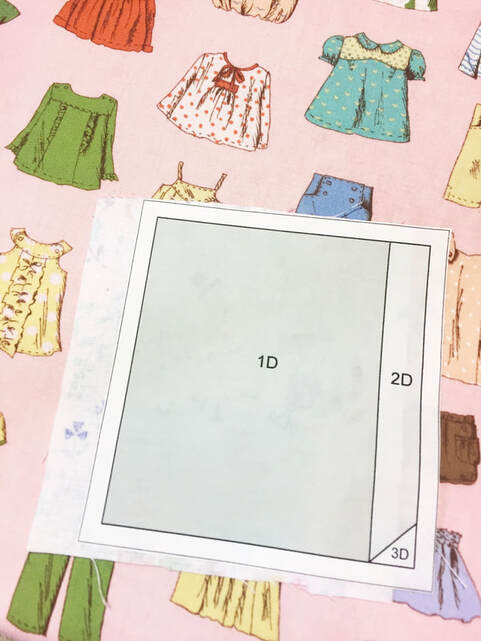
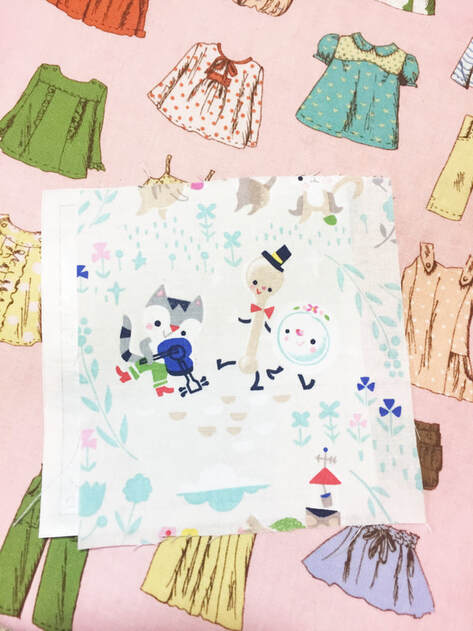
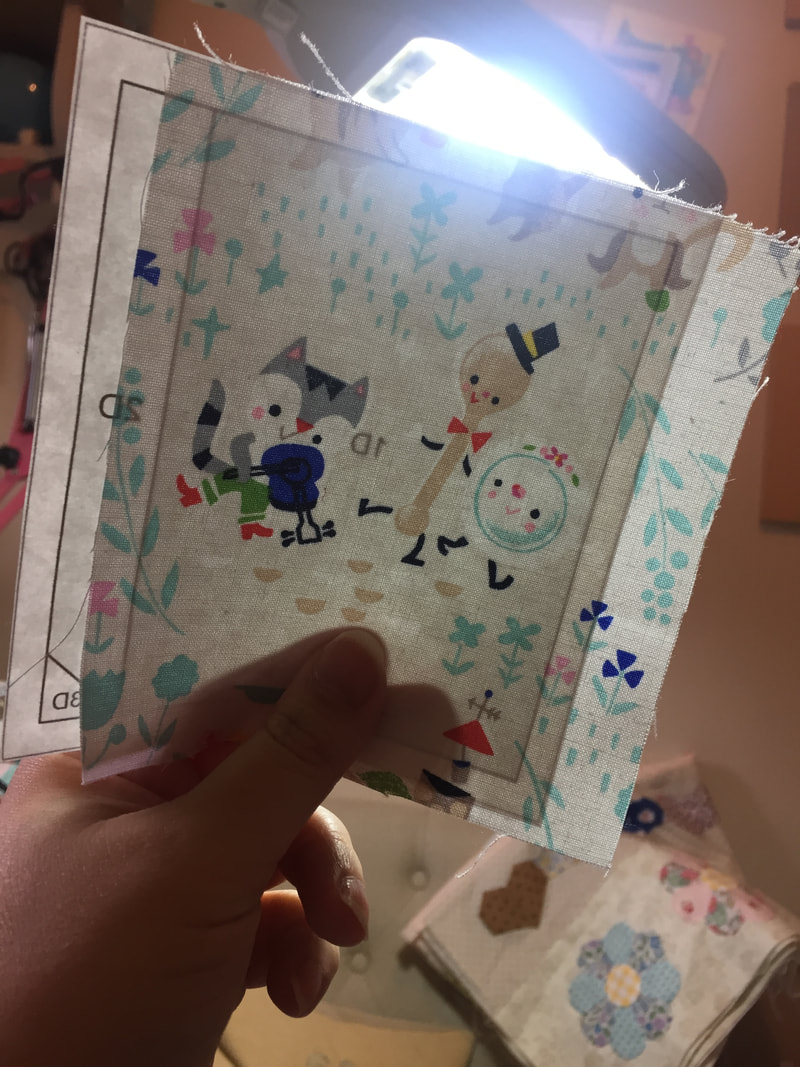
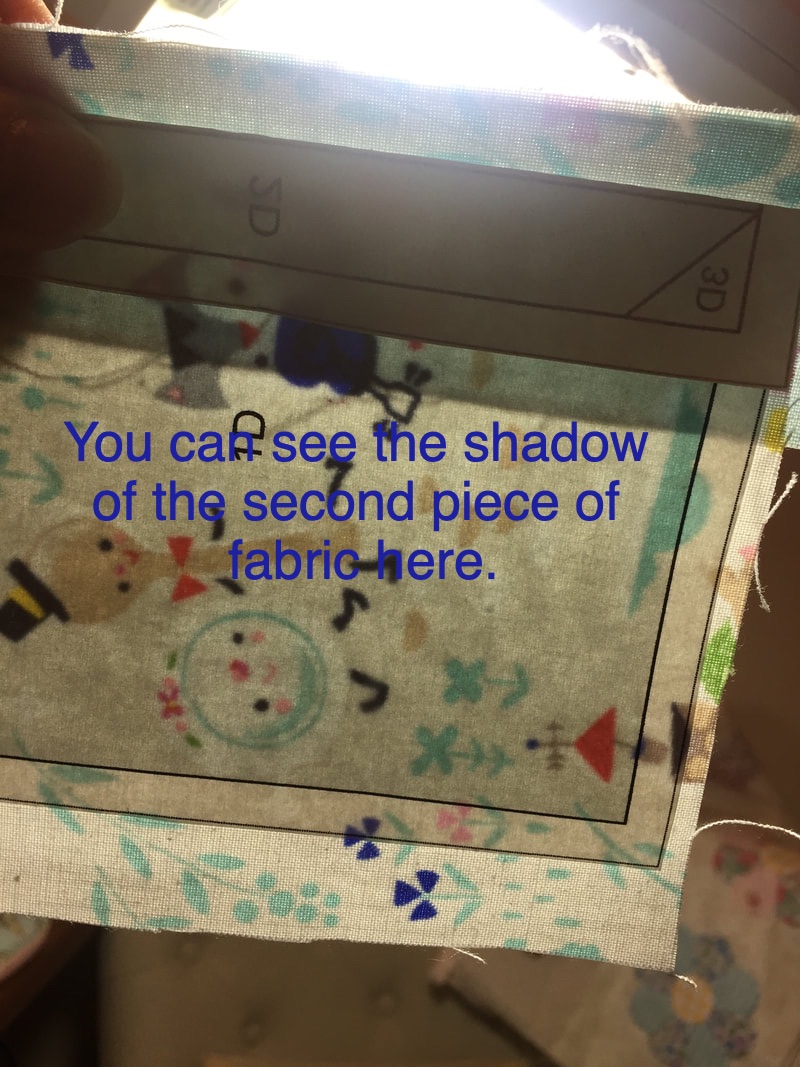
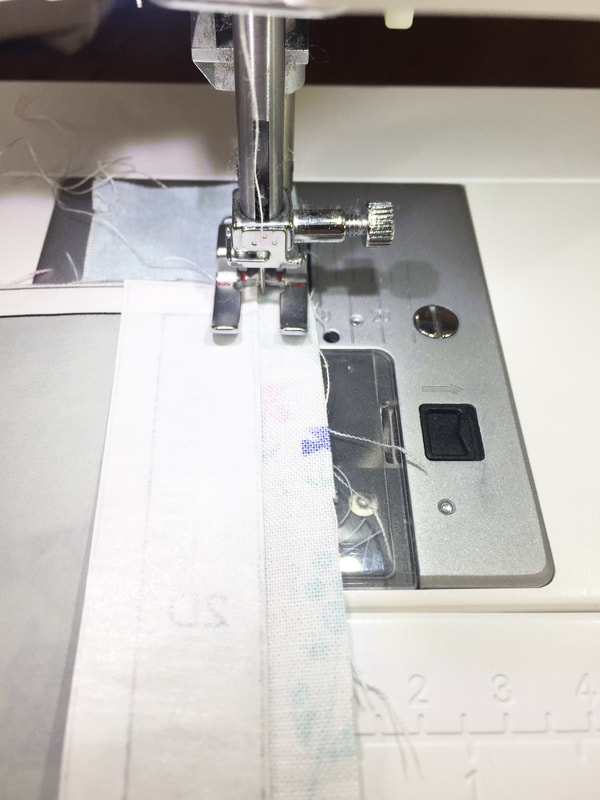
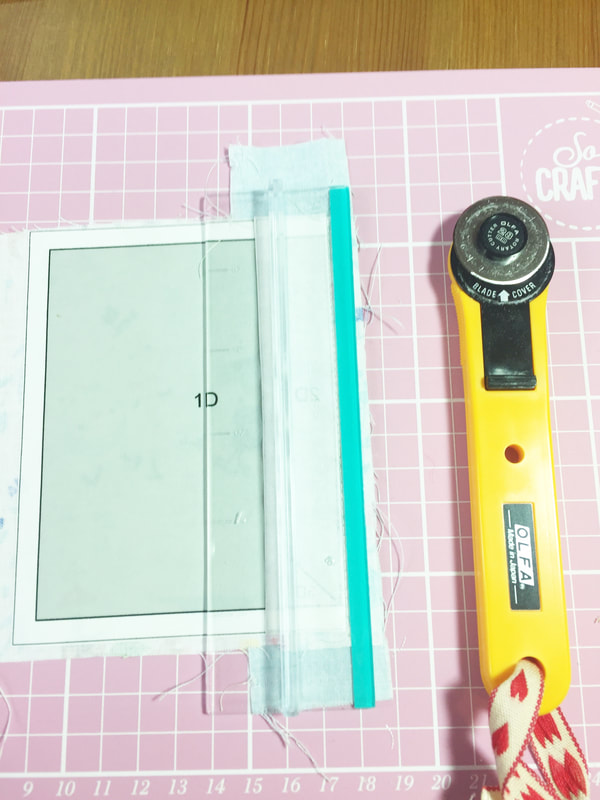
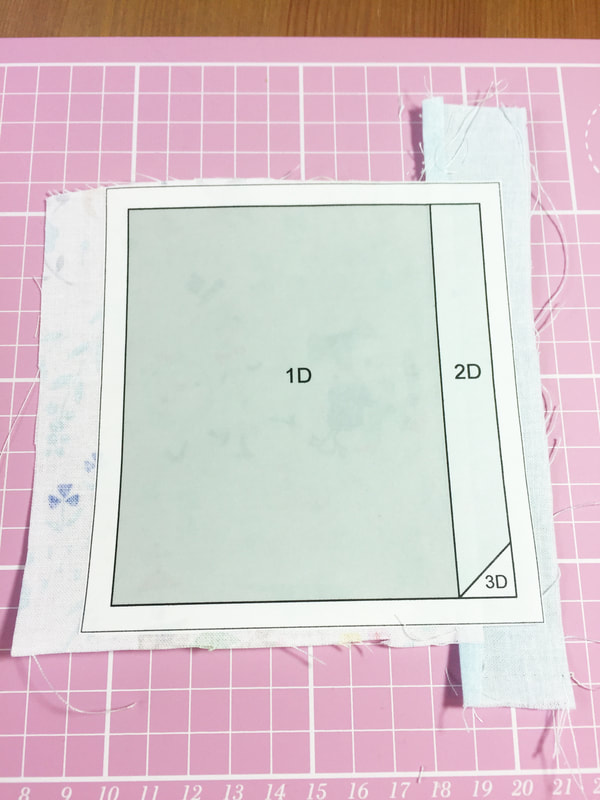
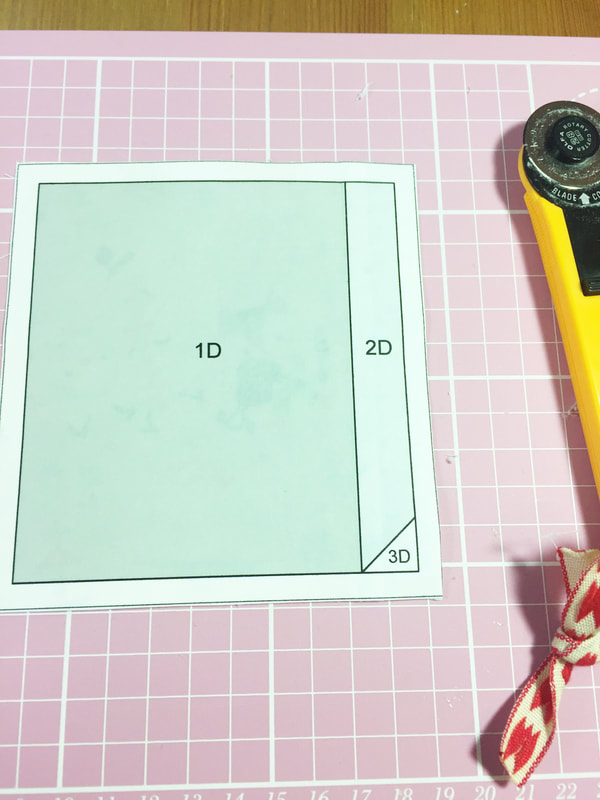
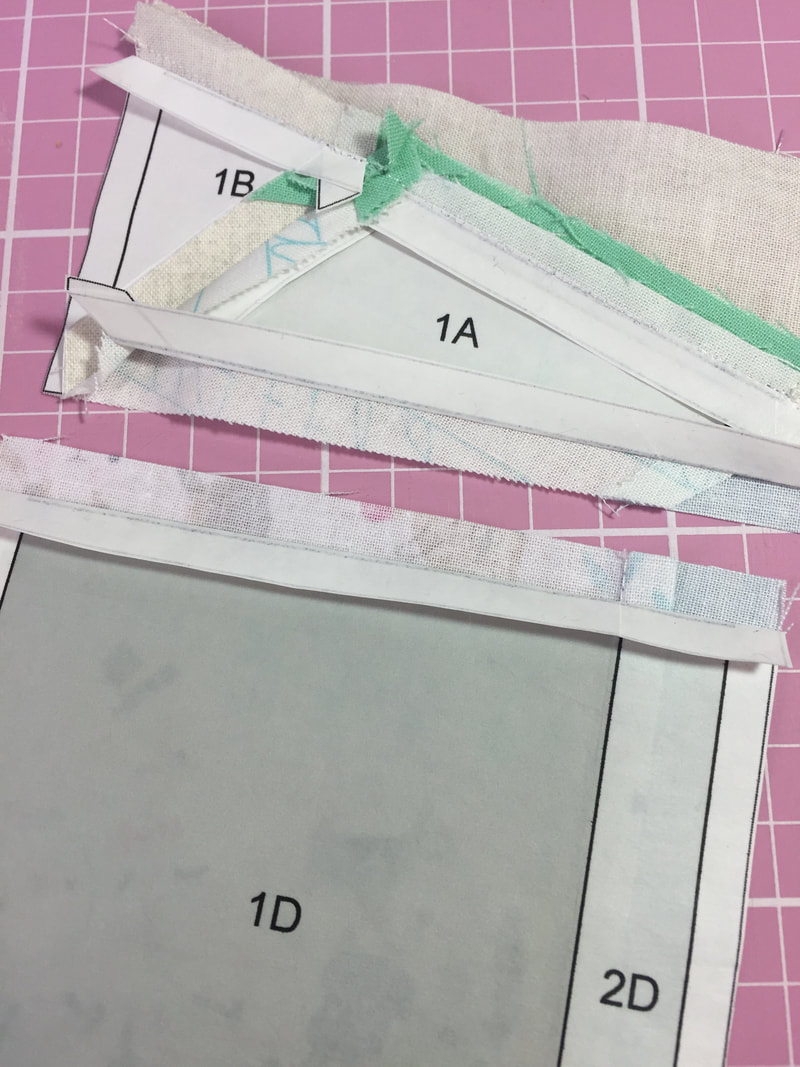
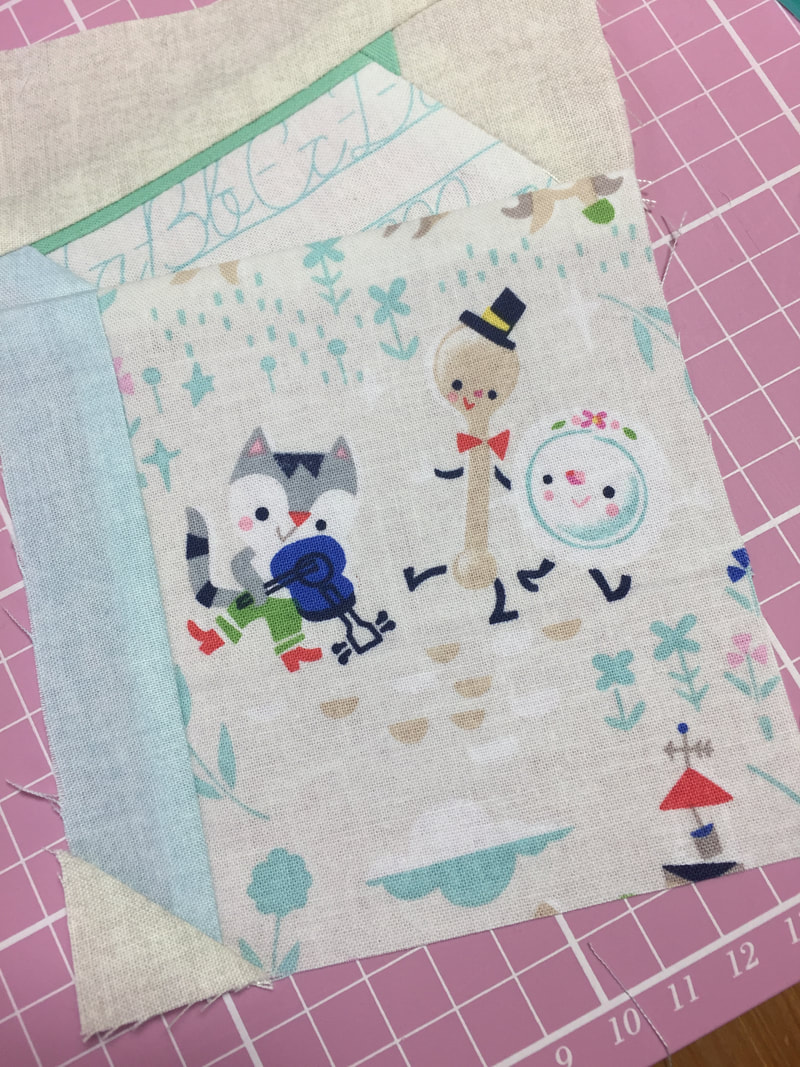
I am a complete newbie when it comes to Foundation Paper Piecing (FPP) and I must admit, it's taken some brain power to get my head around it! I'm loving this journey so far but I want to share what I've learnt in the hope it will help anyone else who is new to this magical technique. The first thing I did was look at some Youtube video tutorials. I'm a visual learner so I find this to be a great way to learn. This tutorial by Mister Domestic is a good introduction to the basic FPP technique. But I quickly realised that FPP was going to mean that I would have to print and cut out lots of paper templates which I found slightly off-putting because I prefer the sewing part. Then I discovered @sugaridoo and on youtube she has a tutorial for how to use freezer paper. This method means you only need to print and cut out one freezer paper template because it can be reused over and over again. You can watch her excellent tutorial here. This method just made sense to me and it's the method I've been using to sew all of my blocks, and it works brilliantly! Irene's tutorial is definitely the best explanation of this technique, but here is my step by step guide just in case you'd like to see how I do it. 1. Cut a piece of freezer paper the same size as an A4 piece of paper. Iron it onto the A4 printer paper, waxy side face down. Put it into the printer and print the FPP pattern onto it. Remove the printer paper and cut out the freezer paper templates. 2. Iron the first pattern piece onto the wrong side of the fabric. 3. Hold it up to the light to ensure the design is positioned on the fabric correctly and that the fabric will cover the seam allowance. 4. Next fold back the next part of the template along the seam line and place the next piece of fabric on top of the first piece of fabric, right sides together. Hold it up to the light to check that the fabric covers the pattern piece and seam allowance. 5. Next I take it to the sewing machine and stitch carefully along the folded edge, not into the paper but up close to it. 6. Before unfolding the paper, now is the time to use your add a quarter inch ruler. I got mine free with a magazine. Place your ruler so that the quarter inch comes after the stitched line and trim. 7. Now you can unfold the paper and trim the whole piece to be the same size. 8. It is a good idea to give your piece another press with the iron to ensure the seams are pressed and that the freezer paper is stuck on properly. 9. Repeat these steps for the rest of your pattern, pressing the freezer paper when needed to keep things in place. I don't remove the freezer paper until the very end when the block is complete. 10. When it comes to joining two already pieced sections together, I fold down the paper seam allowance on both pieces, line them up right sides together and sew. I reached out on Instagram to see if anybody had some tips and I received some excellent advice so I thought I would share here. I will link to the Instagram accounts of each person who gave me advice so credit is given to the very talented makers who helped me out. I hope the tips help you get started with FPP if you are finding it tricky.
1. Nim @gingernim said when sewing a crucial point that needs to meet, pin it first and sew it with a longer stitch length, that way you can check it meets and unpick more easily. If it is ok then sew the seam again with a shorter stitch length. 2. Meegan @nanas_needle said to not be frugal with your fabric, so cut your pieces bigger than you need them and trim them down afterwards. She also said to think about the type of paper you use, thinner paper like vellum works better. 3. Donna @donnalyn18 recommends folding the paper on the seam lines and using an add a quarter inch ruler. 4. Irina @nordiccrafter gave quite a few excellent tips. She explained how FPP is like working in reverse and that you place the wrong side of the fabric against the paper. She suggested holding your paper and fabric up towards a light source to ensure you can see that you have enough fabric to cover the area. Irina also said it is important to reduce your stitch length so that you can remove the paper with ease and that locking your stitches at the beginning and end of a seam will help to stop them from coming undone. 5. Victoria @wonkystitches recommended using a glue pen to help keep things in place whilst stitching which is an excellent tip. 6. Lee @quarteracreblock pointed me in the direction of @quietplay who has some excellent tips on her website here. She also told me about the practice tree that @thecraftynomadfleet has here. Lee also told me about @teresadownunder who has amazing videos on her page. These tutorials have all been very useful indeed. 7. Cari @muddle_and_grace suggested checking out youtube videos about FPP and there are some brilliant tutorials on there. So I hope all of the advice, hints and tips are useful if you are getting started. A massive thank you to everyone who offered me help, it's great to be able to share it here. If you have any questions or other tips to share, please leave them in the comments. Happy sewing!
1 Comment
|
Follow me on InstagramAbout the Author
My name is Emma and I love all things sewing, especially EPP. My little blog is the place where I document what I'm making. I hope you enjoy reading what I'm up to! All opinions are my own and I only share things that I think you will love. Thank you for taking the time to stop by. Archives
September 2023
Categories
All
|
 RSS Feed