|
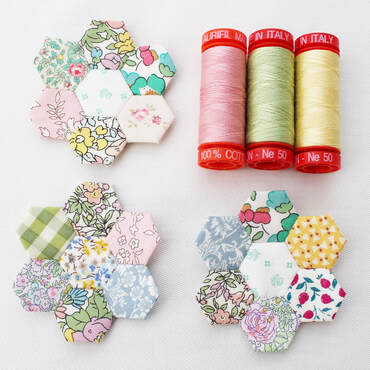
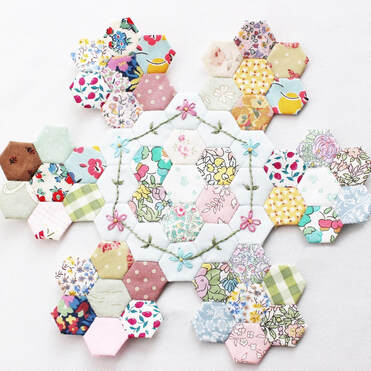
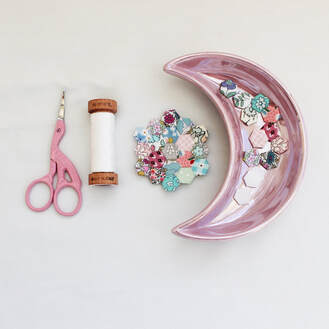
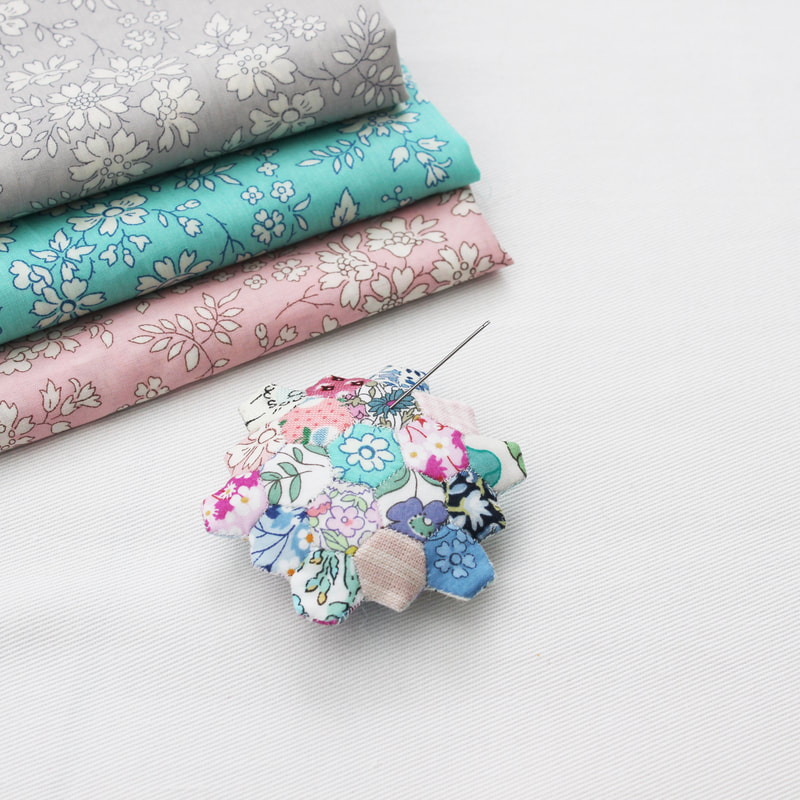
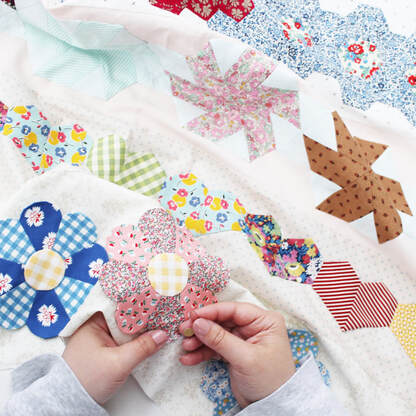
I love English Paper Piecing so much, but I love tiny EPP the most! I'm currently working on a half inch hexagon project which will become a wall hanging. I love half inch hexagons and I think they might be my favourite size. I absolutely love combining embroidery and EPP and as I often use hexiform shapes rather than paper (which I buy from Ashmead Designs) embroidering into them is even easier! I'm really passionate about sewing being an accessible craft/hobby to all people, which is something I will talk about more in depth in another post. But for now I will say that EPP is a great hobby and anyone can do it. It's inexpensive, only requires a few tools (needle, thread, paper, fabric, scissors and maybe a glue pen if you don't want to thread baste) and is so portable. Recently I started a quarter inch hexagon project and I got lots of questions about it on Instagram. There was a lot of interest surrounding how I make the hexagons and sew them together. So I've made a little video tutorial that shows all of the steps and also how I made them into a little pincushion. I wanted a small pincushion to take around with me as when I'm stitching on the go I always need somewhere to park my needle in between stitches. I admit I was very tempted to make this little pincushion into a bracelet to wear whilst stitching, but maybe I will make another one for that. The beauty of half inch and quarter inch projects is that they use up the teeny tiniest of scraps which I think is brilliant. I don't have a lot of money to buy fabric so I like to use up what I have and also, this is better for our environment. I hope you like my video tutorial and that you find it useful, especially if you are a beginner. You can find it on the video tutorials tab under quilting tutorials or click on one of the links in this post. There are, of course, many ways to make things, I am just showing you my way. The two halves of the pincushion could be stitched with a ladder stitch whereas I have used a whip stitch. Please feel free to use my video as inspiration and to make the project your own in any way you like by changing stitches or adding your own twist. If you have any comments or questions, please leave them below. Happy sewing!
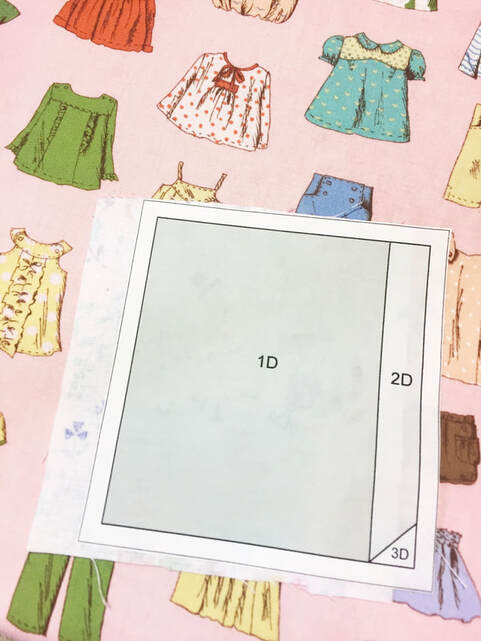
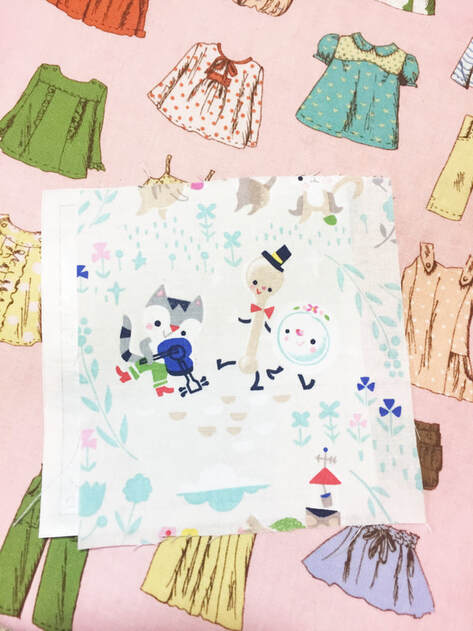
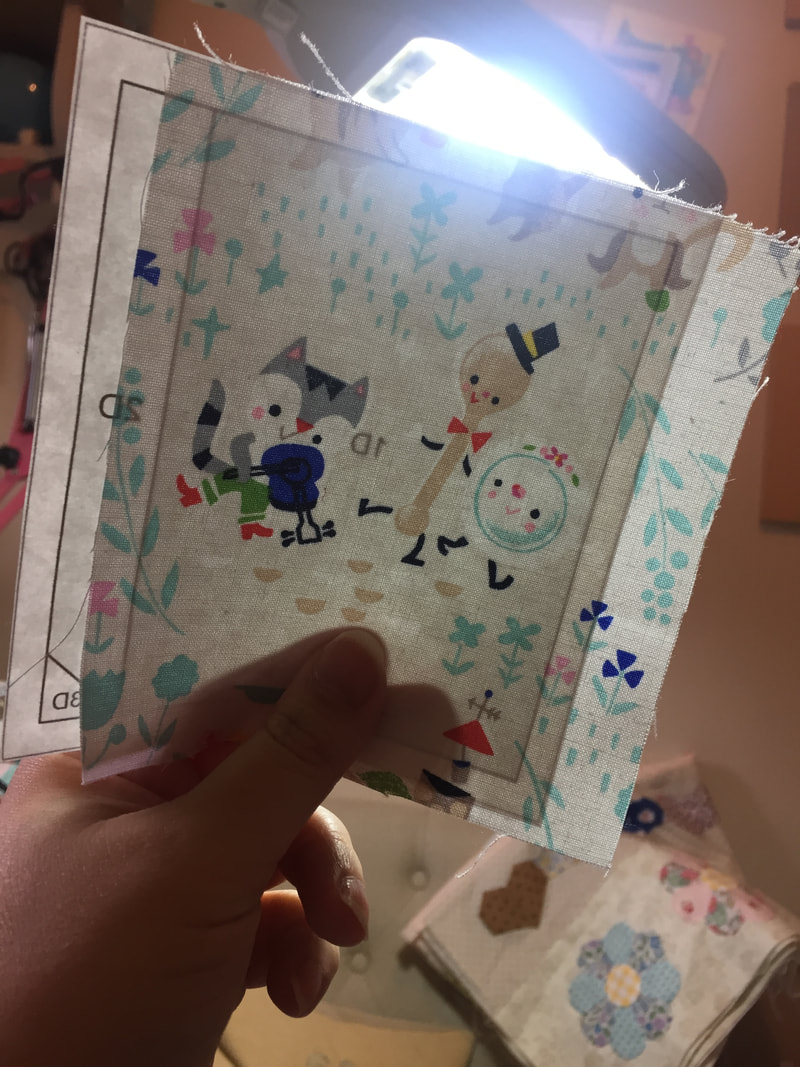
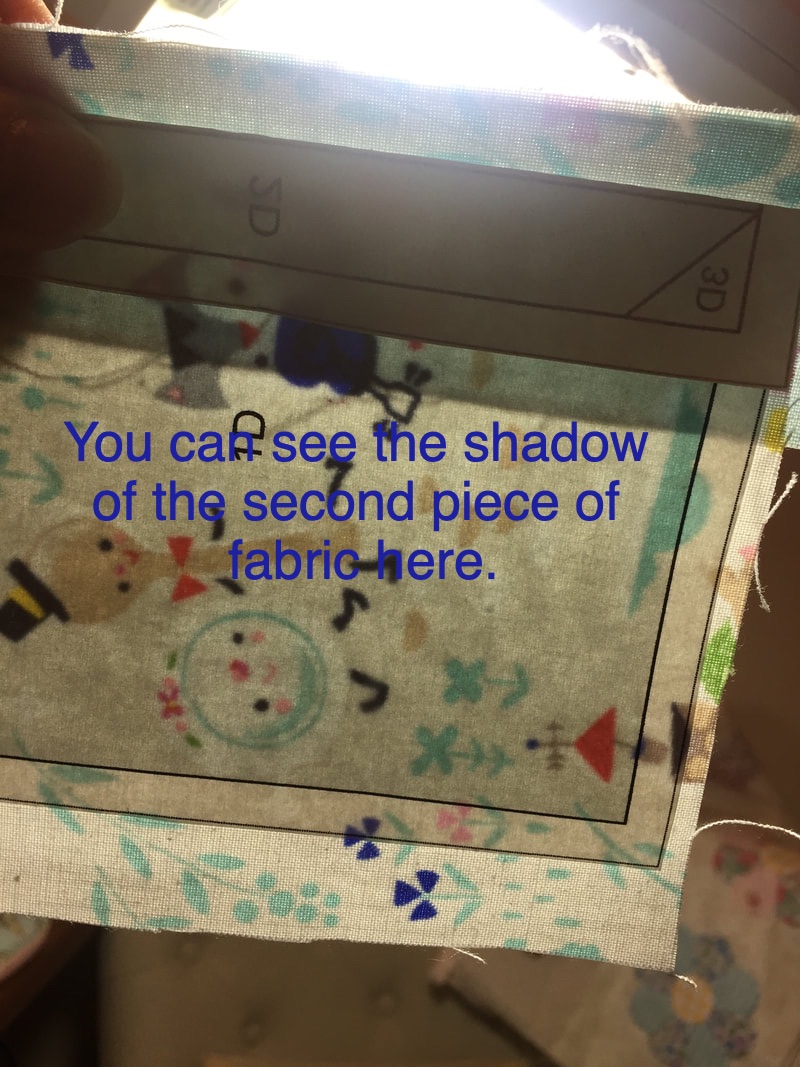
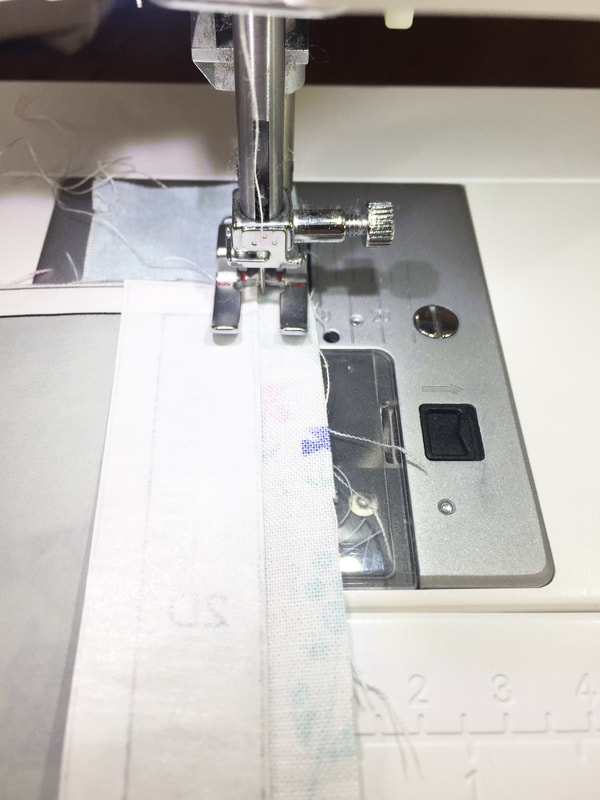
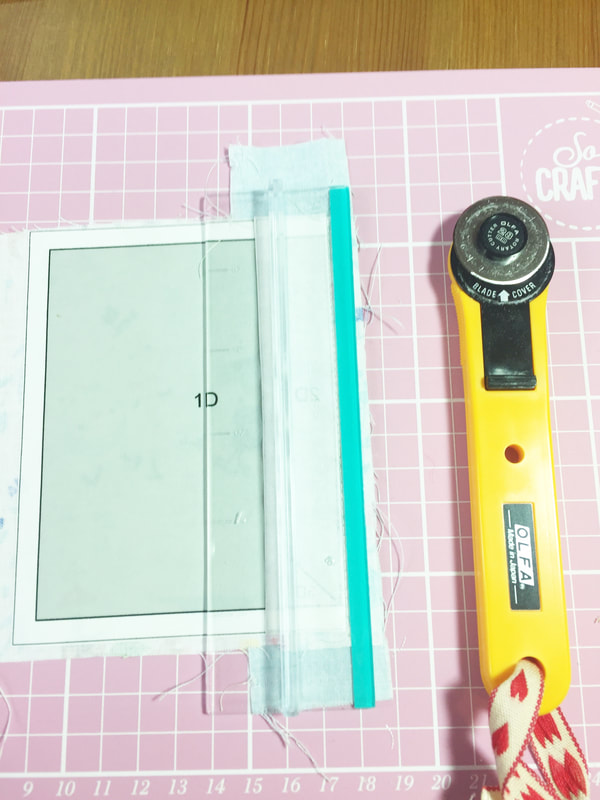
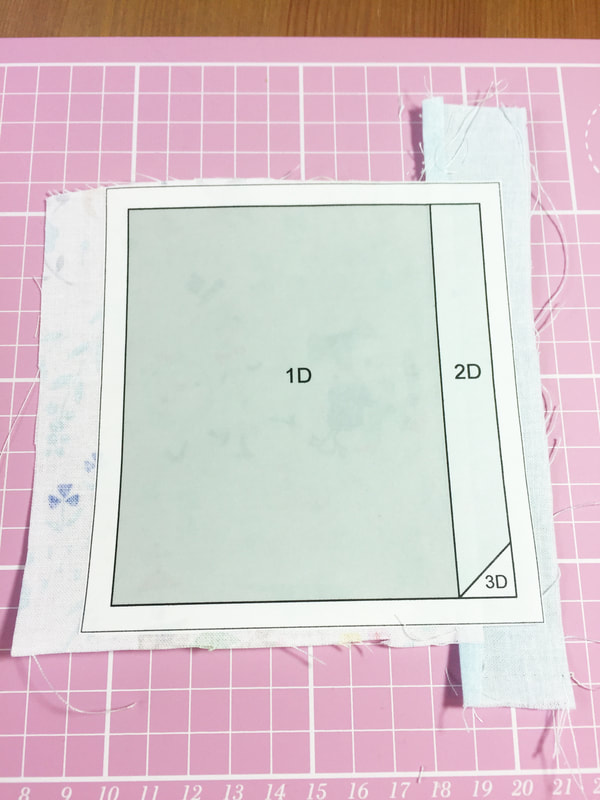
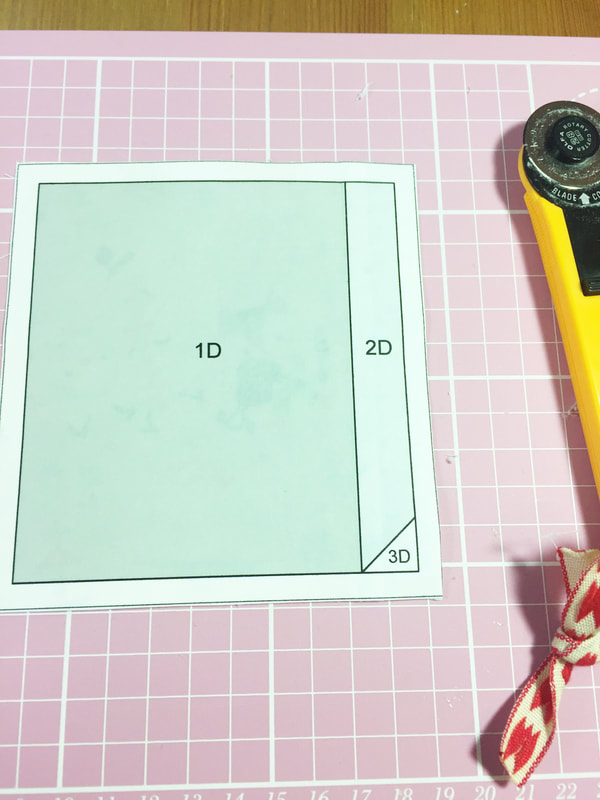
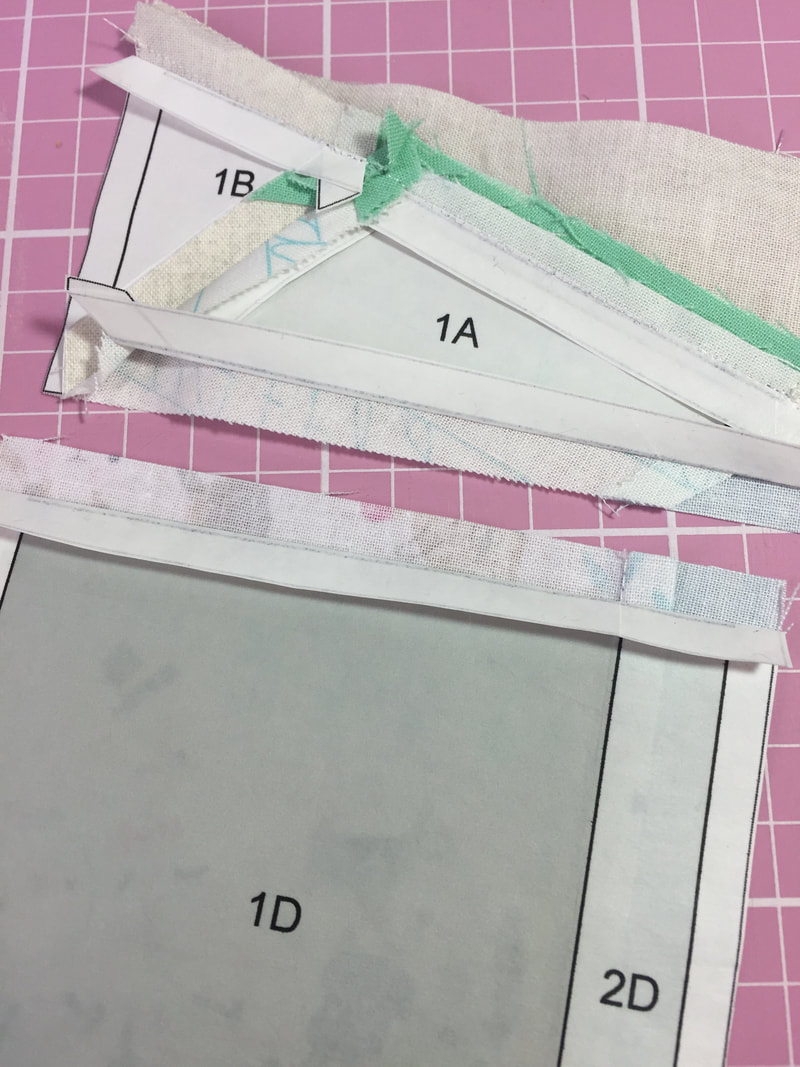
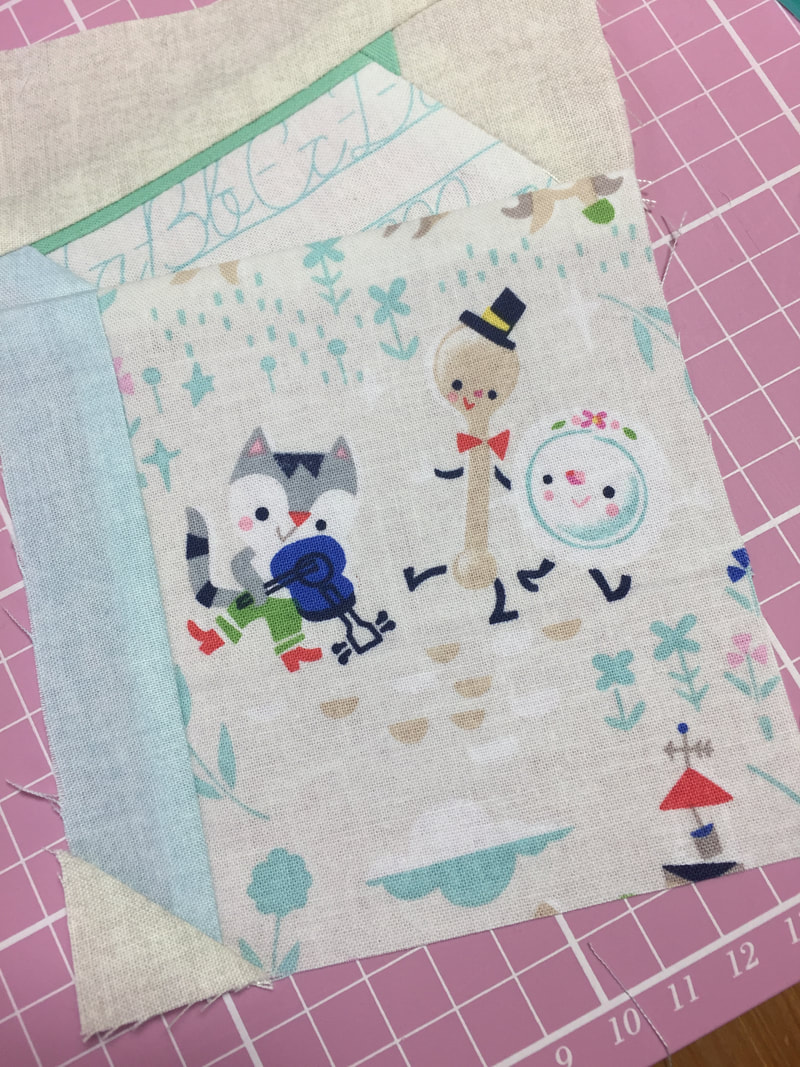
I am a complete newbie when it comes to Foundation Paper Piecing (FPP) and I must admit, it's taken some brain power to get my head around it! I'm loving this journey so far but I want to share what I've learnt in the hope it will help anyone else who is new to this magical technique. The first thing I did was look at some Youtube video tutorials. I'm a visual learner so I find this to be a great way to learn. This tutorial by Mister Domestic is a good introduction to the basic FPP technique. But I quickly realised that FPP was going to mean that I would have to print and cut out lots of paper templates which I found slightly off-putting because I prefer the sewing part. Then I discovered @sugaridoo and on youtube she has a tutorial for how to use freezer paper. This method means you only need to print and cut out one freezer paper template because it can be reused over and over again. You can watch her excellent tutorial here. This method just made sense to me and it's the method I've been using to sew all of my blocks, and it works brilliantly! Irene's tutorial is definitely the best explanation of this technique, but here is my step by step guide just in case you'd like to see how I do it. 1. Cut a piece of freezer paper the same size as an A4 piece of paper. Iron it onto the A4 printer paper, waxy side face down. Put it into the printer and print the FPP pattern onto it. Remove the printer paper and cut out the freezer paper templates. 2. Iron the first pattern piece onto the wrong side of the fabric. 3. Hold it up to the light to ensure the design is positioned on the fabric correctly and that the fabric will cover the seam allowance. 4. Next fold back the next part of the template along the seam line and place the next piece of fabric on top of the first piece of fabric, right sides together. Hold it up to the light to check that the fabric covers the pattern piece and seam allowance. 5. Next I take it to the sewing machine and stitch carefully along the folded edge, not into the paper but up close to it. 6. Before unfolding the paper, now is the time to use your add a quarter inch ruler. I got mine free with a magazine. Place your ruler so that the quarter inch comes after the stitched line and trim. 7. Now you can unfold the paper and trim the whole piece to be the same size. 8. It is a good idea to give your piece another press with the iron to ensure the seams are pressed and that the freezer paper is stuck on properly. 9. Repeat these steps for the rest of your pattern, pressing the freezer paper when needed to keep things in place. I don't remove the freezer paper until the very end when the block is complete. 10. When it comes to joining two already pieced sections together, I fold down the paper seam allowance on both pieces, line them up right sides together and sew. I reached out on Instagram to see if anybody had some tips and I received some excellent advice so I thought I would share here. I will link to the Instagram accounts of each person who gave me advice so credit is given to the very talented makers who helped me out. I hope the tips help you get started with FPP if you are finding it tricky.
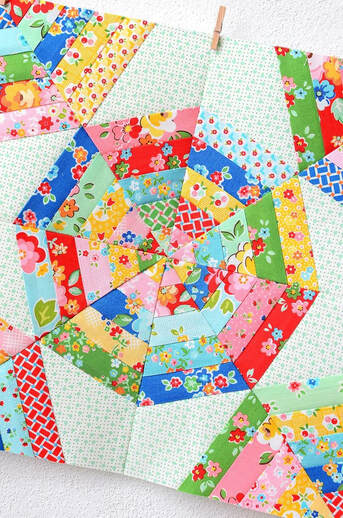
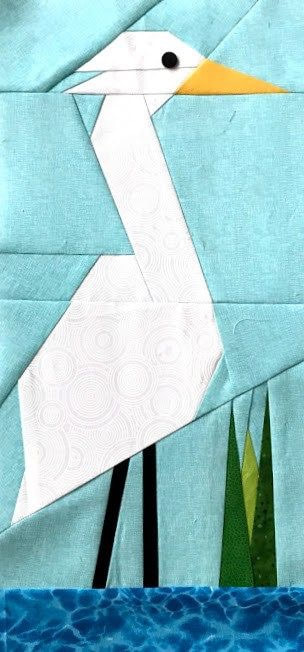
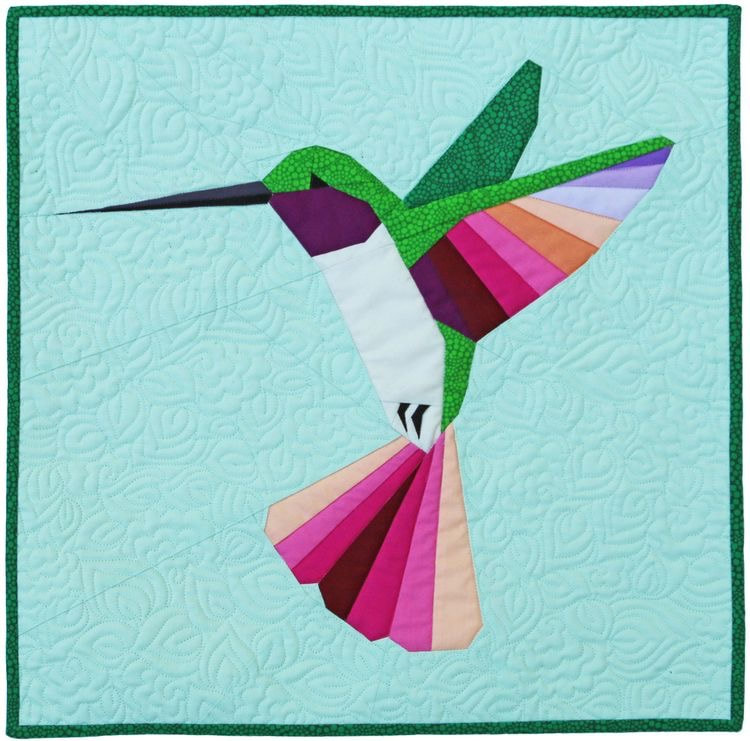
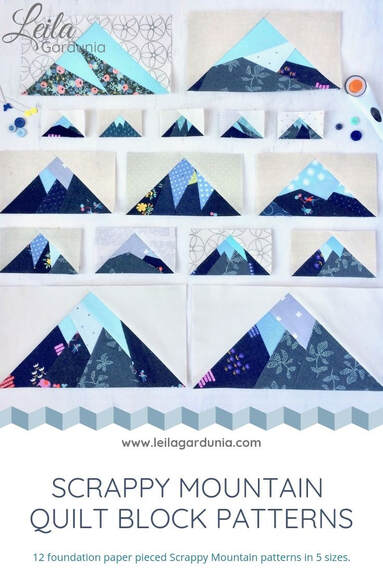
1. Nim @gingernim said when sewing a crucial point that needs to meet, pin it first and sew it with a longer stitch length, that way you can check it meets and unpick more easily. If it is ok then sew the seam again with a shorter stitch length. 2. Meegan @nanas_needle said to not be frugal with your fabric, so cut your pieces bigger than you need them and trim them down afterwards. She also said to think about the type of paper you use, thinner paper like vellum works better. 3. Donna @donnalyn18 recommends folding the paper on the seam lines and using an add a quarter inch ruler. 4. Irina @nordiccrafter gave quite a few excellent tips. She explained how FPP is like working in reverse and that you place the wrong side of the fabric against the paper. She suggested holding your paper and fabric up towards a light source to ensure you can see that you have enough fabric to cover the area. Irina also said it is important to reduce your stitch length so that you can remove the paper with ease and that locking your stitches at the beginning and end of a seam will help to stop them from coming undone. 5. Victoria @wonkystitches recommended using a glue pen to help keep things in place whilst stitching which is an excellent tip. 6. Lee @quarteracreblock pointed me in the direction of @quietplay who has some excellent tips on her website here. She also told me about the practice tree that @thecraftynomadfleet has here. Lee also told me about @teresadownunder who has amazing videos on her page. These tutorials have all been very useful indeed. 7. Cari @muddle_and_grace suggested checking out youtube videos about FPP and there are some brilliant tutorials on there. So I hope all of the advice, hints and tips are useful if you are getting started. A massive thank you to everyone who offered me help, it's great to be able to share it here. If you have any questions or other tips to share, please leave them in the comments. Happy sewing! Even though I've been sewing for as long as I can remember, I've recently stumbled across a new technique that I've never tried before, foundation paper piecing. It differs from English paper piecing because foundation paper piecing involves sewing through the paper and then removing it at the end. English paper piecing involves wrapping fabric around the paper shape whereas foundation paper piecing blocks are constructed flat. EPP involves hand sewing and FPP uses a sewing machine. FPP is completely new to me and I am by no means an expert, I have a lot to learn and I love that! I'm using my brain and I'm finding it a challenge and that's a good thing, I like to be continually learning. I thought I would document my FPP journey here and tell you about what I've learnt and made. So first for some inspiration. I've been searching Pinterest for inspiring FPP patterns and there are so many. Here are some of my favourites to give you an idea of what FPP is if it's new to you too. All images are linked back to the source. FPP blocks usually create pictures whereas EPP blocks create motifs. I find FPP to be magical. Tiny pieces of fabric are sewn together to create amazing pictures. I can't wait to get better at this technique so that I can make some of these fantastic designs. FPP is also used for none pictorial blocks like log cabin and this is because the technique of sewing through the paper gives greater accuracy for matching up seams. Have you tried FPP before? What have you made? In my next post I will show you my first attempt at FPP and share the tips I've learnt thus far. Happy sewing!
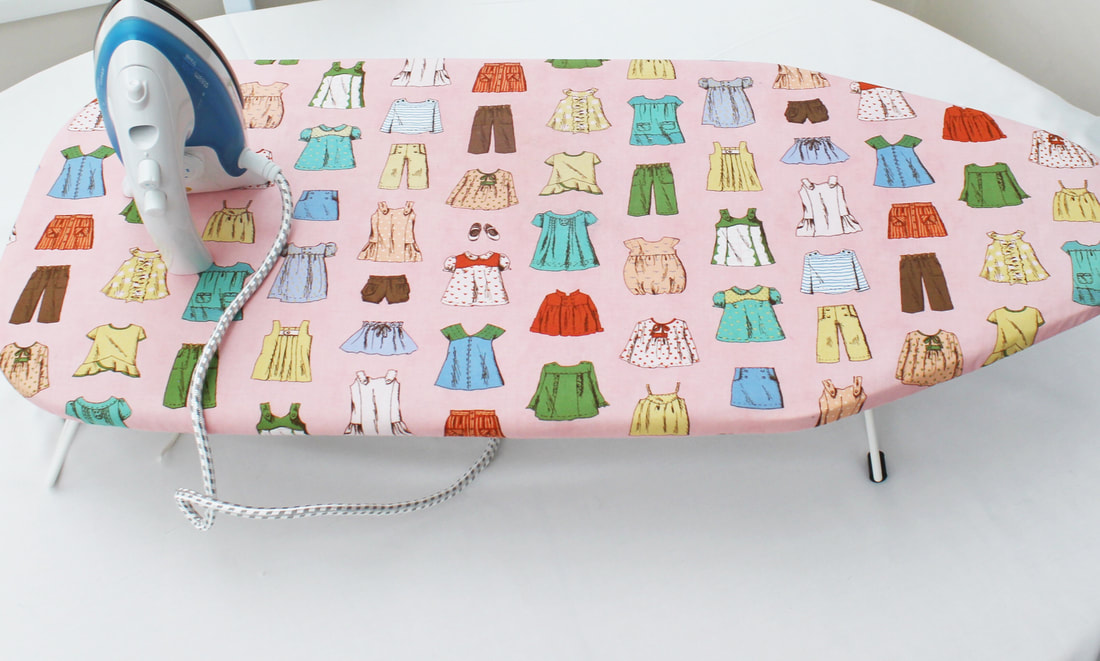
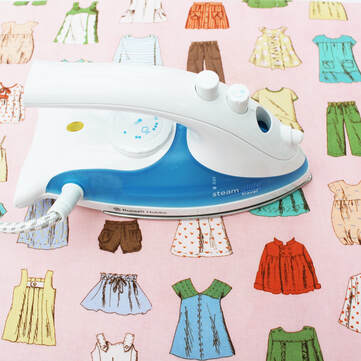
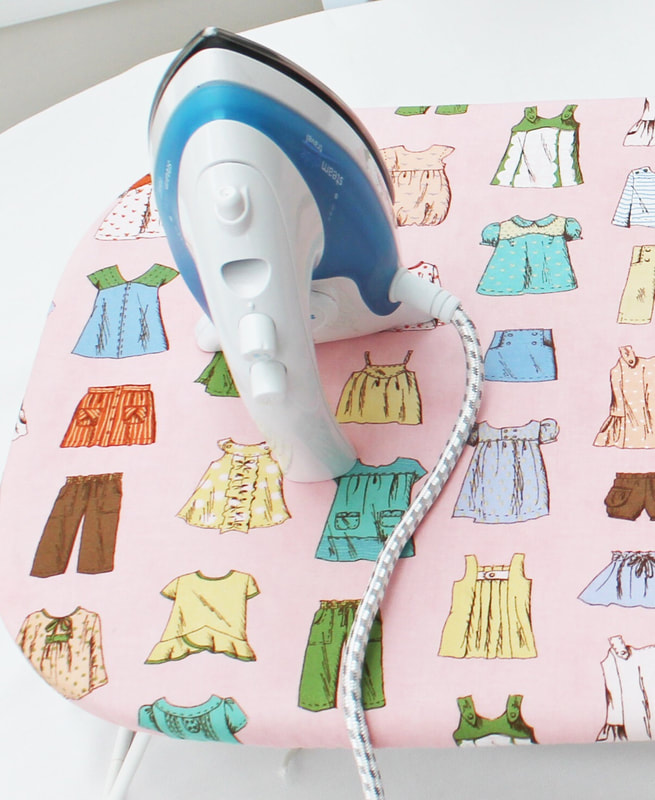
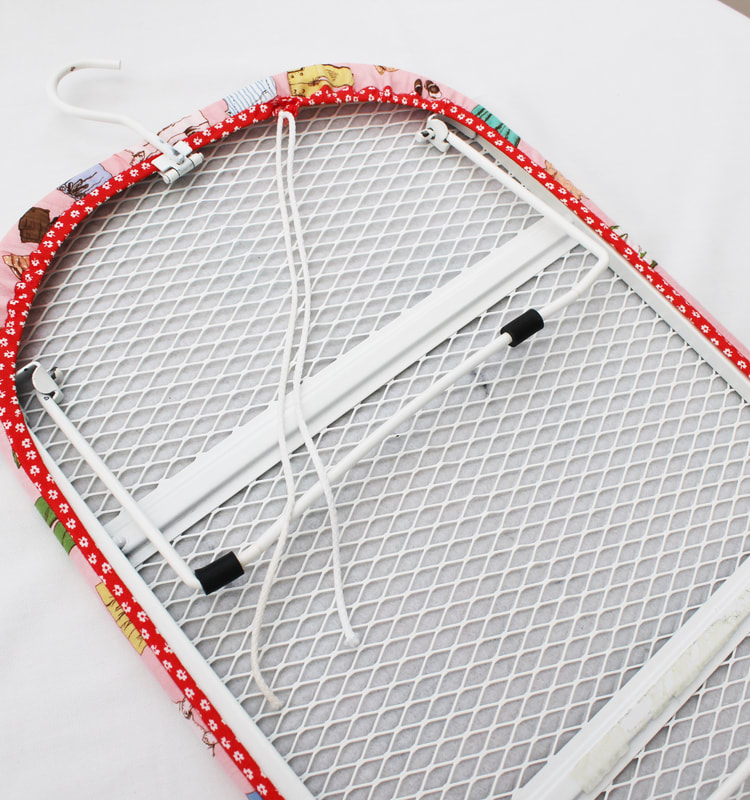
A crucial piece of equipment for any type of sewist is an iron and ironing board. Pressing seams is an important part of quilting and ensures accuracy and the same goes for dressmaking. I have an ordinary iron and large ironing board that I use for daily ironing of clothes, and I use this for ironing large pieces of fabric. But I realised I wanted something smaller, particularly for quilting projects. It's so handy to have a small iron right next to your sewing machine and my large ironing board does not fit into my small sewing room and I didn't want to be constantly getting up and going into another room after each step of making a block. So I did some research. There are many different irons and pressing mats on the market for quilters and to be honest, they are pricey. I'd rather spend money on fabric! So here is what I did. I bought this Russell Hobbs travel iron which is currently selling for £12 on Amazon. When I bought mine it was only £8 so if you are thinking of getting one then shop around first. I recommend this iron because it really glides over the fabric, you can use steam if you want, and most importantly in my opinion, it has a good point at the front for pushing seams open and getting into small areas. It isn't the most powerful iron and I wouldn't use it for large pieces of fabric. But it really does the trick for patchwork. The next thing I was on the look out for was a small ironing board or pressing mat, again, the ones specifically for sewing are expensive. So I bought this ironing board from Ikea for £4! Such a bargain and fits perfectly in my small sewing room. Unfortunately, I managed to ruin the cover on the ironing board with a bondaweb accident! So I turned this into a happy accident by taking the cover apart and using it as a template to make a new one out of this super cute fabric! And it worked a treat! I reused the foam that was inside the original cover so nothing was wasted. I love this ironing board and I love that it has a hook on the back so I can hang it on the back of my door when I 'm not using it which is another great tip if you have a small sewing space like me.
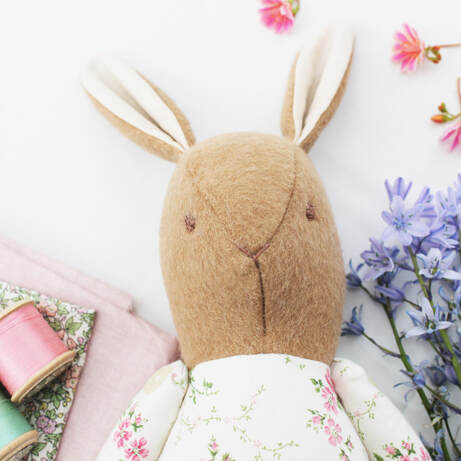
Do you like my ironing board? What do you use to press your fabrics? Do you have a special pressing mat? I'd love to know so please leave me a comment below. Happy sewing! I feel like May was a super busy month but I didn't achieve half of what I wanted to do! I always find it useful to go back over what I have done and to plan for the month ahead. I didn't manage to write up the patterns and tutorials that I wanted to do, but that's ok, there's always this month for that. I did make a few gifts and they were well received which is always so lovely. Attending the bunny making workshop by Katy Livings at Needle and Thread Workshops was definitely the highlight of the month for me! I loved every minute of it, it was so special. I'm up to date with my Sew and Quilt block of the month which is great, looking forward to the next box now. I started a log cabin quilt and I still have a lot left to do on that project so I'm hoping I can do some more this month, as well as a little tutorial on this blog. June is going to be the month that I try to learn a new sewing technique! I've signed up to the Summer Book Club QAL and that involves foundation paper piecing. I'm really excited to try this technique because it looks like magic to me! I just hope I can do it because it is quite complicated! The QAL involves making book blocks and they are so fun! I'm going to turn them into something special for my son. I will try to document this journey of learning a new technique here and I will share any tips I come across. On top of all of that, I really want to make some t-shirts for my little boy this month. I have lots of fabric that I need to use up before he grows too big! What are your sewing plans for June? I'd love to know so please let me know in the comments. Happy sewing!
|
Follow me on InstagramAbout the Author
My name is Emma and I love all things sewing, especially EPP. My little blog is the place where I document what I'm making. I hope you enjoy reading what I'm up to! All opinions are my own and I only share things that I think you will love. Thank you for taking the time to stop by. Archives
September 2023
Categories
All
|
 RSS Feed