|
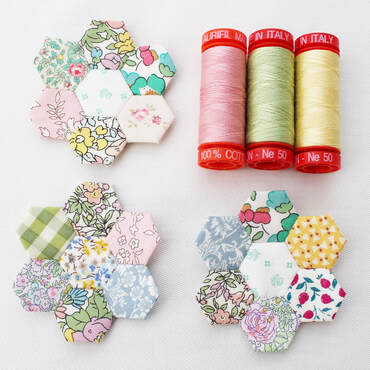
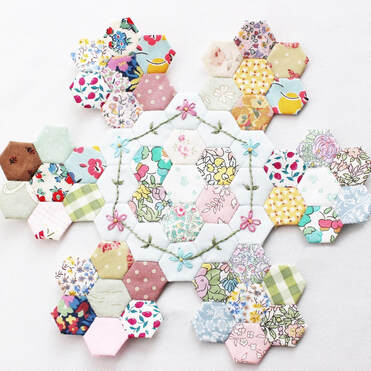
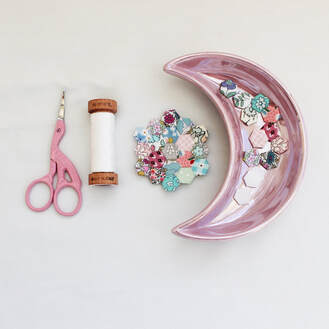
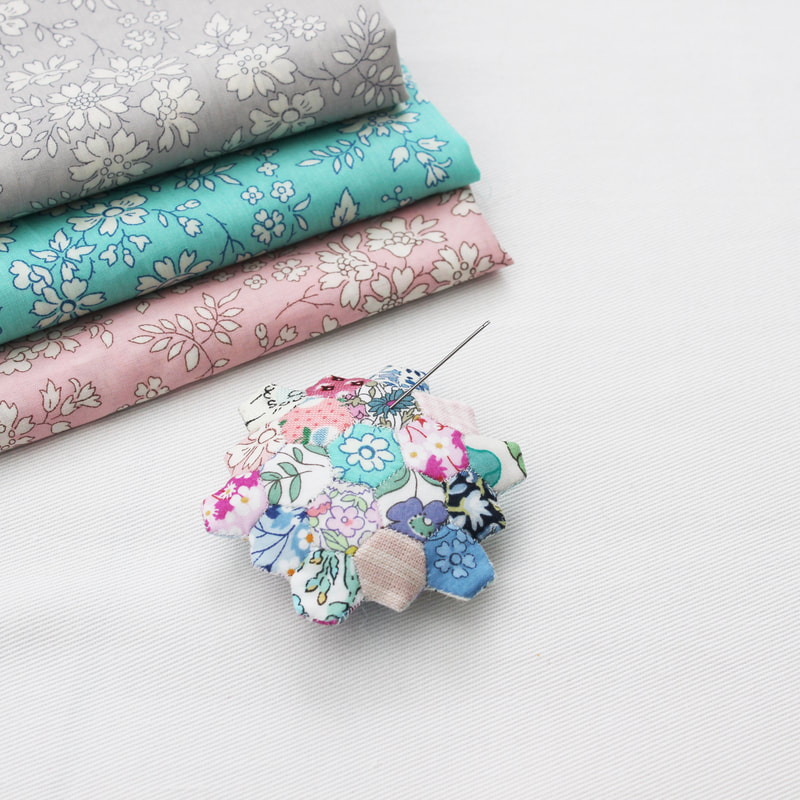
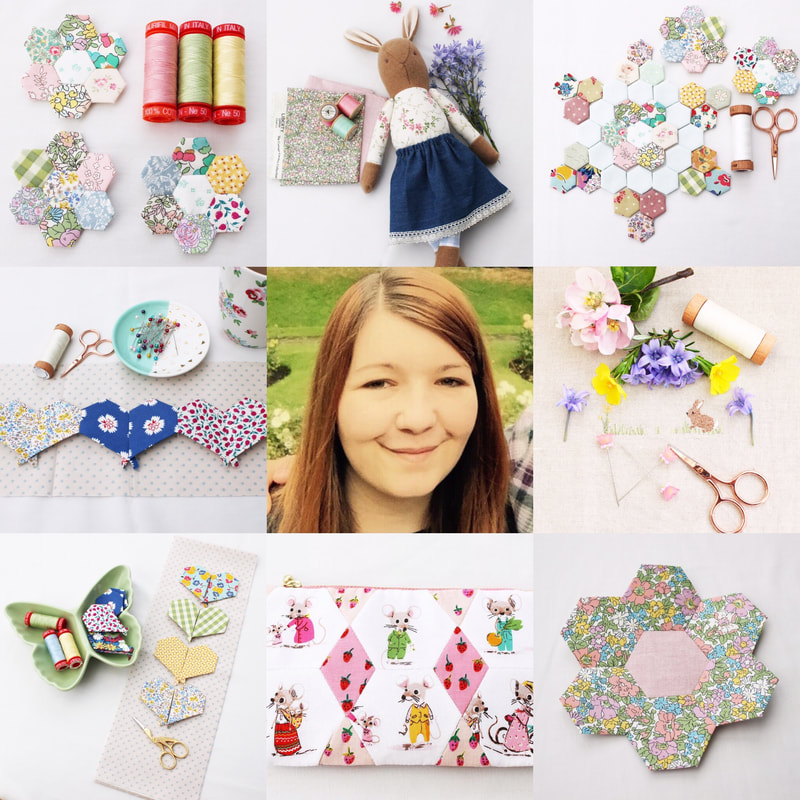
I love English Paper Piecing so much, but I love tiny EPP the most! I'm currently working on a half inch hexagon project which will become a wall hanging. I love half inch hexagons and I think they might be my favourite size. I absolutely love combining embroidery and EPP and as I often use hexiform shapes rather than paper (which I buy from Ashmead Designs) embroidering into them is even easier! I'm really passionate about sewing being an accessible craft/hobby to all people, which is something I will talk about more in depth in another post. But for now I will say that EPP is a great hobby and anyone can do it. It's inexpensive, only requires a few tools (needle, thread, paper, fabric, scissors and maybe a glue pen if you don't want to thread baste) and is so portable. Recently I started a quarter inch hexagon project and I got lots of questions about it on Instagram. There was a lot of interest surrounding how I make the hexagons and sew them together. So I've made a little video tutorial that shows all of the steps and also how I made them into a little pincushion. I wanted a small pincushion to take around with me as when I'm stitching on the go I always need somewhere to park my needle in between stitches. I admit I was very tempted to make this little pincushion into a bracelet to wear whilst stitching, but maybe I will make another one for that. The beauty of half inch and quarter inch projects is that they use up the teeny tiniest of scraps which I think is brilliant. I don't have a lot of money to buy fabric so I like to use up what I have and also, this is better for our environment. I hope you like my video tutorial and that you find it useful, especially if you are a beginner. You can find it on the video tutorials tab under quilting tutorials or click on one of the links in this post. There are, of course, many ways to make things, I am just showing you my way. The two halves of the pincushion could be stitched with a ladder stitch whereas I have used a whip stitch. Please feel free to use my video as inspiration and to make the project your own in any way you like by changing stitches or adding your own twist. If you have any comments or questions, please leave them below. Happy sewing!
6 Comments
Michelle H
27/6/2019 06:03:18 pm
When I first started reading your post I was like...ohhh I love EPP too! And ohhh I love that fabric....my brain didn't register the size even after reading it until I saw the pic with the other items beside it.
Reply
Emma
1/7/2019 09:43:30 pm
Hi Michelle!
Reply
Tracy
8/2/2020 06:42:14 pm
Hi Emma, Could I ask if you can use glue with hexiform as they are not removed after stitching? As a newbie, I am currently using paper hexies and attaching them to the fabric with a few running stitches that i can remove in the end. I assume fabric glues on paper would make removing the paper more difficult? Thank for any advice when you get a spare moment x Tracy
Reply
Tracy
9/2/2020 05:44:36 pm
Hi Emma, no need to reply as I found my answers on your instagram feed and from your great videos! Have just ordered a Sewline glue pen and refills from Amazon! I have spent hours tacking dozens of hexies and this glue sounds an amazing time saver!
Reply
Mary P
25/5/2020 10:38:12 pm
I tried to follow this link to the pincushion video but the URL isn't working. Is it posted anywhere else?
Reply
Rmma
9/6/2020 07:41:10 am
Hi, I just checked and the link in the video seems to be working for me, but the tutorial is on my blog here: https://www.vintagesewingbox.co.uk/blog/teeny-tiny-hexie-pincushion-tutorial I hope that helps ?
Reply
Leave a Reply. |
Follow me on InstagramAbout the Author
My name is Emma and I love all things sewing, especially EPP. My little blog is the place where I document what I'm making. I hope you enjoy reading what I'm up to! All opinions are my own and I only share things that I think you will love. Thank you for taking the time to stop by. Archives
September 2023
Categories
All
|
 RSS Feed