Vintage Sewing Box
  • Home
    • FAQ
    • Terms and Conditions
  • About
  • Shop
    • 2025 Block of the Month
    • In Person Workshops
    • Printed Patterns
    • Sewing Gifts
    • Kits
    • Sale
    • Patterns
    • Pre-Cut Fabrics
    • Block of the Month Extras
    • Thread >
      • Hand Quilting Thread
      • EPP Thread
      • Embroidery Thread
    • Hexiform
    • Glue Pens
    • Buttons
    • Scissors
    • Needles, Threaders, Thimbles
    • Pins
    • Tools and notions
  • In Person Workshops
  • Block of the Month
  • Stitch School
  • Free Patterns
    • Quilt as You Go
    • Hexagon Wall Storage Organiser
    • Grandmother's Rose Garden Quilt
    • Scissors Case
    • Pincushions
    • Needle Book
    • Patchwork Flowers
    • Mini Quilts
    • Butterflies
    • Dresden Flower
    • Christmas
    • Hexagon Templates
    • Children's Items
    • Flex Frame Purse
  • Video Tutorials
    • English Paper Piecing Tutorials
    • Embroidery Stitches
    • Sewing with Scraps
  • Blog

First Quilt - Part 3 - Making the nine patch blocks

18/4/2019

1 Comment

 
Picture
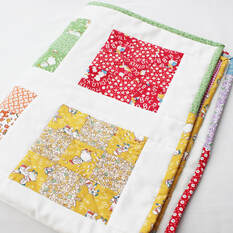
Let's start making the quilt! To start we need to cut our fabrics. This is really easy because we are working with strips that are 2.5 inches wide for everything! So that keeps things nice and simple.

For the coloured nine patch blocks, you need will need 24 strips of fabric that are 2.5 inches wide. Each block uses two contrasting fabrics. So you will need one strip to be 10 inches long and one to be 12.5 inches long.

1. Cut your 10 inch long strip into four 2.5 inch squares. Cut your 12.5 inch long strip into five 2.5 inch squares. The photo shows how to line your ruler up with the 2.5 measurement in line with the edge of the fabric. Then you can cut along the edge of the ruler.
Picture
Picture
Picture
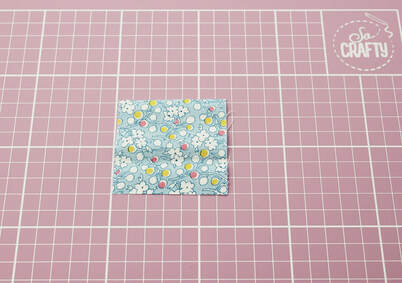
2. Decide which fabrics you are going to pair up for each block if you haven't already done so. We will be creating a pattern like this;
Picture
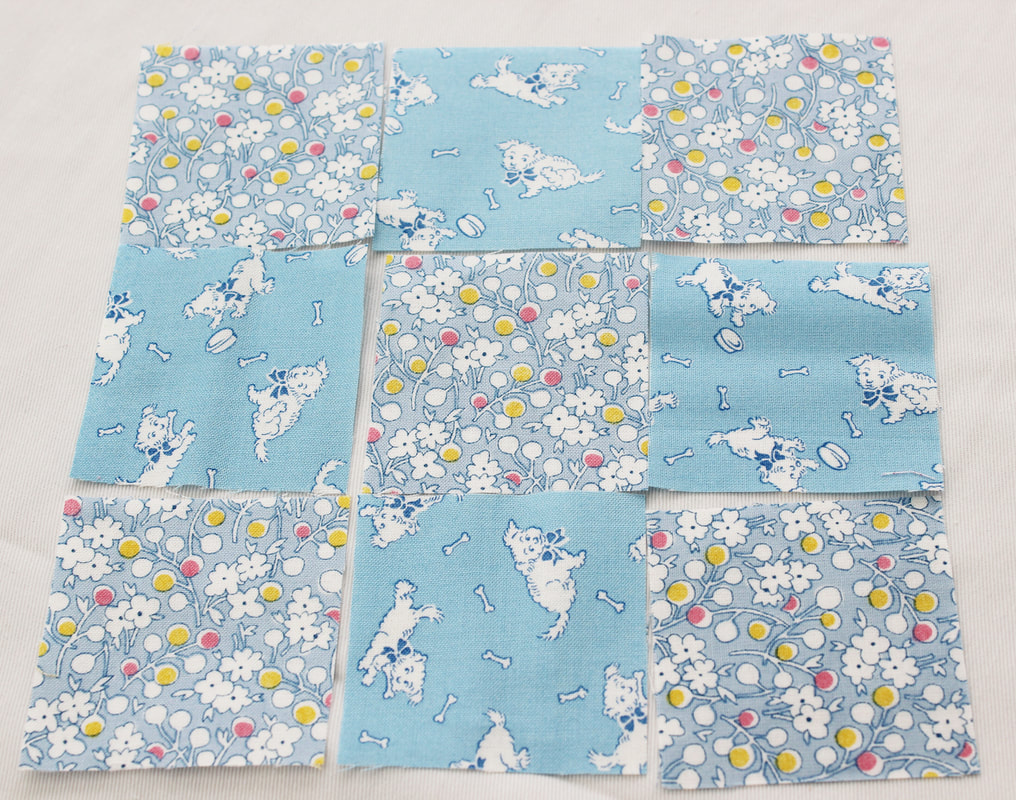
Once all of that cutting is done, it's time to get sewing! We will be sewing each block a row at a time, then joining them together. 
3. Take the top left square and the top middle square. Place them right sides together and sew in place down one side using a quarter inch seam allowance. 
Picture
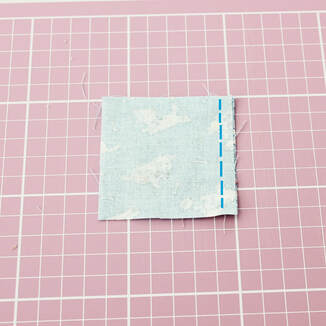
As I've used white thread I've drawn over it on the computer in blue to show you where to stitch. 
​4. Open it out and repeat on the other side of the central square with your top right square. 
Picture
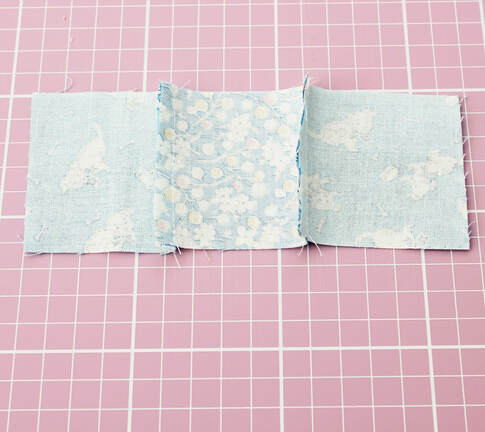
5. Now there are different opinions about what to do with your seams. Some people press them to one side. I press them open. I like this because I find it easier to line them up when joining them to other pieces. I've never had a problem with fabric showing through to the other side. So press your seams open if you wish.
Picture
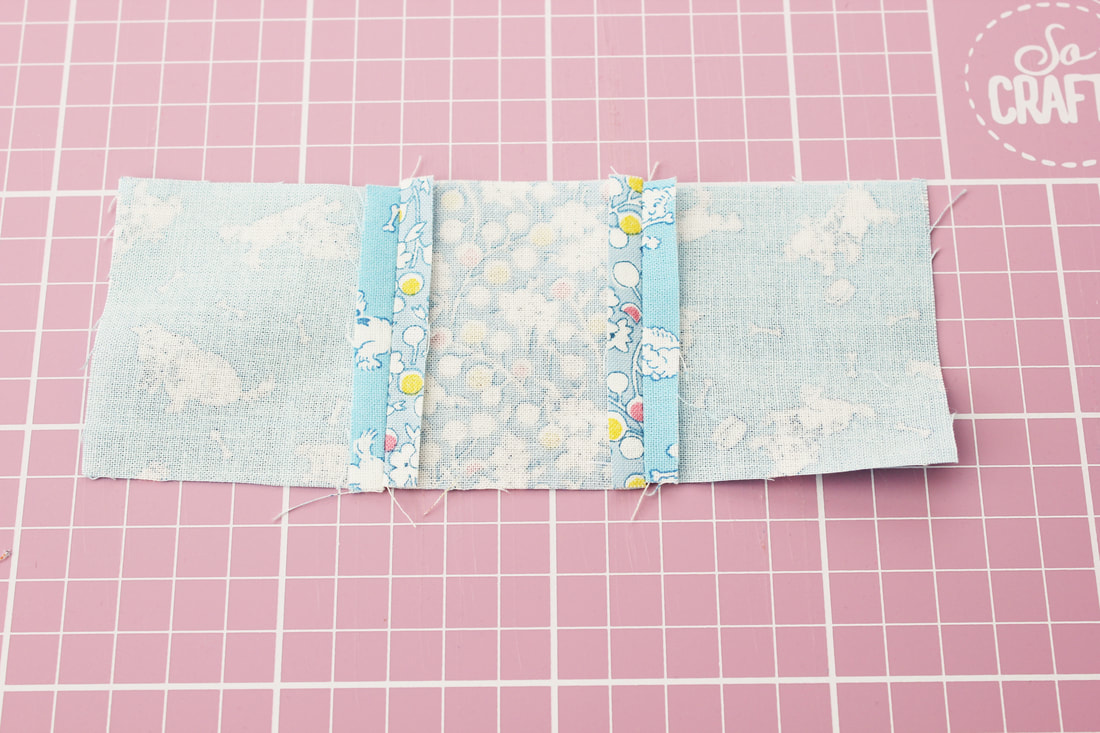
Repeat steps 3, 4 and 5 for the middle and bottom rows.
6. Now it's time to join your three rows together. Lay out your three rows how you'd like them to look when finished, with the right sides facing up. Pick up the top row and flip it over on top of the middle row so that the right sides of each row are facing each other. You need to make sure you have flipped the top row over towards you before placing it on top of the middle row, so that you are lining up the bottom raw edge of the top row and the top raw edge of the middle row! Sounds complicated but it isn't, it's just tricky to explain in words! So here is a photo. Sew along the blue line with a quarter inch seam allowance. 
Picture
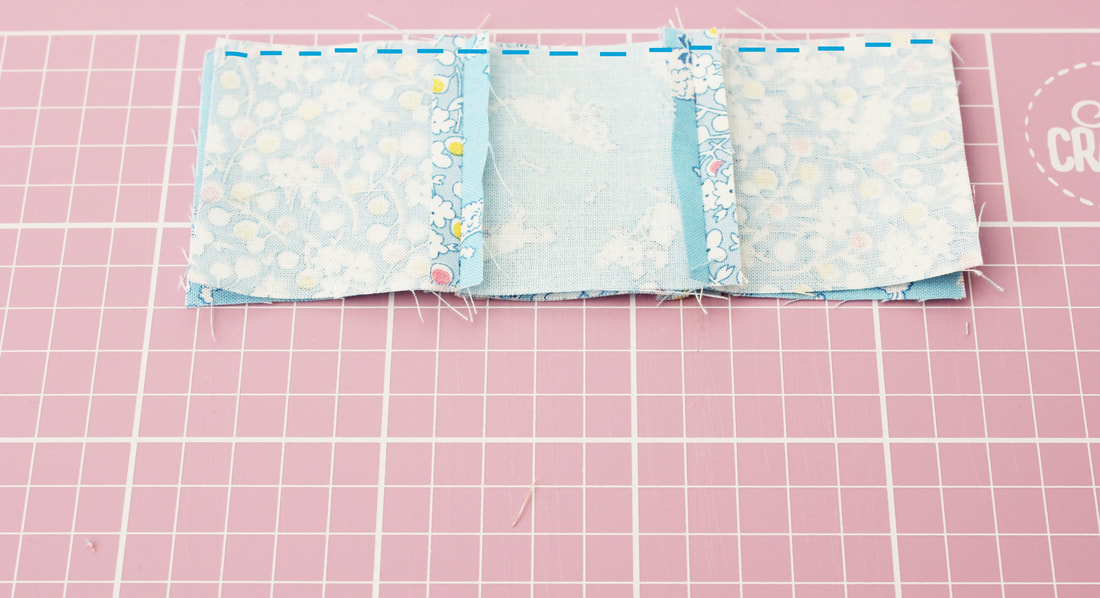
Top Tip! It is important to line the two middle seams up of both rows before you sew them together. I use pins to do this and I stick the pin through the middle of each seam, catching the middle of the seam on the other piece. 
7. Open it out and press your seam open.
8. Repeat steps 6 and 7 to join the bottom row, making sure you flip the bottom row up, lining up the top raw edge of the bottom row with the bottom raw edge of the middle row!
9. And that is your block finished! Repeat for the rest of your blocks and you will be ready to add sashing. I will be back tomorrow showing you how to do that! As always, if you have any questions or need me to clarify anything, leave a comment or send me an email.
Happy sewing!
1 Comment
Johannes K link
23/8/2023 11:32:20 pm

Thanks great blog post

Reply


Leave a Reply.

    Picture

    Follow me on Instagram

    View this post on Instagram

    A post shared by Emma Jones - EPP & Embroidery (@vintagesewingbox) on Oct 20, 2019 at 8:34am PDT

    About the Author
    My name is Emma and I love all things sewing, especially EPP. My little blog is the place where I document what I'm making. I hope you enjoy reading what I'm up to! All opinions are my own and I only share things that I think you will love. Thank you for taking the time to stop by. 

    Archives

    September 2023
    February 2023
    January 2023
    September 2022
    May 2022
    February 2022
    January 2022
    November 2021
    September 2021
    July 2021
    June 2021
    May 2021
    April 2021
    March 2021
    February 2021
    January 2021
    October 2020
    September 2020
    August 2020
    July 2020
    June 2020
    May 2020
    April 2020
    March 2020
    February 2020
    January 2020
    December 2019
    November 2019
    October 2019
    September 2019
    August 2019
    July 2019
    June 2019
    May 2019
    April 2019
    March 2019
    February 2019
    January 2019
    October 2018
    September 2018
    June 2018
    May 2018
    February 2018

    Categories

    All
    Block Of The Month
    Book Tour
    Crochet
    Embroidery
    English Paper Piecing
    Fabric Shops
    Family
    Festival Of Quilts
    Foundation Paper Piecing
    Free Pattern
    Giveaway
    Help For Beginners
    Instagram
    Magazine Feature
    Mental Health
    My Designs
    Organisation
    Patreon
    Pattern
    Personal
    Pinterest
    Plans
    Quilting
    Review
    Sewing For Children
    Sewing Room
    Shop
    Stitch Along
    Sustainable Sewing
    Swap
    Tutorial
    Vintage Fashion
    Vintage Sewing
    Workshops
    Youtube

    RSS Feed

Copyright Vintage Sewing Box 2025
privacy_policy.pdf
File Size: 56 kb
File Type: pdf
Download File

  • Home
    • FAQ
    • Terms and Conditions
  • About
  • Shop
    • 2025 Block of the Month
    • In Person Workshops
    • Printed Patterns
    • Sewing Gifts
    • Kits
    • Sale
    • Patterns
    • Pre-Cut Fabrics
    • Block of the Month Extras
    • Thread >
      • Hand Quilting Thread
      • EPP Thread
      • Embroidery Thread
    • Hexiform
    • Glue Pens
    • Buttons
    • Scissors
    • Needles, Threaders, Thimbles
    • Pins
    • Tools and notions
  • In Person Workshops
  • Block of the Month
  • Stitch School
  • Free Patterns
    • Quilt as You Go
    • Hexagon Wall Storage Organiser
    • Grandmother's Rose Garden Quilt
    • Scissors Case
    • Pincushions
    • Needle Book
    • Patchwork Flowers
    • Mini Quilts
    • Butterflies
    • Dresden Flower
    • Christmas
    • Hexagon Templates
    • Children's Items
    • Flex Frame Purse
  • Video Tutorials
    • English Paper Piecing Tutorials
    • Embroidery Stitches
    • Sewing with Scraps
  • Blog