|
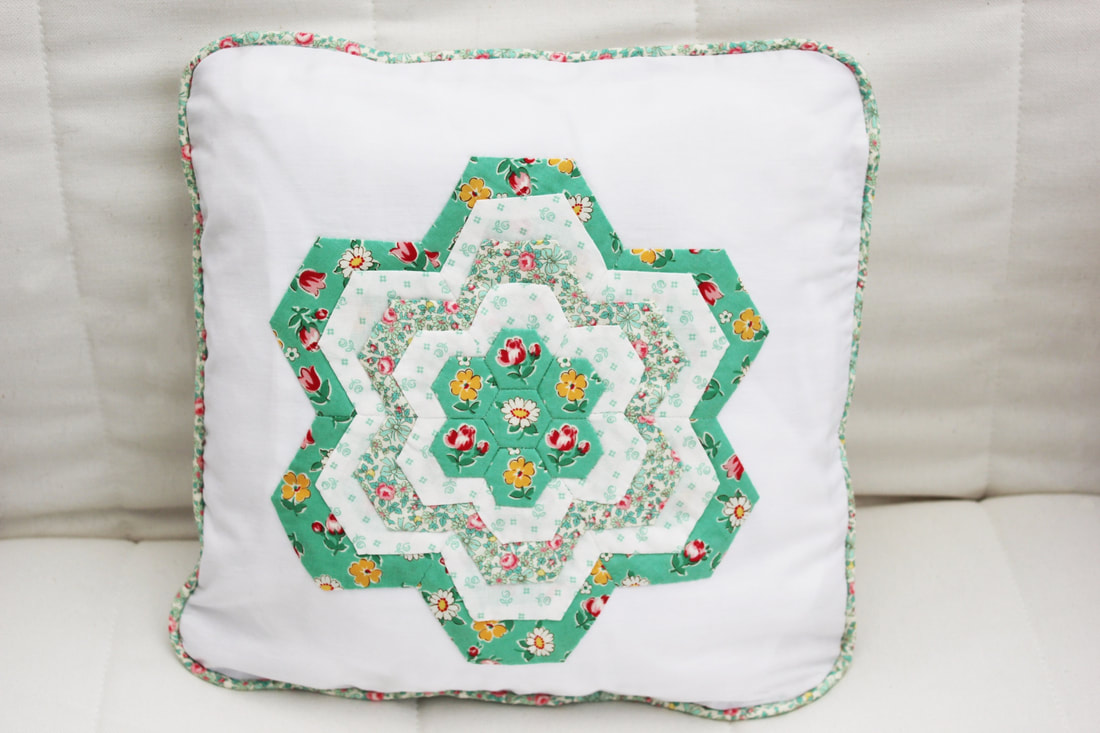
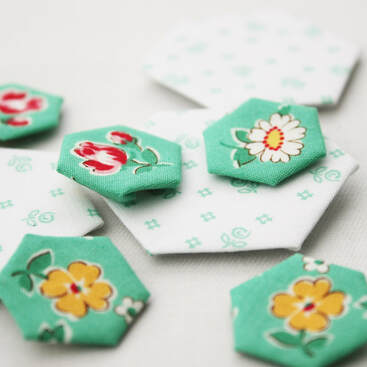
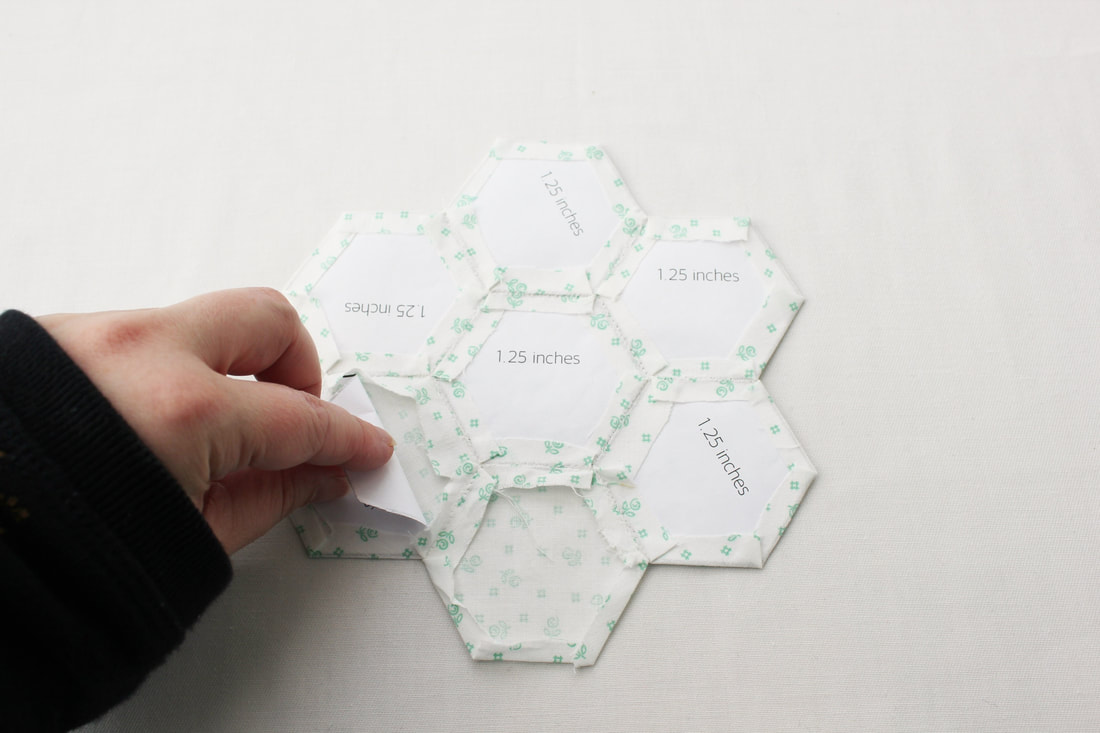
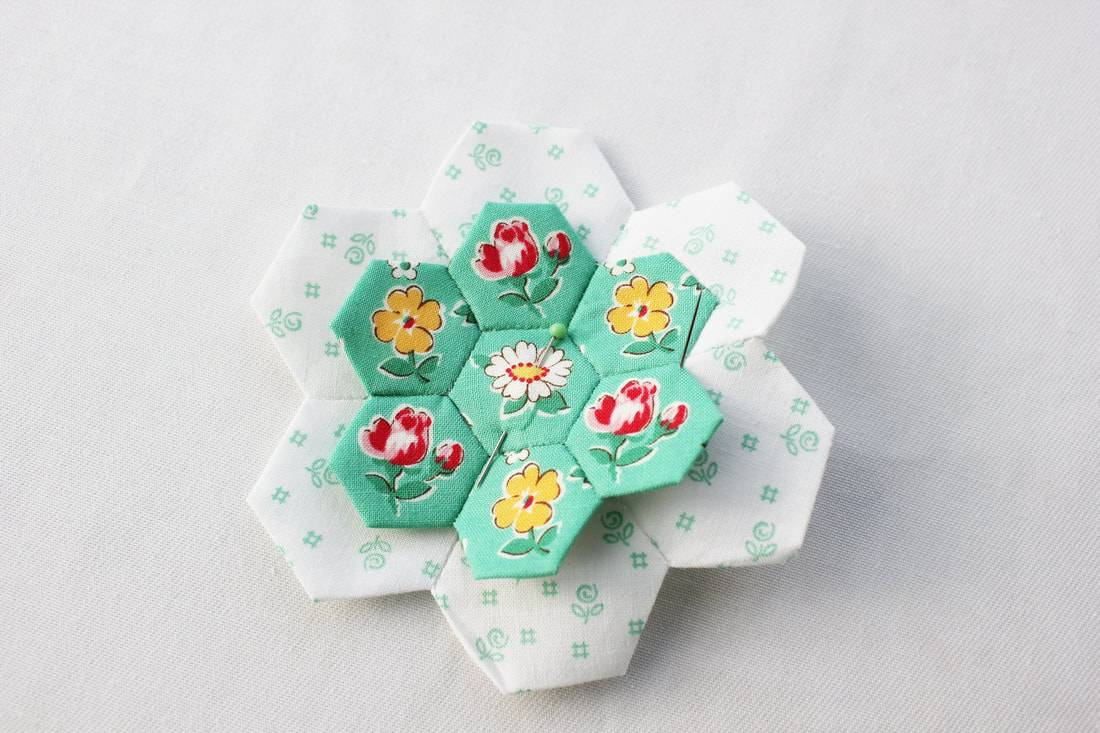
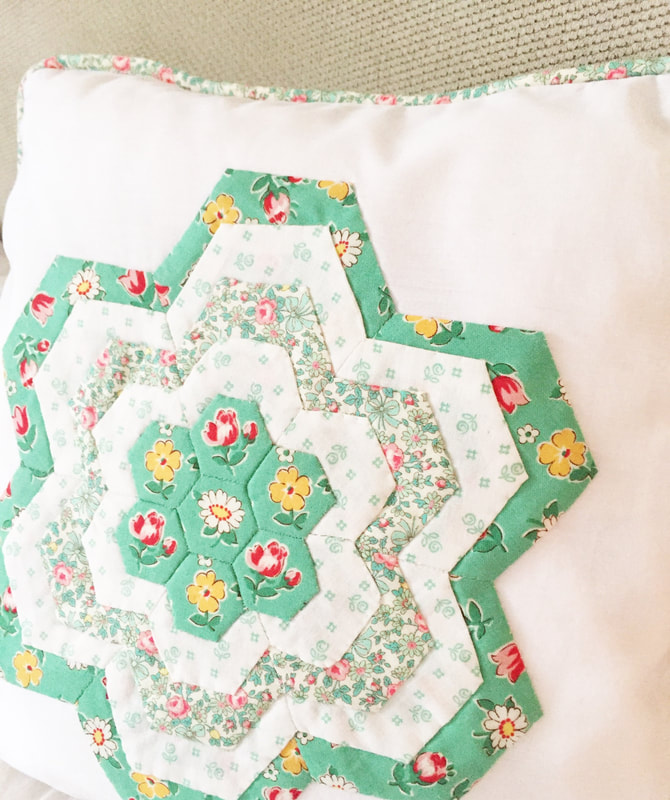
If you have got the English Paper Piecing bug but would like a quick project rather than a quilt then this is the project for you. The layered hexagon flower cushion is fun and quick to make. Here's how... You will need: *Seven hexagon paper templates in each of the following sizes; half inch, three quarter inch, one inch, one and a quarter inch and one and a half inch. *Scraps of fabric. *Two 28cm squared pieces of background fabric. I repurposed an old pillowcase for this, which makes this project more sustainable. *A needle and thread. Note- I didn't include any fastenings in my cushion. If you want to be able to remove the cushion cover then you'll need to include a zip or buttons and you'll need to add some length to the back piece of fabric to allow for this. You'll need about an extra inch to add a zip. Begin by wrapping your hexagons in fabric and joining the hexagons to make five separate flowers. For an in depth tutorial on how to do this, check out my English paper piecing video. Once you have sewn the hexagons together to make flowers, you need to remove the paper templates. Usually, in English Paper Piecing, we do not remove templates until all sides of the shape are joined to another shape and this is because you can distort the shape. For this project, the templates need to be removed even though some edges of the shapes are not joined to any others. To minimise the chances of distorting the edges of the hexagons, I made sure I ironed all of the flowers first to ensure nice, crisps folds along the edges. Next, I removed the papers carefully, pulling from the centre of the hexagon out towards the edge (see photo below). I then used the iron to quickly press any edges under that had become unfolded and this technique worked well. Once all papers are removed and you have pressed your flowers with the iron, place the half inch hexagon flower on top of the three quarter inch hexagon flower. Centralise the smaller flower within the larger one, making sure there is an even border all the way round. Line up the seam lines of both flowers so they match and when you are happy with the position, pin in place. Use a blind applique stitch to attach the small flower to the larger one, sewing all the way round the edge. When you have finished, repeat the process by placing this flower on top of the next flower up in size. Line up the seams and stitch in place. To speed this up, you could easily use a sewing machine and either a zigzag stitch or other decorative stitch to applique them in place. When you have layered all of the flowers, position the motif in the middle of your backing fabric, pin in place and stitch it all the way round the edge as you did before. You can now choose to finish your cushion however you'd like. I chose to make a piped edging and I really like the way this looks.
I hope you have fun making this cushion. If you would like detailed instructions for making piping or for finishing the cushion then leave a comment below and I will make a tutorial for that. Of course you don't have to applique this flower onto a cushion at all! You could put it onto a bag or you could make it into a wall hanging, or if you did want a larger project, you could use it in a quilt design. It's up to you! Whatever you make, I'd love to see it so if you post it on Instagram, remember to use the #rosepetalpatterns. Happy Sewing!
3 Comments
4/3/2019 08:47:59 pm
I love this pillow! I have a couple of Christmas pillows on my sofa and I wanted to make an "all occasion" cover for them but I couldn't decide what I wanted. You have made up my mind for me! Thank you so much for sharing these.
Reply
Emma
13/4/2019 09:57:29 pm
Thanks so much for your comment! How did you get on with your cushion? 😊
Reply
2/1/2021 11:23:21 am
Thanks for sharing the post about Flower Cushion. I’ve got very useful information in this post.
Reply
Leave a Reply. |
Follow me on InstagramAbout the Author
My name is Emma and I love all things sewing, especially EPP. My little blog is the place where I document what I'm making. I hope you enjoy reading what I'm up to! All opinions are my own and I only share things that I think you will love. Thank you for taking the time to stop by. Archives
September 2023
Categories
All
|
 RSS Feed