|
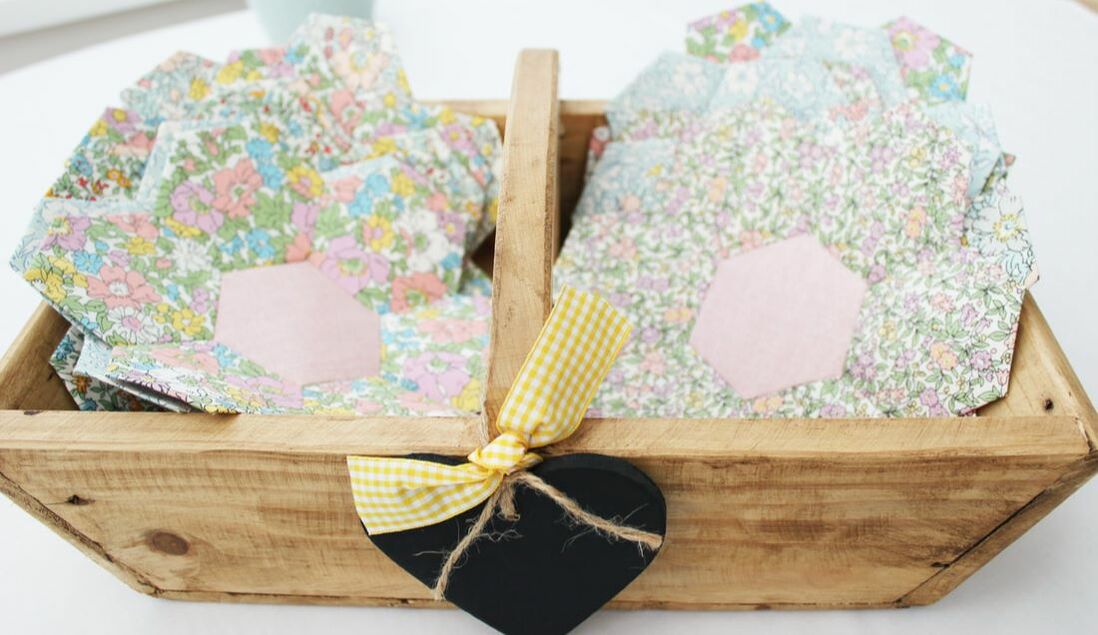
I've been sewing in one way or another for nearly my whole life but I only discovered quilting as an adult as this wasn't something that my Mum or Gran did. The internet opened up the world of quilting to me and I taught myself by following Craftsy classes and also by learning from books. When I discovered English paper piecing, I loved the intricate designs and the variety of shapes that are used. I also loved the hand stitched look and feel of English paper pieced quilts but I was convinced this wasn't going to be the craft for me. It seemed fiddly and time consuming. I kept away from it as long as I could but when I eventually gave in and gave it a try, I was immediately hooked and now I can't put it down! So what exactly is English paper piecing and how is it different from ordinary quilting? Well, a standard quilt is made from three layers, like a sandwich! A quilt top, which is usually some form of patchwork, wadding or batting in the middle which makes your quilt soft and warm, and a backing fabric. You sew through all three layers to attach them to each other and this is called quilting. In a standard quilt, you typically create your patchwork quilt top by joining shapes together using a sewing machine and you use shapes that join easily such as triangles, squares and rectangles. For English paper piecing, you use still use shapes that tessellate but they are more complex and have numerous sides or curved edges. This means you would struggle to use a sewing machine to create the seams as the corners and angles can be tight and if your seams are inaccurate your results will be disappointing. The English paper piecing technique uses shapes made from paper or thin card. You wrap your fabric around the paper shape and hand tack/baste it in place. Then you sew multiple shapes together. Once your quilt top is complete, the paper shapes and tacking stitches are removed and you can create your quilt sandwich with wadding and backing fabric and then choose to either hand or machine quilt your layers. There's no escaping the fact that English paper pieced quilts are a lot of work. However, once I discovered a few shortcuts, I felt like I could tackle EPP projects so here are my top tips for anybody who is new to EPP.
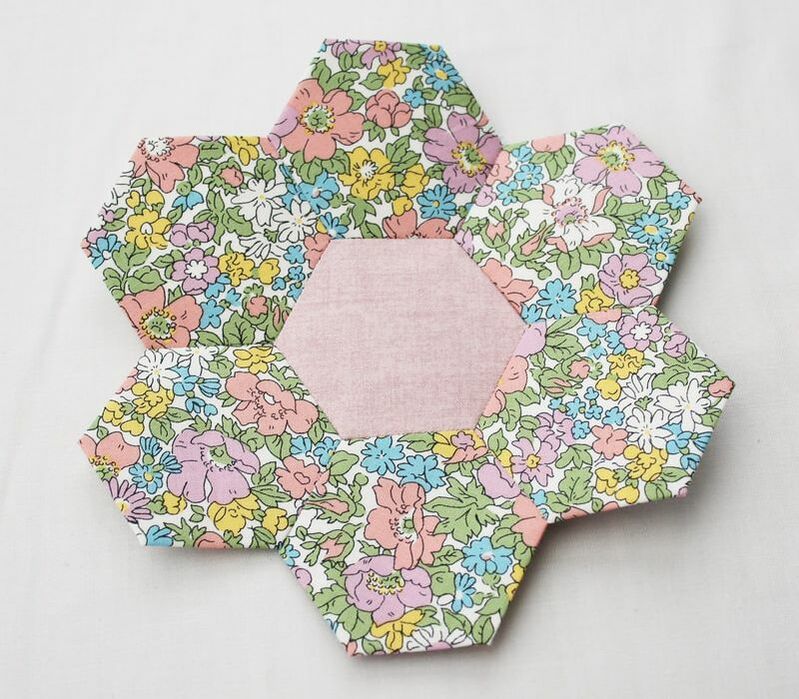
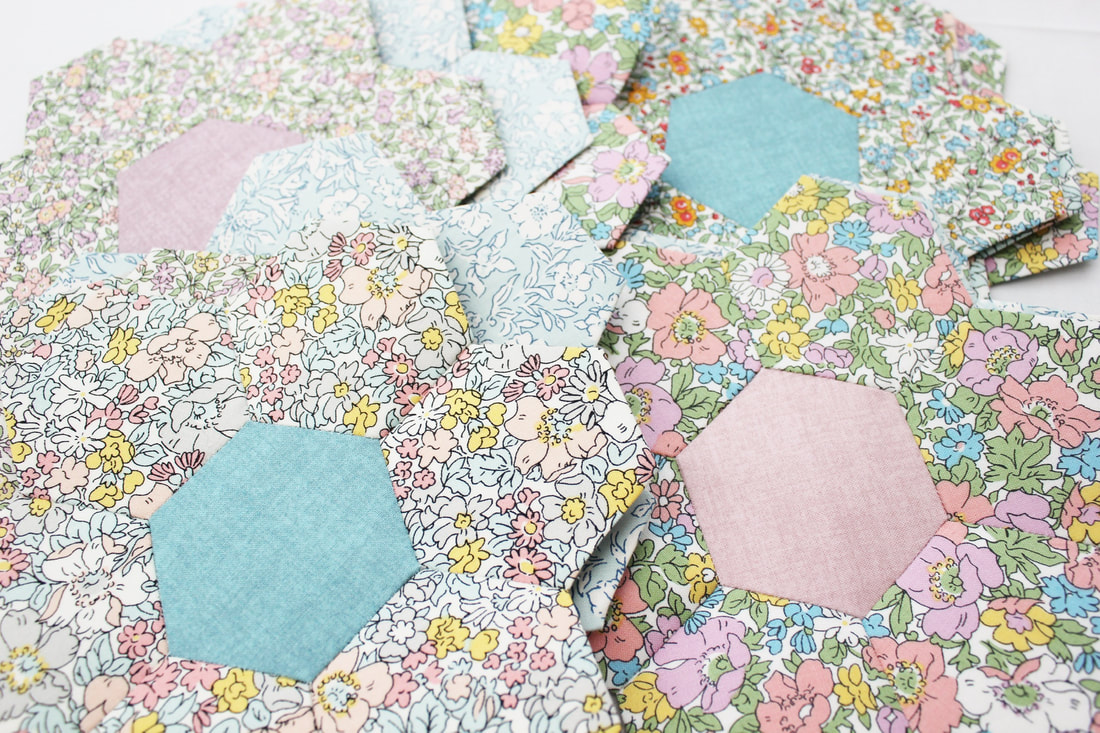
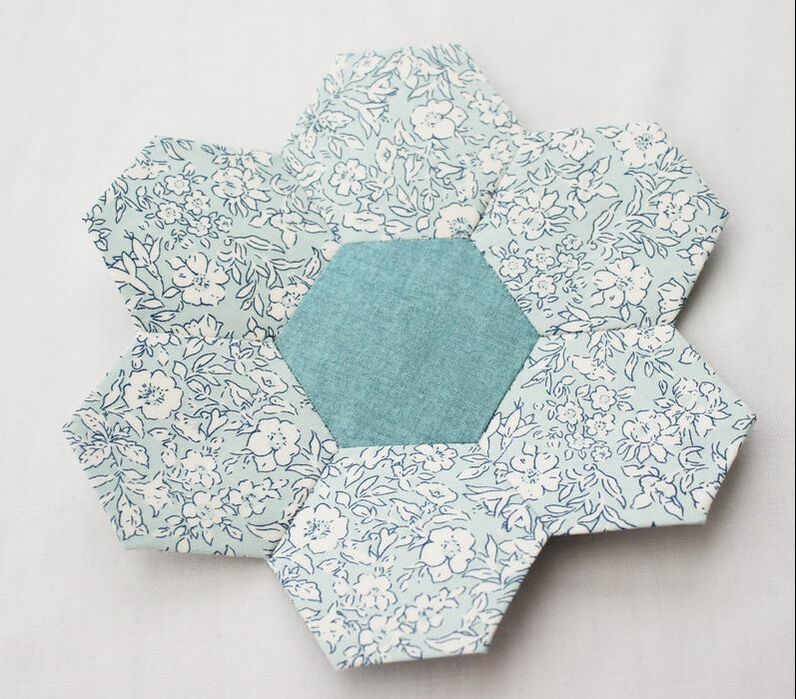
1. Use hexagons. Hexagons are my favourite shape for EPP at the moment. They look like flowers when joined together and are simple to create. I think they are the perfect EPP shape for beginners. 2. Don't use tiny shapes. The smaller the shape, the longer your project will take and if you are new, you might feel like you want a completed project that doesn't take years to do. The quilt I am currently working on uses one and a half inch hexagons and this feels like a manageable size. 3. Try making a cushion cover before attempting an entire quilt. You could even use your shapes to create just the front of the cushion and back it with coordinating fabric. 4. Buy pre-cut paper shapes rather than cutting them out yourself. This is a more expensive option but will save you lots of time which means more time for sewing! I love the paper shapes you can buy from Sew and Quilt. They are affordable, good quality and come in many shapes and sizes. Sew and Quilt is also a fantastic quilting shop so make sure you check it out! 5. Skip the hand basting/tacking stage and use fabric glue instead. This was a game changer for me. This cuts down so much time meaning your quilt will grow faster. The absolute best glue for this is the sewline glue pen. 6. Last but not least is mentality. When you embark on an EPP project, it helps to have the mindset that this will be a lengthy journey, so enjoy it! We spend so much of our lives rushing about that it's nice to relax and spend time doing something that will evolve slowly. Once you get into the rhythm of a slow project like this, you will enjoy it for what it is and when it finally is completed, you will feel a huge sense of satisfaction. I hope this has inspired you to give EPP a try. If you aren't sure where to begin, keep a look out on the website this week as I will be posting a video tutorial to help you get started. Happy Sewing!
1 Comment
Paula Zymela
18/2/2022 03:52:14 pm
Hi. I'm thinking of doing a project which involves different shapes, including isosceles triangles. The small angle at the top of the triangle will obviously result in a tail sticking out at the top. Once this piece has been joined to its neighbours, what do I do with the tail? Do I trim it down, sew it flat or just press it?
Reply
Leave a Reply. |
Follow me on InstagramAbout the Author
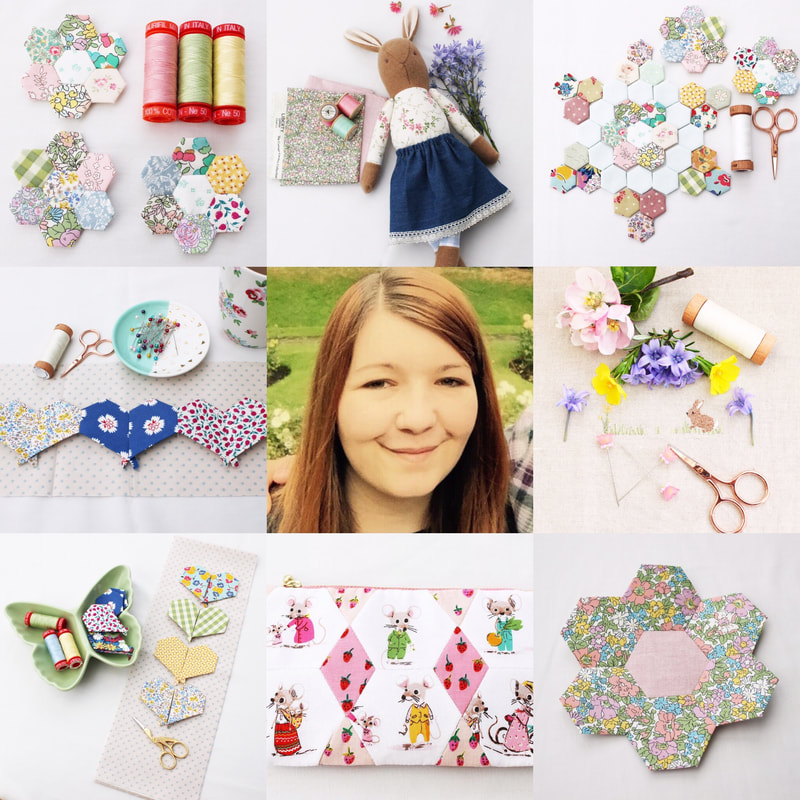
My name is Emma and I love all things sewing, especially EPP. My little blog is the place where I document what I'm making. I hope you enjoy reading what I'm up to! All opinions are my own and I only share things that I think you will love. Thank you for taking the time to stop by. Archives
September 2023
Categories
All
|
 RSS Feed