 One thing I love is working with scraps, especially if they are tiny! It feels so good to make something useful from fabric that would otherwise be thrown away. I don't actually throw any scraps away anymore. I tend to use scraps in my projects more than new fabric! But in my most recent video on Youtube, I challenged myself to use as many small scraps as I could and this is what I came up with. I hope you enjoy it and I hope you make one too!
5 Comments
 Hello! Happy New Year! How are you? I hope you are well. The end of last year did not go to plan for me but the start of this year has been much much better! I have been easing myself into the year, taking it slow and doing lots of dreaming and thinking. There were lots of things I feel I didn't achieve last year so I hope I can do them this year instead. One thing I have learnt throughout this pandemic is that things can quite quickly become out of our control, and that is really difficult to deal with. Whilst I have been planning this year a little bit, I am really going to try to just take a day at a time. Last year I felt like each time I said I was going to release a pattern or make a video, I didn't do it for reasons out of my control. So this year it's just a day at a time for me. 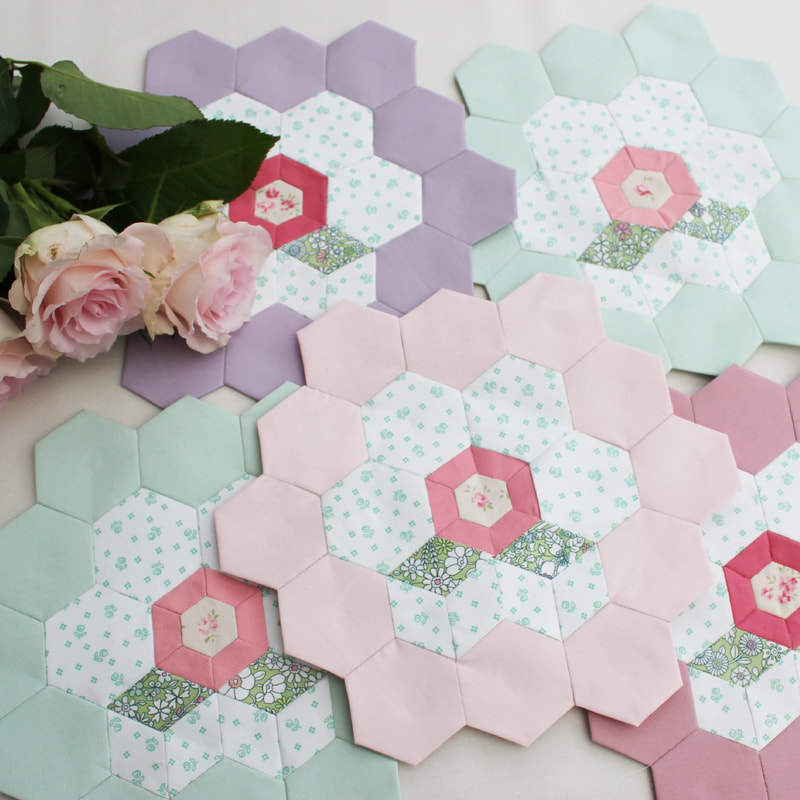 As well as planning and thinking through lots of my ideas for my sewing projects this year, I have actually been working a lot out in my garden. Whilst I was unwell leading up to Christmas (not covid) I did a lot of thinking about what I want my garden to be like this year. Last year we got rid of the dangerously deep pond and overgrown plants that were in one corner of the garden and I began to create the rose garden of my dreams over there. In the other far corner, I want it to be more of a working garden where I can grow cut flowers and vegetables. I have my name down for an allotment because we have some allotments that are just three minutes walking distance away from my back gate. However the waiting list is really long and it could be five years before a plot is available. So hopefully I can create a mini allotment in my garden. My Dad has been helping me to put the base in place for my greenhouse and I am super excited about that. Don't worry, my blog is not going to become gardening focused but you may see bits from time to time if my plans work out. Nature, and flowers in particular, are my main source of inspiration when it comes to my sewing. I can't describe the feeling I get when I see beautiful flowers in the sunshine, it is something that is fundamental to my wellbeing that is for sure. I am hoping that between working on my sewing projects and working out in the garden, I can start to feel more positive during the day whilst my little boy is at school because this is still a transition that I am struggling with if I am honest. 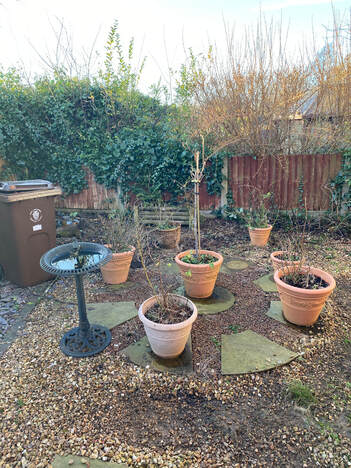 A very neglected corner of the garden 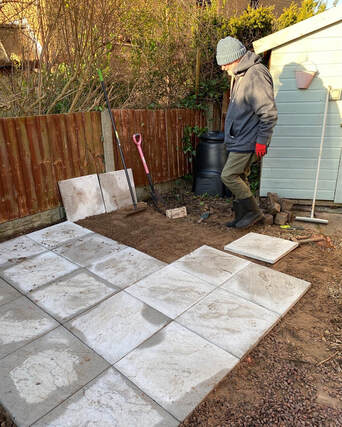 Dad laying the flags for my greenhouse As well as making more sewing videos for Youtube this year, I also want to spend more time writing here. I absolutely love writing, I find it really relaxing and enjoyable and I am so grateful to everyone who stops by to read my blog. So all being well, I hope to write here once a week, even if it's just a short lifestyle piece to show you what I am getting up to. There will of course be the usual tutorials and sewing content, that definitely isn't going anywhere. I have a monthly newsletter that you can sign up for if you would like. I usually share a recap of what I have been doing that month, along with any new things that are happening. The sign up for can be found at the bottom of the home page.
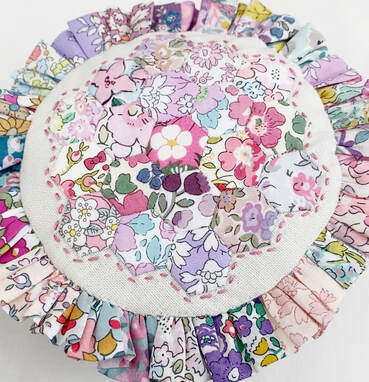
Thank you ever so much. Take care and I hope to see you soon, Emma 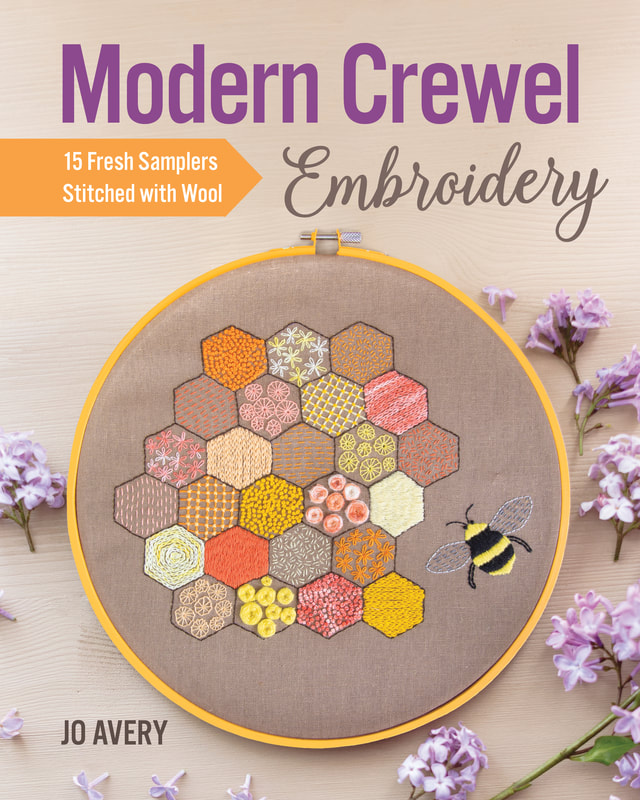 When the very lovely Jo Avery asked me to be part of the book tour for her wonderful new book, I was over the moon! I love Jo's work and I also love Crewel embroidery so I was excited to pick a project and get started. Her book is full of colourful, fun designs, it was hard to pick just one thing! I chose to make the Tendrils Pot because I love the variety of stitches involved and it will also be so pretty to have on display when finished. 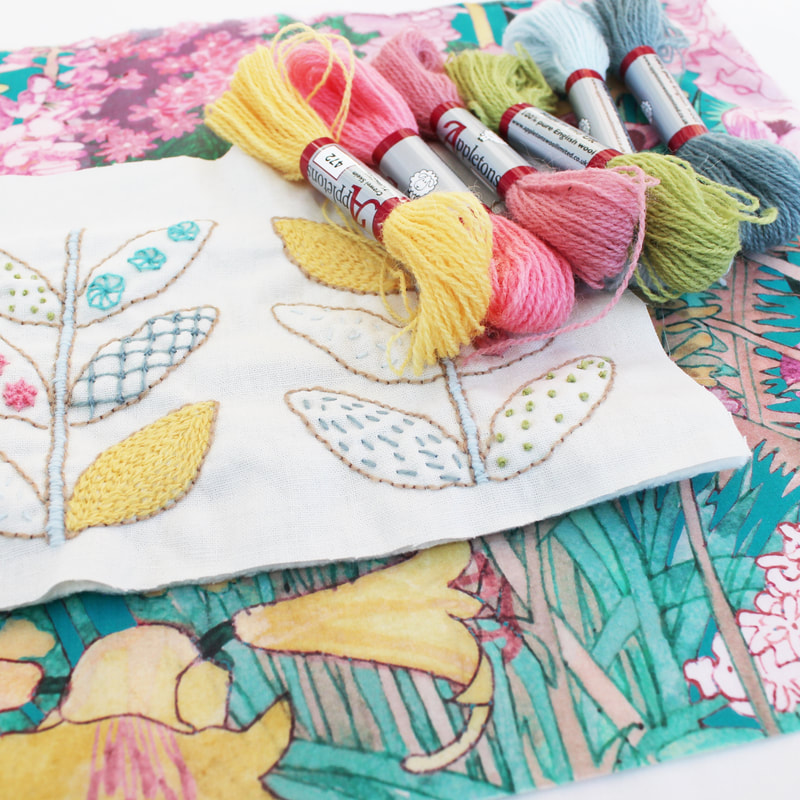 I love working with Appleton's Crewel Wool. They have a beautiful array of colours and it gives a lovely, fluffy, wooly texture when stitched up. If you've never used it before, it has some bounce to it whilst stitching, so the experience is very different to using embroidery stranded cottons. 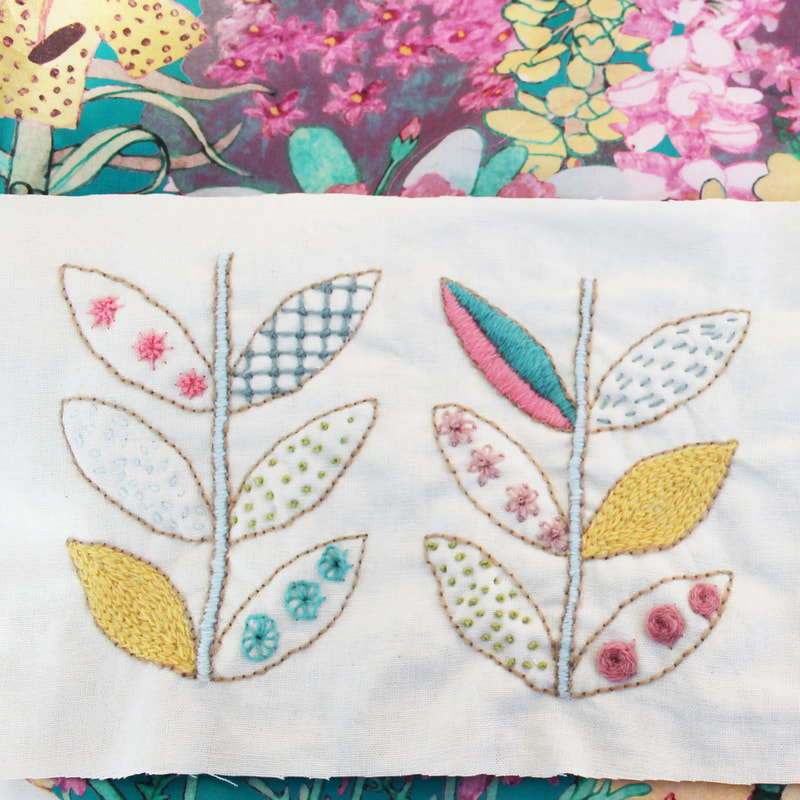 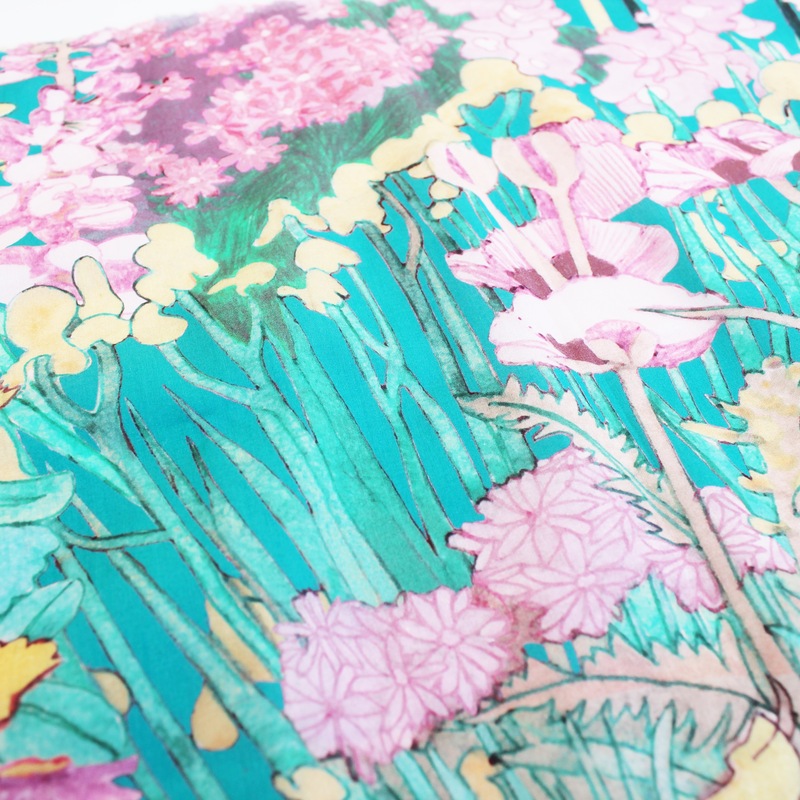 I chose to stitch it on Essex linen in the oyster colour. Combining the texture of linen and wool gave the piece a really unique feel. To line the pot and add a contrast, I paired the linen with some Liberty tana lawn in a beautiful turquoise colour with pops of pink. 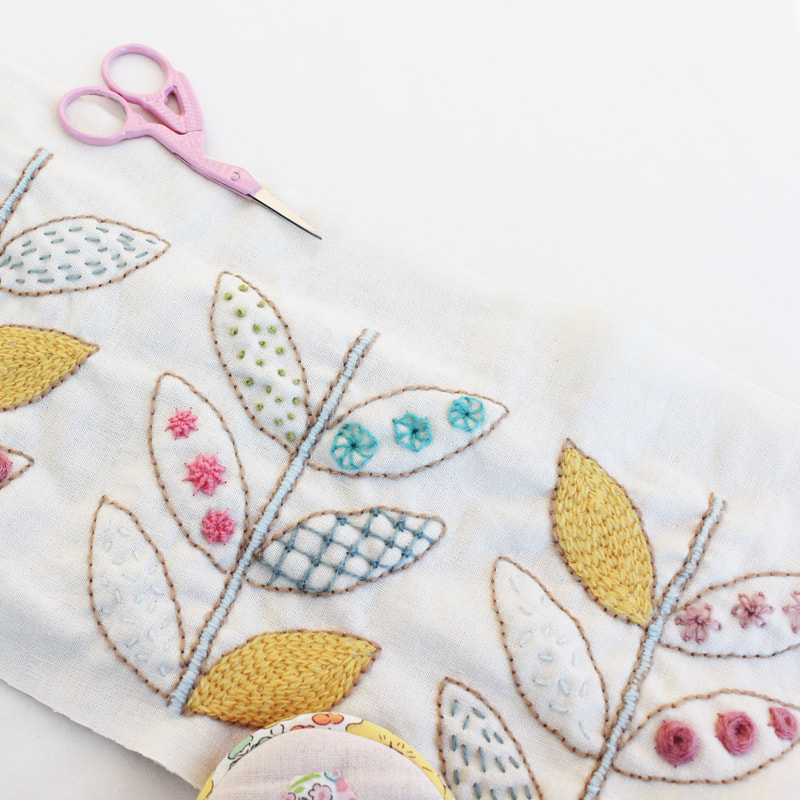 The only adjustments I made (apart from the colours) was to just make the pot a bit taller that the original. I'm so happy with how it turned out I might make another one!  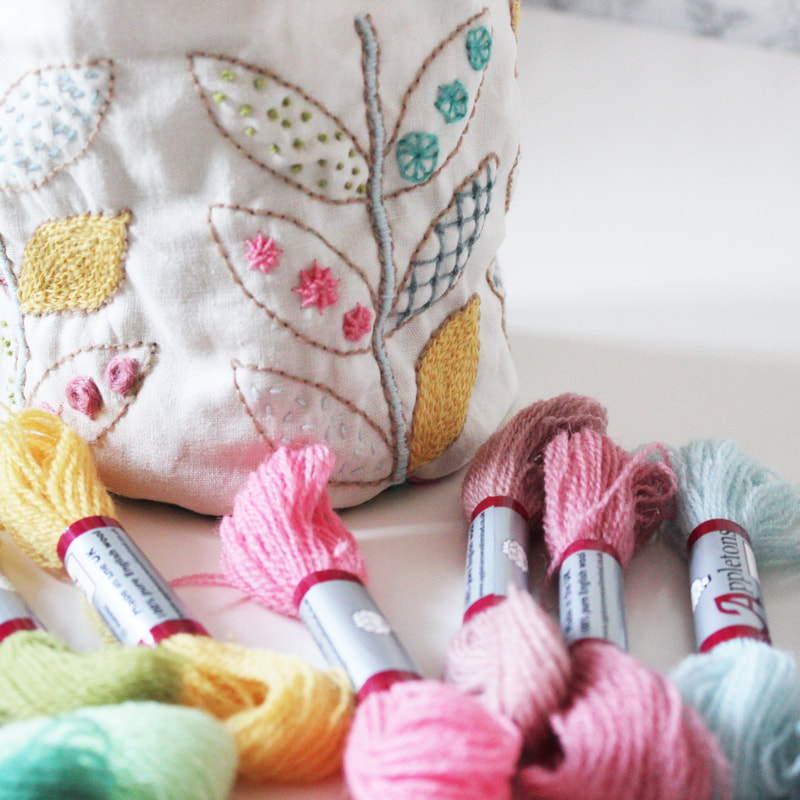 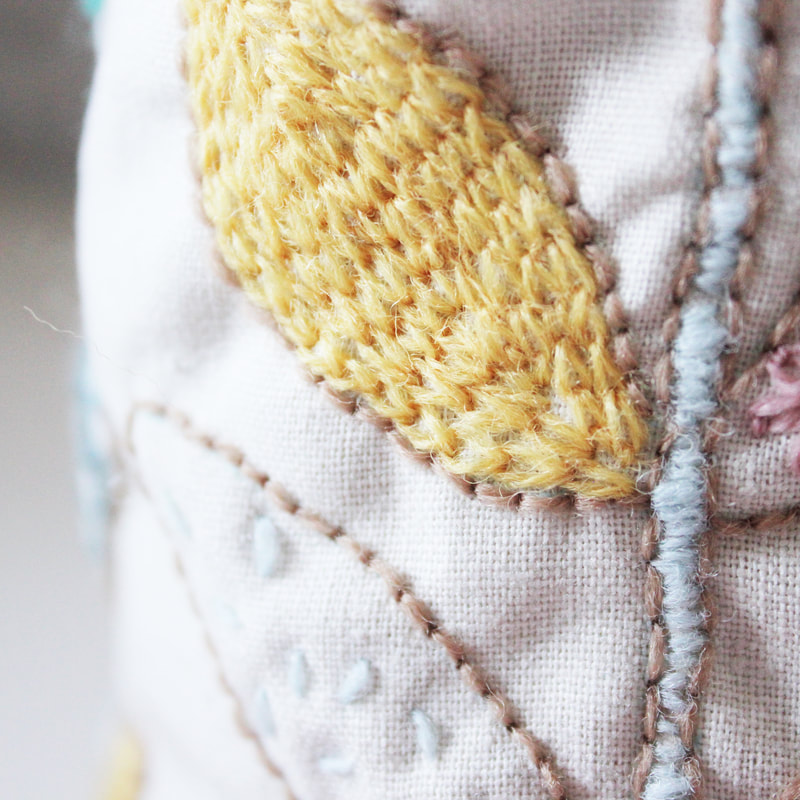 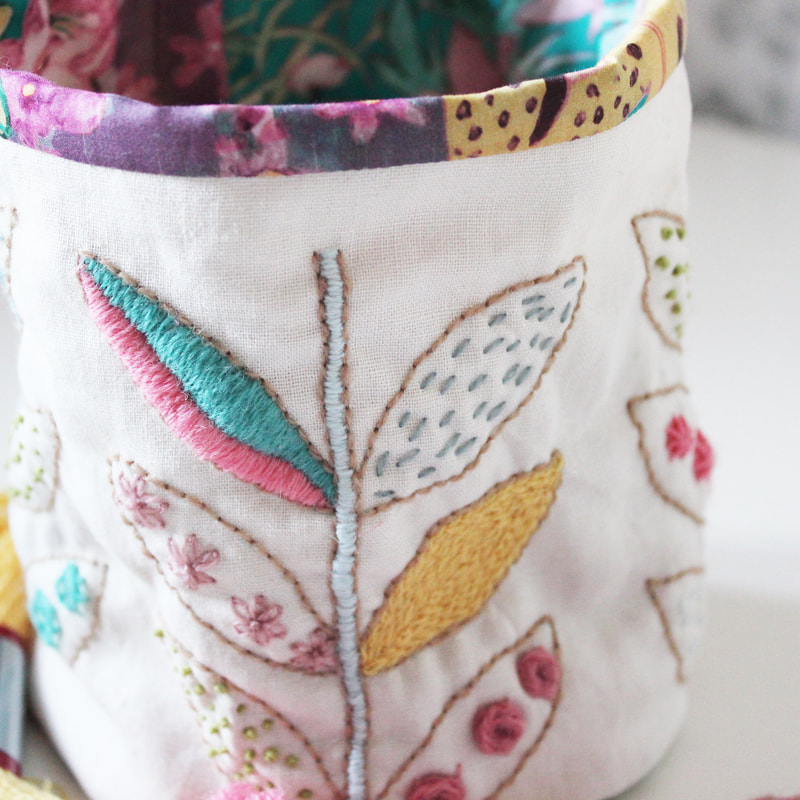 Modern Crewel Embroidery is an excellent book, great for anyone who enjoys crewel embroidery or is looking to try for the first time. Check out Jo Avery's website here to find out more about her and how to buy the book. I am also giving away a free E book on my Instagram page if you'd like to enter. Thank you so much Jo for inviting me to be part of this book tour and congratulations on another wonderful publication.
 Hello! How are you? I hope you are all doing well. I took a really long break over the summer. I always planned to have a big break so that I could spend quality time with my son before he started school in September. I was really struggling with the thought of him starting school, I have enjoyed my time at home with him as a stay at home more than I can express, it really has been the best time of my whole life. Unfortunately we weren't able to do everything we had planned due to him being quite ill but I am so happy to say he is much better now. After he recovered, I pulled my back so badly I couldn't move out of bed! But luckily that has made a quick recovery too! So things haven't gone to plan but that's the way life rolls isn't it. As a result, I didn't actually do any sewing over the summer which is very unlike me. The ups and downs of what we were experiencing just left me without any motivation to pick up a needle and when I feel that way, I just ride it out as I know it won't last forever. 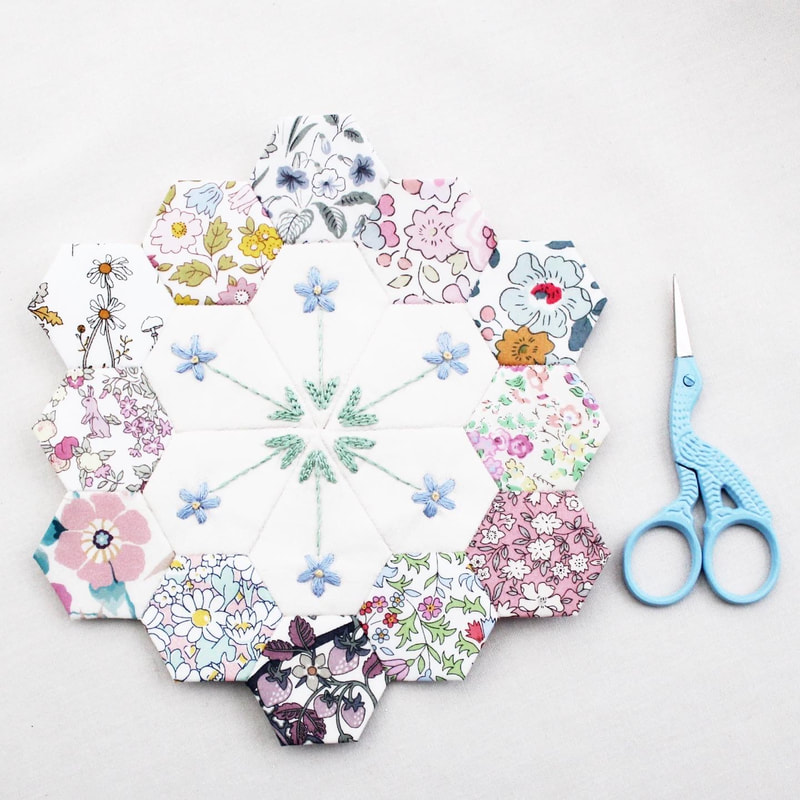 Right now, I am definitely in a better place and I feel ready to carry on. Thank you to everyone who has patiently waited for me to reopen my shop. I have to admit I am still struggling with the huge change that is my son being at school and also my husband being at work. Over the course of the last 18 months or so, we have all spent so much time together due to the pandemic that it now feels incredibly quiet here at home whilst they are out. I know that I must now throw myself into my work, creating videos, patterns and running my shop, and hopefully in no time things will feel normal again and this sad feeling will go. So thank you to all of you who follow along to keep me company, it really helps me to keep going.  Every time I make plans and let people know what I have coming up, something happens to set me back. So I am not going to announce any concrete plans yet. I am still working on the spring flowers mini quilt pattern and I have a mountain of other ideas for things I want to share. September always feels like the start of a new year to me. I think it is because I was a teacher and it is the start of the school year here in the UK. Also, the change in the season as Autumn begins just feels like a natural start to me. January never feels like a fresh beginning as we are always in the midst of winter. It can be so dark and I find that time of year really difficult. So now I feel refreshed and ready to continue and I am excited to connect with you all again. 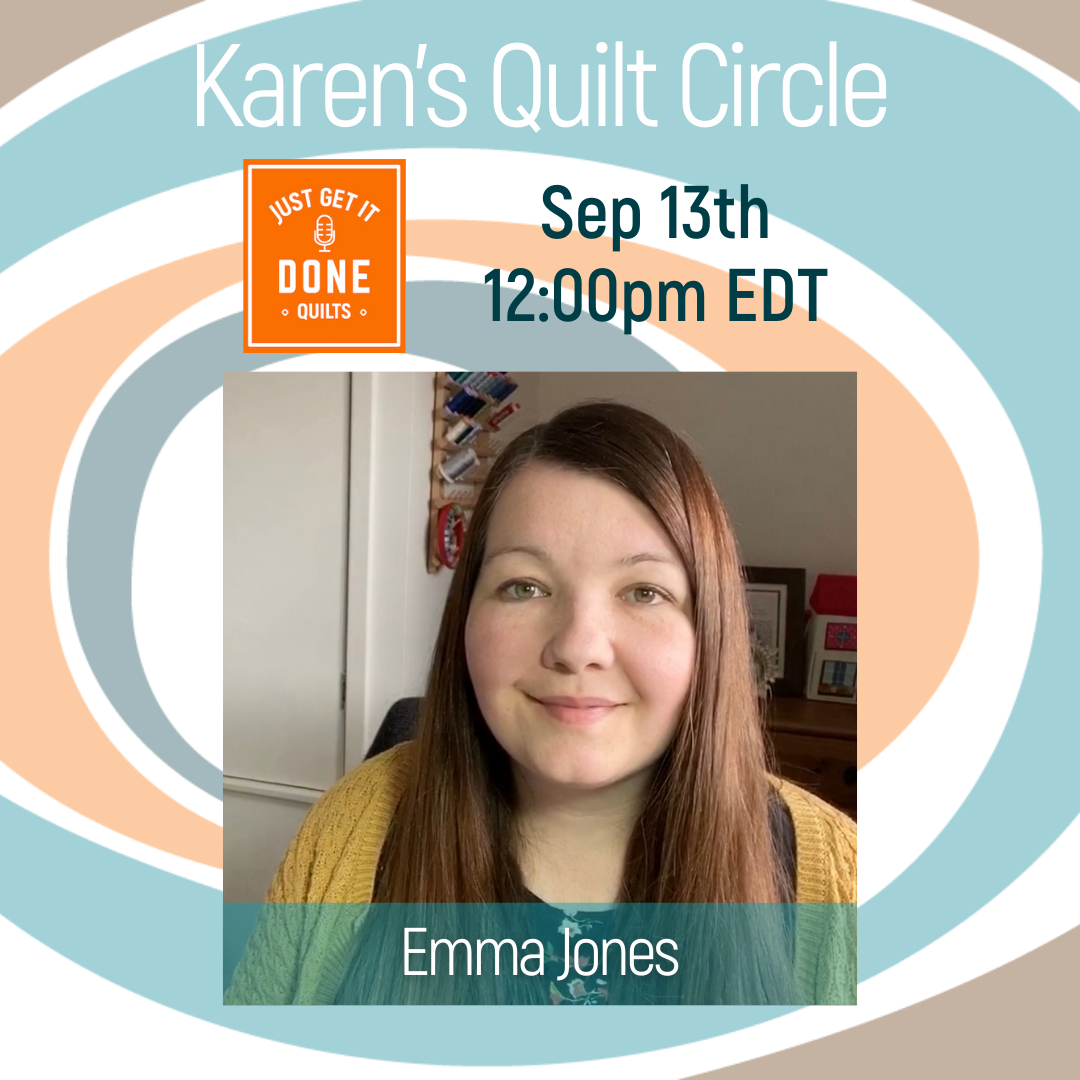 Over the summer, I did manage to take part in a lovely interview with Karen Brown of the Just Get it Done Quilts Youtube channel. I was so honoured when Karen asked if I would take part in her Karen's Quilt Circle series, she has interviewed some incredible people so I certainly felt the impostor syndrome kick in. Karen is so lovely and quickly put me at ease and I loved talking to her. She has such a wonderful Youtube channel, if you haven't seen it I highly recommend that you check it out, she shares wonderful tutorials, hacks, hints and tips and is such a lovely person. You can find my interview here.
Take care and thank you so much for reading this far. See you soon, happy sewing! I'm so excited to share my latest video on Youtube, all about how to customise this lovely tray to make it into a portable hand sewing station. I show you how I made this zipped insert using English paper piecing techniques and I take you on a fun journey to a special place too! The great thing is, you can apply the principles of this project to any tray and customise it however you would like! I hope you enjoy the video, thank you for watching!
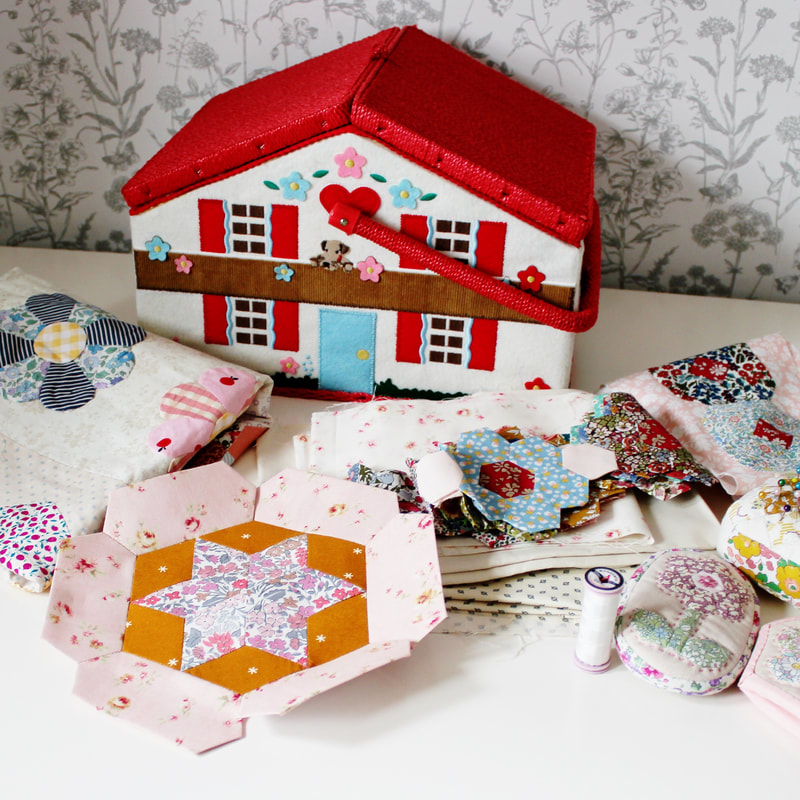
Today's Youtube video is an attempt to answer a lot of the questions I receive, so I really hope I've managed to do that well! I use both paper and hexiform in my projects and I think both are really great. They have very different properties, paper is stiff and hard, hexiform is soft and lightweight, so it really depends on what you want to create. I use Hexiform for small projects... 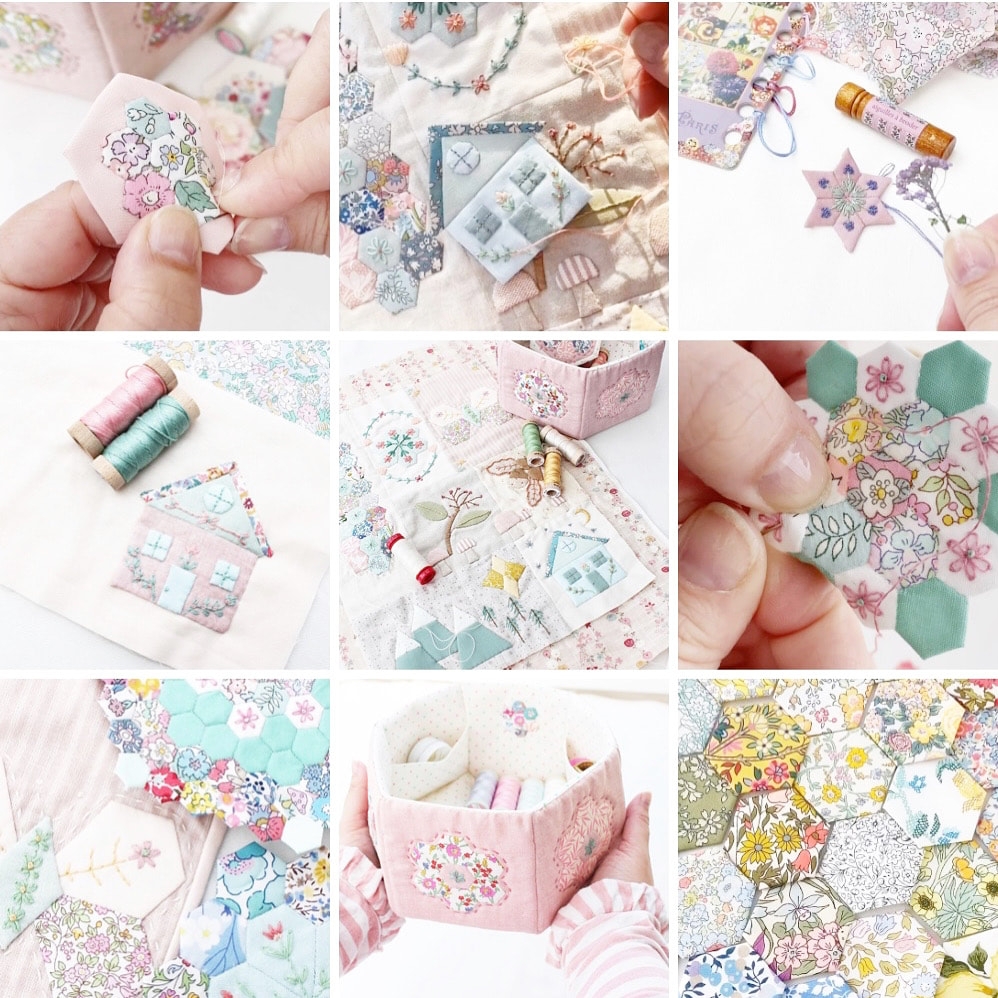 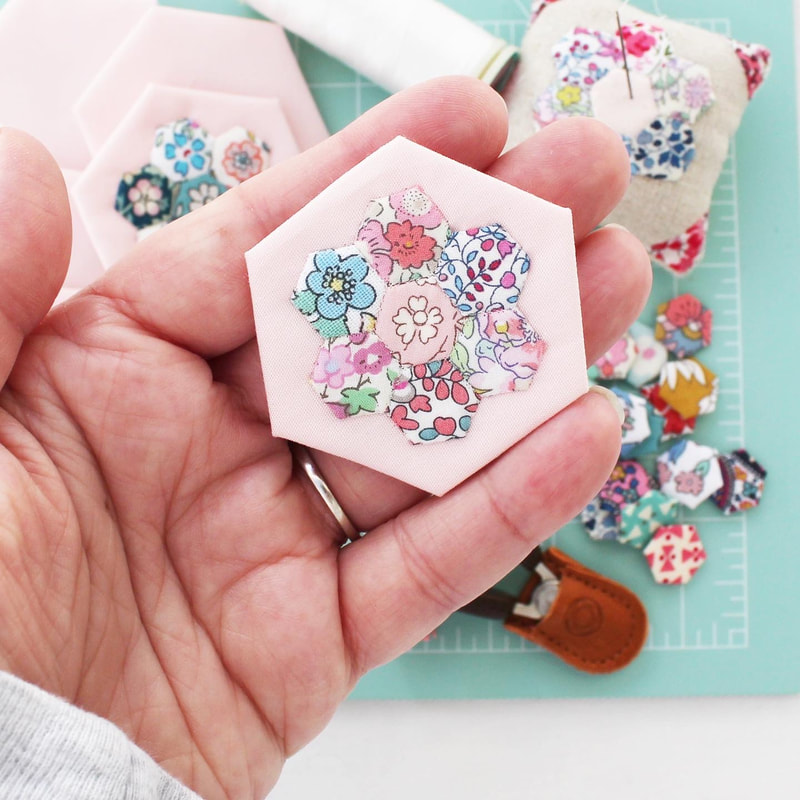 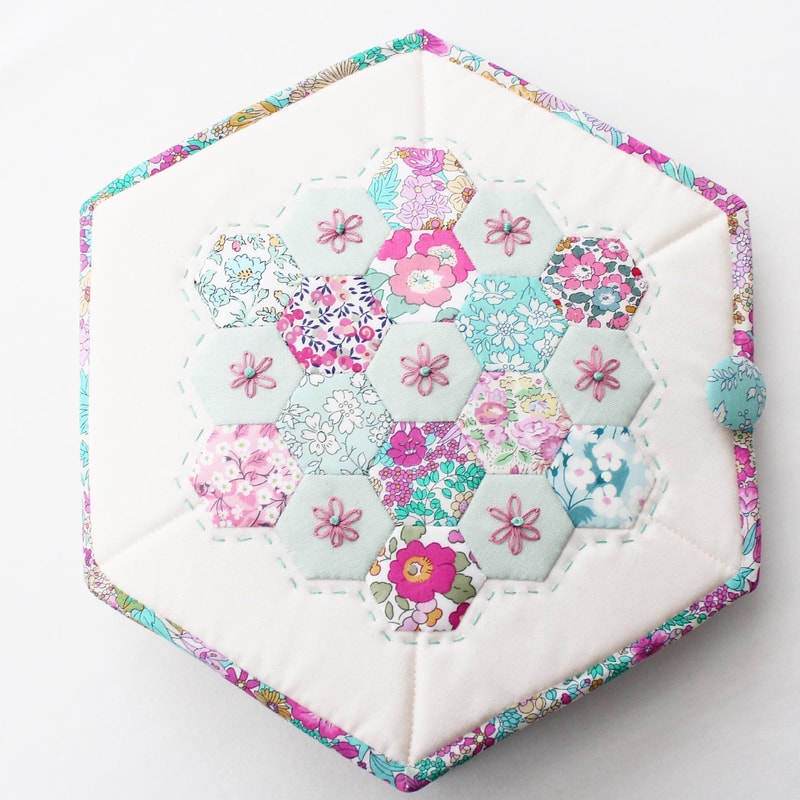 I think it is great in sewing cases, pouches and baskets because it holds its shape and adds a nice, soft structure. Another benefit of hexiform is that it is designed to be left inside your project, meaning you don't have to spend time removing it as you would with papers. It isn't reusable though, but papers are. Papers also cost less than hexiform. But using hexiform might mean you don't want to use a layer of wadding. There is lots to think about when it comes to choosing paper or hexiform, but I nearly always choose hexiform for appliqué projects because I love that you don't need to turn the seam allowance over yourself using a method like needle turn. I tend to choose paper mostly when I am making a large quilt project. So what do you think? Take a look at the video and let me know your thoughts and any questions you have. Thank you and happy sewing! 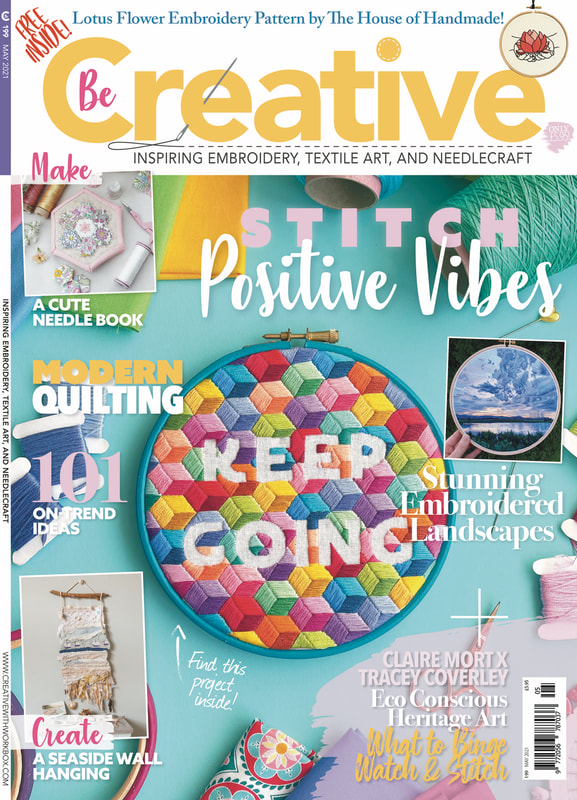 I'm super excited to share that I have been featured again by Be Creative magazine. It was such an unbelievable honour to have my needle book project in this issue and to have a photo of it actually on the cover! I cannot get over this! As well as the instructions for making the needle book, I also wrote a short piece about how I create with an audience in mind. I never imagined in my wildest dreams that my work would be in a magazine, let alone twice! What an honour that I am so so grateful for. Thank you so much Be Creative.
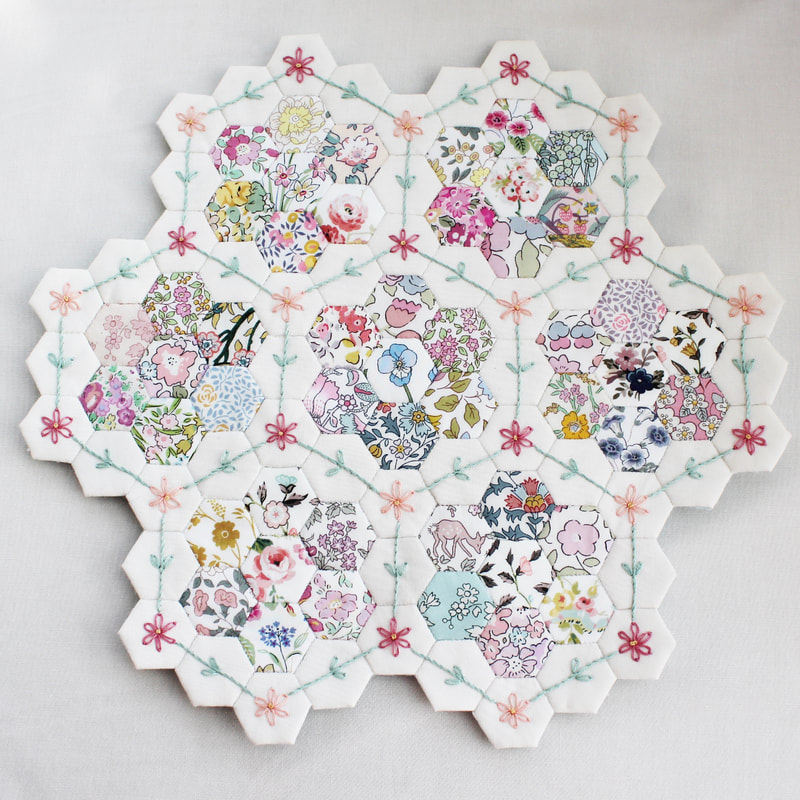
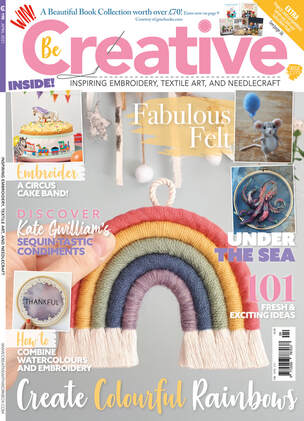 Last month I had the absolute honour of being featured in a wonderful magazine called Be Creative. Be Creative is a UK textiles and needlework magazine that features artists from all over the world. As a reader of the magazine myself, I love how they showcase artist's work. You get to know the artists and the inspiration behind their creations. The magazine also features some projects for readers to make which are always so inspiring.  The piece I wrote was about my Mabel's Garden mini quilt and the story behind it. It is such a personal piece, made in memory of my Gran who passed away almost two years to the day of the publication of my piece. I know she would have been incredibly proud to see my work in print. Thank you so much to the team at Be Creative for giving me such a lovely opportunity to be featured in such a wonderful publication. 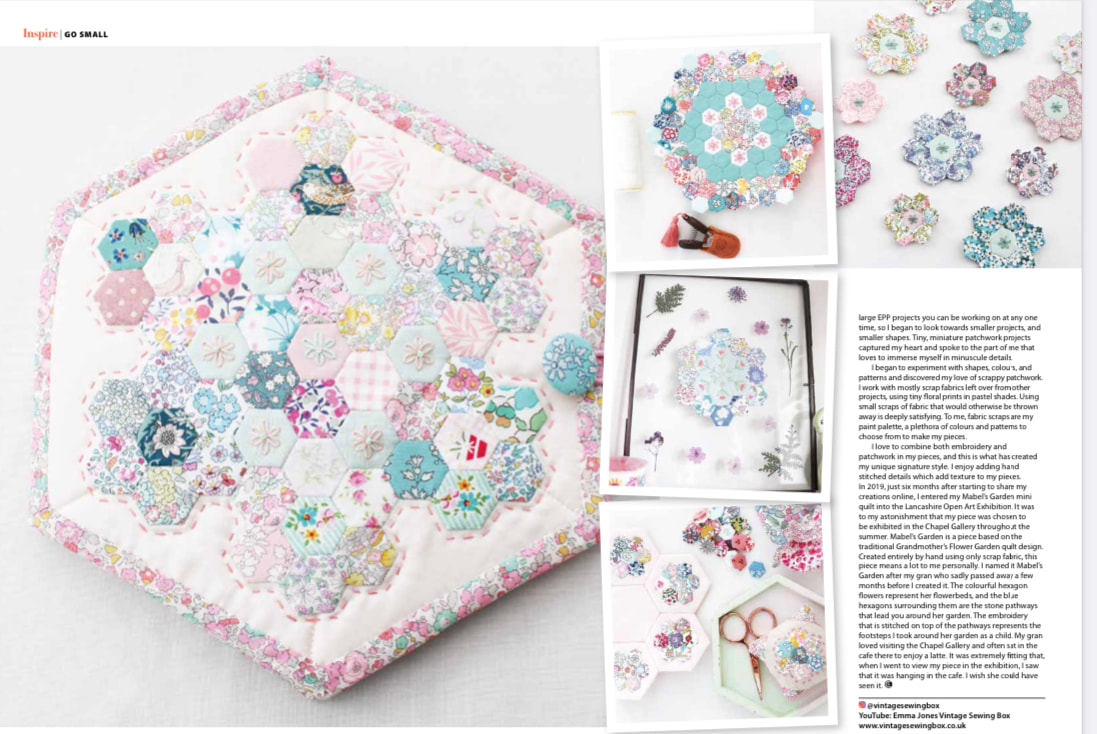  Hello Friends, how are you doing? I hope that wherever you are in the world that you are doing ok during the difficult times we have been facing. In the UK we are in our third lockdown and I have found this Winter lockdown to be difficult if I am honest. But I have tried to stay as positive as I can and sewing has really helped me to do that. I have just let myself make whatever I feel like and that has been really freeing and enjoyable.  Over the last 12 months, I have really learnt how important sewing is to my mental health and well-being. If I haven't managed to fit a bit of stitching into my day, I don't feel as calm, relaxed and happy. Stitching allows me to forget about any worries and gives me something positive to focus on. This week on my Youtube channel, I shared a video about the projects I have been working on during this lockdown and what it is about these projects in particular, that is helping me to cope with lockdown. You can find the video below. I have also linked a video below that I made in September, which describes how slow stitching helps me deal with stress and anxiety. I hope you enjoy watching these videos, thank you so much and take good care of yourself. 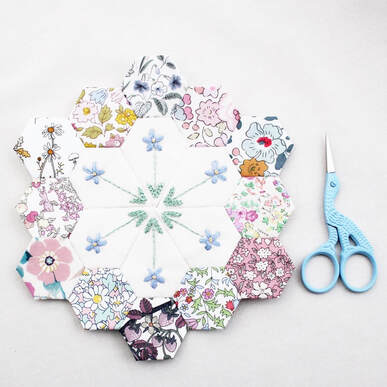 Last year, in March 2020, I hosted the Slow Stitch Along on Instagram with Zoe Mayson. It was a lovely community event and lots of people took part, and it came at the right time, just as the UK and many other countries went into lockdown. I know that it helped me have something positive to focus on at a very confusing and worrying time, and so many people have contacted me to say it helped them too. So we've decided to do it again this year, and we also have the very lovely Miss Leela hosting with us too. In case you didn't know about it last year, or if you need a refresher, here is some information all about it: What is the Slow Stitch Along? Working on a long term, slow project such as a hand pieced quilt, knitted blanket or cross stitch, is lovely and rewarding but it can be easy to run out of steam. I think, aiming to do a little bit each day or as often as you can, and sharing with friends online, will help to keep you motivated and you will soon see visible progress. So that’s where the Slow Stitch Along comes in. Dig out your favourite long term stitchy project - this can be epp, embroidery, cross stitch, knitting, crochet, or any type of craft you want, or start a new one! The idea is that we share a slow, meaningful project together. This stitch along doesn’t really have any rules other than take your time, no pressure to complete your project at all. Just relax and find some quiet time when you can. This can be daily, weekly, it’s entirely up to you. Find ten minutes, find an hour, whatever fits in with your life. Stitch your project and share a lovely photo of it to inspire others. Support and cheer others on with their slow projects. How did this idea come about? - I think we all sew for two reasons, the process and the product. Yes, we want the product at the end and the product is important. It might be an item that we need or it might have personal meaning or be a gift, but I think ultimately, it’s the process of sewing that is healing and rewarding. I really believe there is something to be said for slow, repetitive stitching. Being mindful in your project, sewing for the process not putting pressure on yourself to have a completed item. Doing a little bit when you can and seeing your project grow! No competition, no prizes. Just community and friendship, the sharing of ideas and supporting one and other. So if you’d like to take part, use the hashtag #slowstitchalong and tag me, Zoe and Miss Leela so we can find you and share as many photos in our stories as we can. 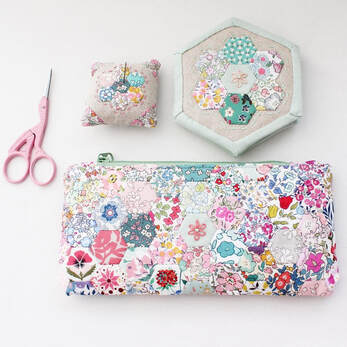 Each week there will be a topic to discuss if you'd like to, and we will of course remind you of this as we go along, but here is a brief outline. It’s just an idea, you don’t have to stick to this! Week 1 - introductions Introduce yourself and tell us about your project. Have you started it? Show us the stage it is at currently. Is it a new project? If so, share your planning process. Is there a story or special meaning behind your project? Tell us all about it, we love hearing the details behind a project! Week 2 - Progress photographs and videos. Share any progress you are making on your project this week however small it may seem. Are you working on your project daily or every other day? How are you fitting it into your routine? Are you doing ten minutes or an hour? Is it the only project you are working on or are you switching between other, quicker projects? Remember to follow the hashtag and cheer others on too. The best part about Instagram is seeing what other people are doing and building friendships through our love of craft. Week 3 - Slowing down - How does slowing down feel? Are you enjoying working at a slow, relaxing pace with no pressure to finish. Is it helping you to feel more grounded, relaxed and calm? Are you feeling more creative without any time pressure? Share your thoughts and feelings. Week 4- How does your project compare to when you started the stitch along? Did doing a little bit often work well for you? Did you see results and feel like you have made good progress? Have you made new friends online and felt motivated? Has slowing down and being mindful in your project felt good and had a positive effect on your wellbeing? 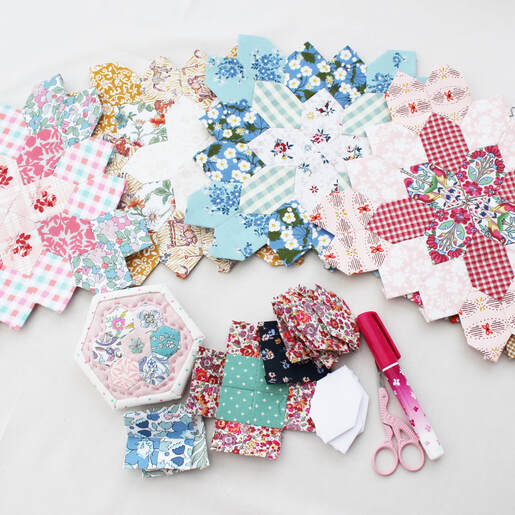 I do hope you will join us and follow along. I know that during these times, being part of a community of likeminded people is really important to me and I hope it will help you too. I still can't decide which project I am going to focus on for the stitch along! Should I try to finish my row by row quilt, work more on my POTC (above) or continue with my Alexandria quilt? Help me decide!
Take care, Emma x |
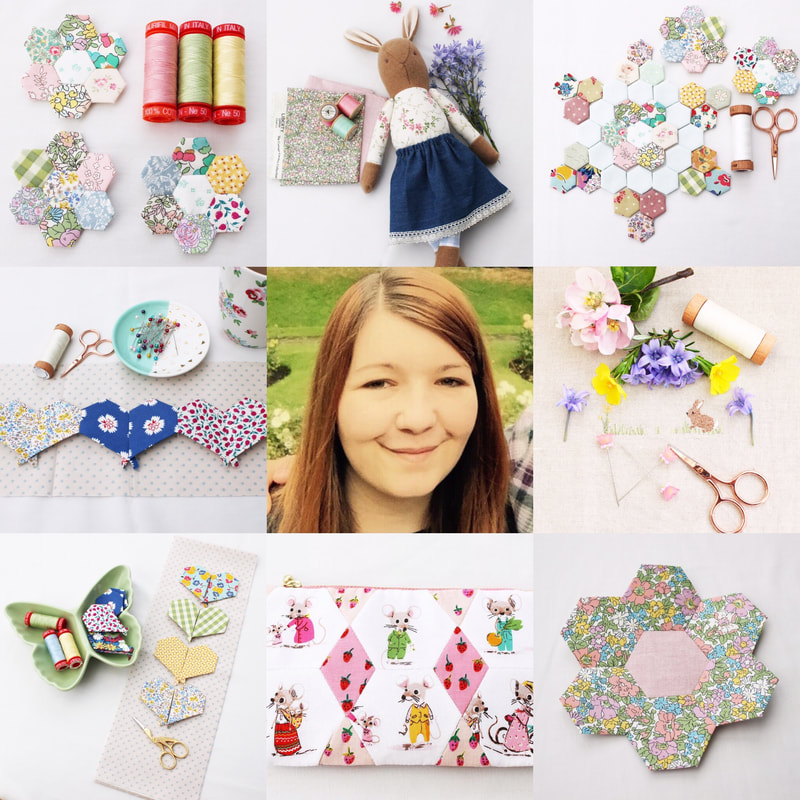
Follow me on InstagramAbout the Author
My name is Emma and I love all things sewing, especially EPP. My little blog is the place where I document what I'm making. I hope you enjoy reading what I'm up to! All opinions are my own and I only share things that I think you will love. Thank you for taking the time to stop by. Archives
September 2023
Categories
All
|
 RSS Feed
|
Copyright Vintage Sewing Box 2024
|
| ||||||